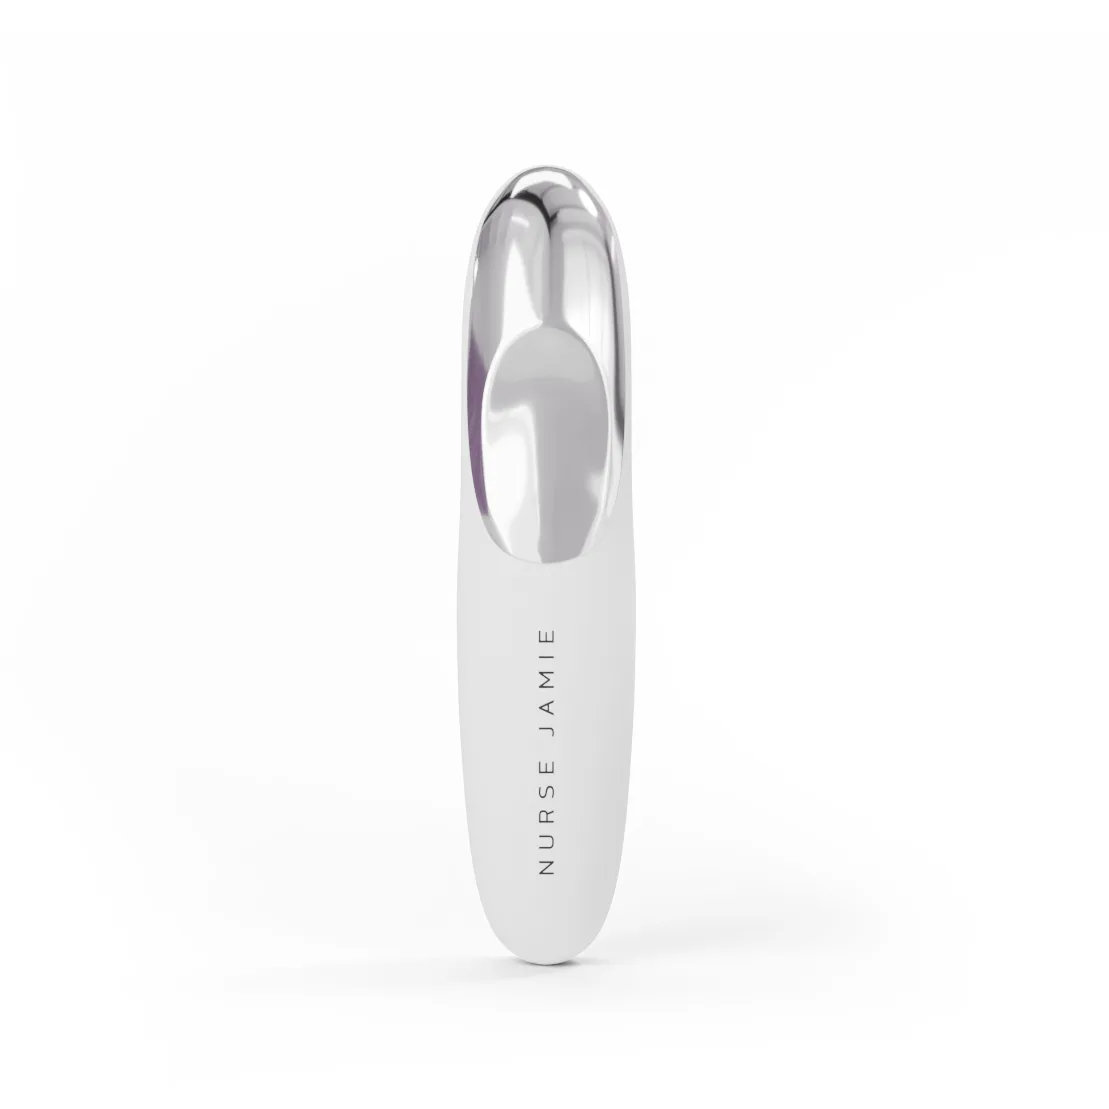
Quick Answer
Use the UpLift Face Roller with gentle upward strokes from the center of the face outward, focusing on the jawline, cheeks, and under-eye area. For best results, pair it with a facial oil or serum and use it daily for 2–3 minutes to help reduce puffiness and promote a sculpted look.
The UpLift Face Roller is a simple yet effective tool for encouraging lymphatic drainage and giving your face a more defined appearance. By combining gentle pressure with directional strokes, you can help move excess fluid away from the face and support a naturally sculpted look.
In this tutorial, we'll walk through the proper technique, common mistakes to avoid, and how to integrate the roller into your daily skincare routine for the best results.
Why Lymphatic Drainage Matters
Your lymphatic system is responsible for removing waste and excess fluid from your tissues. When it's sluggish, fluid can accumulate, leading to puffiness and a tired appearance. Facial massage with a roller helps stimulate this system, encouraging drainage and reducing swelling.
Regular use can also temporarily boost circulation, which may contribute to a healthier glow. While results are subtle and temporary, consistent rolling can help maintain a more sculpted look over time.
- Use gentle pressure—never press hard enough to cause discomfort.
- Always roll upward and outward, against gravity, to support lymphatic flow.
Preparing Your Skin
For the best glide and to avoid tugging, apply a facial oil, serum, or moisturizer before rolling. This creates a smooth surface and allows the roller to move easily across your skin. If you're using a product like the Nurse Jamie FaceWrap, apply it after your serum to lock in moisture and enhance absorption.
Cleanse your face first to remove makeup and impurities. Rolling on clean skin ensures that you're not pushing debris into your pores, which could lead to breakouts.
- Avoid rolling on dry skin—this can cause friction and irritation.
- Wash your roller regularly with mild soap and water to keep it hygienic.
Step-by-Step Rolling Technique
Start at the center of your forehead and roll outward toward your temples. Repeat 3–5 times. Then move to your cheeks, rolling from the nose outward toward the ears. For the jawline, start at the chin and roll along the jaw toward the earlobe. Finish with the under-eye area using very light pressure, rolling from the inner corner outward.
Always roll in one direction—avoid back-and-forth motions, which can be less effective. Spend extra time on areas that tend to hold fluid, such as the under-eye area and along the jawline. Aim for 2–3 minutes per session, once or twice daily.
- Use a mirror to ensure you're maintaining the correct direction.
- If you feel any pain, ease up on the pressure.
Common Mistakes to Avoid
One of the most common mistakes is rolling too quickly. Slow, deliberate strokes are more effective for lymphatic drainage. Another mistake is applying too much pressure, which can cause bruising or irritation. Always use a light touch, especially around the delicate eye area.
Skipping the prep step is also a frequent error. Without a slip agent like serum or oil, the roller can tug at the skin, which over time may contribute to fine lines. Always ensure your skin is well-lubricated before rolling.
- Don't roll over active acne or broken skin.
- Clean your roller after each use to prevent bacteria buildup.
Step-by-Step Rolling Routine
- Cleanse and prep: Wash your face and apply a facial oil or serum to create a smooth glide. This prevents tugging and helps the roller move easily. Checkpoint: Your skin should feel slippery, not dry.
- Roll the forehead: Starting at the center of your forehead, roll outward toward the temples. Repeat 3–5 times with gentle pressure. Common mistake: Rolling too fast—slow down for better results.
- Roll the cheeks: From the nose, roll outward toward the ears. This helps lift and de-puff the mid-face area. Checkpoint: Keep strokes upward and outward.
- Sculpt the jawline: Start at the chin and roll along the jawline toward the earlobe. This helps define the jaw and reduce fluid retention. Common mistake: Pressing too hard—use light, even pressure.
- Finish with under-eyes: Using the smallest end of the roller, apply very light pressure from the inner corner outward. Repeat 2–3 times. Checkpoint: Never roll back and forth—always one direction.
Tools and Products to Complement Your Routine
- Eyeonix®: Elevate your eye care routine with the Eyeonix® Eye Massaging Beauty Tool—a compact, high-frequency device designed to revitalize and refresh the delicate skin around your eyes. Utilizing advanced vibration technology, the Eyeonix® gently massages the under-eye area, promoting circulation and reducing the appearance of puffiness and dark circles. If you want to target under-eye puffiness more intensively, this tool offers a different approach that can complement your manual rolling routine.
- Face Wrap: Designed to lock in moisture and amplify your skincare results, the Nurse Jamie FaceWrapTM is a medical-grade, ultra-thin stretch silicone mask that's formulated to enhances hydration and product absorption. Inspired by silicone scar treatment technology, this innovative wrap conforms seamlessly to the face, creating an optimal moisture-locking environment. Wearing the FaceWrap after your serum and rolling can help seal in hydration and prolong the de-puffing benefits of your massage.
With consistent use and proper technique, the UpLift Face Roller can be a valuable addition to your skincare routine. Remember to always prep your skin, use gentle upward strokes, and avoid common mistakes like rushing or pressing too hard. Pair it with a nourishing serum or the FaceWrap for enhanced results, and enjoy a more sculpted, de-puffed appearance.