Mixed media art opens up a world of creative possibilities by combining different materials and techniques. One of the most exciting combinations is pairing the soft, flowing washes of watercolor paint with the bold, opaque lines of acrylic paint markers. This fusion allows you to create artwork that is both delicate and vibrant, with endless opportunities for texture and contrast.
In this guide, we'll explore how to effectively combine watercolor and acrylic markers in your mixed media projects. Whether you're a beginner or an experienced artist, you'll discover practical techniques, tips for choosing the right supplies, and how to achieve stunning results. We'll also highlight some excellent products from Painting Art Supplies to help you get started.
Why Combine Watercolor and Acrylic Paint Markers?
Watercolor is beloved for its transparency, fluidity, and ability to create soft gradients. Acrylic paint markers, on the other hand, offer opaque, permanent, and highly pigmented marks that can be applied on top of watercolor without reactivating the underlying layer. This makes them ideal for adding fine details, bold outlines, or highlights to watercolor paintings.
Together, they allow you to work in layers: start with a watercolor wash for the background or base colors, then add crisp lines, dots, or patterns with acrylic markers. The contrast between the soft watercolor and the sharp marker lines creates visual interest and depth. Plus, acrylic markers work on a variety of surfaces, including watercolor paper, mixed media paper, wood, and canvas.
- Watercolor provides a soft, ethereal base; acrylic markers add bold, permanent details.
- Acrylic markers do not bleed or lift when applied over dry watercolor.
- Ideal for illustrations, journaling, card making, and fine art.
Essential Supplies for Mixed Media Watercolor and Acrylic Marker Art
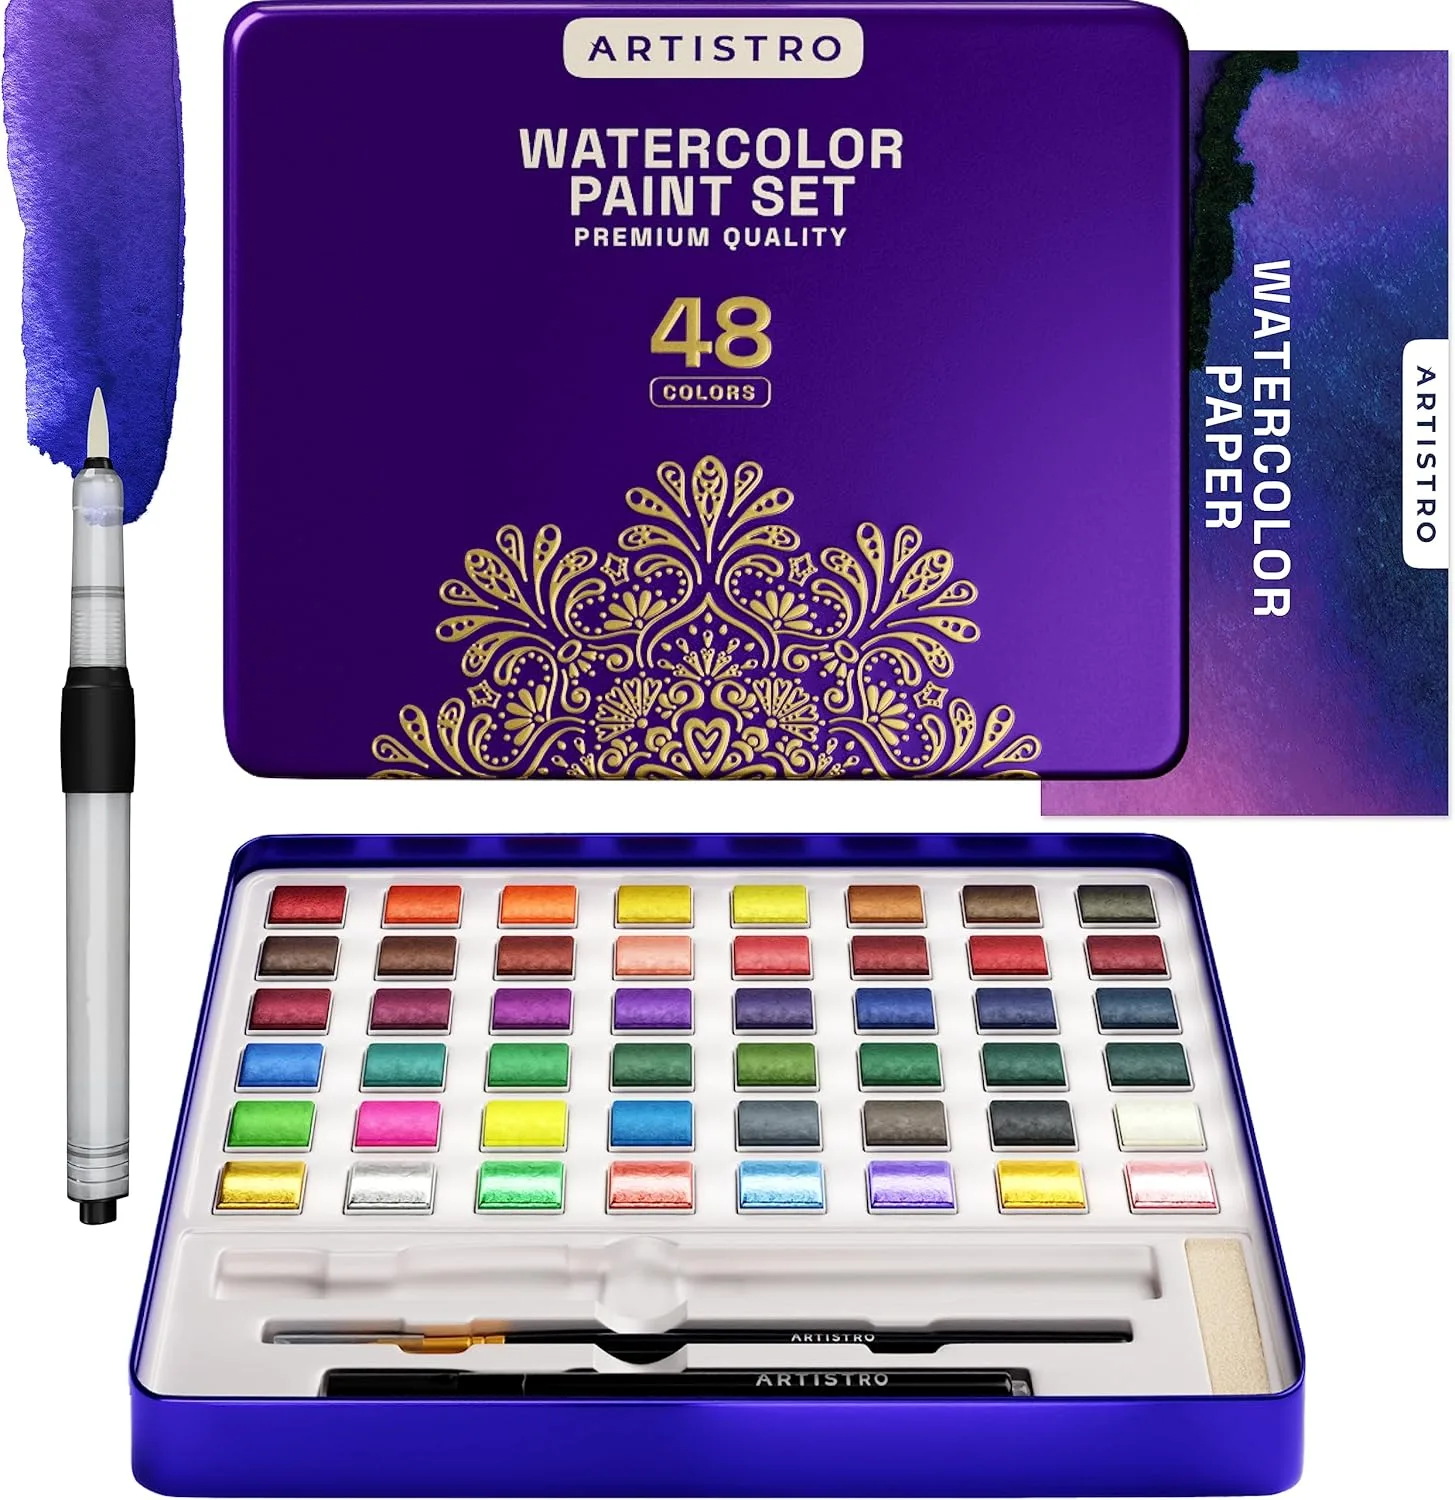
To get started, you'll need a few key supplies. First, choose a high-quality watercolor paint set. The ARTISTRO Watercolor Paint Set in Portable Box is an excellent choice—it includes metallic and fluorescent paints, two brushes, watercolor paper, and even acrylic markers, making it a complete travel kit for artists and beginners. This set gives you everything you need to experiment with mixed media.
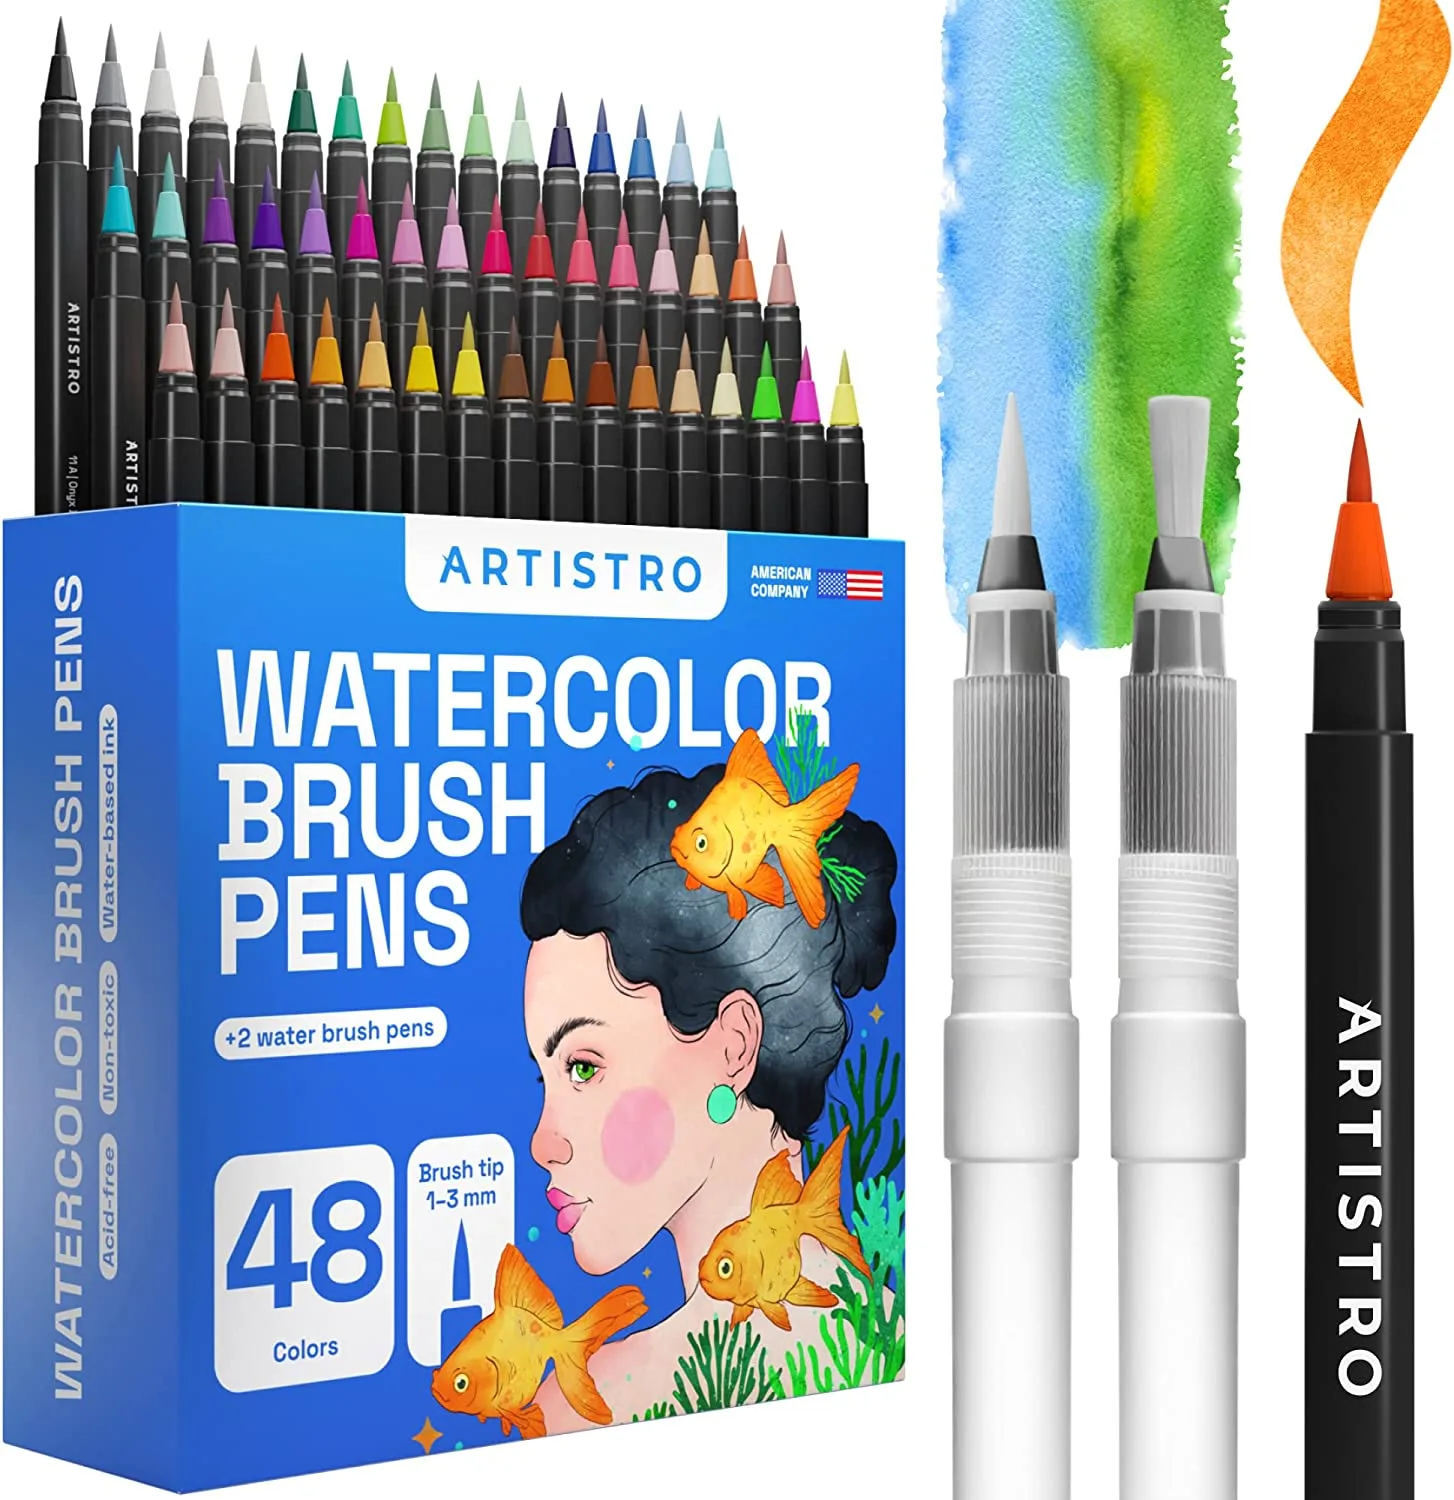
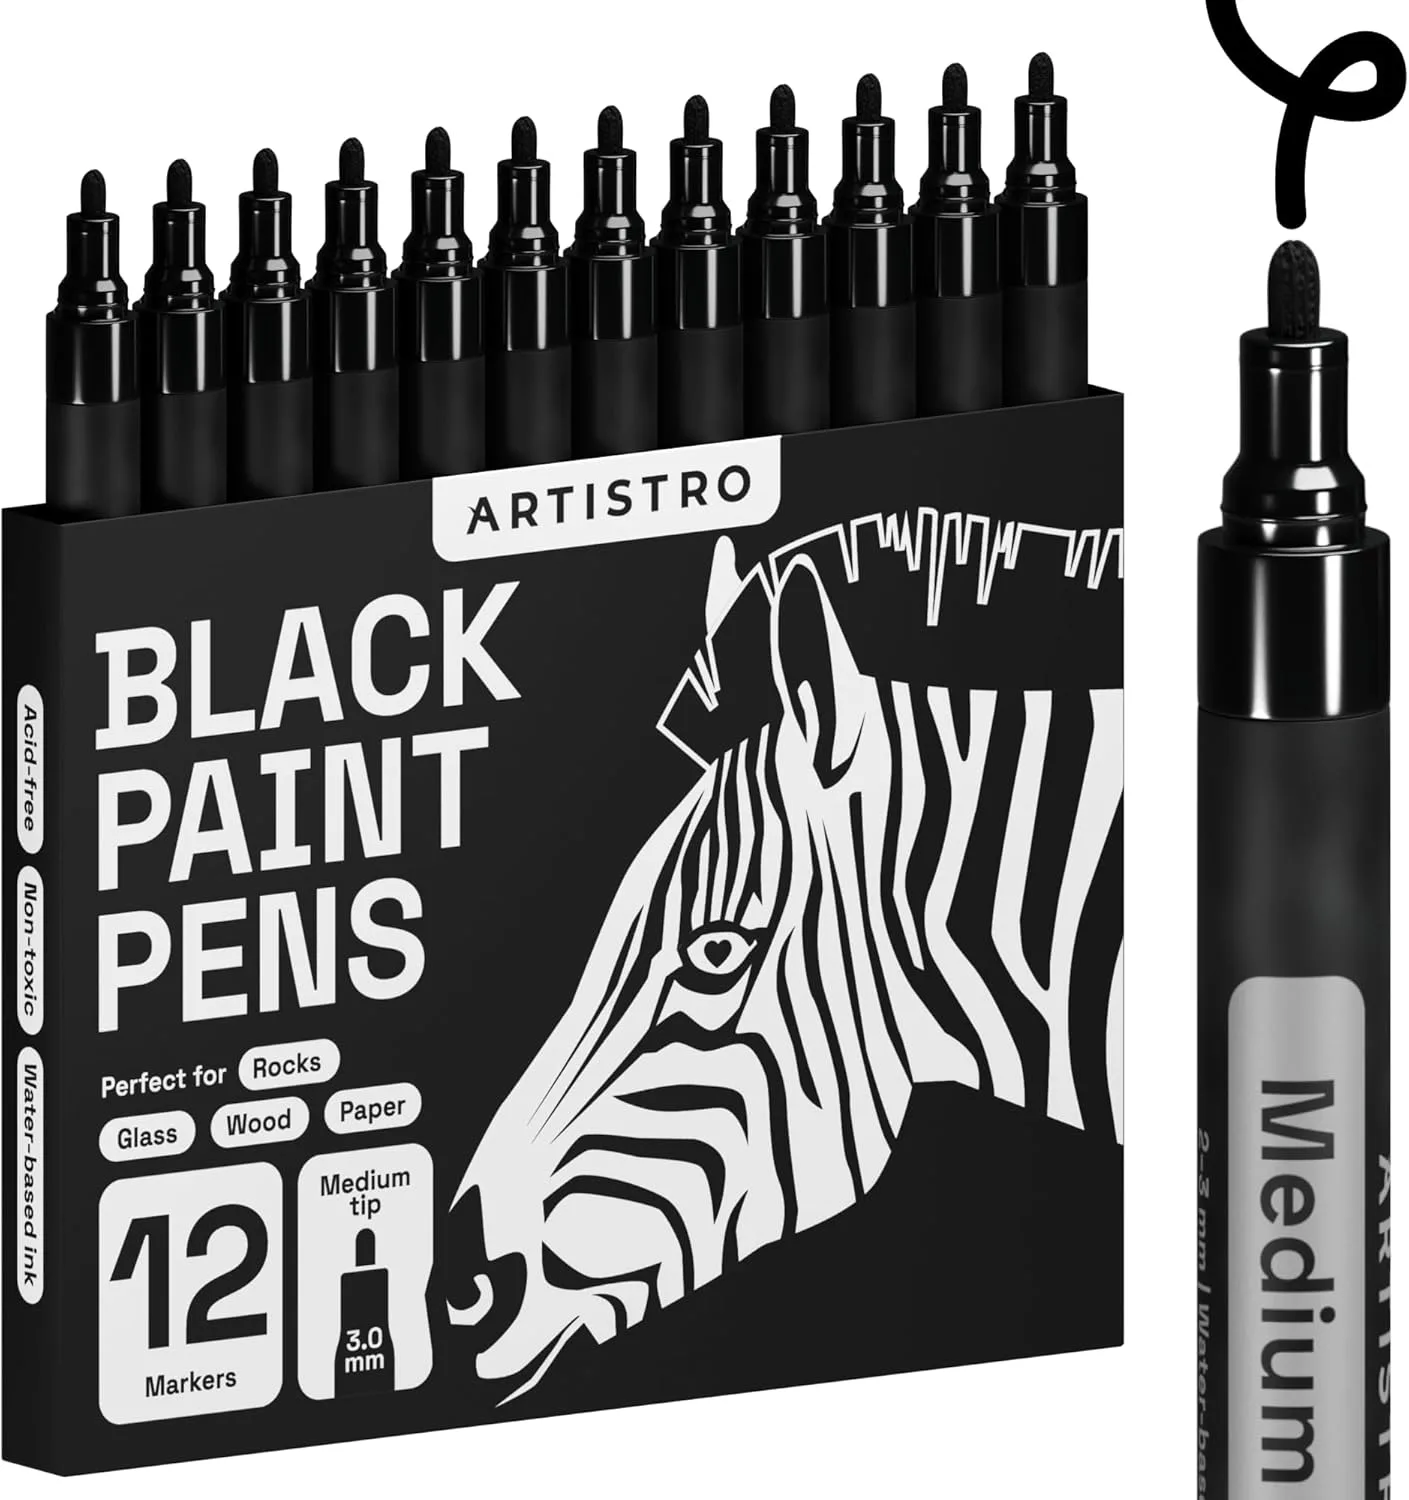
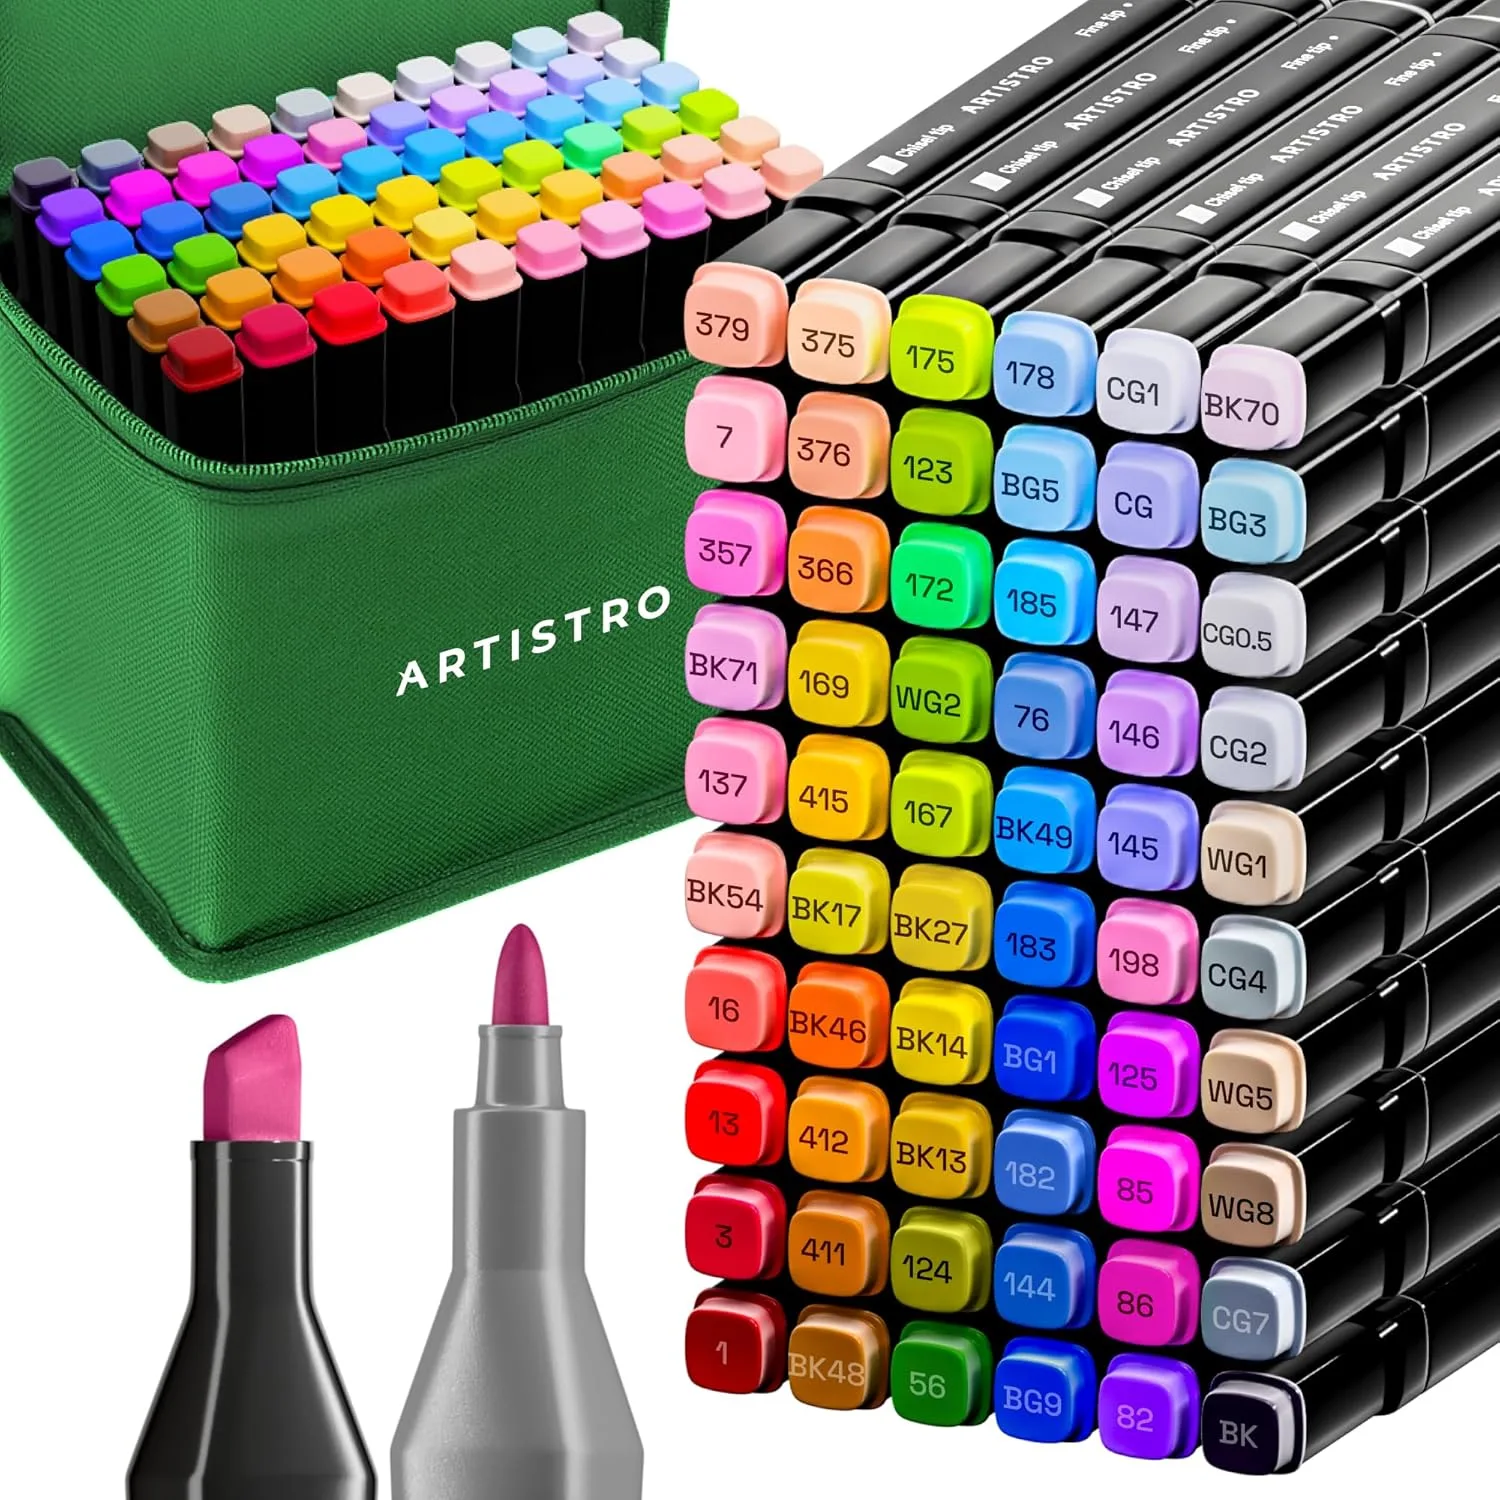
For acrylic markers, consider the ARTISTRO 72 Acrylic Paint Markers for Rock, Fabric, Wood, Glass, Eggs. These dual-tip markers offer both fine and medium tips, allowing for versatile mark-making. They are opaque and permanent, perfect for layering over watercolor. Additionally, you may want a set of brush tip paint markers for more expressive strokes—the Brush tip paint markers - Set of 16 paint brush markers provides flexible brush-like tips that work well for calligraphy and broad strokes.
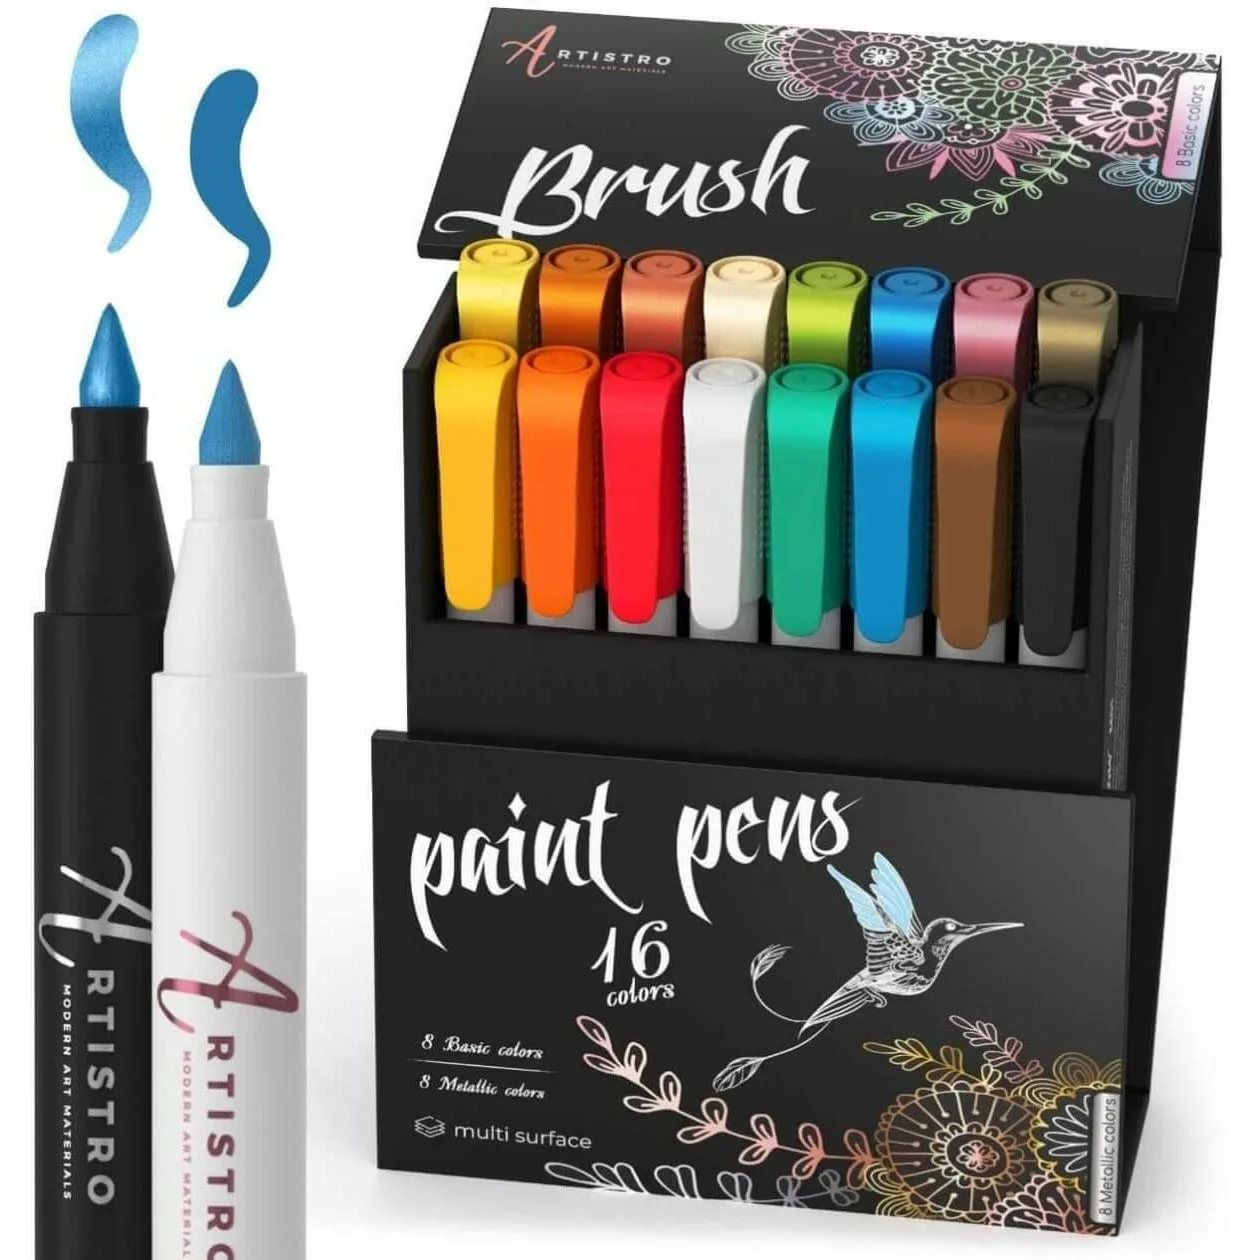
Brush tip paint markers - Set of 16 paint brush markers
- Watercolor paint (tube or pan) and watercolor paper (cold press recommended).
- Acrylic paint markers with fine and brush tips for detail and variety.
- Brushes, water container, paper towels, and a palette for mixing.
Technique 1: Watercolor Wash with Marker Details
This is the most straightforward technique. Start by applying a watercolor wash to your paper—either a single color or a gradient. Let it dry completely. Once dry, use acrylic paint markers to add details such as outlines, patterns, or highlights. The markers will glide smoothly over the watercolor surface without disturbing it.
For example, create a floral illustration: paint a soft watercolor background in pastel hues, then use a fine-tip acrylic marker to draw flower petals and stems. The opaque marker will pop against the transparent wash. Experiment with different marker colors—metallic or glitter markers can add a special touch.
- Ensure watercolor is fully dry before applying markers to avoid smudging.
- Use light watercolor washes for a subtle background; dark markers provide contrast.
- Try using white acrylic markers for highlights over dark watercolor areas.
Technique 2: Marker Underpainting with Watercolor Overlay
Reverse the layering order by starting with acrylic markers and then applying watercolor on top. This technique works best when you want the marker lines to show through a transparent watercolor glaze. Use waterproof acrylic markers so they don't smear when wet.
Draw your subject with fine or brush tip markers, then apply a thin watercolor wash over the entire piece. The watercolor will tint the paper while leaving the marker lines visible. This is great for creating a stained-glass effect or adding a unified color tone to a line drawing.
- Use permanent acrylic markers (waterproof when dry) to prevent bleeding.
- Apply watercolor sparingly to avoid oversaturating the paper and lifting the marker.
- Test on a scrap piece first to see how the markers react with your watercolor brand.
Technique 3: Splatter and Drip Effects with Markers
For a dynamic, abstract look, combine watercolor splatters with marker accents. Start by flicking or dripping watercolor onto wet or dry paper to create random splashes. Let dry. Then, use acrylic markers to add dots, lines, or shapes that interact with the splatters.
You can also use the markers to create controlled drips: apply a line of marker ink at the top of the paper and tilt it to let the ink run down. This works best with markers that have a juicy tip. The combination of organic watercolor splashes and precise marker marks creates a beautiful tension.
- Use a stiff brush or toothbrush for watercolor splatter.
- For marker drips, use a medium or jumbo tip marker for more ink flow.
- Seal the final artwork with a fixative or varnish if needed.
Tips for Success and Troubleshooting
Always use high-quality watercolor paper that can handle wet media without buckling. Cold press paper has a slight texture that works well with both watercolor and markers. If your paper warps, tape it down to a board before painting.
When layering, allow each layer to dry completely. Acrylic markers are permanent once dry, but watercolor can reactivate if not fully set. If you make a mistake with a marker, you can sometimes lift it with a damp brush while it's still wet, but it's best to plan ahead. Practice on scrap paper to get a feel for the interaction.
- Work from light to dark: watercolor first, then markers.
- Clean marker tips regularly to prevent color contamination.
- Store markers horizontally to keep ink flowing evenly.
Mixing watercolor and acrylic paint markers is a rewarding way to expand your artistic toolkit. With the right supplies and a bit of practice, you can create pieces that combine the best of both mediums. Start your mixed media journey with the ARTISTRO Watercolor Paint Set in Portable Box, which includes everything you need to experiment with these techniques. Explore the set today and unlock your creativity!