Quick answer
Scoop a small amount of colour creation powder onto a mixing palette, add a few drops of your chosen medium, and blend with a wax tool until smooth and lump-free. Work in thin layers, letting each dry before adding more, and clean your tools between colours so the next batch stays true.
Set up your palette and tools before you open the powder
Lay a non-porous mixing palette on a flat, washable surface and keep a small pot of clean water and a paper towel within reach. Open the colour creation powder only after your palette and tools are ready, because fine powder can drift once the seal is broken. If you are mixing more than one colour, place small separate dollops of medium on the palette first, then add powder to each dollop rather than trying to divide a blended puddle. This keeps your colour creation powder guide practical: one zone per colour, one tool per zone, and no cross-contamination.
Load the wax tool without over-scooping
A double-ended wax tool gives you a spoon for scooping dry powder and a flat end for spreading the blend. Dip the spoon end into the powder and tap off the excess before moving it over the palette; a little powder goes further than most people expect, and an overloaded spoon creates clumps that take longer to smooth out. Use the flat end only after the powder and medium have met on the palette, so you are spreading a paste rather than pushing dry powder around. If you are working with a silicone spatula instead of a metal wax tool, the same rule applies: scoop small, spread thin.
Blend to a smooth paste and test the consistency
Fold the powder into the medium with a circular motion, pressing out lumps against the palette rather than whisking air into the mix. The blend is ready when it looks uniform and holds a soft peak without dripping. If it feels stiff, add medium a drop at a time; if it slides around the palette, add a pinch more powder. Test a thin streak on scrap card before you commit to your project, because some powders look darker in the palette than they do once dry.
Apply in thin layers and let each one set
Use the flat end of the wax tool to spread the blend across the area you are colouring, keeping the layer thin enough that light passes through it. Thick layers stay soft longer and can smear when you handle the card. For wax seal colouring, press the blend into the recessed lines of the seal and wipe the surface clean with a paper towel before it fully sets. Build depth with a second thin layer only after the first has dried, and switch to a clean tool if you are changing colours.
Clean the palette and tools between colours
Wipe the palette with a damp paper towel while the blend is still wet; dried colour creation powder can be stubborn on textured surfaces. Rinse the wax tool under warm water and dry it immediately so the metal does not spot. If you are using a silicone spatula, flex it under running water to release residue from the corners. Store the powder sealed and away from moisture, and label the palette zones if you plan to mix the same custom shades again.
Step-by-step: mixing colour creation powder with wax tools
- Prepare the palette: Place a non-porous mixing palette on a flat surface and set out one clean wax tool per colour you plan to mix. Keep water and paper towel nearby. Checkpoint: the palette should be dry before powder touches it, or the blend will turn patchy.
- Scoop the powder: Use the spoon end of your wax tool to lift a small amount of colour creation powder and tap off the excess back into the jar. Common mistake: scooping a full spoon, which creates clumps that are hard to smooth out.
- Add medium and blend: Place a few drops of medium on the palette, add the powder, and fold the two together with the flat end of the tool until the paste is uniform. Checkpoint: the blend should hold a soft peak and show no dry pockets.
- Test on scrap card: Spread a thin streak on a piece of scrap card and let it dry for a minute to check the colour and coverage before applying it to your project. Common mistake: skipping the test and discovering the shade is darker or lighter than expected on the final piece.
- Apply in thin layers: Spread the blend with the flat end of the wax tool, keeping the layer thin. Let it dry, then add a second layer if you want more depth. Checkpoint: if the surface still feels tacky, wait before adding the next layer.
- Clean tools and palette: Wipe the palette while the blend is wet, then rinse the wax tool and dry it immediately. Store the powder sealed and away from moisture. Common mistake: leaving powder to dry on the palette, which makes it much harder to remove.
Tools that make this process easier
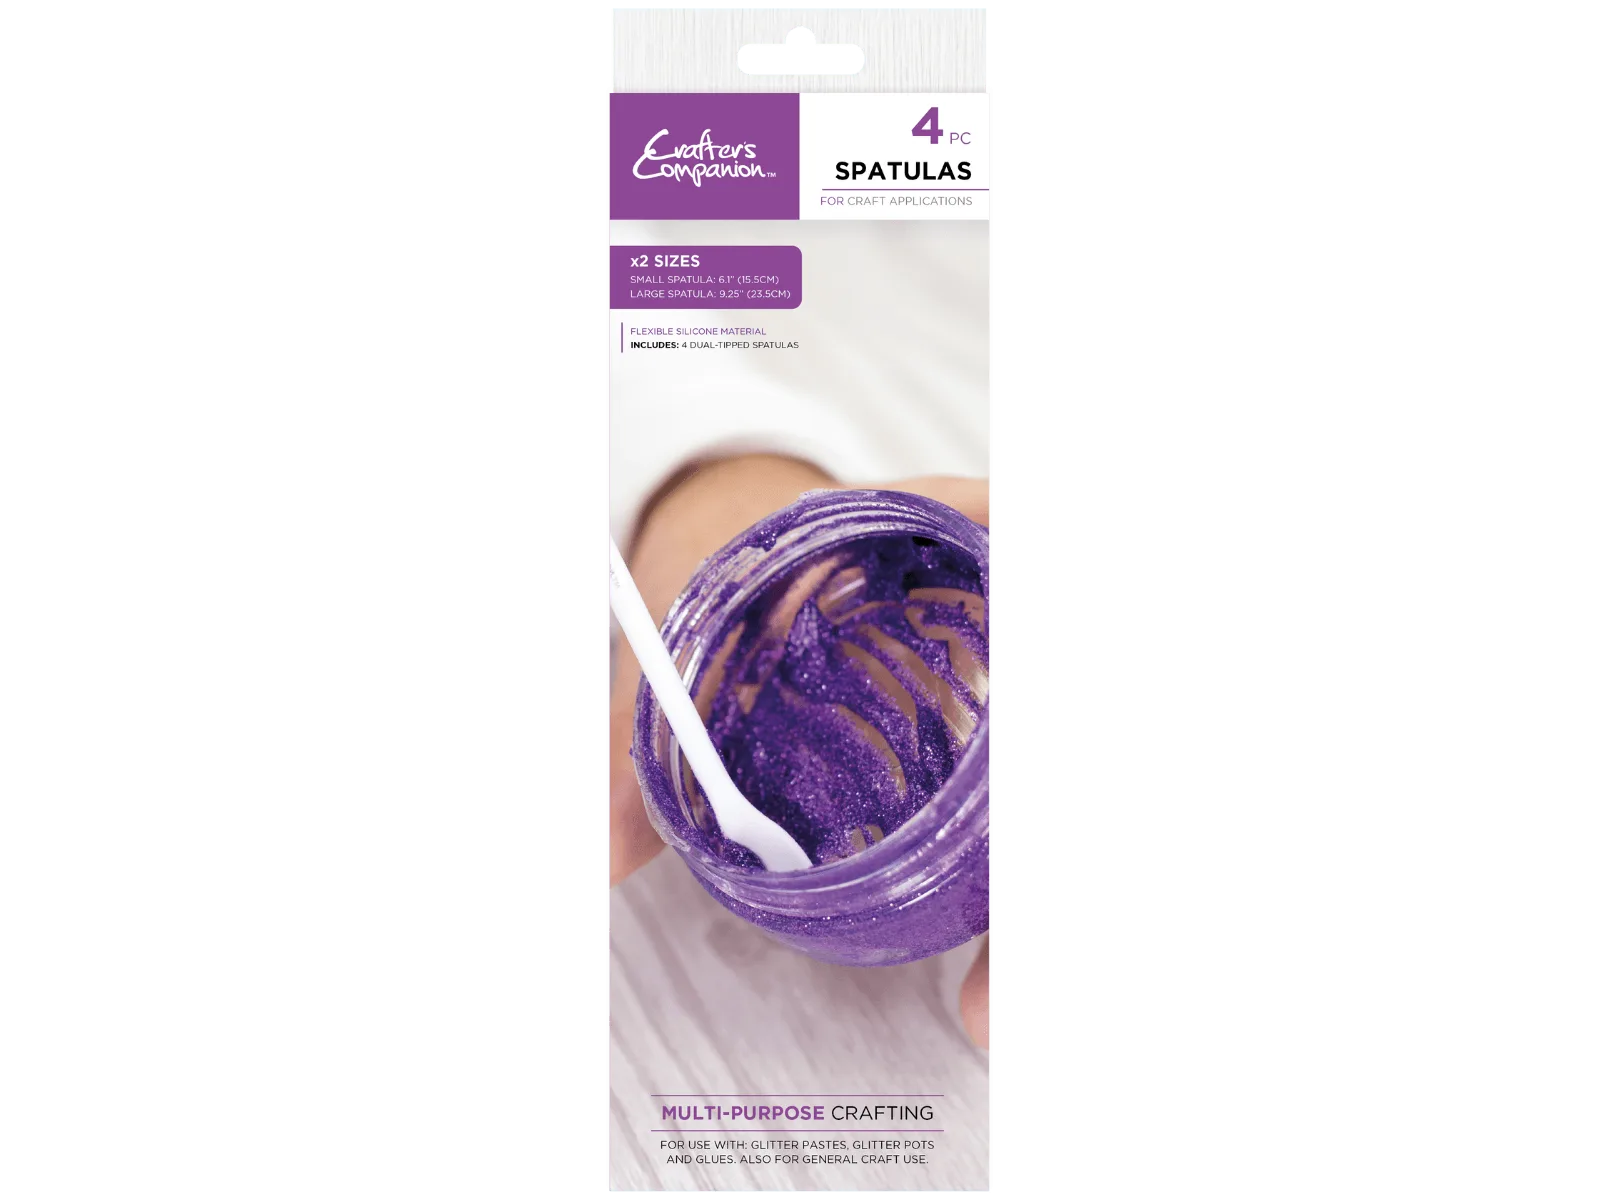
- Crafters Companion - Spatulas: Designed to help you make the most of your favourite creative mediums, each spatula is double-ended, featuring a spoon on one end to scoop or scrape and a flat spatula on the other to spread smoothly and evenly. Made from flexible silicone, these spatulas bend easily into corners and small containers, helping you use every last drop of glue, paint, glitter or paste. The set includes four spatulas in two practical sizes. The spoon end measures powder out of the jar, and the flat end spreads the blend across the palette without scratching it. Because the silicone flexes, you can reach the last of a thick paste in a small pot instead of leaving it behind.
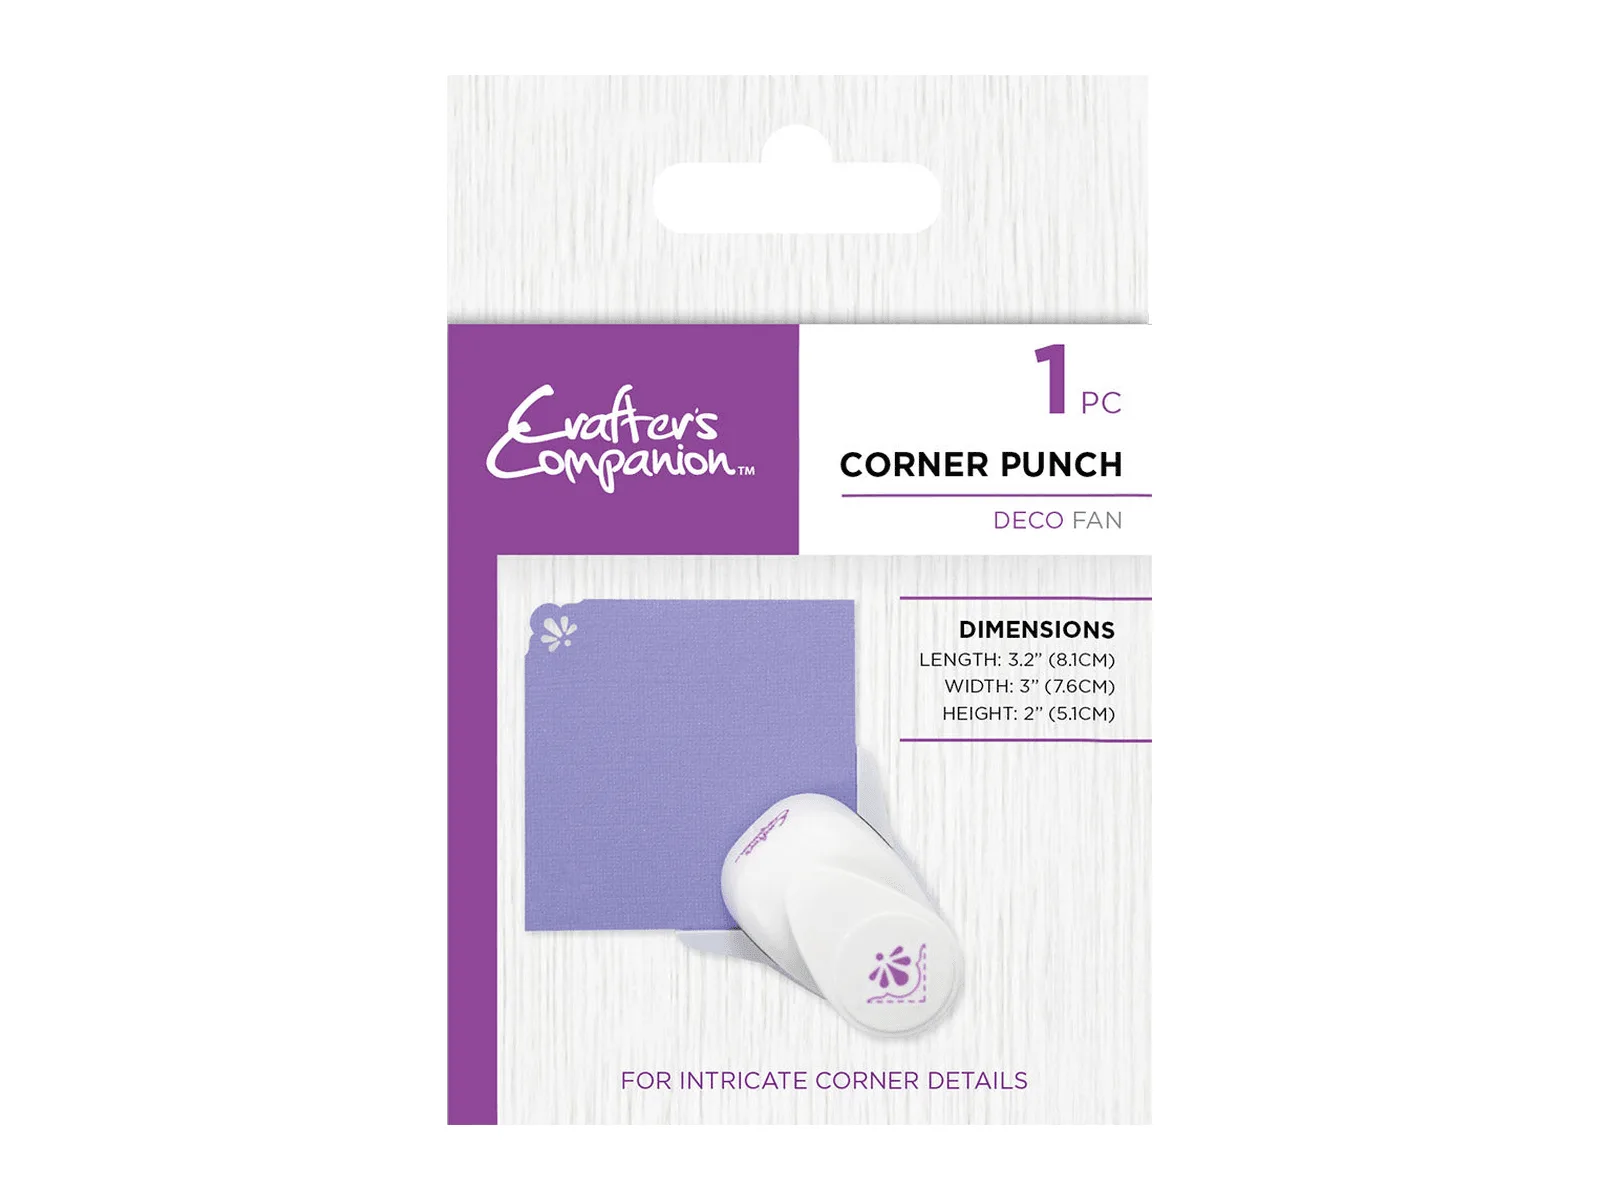
- Crafters Companion Corner Punch – Deco Fan: Crafters Companion Corner Punch - Deco Fan adds decorative corners to papercraft projects with speed and precision. Simply slide in your paper or card and press the lever to reveal detailed cut-out designs in an instant. With so many designs to choose from you can give your cards, party invitations, occasion stationery, gift tags and more a unique finish. A corner punch gives you a clean decorative edge to frame the area you have coloured with your powder blend, so the finished card looks intentional rather than like a test piece.
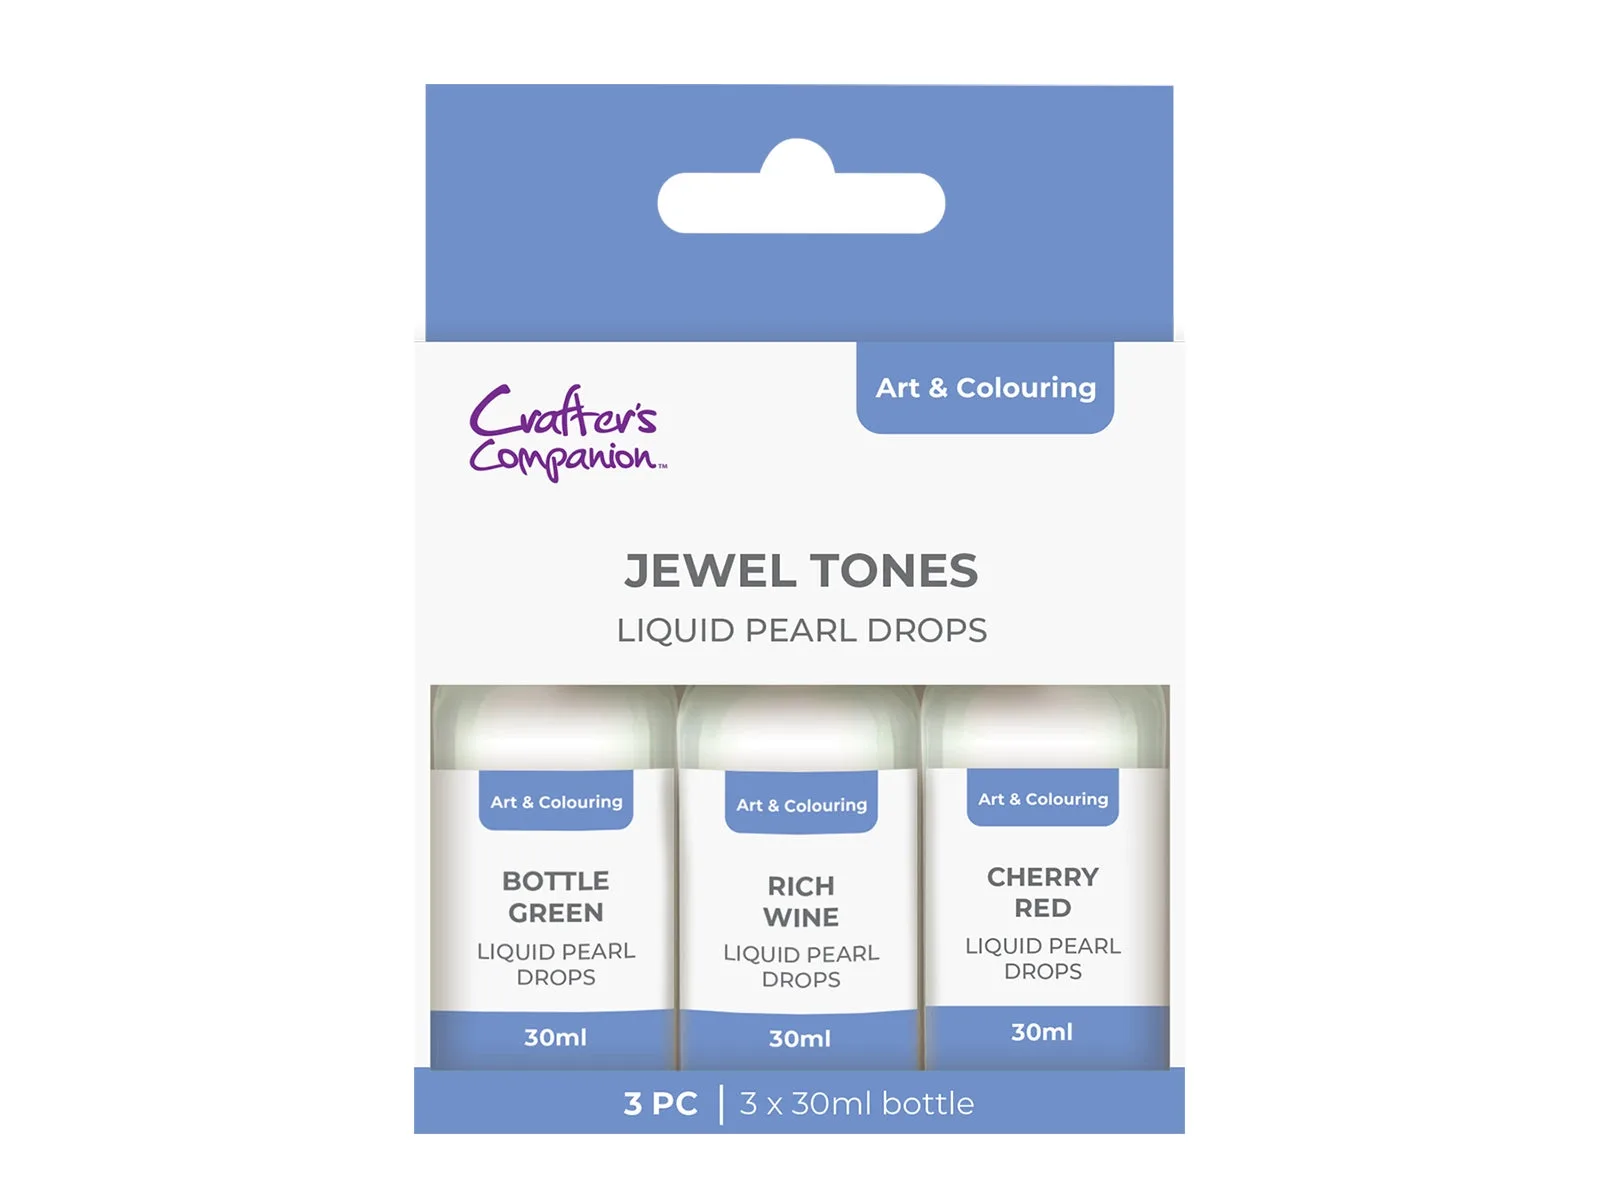
- Crafter's Companion Pearl Drops Jewel Tones 3 Pack: Give every papercraft project a touch of pure glamour with the Pearl Drops Jewel Tones 3 Pack from Crafter's Companion. Each bottle contains 30ml of shimmering pearlescent colour, designed to create 3D faux pearl decorations. Choose from a rich purple, deep sapphire or classic ruby shades to decorate special occasion cards, event invitations and home-made gifts with shining elegance. Quick-drying and self-levelling. If your colour creation powder blend needs a raised, pearlescent accent, these drops add a self-levelling 3D detail that dries quickly, so you can finish a card without waiting overnight.