Quick answer
Start with the Wonder Curve Ruler Starter Bundle to sew smooth curves: prep your fabric, cut with the ruler, piece with pins, then press and trim for a flawless quilt top.
Why the Wonder Curve Ruler makes curved piecing easier
Curved piecing can feel intimidating, but the Wonder Curve Ruler is designed to simplify the process. Its curved edge lets you cut consistent pieces that fit together neatly, reducing the guesswork and helping you achieve smooth seams.
The starter bundle includes the ruler, a pattern, and a fabric kit, so you have everything you need to begin. This is a great choice if you're new to curved quilting or want a coordinated project without sourcing fabrics separately.
One trade-off: the fabric kit covers the quilt top and binding only, so you'll need to purchase batting and backing separately. Plan ahead so you can finish your quilt without delays.
Step-by-step: Sewing with the Wonder Curve Ruler Starter Bundle
- Prepare your fabric and tools: Wash and press your fabric from the kit. Lay it flat on your cutting mat. Have the Wonder Curve Ruler, rotary cutter, pins, and sewing machine ready. Check that your fabric is wrinkle-free to ensure accurate cutting.
- Cut your curved pieces: Place the ruler on the fabric according to the pattern instructions. Use a rotary cutter to cut along the curved edge. Cut all pieces needed for your quilt top. Take your time—rushing the cut can lead to mismatched seams.
- Pin the curves before sewing: Match the curved edges of two pieces, right sides together. Pin at the center and ends first, then add pins along the curve to keep the edges aligned. Use plenty of pins; this prevents shifting and helps you sew a smooth seam.
- Sew with a consistent seam allowance: Using a 1/4-inch foot, sew slowly along the pinned curve. Keep the fabric flat and guide it gently, removing pins as you approach them. If the fabric puckers, stop and adjust your pinning before continuing.
- Press the seams: Press the seam flat first, then press it open or to one side as your pattern suggests. Use a dry iron to avoid stretching the bias edges. Pressing (not ironing back and forth) sets the seam and keeps the curve crisp.
- Square up your blocks: Use the Sew Square 4 tool to trim your blocks to the correct size. This ensures your blocks match and your quilt top goes together accurately. Check each block before assembling the full top to catch any size discrepancies early.
What's in the bundle
-
Wonder Curve Ruler Starter Bundle: The Wonder Curve Ruler Starter Bundle includes the Wonder Curve Ruler, Wonder Flutters Pattern (10" x 37"), a fabric kit for quilt top and binding, a bonus Flower Pop pattern, a woven brag tag, and the Sew Square 4 acrylic square-up tool. You get the essential tools and patterns in one package, so you can start curved quilting immediately without buying extras.
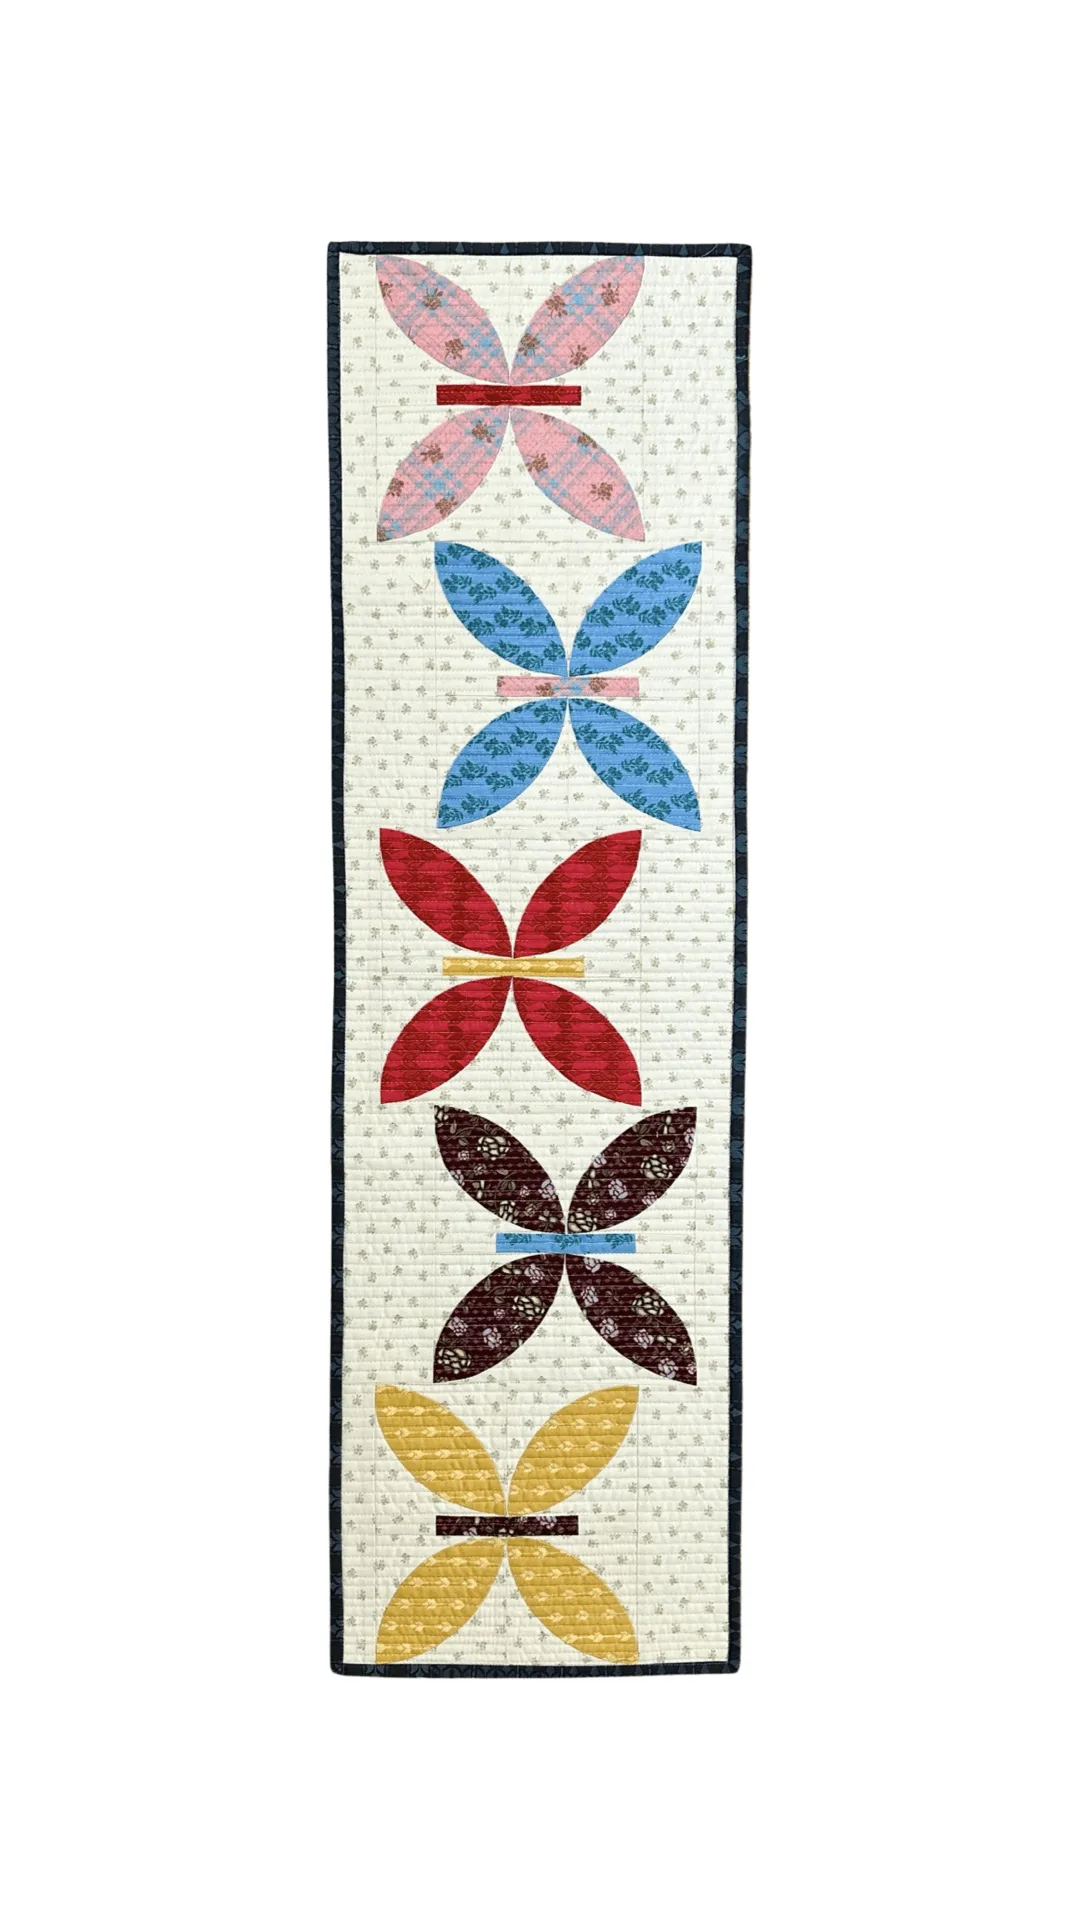
Wonder Curve Ruler Starter Bundle