Quick answer
A wool pressing mat bundle lets you press seams from both sides at once, giving you crisp, flat results without flipping fabric. Set up mats at your machine and ironing board to press as you sew.
Why use a wool pressing mat bundle for quilting
Wool pressing mats absorb and reflect heat, pressing both sides of a seam simultaneously. This saves time and reduces fabric distortion compared to a standard ironing board. A bundle gives you multiple sizes so you can press small pieces at your machine and larger quilt tops on a separate station.
The main trade-off is space: two or three mats need dedicated spots. But the convenience of pressing without walking back and forth often outweighs the footprint.
How to set up and use your wool pressing mat bundle
- Choose your mat sizes: Decide which mats you need based on your project. For quilting, a large mat (17" × 24") handles blocks and rows, while a mini mat fits next to your sewing machine for small seams. A bundle like the Desk‑to‑Quilt Pressing Mat Set gives you both. Check that your ironing board or table is large enough to hold the mat flat without overhang.
- Place mats on stable surfaces: Set each mat on a heat‑safe, flat surface. Use one at your sewing station for quick pressing as you sew, and another on your ironing board or cutting table for larger pressing tasks. The wool mat absorbs heat, so protect surfaces underneath if needed. Avoid placing the mat on a textured surface — it won't sit flat and may cause uneven pressing.
- Preheat your iron: Set your iron to the wool or cotton setting (medium‑high heat). Let it warm up fully before pressing. Wool mats work best with dry heat — skip the steam unless your fabric requires it, as moisture can saturate the wool and reduce heat reflection. Test a scrap of fabric first to ensure the temperature is right for your specific quilt fabric.
- Press seams without flipping: Place the fabric seam side down on the mat. Press down firmly with the iron for 3–5 seconds, then lift and move to the next section. Do not slide the iron — the wool's density presses both sides of the seam at once, so sliding can shift the fabric. If the seam still looks raised, press again with a bit more pressure before moving on.
- Rotate mats for different stages: Use the mini mat for pressing small units like half‑square triangles at your machine. Switch to the large mat when assembling rows or pressing full quilt tops. A bundle with multiple sizes lets you keep both stations ready without reconfiguring. Store mats flat or rolled — never folded, as creases can become permanent.
Products mentioned
-
Large Wool Pressing Mat - Bundle with 2 Mats: Two of our largest wool pressing mats, each 17" × 24", made from 100% natural New Zealand felted wool. You can set up one mat at your cutting table and one at your ironing board, so you never have to move a project mid-press.
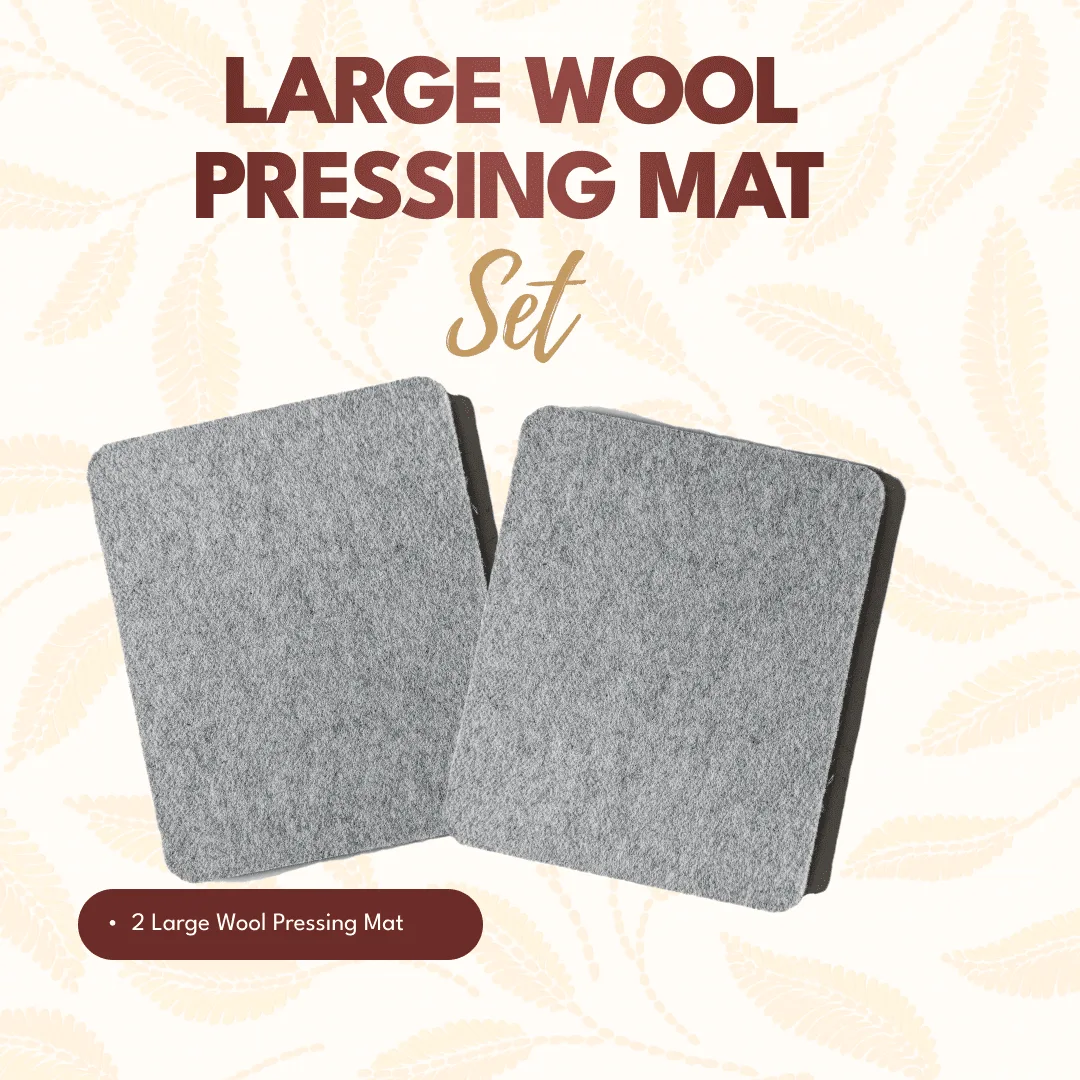
Large Wool Pressing Mat - Bundle with 2 Mats
-
All In One Wool Pressing Mat Set: Includes the Mini Desk Top, standard, and Large Wool Pressing Mats for pressing everything from small pieces to full quilt tops. This trio covers every pressing need in one purchase, from tiny seam allowances to entire quilt blocks.
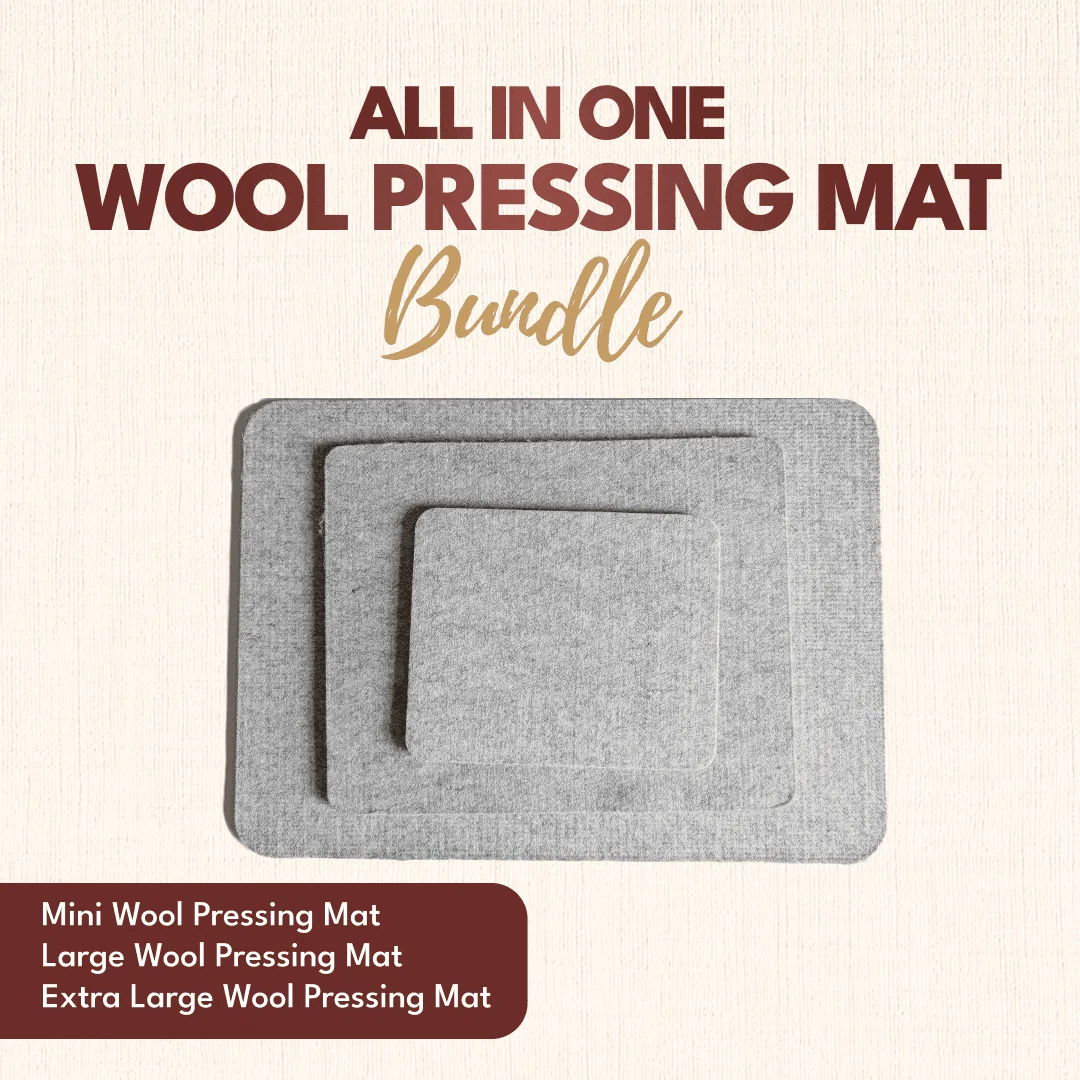
All In One Wool Pressing Mat Set