Quick Answer
Place one or two yoga blocks under your hands, hips, or another body part so the pose meets your current range instead of forcing it. Start on the highest setting, use blocks for support rather than balance, and lower the height as you get steadier. If a block wobbles or your wrist bends sharply, change the height, angle, or position before continuing.
Yoga blocks are simple tools that make poses fit your body instead of the other way around. They are especially useful for beginners, tight hips, and anyone who feels a pose is close but not quite reachable. The trick is knowing where to put them, which height to start with, and when to stop using them.
This guide walks through six steps for using blocks in common poses. Each step includes a checkpoint so you can tell whether the block is helping or just adding instability. You do not need to buy a full prop set to start; one or two blocks are enough for most beginner modifications.
What Yoga Blocks Actually Do
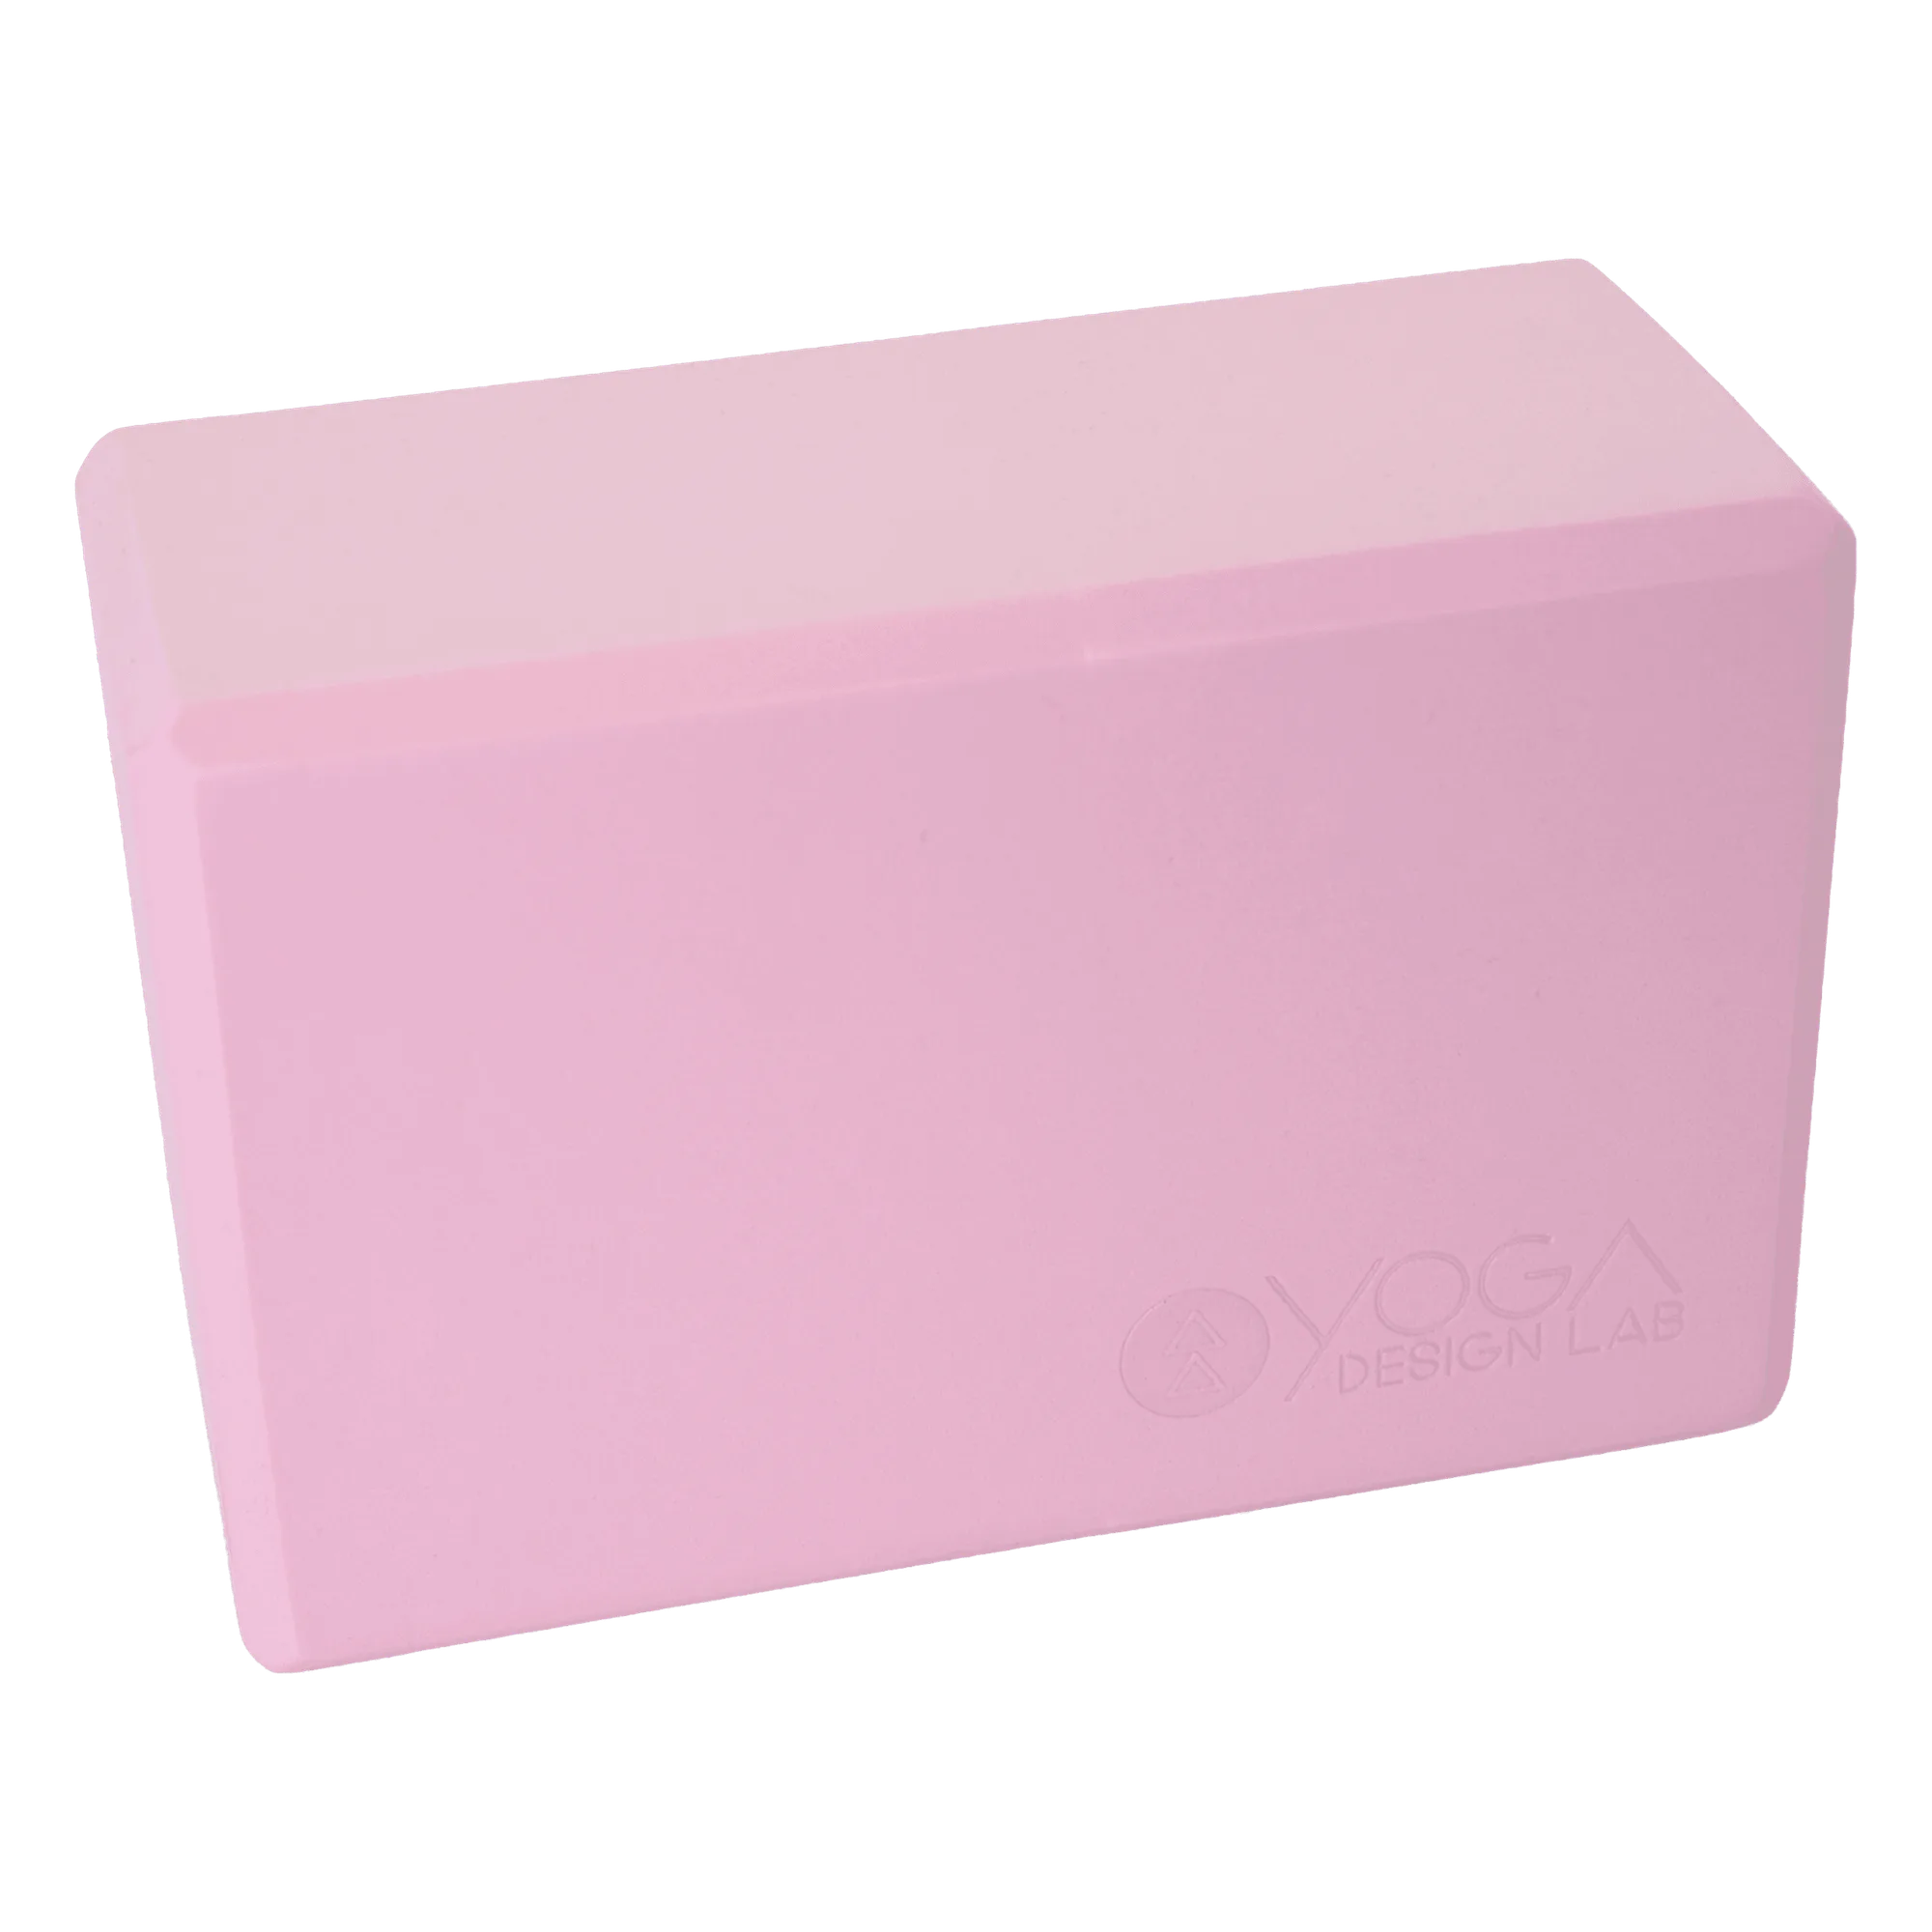
A block extends your reach and creates a stable surface where your hand, hip, or foot can rest. In a lunge, that might mean bringing the floor closer to your hand. In a forward fold, it can mean supporting your hands so your spine can lengthen instead of rounding. In restorative poses, a block can hold a gentle lift under the hips or chest so you can relax without straining.
Blocks are not a sign that you are doing a pose wrong. They are a way to practice the shape of a pose with less tension. That matters for beginners because the nervous system learns better when it is not bracing against a fall or a sharp stretch. Use blocks to reduce the gap between where you are and where the pose asks you to be.
- Use blocks for support, not as a crutch you feel you must remove.
- A block should feel solid under your weight, not like a balancing act.
Pick the Right Height and Grip
Most blocks have three usable heights: low, medium, and tall. Start tall when your hands cannot comfortably reach the floor, then move to medium or low as your range improves. If your block has a sloped or angled side, face the flat surface toward your hand or foot so it does not tip. For standing poses, place the block slightly forward of your shoulder so your arm stays vertical rather than reaching behind you.
Check your wrist angle before you load the block. If your wrist is bent back sharply, the block is too low or too far forward. Raise the height or move the block closer to your body. A flat palm with a mild wrist angle is a good sign that the setup is working.
- Tall height for tight hamstrings or hips, medium for moderate range, low for fine-tuning.
- Flat side up for hands and feet; sloped side down only if the block is designed for it.
Use Blocks in Common Beginner Poses
In a low lunge, place a block under each hand and press down to lift your chest. If your hips feel pinched, raise the blocks or bring your front foot closer to your hand. In a standing forward fold, put a block under each hand and bend your knees enough that your belly can rest toward your thighs. In triangle pose, rest your lower hand on a block so your top shoulder can stack over the bottom one without collapsing.
For tight hips, a block under the sitting bone in pigeon or seated forward fold can level the pelvis and reduce strain in the lower back. In bridge pose, a block under the sacrum can support a gentle backbend. In legs-up-the-wall, a block under the hips adds a mild lift. In each case, the block should reduce effort, not add a new sensation of pinching or pressure.
- Low lunge: block under each hand, press down to lengthen the spine.
- Triangle: block under the lower hand, top shoulder stacks over the bottom.
- Seated poses: block under one or both sitting bones to level the hips.
Adjust, Then Remove, as You Progress
Once you can hold a pose for several breaths without gripping, try the next lower height. Move from tall to medium, then medium to low, then low to the floor. Change only one thing at a time so you can tell what made the difference. If your alignment breaks down when you lower the block, go back up. There is no prize for reaching the floor early.
You can also keep blocks nearby even when you are not using them. Many beginners find that having a block within reach makes it easier to take a modification when they need it instead of pushing through discomfort. Over time, you may use blocks in some poses and not others, and that is normal.
- Lower the height only when you can breathe smoothly and stay aligned.
- Keep a block within reach for poses that tend to tighten up late in a flow.
Six Steps to Start Using Yoga Blocks
- Step 1: Set the block on a stable surface: Place the block flat on your mat, not on a blanket or uneven floor. If you use two blocks, set them shoulder-width apart so your hands can press down evenly. Checkpoint: press down with one hand. If the block rocks or slides, reposition it before you continue.
- Step 2: Choose your starting height: Begin on the tallest setting for poses where your hands do not comfortably reach the floor. Use the medium or low setting only when the tall height feels too easy or makes your wrist bend sharply. Checkpoint: your wrist should stay mostly straight, with the palm flat on the block.
- Step 3: Place the block where you need support: Put blocks under your hands in lunges and forward folds, under your sitting bones in seated poses, or under your sacrum in bridge. Move the block slightly forward or back until your arm or leg can relax into it. Checkpoint: the block should reduce effort, not create a new pinch or pressure point.
- Step 4: Press down and lengthen: Once your hand or hip is on the block, press down gently and draw your body long. In a lunge, that means lifting your chest; in a forward fold, it means lengthening your spine before you fold. Checkpoint: if you cannot breathe smoothly for three breaths, raise the block or bring the pose closer.
- Step 5: Adjust before you push: If a pose feels unstable, change one variable: block height, block angle, or distance from your body. Do not force a deeper shape to make the block work. Checkpoint: a wobbling block is a signal to adjust, not to grip harder.
- Step 6: Lower the height as you progress: When you can hold the pose for several calm breaths, move to the next lower height. Change only one block at a time so you can tell whether the new height still supports you. Checkpoint: if alignment breaks down at the lower height, return to the previous setting and try again another day.
Props That Support Block Practice
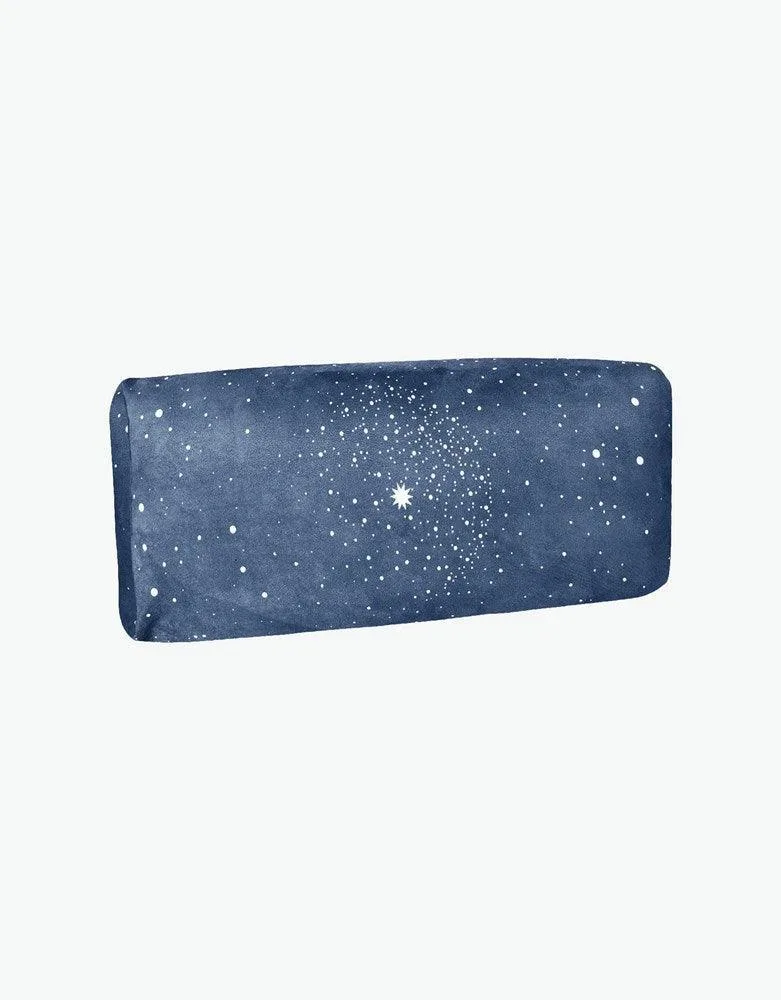
- Yoga Bolster: The YDL Bolster promotes gentle chest opening, makes a great back bending prop, and allows for a moderate lift in forward bends and legs up the wall. If you use blocks to make seated folds and backbends more accessible, a bolster can support the same poses with a softer, broader surface for longer holds.
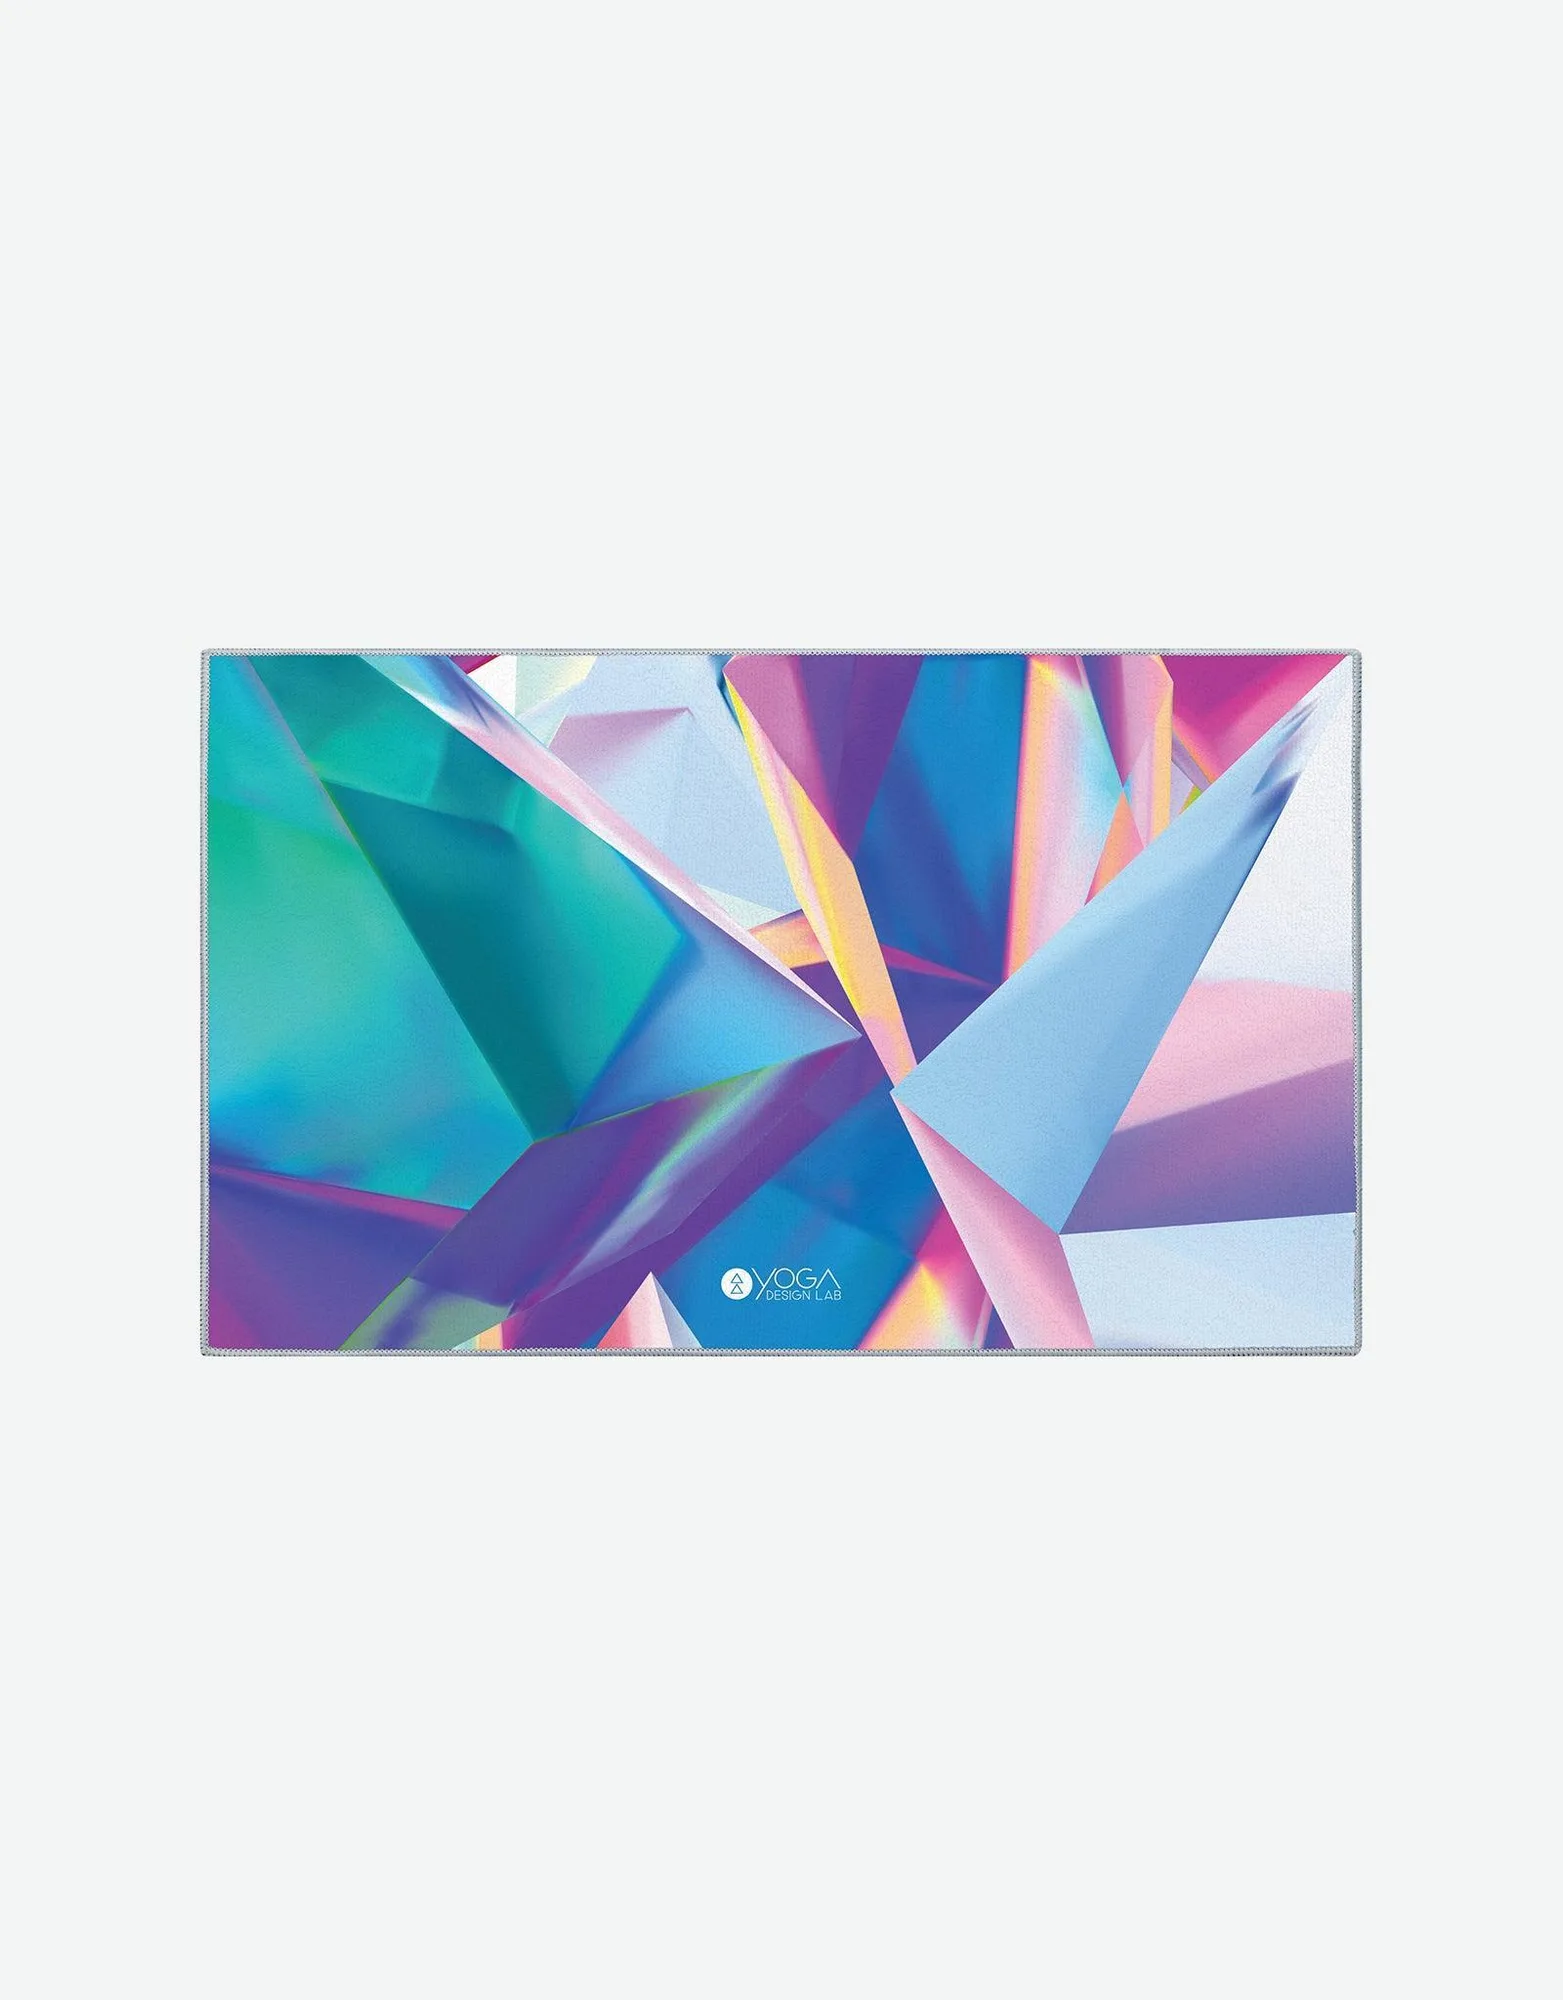
- Yoga Hand Towel - Crystal: Made from soft, ultra-absorbent microfiber, this hand towel keeps you dry and comfortable during even the most intense flows. When your hands rest on a block in a lunge or fold, a dry hand towel can reduce slipping so you can press evenly instead of gripping.
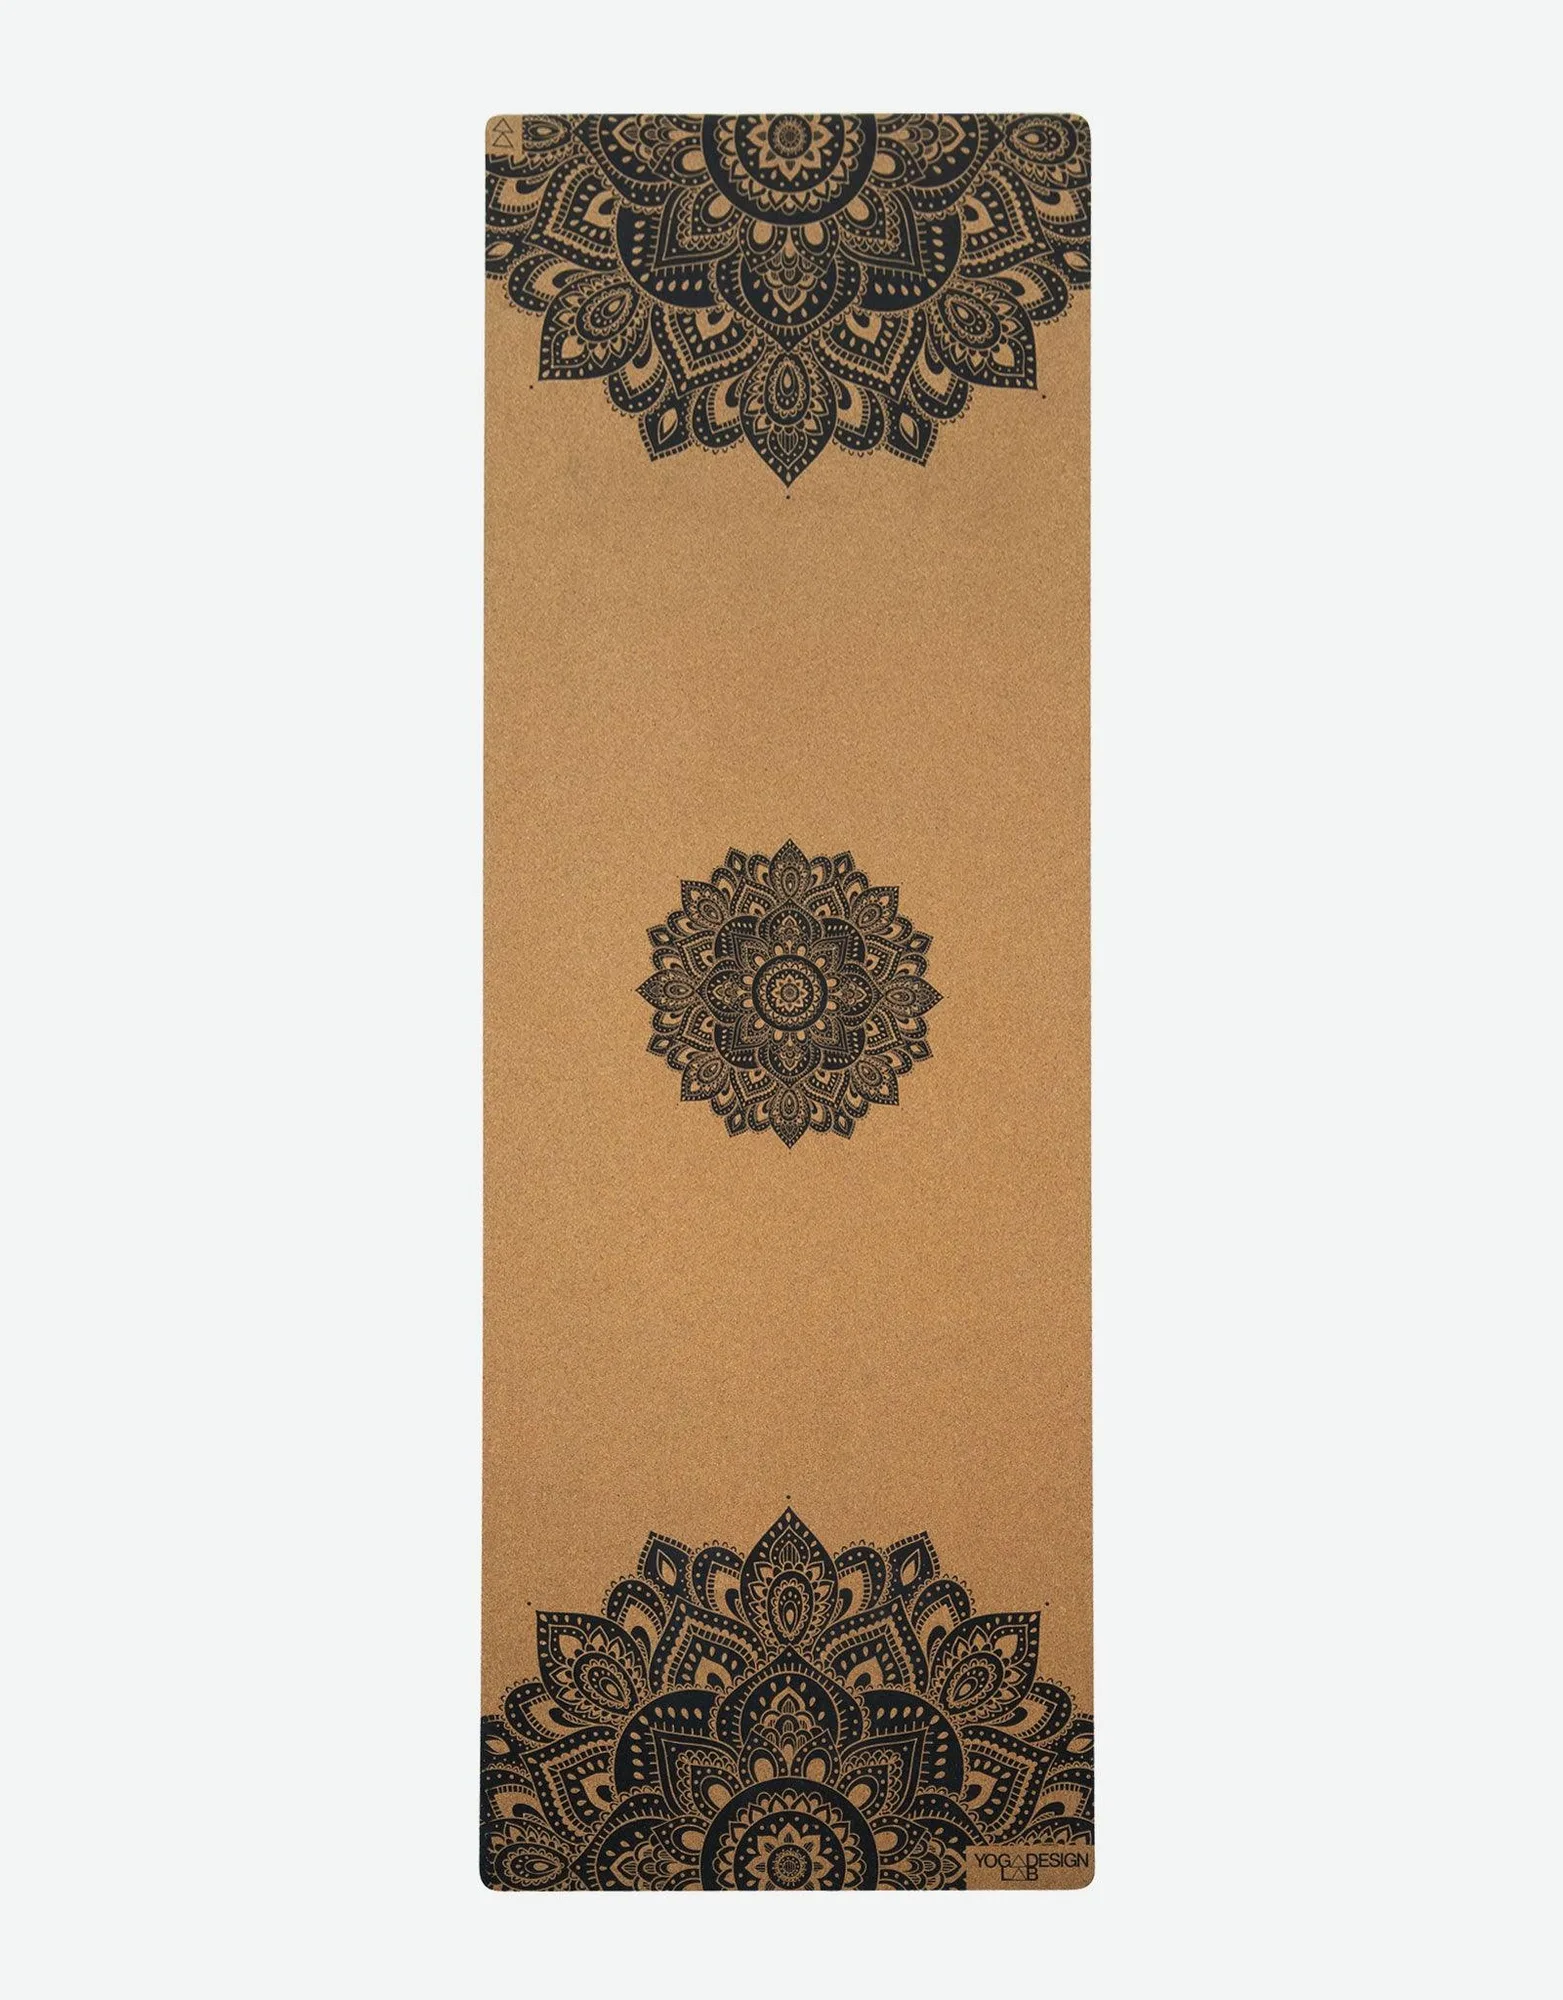
- Cork Yoga Mat - Mandala Black: The top layer is made from sustainably harvested cork, a natural, renewable material celebrated for its durability and non-slip properties. The grip improves with moisture. A stable mat underneath your blocks means less wobble when you press down, which makes beginner block setups easier to trust.
Yoga blocks are a practical way to make beginner poses fit your body today, not after months of forcing range. Start tall, press down, and adjust before you push. As your range and confidence grow, lower the height one step at a time, and keep a block nearby for the poses that still ask for support.