Quick Answer
Using a yule log chocolate mold is simple: temper your chocolate, pour it into the mold, tap out air bubbles, let it set, and unmold. The result is a beautifully detailed chocolate log perfect for holiday desserts and gifts.
Why Use a Dedicated Yule Log Mold?
A dedicated yule log chocolate mold gives you consistent, detailed shapes that are hard to achieve by hand. The Large Flat Bottom Holiday Yule Log Chocolate Mold is designed with precise cavities that create a flat base, so your chocolates sit evenly on a serving tray or gift box. This is especially helpful when you plan to stack or arrange multiple pieces for a dessert display.
Choosing the Right Chocolate for Your Mold
The chocolate you use affects both the taste and the ease of unmolding. Couverture chocolate with a high cocoa butter content flows smoothly into the mold's details and releases cleanly after setting. Dark, milk, or white couverture all work well, but avoid chocolate with added fats or fillings that may stick or leave a dull finish. If you are new to molding, start with a single type of chocolate before experimenting with layers or fillings.
Step-by-Step Guide to Using a Yule Log Chocolate Mold
- Temper Your Chocolate: Melt and temper your chocolate to the correct working temperature. For dark chocolate, aim for 88–90°F (31–32°C); for milk or white, 84–86°F (29–30°C). Proper tempering ensures a glossy finish and a clean snap when you bite into the chocolate. A common mistake is overheating the chocolate, which can cause it to seize or bloom. Use a thermometer and stir frequently.
- Pour Chocolate into the Mold: Pour the tempered chocolate into the yule log mold cavities. Fill each cavity completely, then gently tap the mold on the counter to release air bubbles. For a thinner shell, you can pour, let it sit for a minute, then invert the mold to pour out the excess. Air bubbles trapped in the details will leave pitted surfaces. Tap firmly but not so hard that chocolate splashes out.
- Scrape Off Excess Chocolate: Use a bench scraper or offset spatula to scrape the flat top of the mold clean. This removes any overflow and ensures the back of each chocolate is smooth and level, so the finished pieces sit flat. Skipping this step can leave uneven edges that make stacking or packaging difficult.
- Let the Chocolate Set: Place the filled mold on a flat surface in a cool, dry area (around 65–70°F / 18–21°C). Allow the chocolate to set completely. Depending on the thickness and room temperature, this usually takes 20–40 minutes. Do not refrigerate unless the room is very warm, as rapid cooling can cause bloom. Rushing the set time by refrigerating may cause condensation on the chocolate, dulling the shine.
- Unmold the Chocolates: Once fully set, gently flex the mold to release the chocolates. If they resist, place the mold on a cool surface for a few more minutes. Turn the mold over and let the pieces fall out onto a clean towel or parchment paper. Do not pry or twist the chocolates out, as this can break the delicate details. Patience is key.
- Store or Decorate: Store finished yule log chocolates in an airtight container at cool room temperature (60–70°F / 15–21°C). They can be dusted with cocoa powder, drizzled with contrasting chocolate, or packaged as gifts. Use within two weeks for best flavor and texture. Avoid storing near strong-smelling foods, as chocolate absorbs odors easily.
Product Fact
-
Large Flat Bottom Holiday Yule Log Chocolate Mold: This premium mold is designed for do-it-yourselfers and home bakers, enabling you to create elaborate and exquisitely detailed seasonal chocolates. The detailed cavities mean your finished chocolates will have crisp lines and a professional look, making them ideal for gifting or holiday dessert tables.
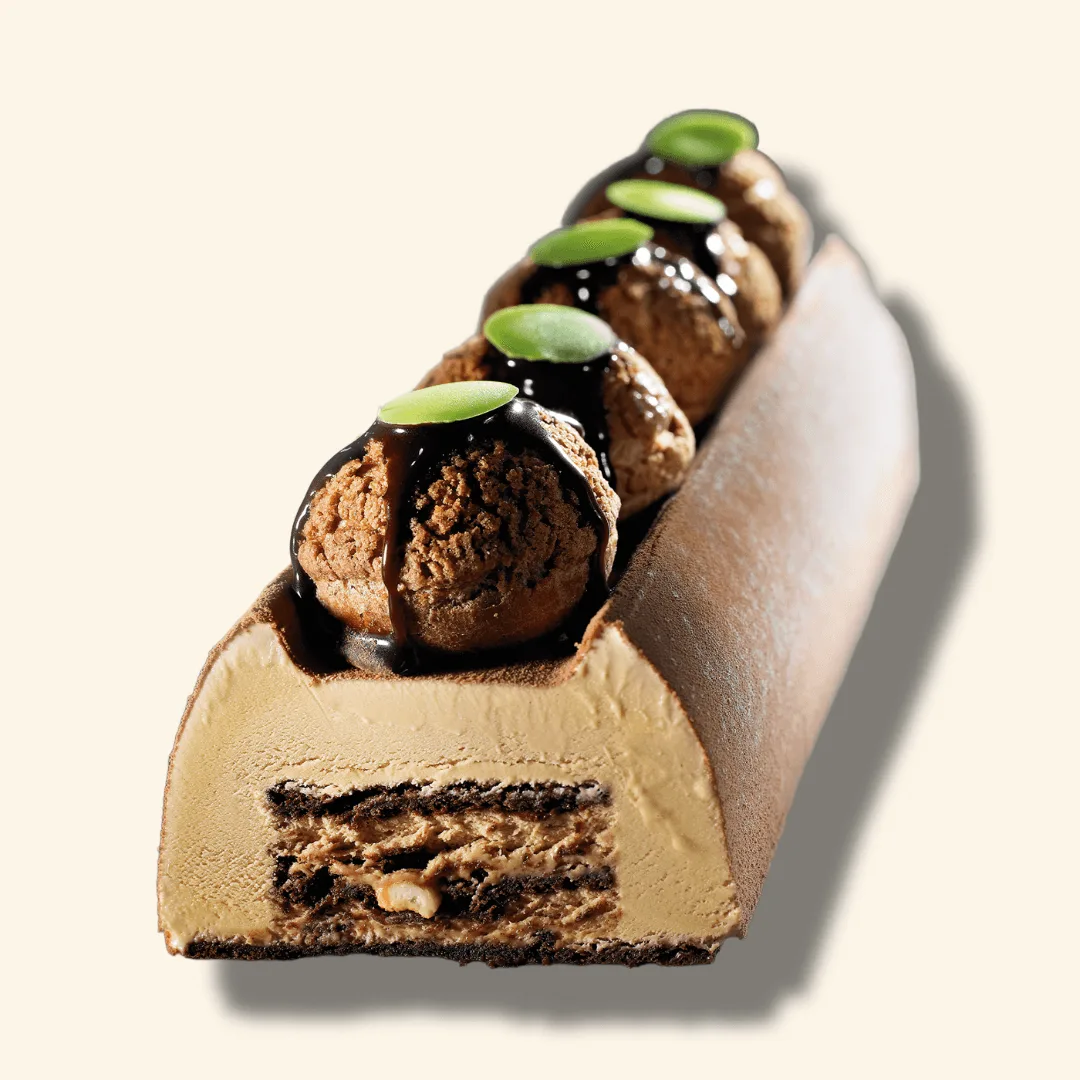
Large Flat Bottom Holiday Yule Log Chocolate Mold