Quick answer
Wash brushes and sponges with lukewarm water, a mild cleanser, and downward strokes that keep the ferrule and glue dry. Squeeze sponges instead of twisting them, reshape brush heads, and dry them flat with bristles hanging over an edge. Deep clean sponges after every one to two uses, face brushes weekly, and eye brushes every one to two weeks.
Set up the sink so water stays out of the ferrule
The metal band between bristles and handle is called the ferrule, and the glue inside it is what fails first when water sits there. Fill a bowl with two to three inches of lukewarm water rather than running the tap over the brush, and keep the bristles pointing down the whole time. If you use a sink, run a thin stream and angle the brush so water flows away from the handle. Hot water softens glue and can warp synthetic fibers, so test the temperature on your inner wrist first.
Pick a cleanser that matches the brush and the mess
Solid brush soaps give the most control because you can work up lather without soaking the handle, and they rinse out of dense synthetic bristles quickly. Liquid castile or a fragrance-free baby shampoo works for most face brushes, but avoid anything with heavy oils, silicones, or exfoliating acids because residue left in the bristles can irritate skin. For a clean beauty sponge properly, a bar soap or a dedicated sponge cleanser is better than a cream cleanser, which can stay trapped in the foam. If you are looking at brush shampoo alternatives, dish soap is too stripping for natural hair and can leave bristles brittle, so keep it for stubborn foundation buildup on synthetic brushes only and follow with a mild second wash.
Wash the brush head, not the whole brush
Wet only the bottom third to half of the bristles, then swirl the brush into your cleanser in small circles on your palm or a textured mat. Work from the ferrule outward so product moves away from the glue, and use your fingers to gently separate clumps rather than pressing the bristles flat. Rinse under lukewarm water with the head angled down until the water runs clear. For a makeup brush cleaning routine you can repeat weekly, one wash with a solid soap is usually enough; only add a second pass when you see tinted water or the bristles still feel stiff.
Handle sponges with squeezing, not twisting
A damp sponge absorbs cleanser fast, so wet it fully, add a small amount of soap, and knead it with your fingertips. Rinse by squeezing the sponge under lukewarm water repeatedly until no bubbles come out. Never twist or wring a sponge like a cloth, because the foam tears along the internal cell walls and the sponge will start shedding. If you use a multifunctional sponge with a flat edge and a rounded side, clean the flat edge first since that is where foundation concentrates. A sponge that smells sour or has dark spots after washing should be replaced rather than disinfected.
Dry flat and elevated, never upright
Drying makeup brushes without damage means gravity has to pull water away from the ferrule. Lay brushes flat on a clean towel with the bristle tips hanging slightly over the edge, or use a drying rack that holds them at a downward angle. Standing a brush upright in a cup lets water seep into the glue and loosens the head over time. Sponges should air dry on a ventilated rack, not on a closed countertop, and not on a radiator or in direct sun, which can degrade the foam. Most brushes are dry in six to eight hours; dense powder brushes may need twelve, and a sponge can take a full day if it was soaked through.
Set a realistic wash schedule by tool type
How often to wash brushes depends on what they touch and how much product they hold. Foundation and concealer brushes collect cream and liquid that feeds bacteria, so wash them after every one to two uses. Powder brushes used on clean skin can go one to two weeks, and eye brushes one to two weeks as well, but wash them sooner if you have had an eye infection or a breakout. Beauty sponges sit in the highest-risk group because they stay damp; clean them after every one to two uses and replace them every one to three months. Deep clean synthetic brushes with the same routine as a weekly wash, but add a ten-minute soak in lukewarm water with a drop of mild soap only if the bristles are heavily coated, and never soak past the ferrule.
The wash-and-dry sequence, step by step
- 1. Fill a bowl with lukewarm water: Use two to three inches of water and test it on your wrist. Keep the ferrule and handle out of the water at all times. Checkpoint: if the water feels hot to your wrist, it is too hot for glue and foam.
- 2. Load a mild cleanser on the bristles or sponge: Swirl brushes into a solid soap or a small dot of fragrance-free shampoo. For sponges, add a drop of soap and knead it in with your fingers. Mistake to avoid: pouring cleanser directly onto the ferrule, which pushes residue into the glue.
- 3. Work the lather away from the handle: Use small circles on your palm or a textured mat, moving from the base of the bristles outward. Squeeze sponges gently instead of twisting them. Checkpoint: if the lather turns makeup-colored immediately, add a little more cleanser and keep working.
- 4. Rinse until the water runs clear: Hold brushes bristle-down under a thin stream or in the bowl, and squeeze sponges repeatedly under running lukewarm water. Mistake to avoid: stopping at the first clear rinse; squeeze once more to check for hidden suds.
- 5. Remove excess water without pulling: Press brushes gently between a clean towel and reshape the head with your fingers. Press sponges between towels rather than wringing them. Checkpoint: the brush head should return to its original shape before you set it down to dry.
- 6. Dry flat with the tips angled down: Lay brushes on a towel with the bristles overhanging the edge, or use a downward-angled rack. Air-dry sponges on an open ventilated surface. Mistake to avoid: standing brushes upright in a cup, which lets water pool in the ferrule.
- 7. Return to storage only when fully dry: Wait six to eight hours for most brushes and up to a full day for dense powder brushes or soaked sponges before putting them back in a bag or drawer. Next step: mark your calendar for the next wash based on whether the tool touches cream, liquid, or powder.
Tools that make washing and drying easier
- All Bases Covered 3-Piece Tool Set: The All Bases Covered 3-Piece Tool Set includes a multifunctional sponge and two precision puffs designed to apply, build, and blend face products from foundation to setting powder. Because the set mixes a sponge and puffs, you can wash the sponge with a kneading motion and the puffs with a gentler surface wipe, which keeps each material from being cleaned too aggressively.
- M161 Large Rounded Powder Brush: The M161 Large Rounded Powder Brush is a very fluffy brush for setting powder, with sweeping, pressing, and buffing techniques. Its density means powder sits deep in the bristles, so it needs a slightly longer rinse and a full flat-dry cycle rather than a quick towel blot.
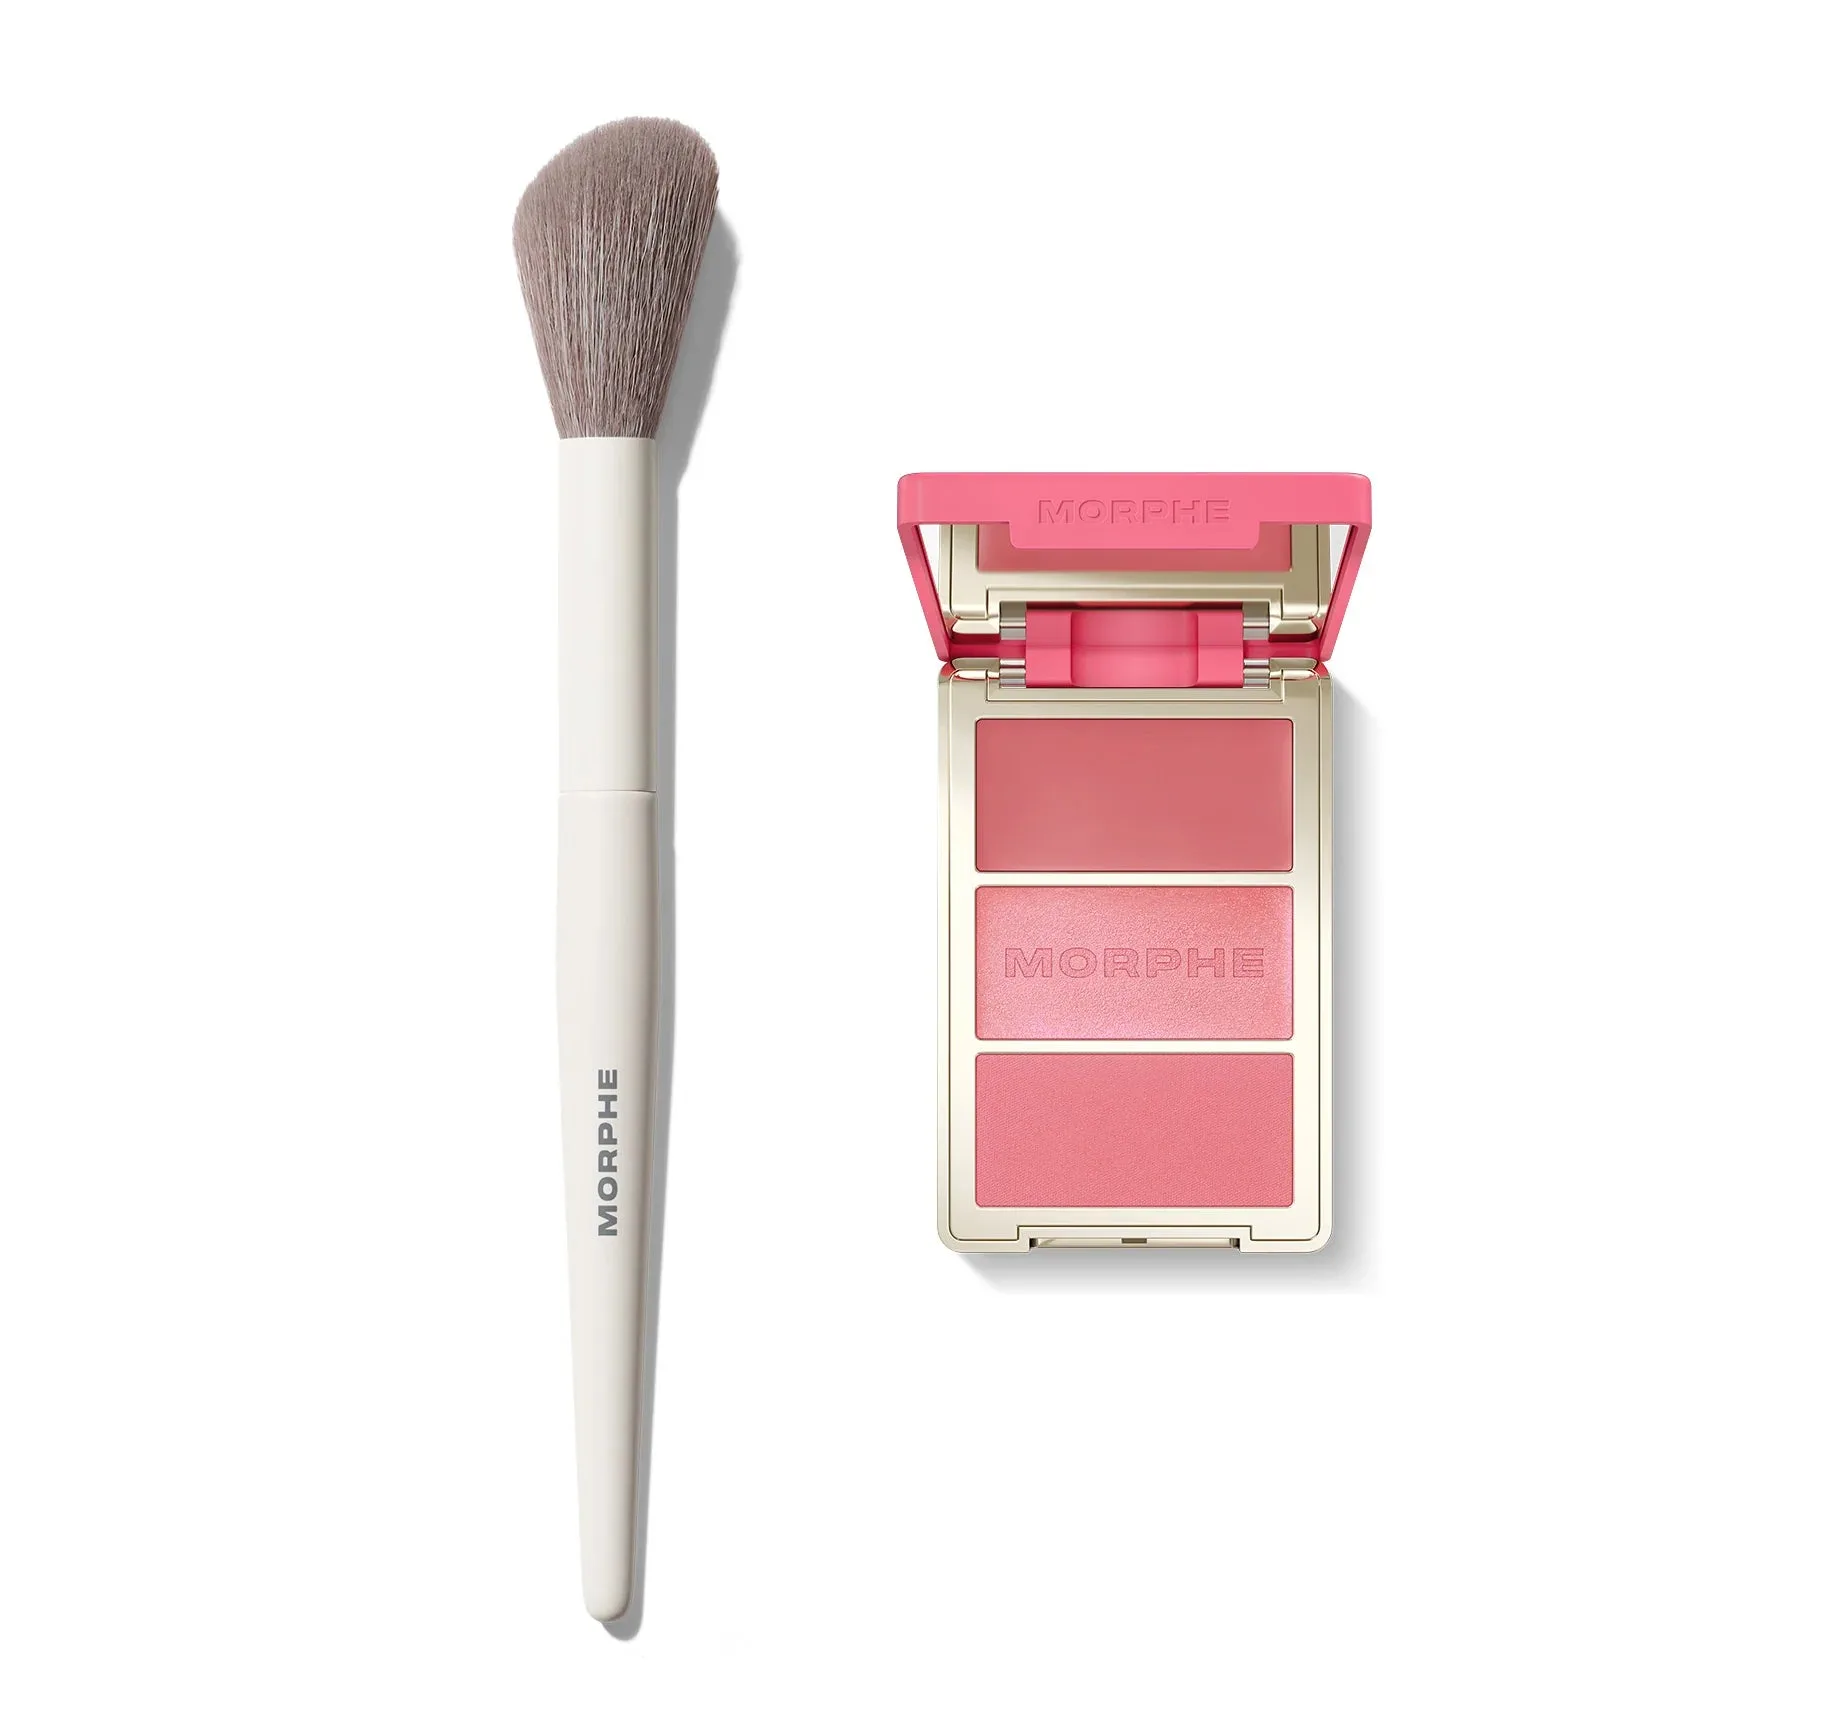
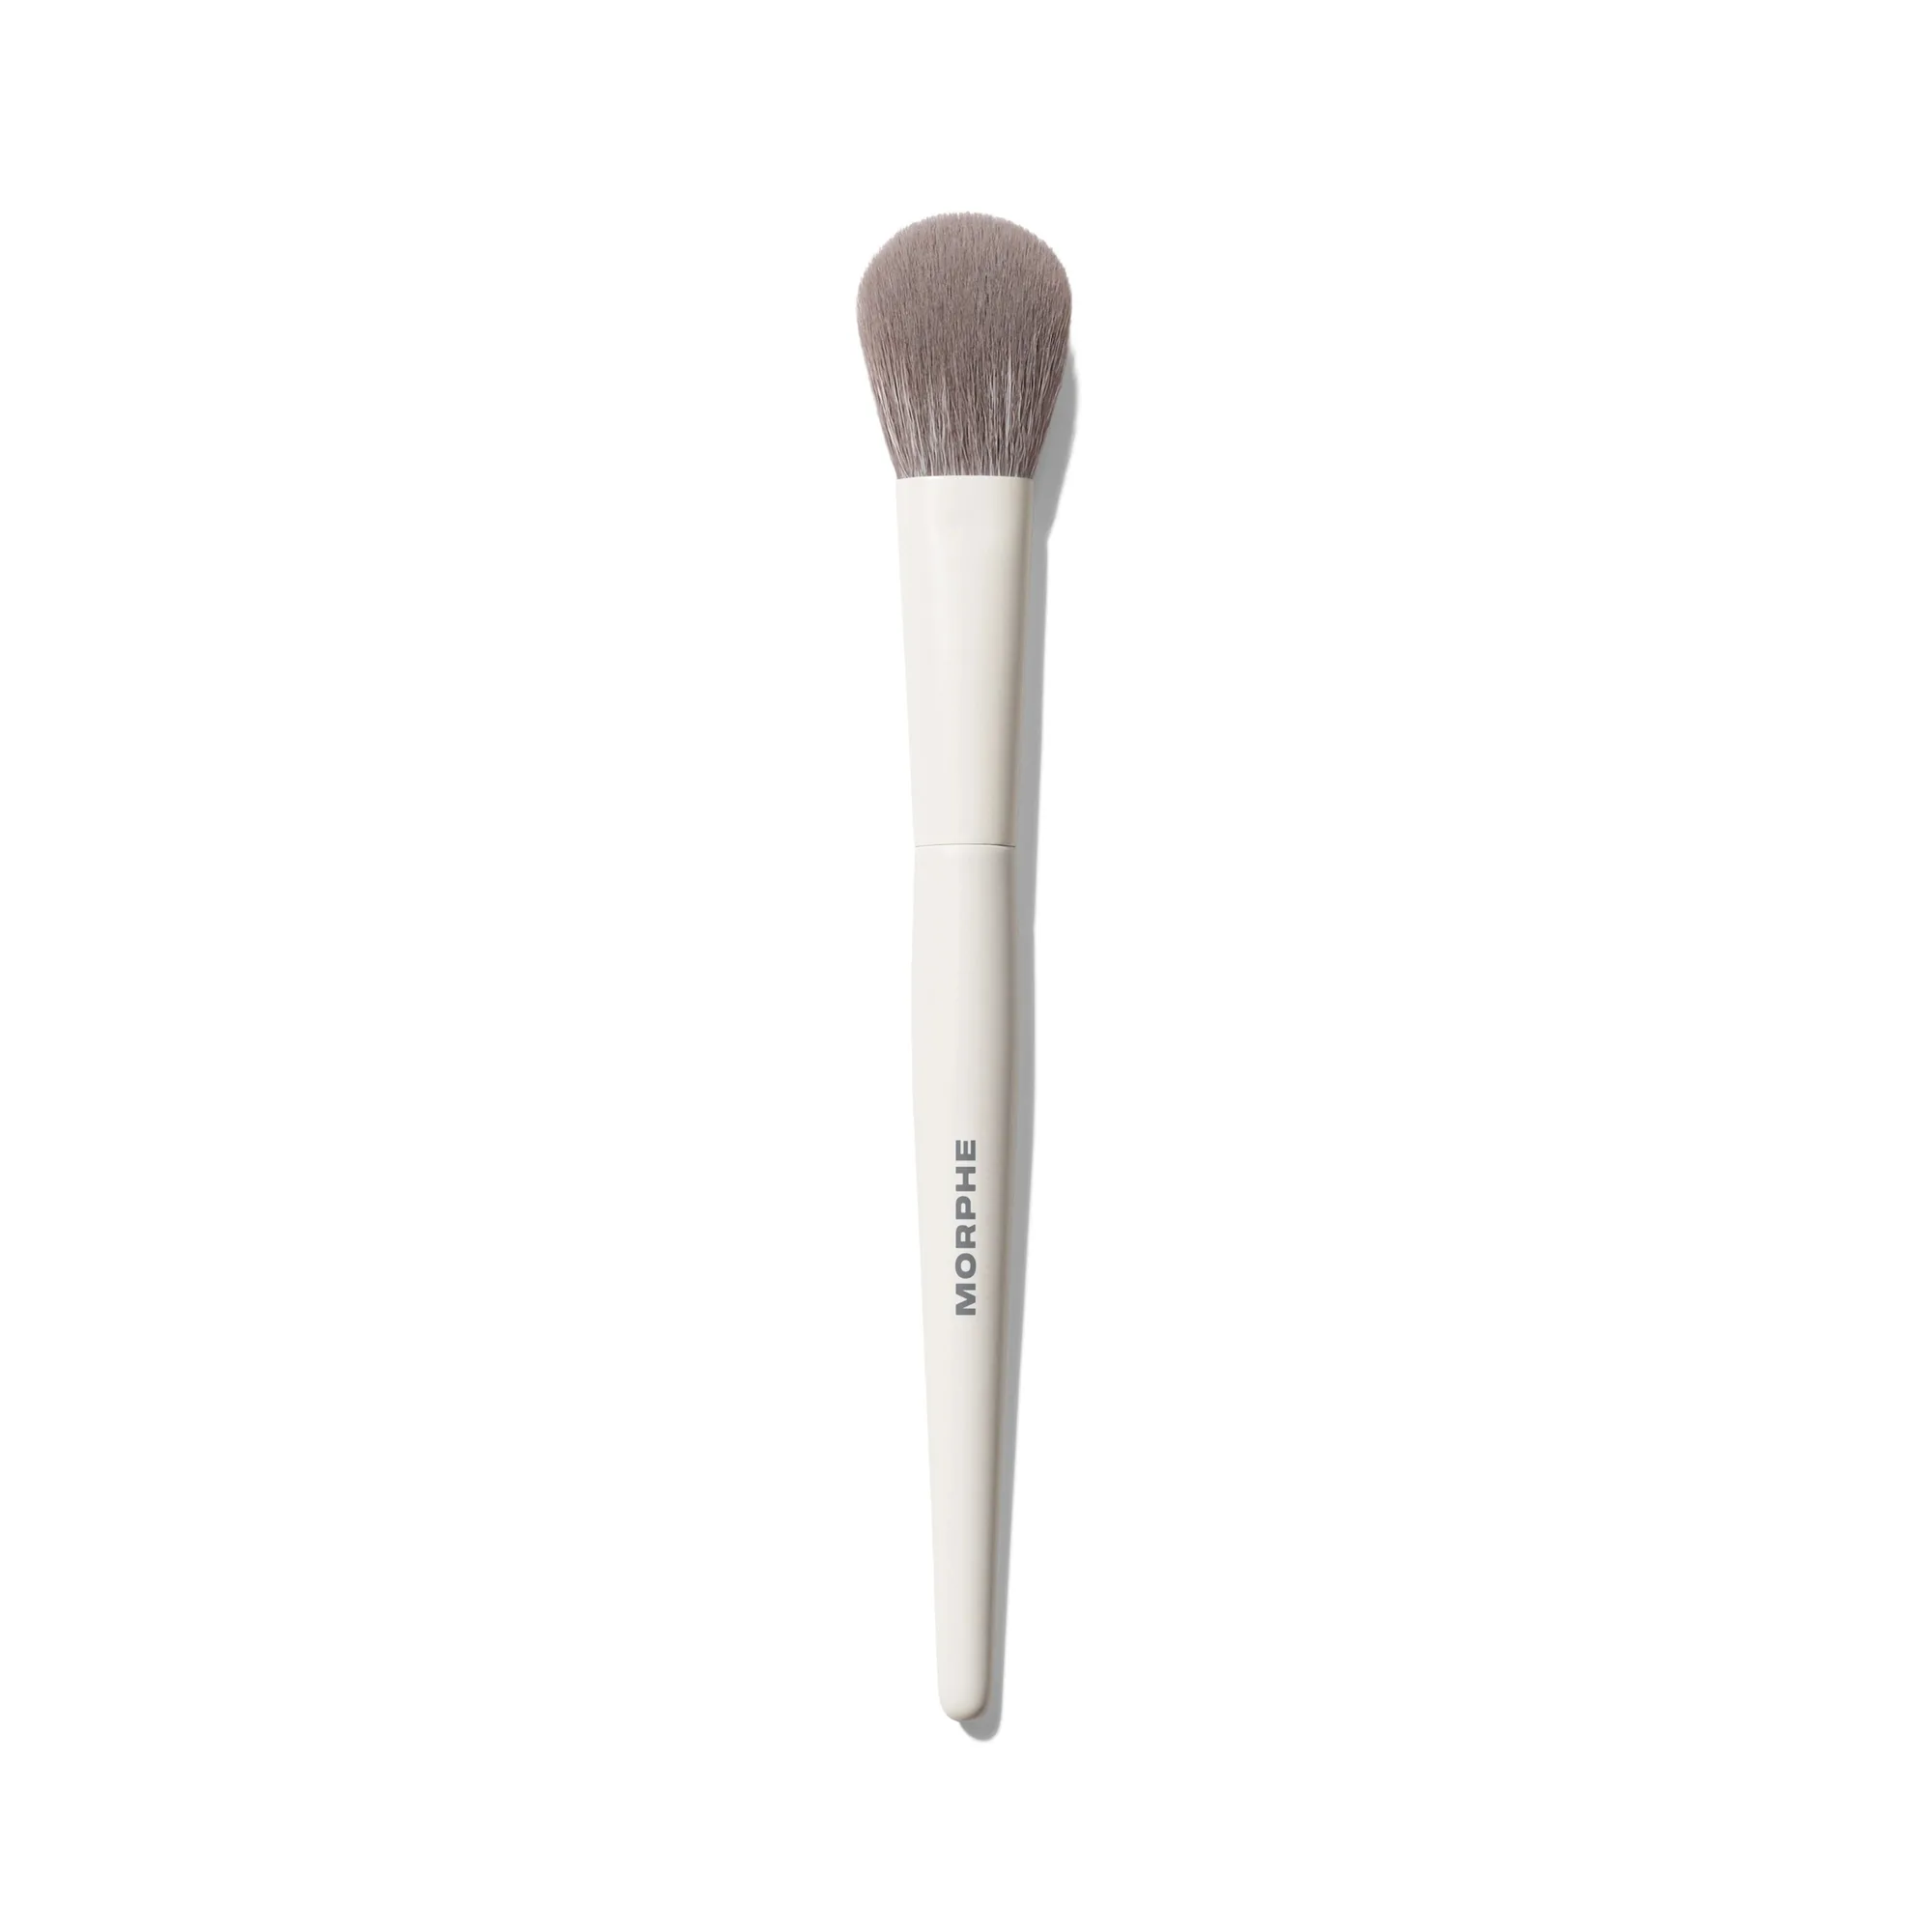
- M202 Slanted Blush Brush: The M202 Slanted Blush Brush has a fluffy, slanted tip for applying and diffusing blush and works with powders, creams, and liquids. Because it handles creams and liquids as well as powders, it belongs on the weekly wash list rather than the every-two-weeks list.