Quick answer
Start by inspecting the playhouse for water damage and loose hardware, then clean and dry all surfaces. Apply a fresh coat of exterior-grade sealant or paint to the roof, walls, and exposed edges. Finally, remove or store fabric and small accessories, and check drainage around the base. This sequence prevents moisture from getting trapped and freezing, which is the main cause of winter damage.
Why winter is harder on a wooden playhouse than summer
Freeze-thaw cycles are the real enemy. Water seeps into small cracks or exposed end grain, freezes, expands, and gradually opens those cracks wider. By spring, a small unchecked split can become a soft, rotten section. Rain driven sideways by wind also reaches places that summer showers miss, like the underside of roof panels and the bottom edge of doors. If your playhouse has planter boxes or a hanging bird feeder, those features hold moisture against the wood even when the rest of the structure looks dry. The goal of winter prep is not to make the playhouse airtight, but to shed water quickly and let any trapped moisture escape.
What to check before you buy any sealer or paint
Not every wooden playhouse needs a full refinish every year. Run your hand over the walls and roof. If the wood feels rough, fuzzy, or has gray patches, the existing finish has broken down and needs attention. Press a screwdriver tip gently into any dark or soft spot. If it sinks in easily, that area has rot and must be replaced before sealing. Also check the hardware: hinges, bolts, and swing hangers. Loose hardware lets water into screw holes. Tighten or replace anything that moves. If the playhouse sits directly on soil or mulch, note that the bottom edge of the wood is the most vulnerable part. You may need to add a gravel or plastic barrier before winter.
Choosing the right product for your climate and playhouse finish
Water-based exterior sealers are easy to apply and clean up, but they may need reapplication every year in wet climates. Oil-based sealers penetrate deeper and last longer, but they have strong fumes and require careful disposal of rags. If your playhouse already has a painted finish, use a matching exterior paint rather than a clear sealer. Clear sealers over paint can trap moisture and cause peeling. For roofs, a simple asphalt shingle or a rubberized roof coating works better than paint alone. Avoid using interior-grade products, no matter how convenient they seem. They do not flex with freeze-thaw movement and will crack within one season.
How to handle playhouse accessories and add-ons
Anything that holds water or fabric should come inside for winter. That includes play food, plastic dishes, fabric curtains, and foam cushions. If your playhouse has a hanging bird feeder, empty it and bring it in. Leftover seed attracts rodents and holds moisture against the wood. Planter boxes should be emptied of soil and dead plants, then flipped upside down or covered so they do not fill with snowmelt. If the playhouse has a play kitchen with a sink, check that the drain area is clear and dry. Standing water in a play sink can freeze and crack the plastic or the wood around it. For playhouses with multiple levels, like the Cozy Escape Playhouse, pay extra attention to the upper deck and ladder areas where water can pool.
Winter prep steps for a wooden playhouse
- 1. Clear the area and remove accessories: Take out play food, dishes, fabric, cushions, and any hanging items like bird feeders. Empty planter boxes and turn them upside down. Remove toys and small furniture so you can see the wood surface. Common mistake: leaving a plastic play sink full of water. It will freeze, expand, and crack the surrounding wood or plastic. Checkpoint: the playhouse should be completely empty before you inspect the wood.
- 2. Inspect for damage and loose hardware: Walk around the playhouse and look for dark spots, soft wood, peeling paint, or cracked sealant. Pay special attention to the roof edges, the bottom of doors, and anywhere two pieces of wood meet. Tighten or replace any loose screws, bolts, or hinges. Common mistake: sealing over a soft spot without repairing it. The rot will continue underneath and spread. Checkpoint: press a screwdriver into any suspicious spot. If it sinks in easily, replace that board before sealing.
- 3. Clean and dry all surfaces: Use a stiff brush or a damp cloth with mild soap to remove dirt, spider webs, and mildew. Rinse with clean water and let the wood dry completely for at least 24 hours on a dry day. Do not apply any sealer or paint to damp wood. Common mistake: rushing this step. Trapped moisture under a fresh coat of sealer will cause peeling and blistering within weeks. Checkpoint: the wood should feel dry to the touch and look uniformly light in color before you continue.
- 4. Apply exterior-grade sealant or paint: Choose a product made for exterior wood and suitable for your climate. Apply it to the roof, walls, and all exposed edges, following the manufacturer's temperature and drying instructions. Two thin coats work better than one thick coat. Common mistake: using interior paint or skipping the roof. The roof takes the most direct rain and snow, so it needs the same protection as the walls. Checkpoint: check the weather forecast. Do not apply sealer if rain is expected within 24 hours.
- 5. Improve drainage around the base: Make sure the ground around the playhouse slopes away from the structure. If the playhouse sits on soil or mulch, add a layer of gravel or a plastic moisture barrier under the base. Clear any leaves or debris from the bottom edge of the walls. Common mistake: ignoring the base. Water that pools at the bottom edge wicks upward into the wood and causes rot that you will not see until spring. Checkpoint: after the next rain, look for standing water near the base. If you see any, add more gravel or regrade the soil.
Playhouse features that affect winter prep
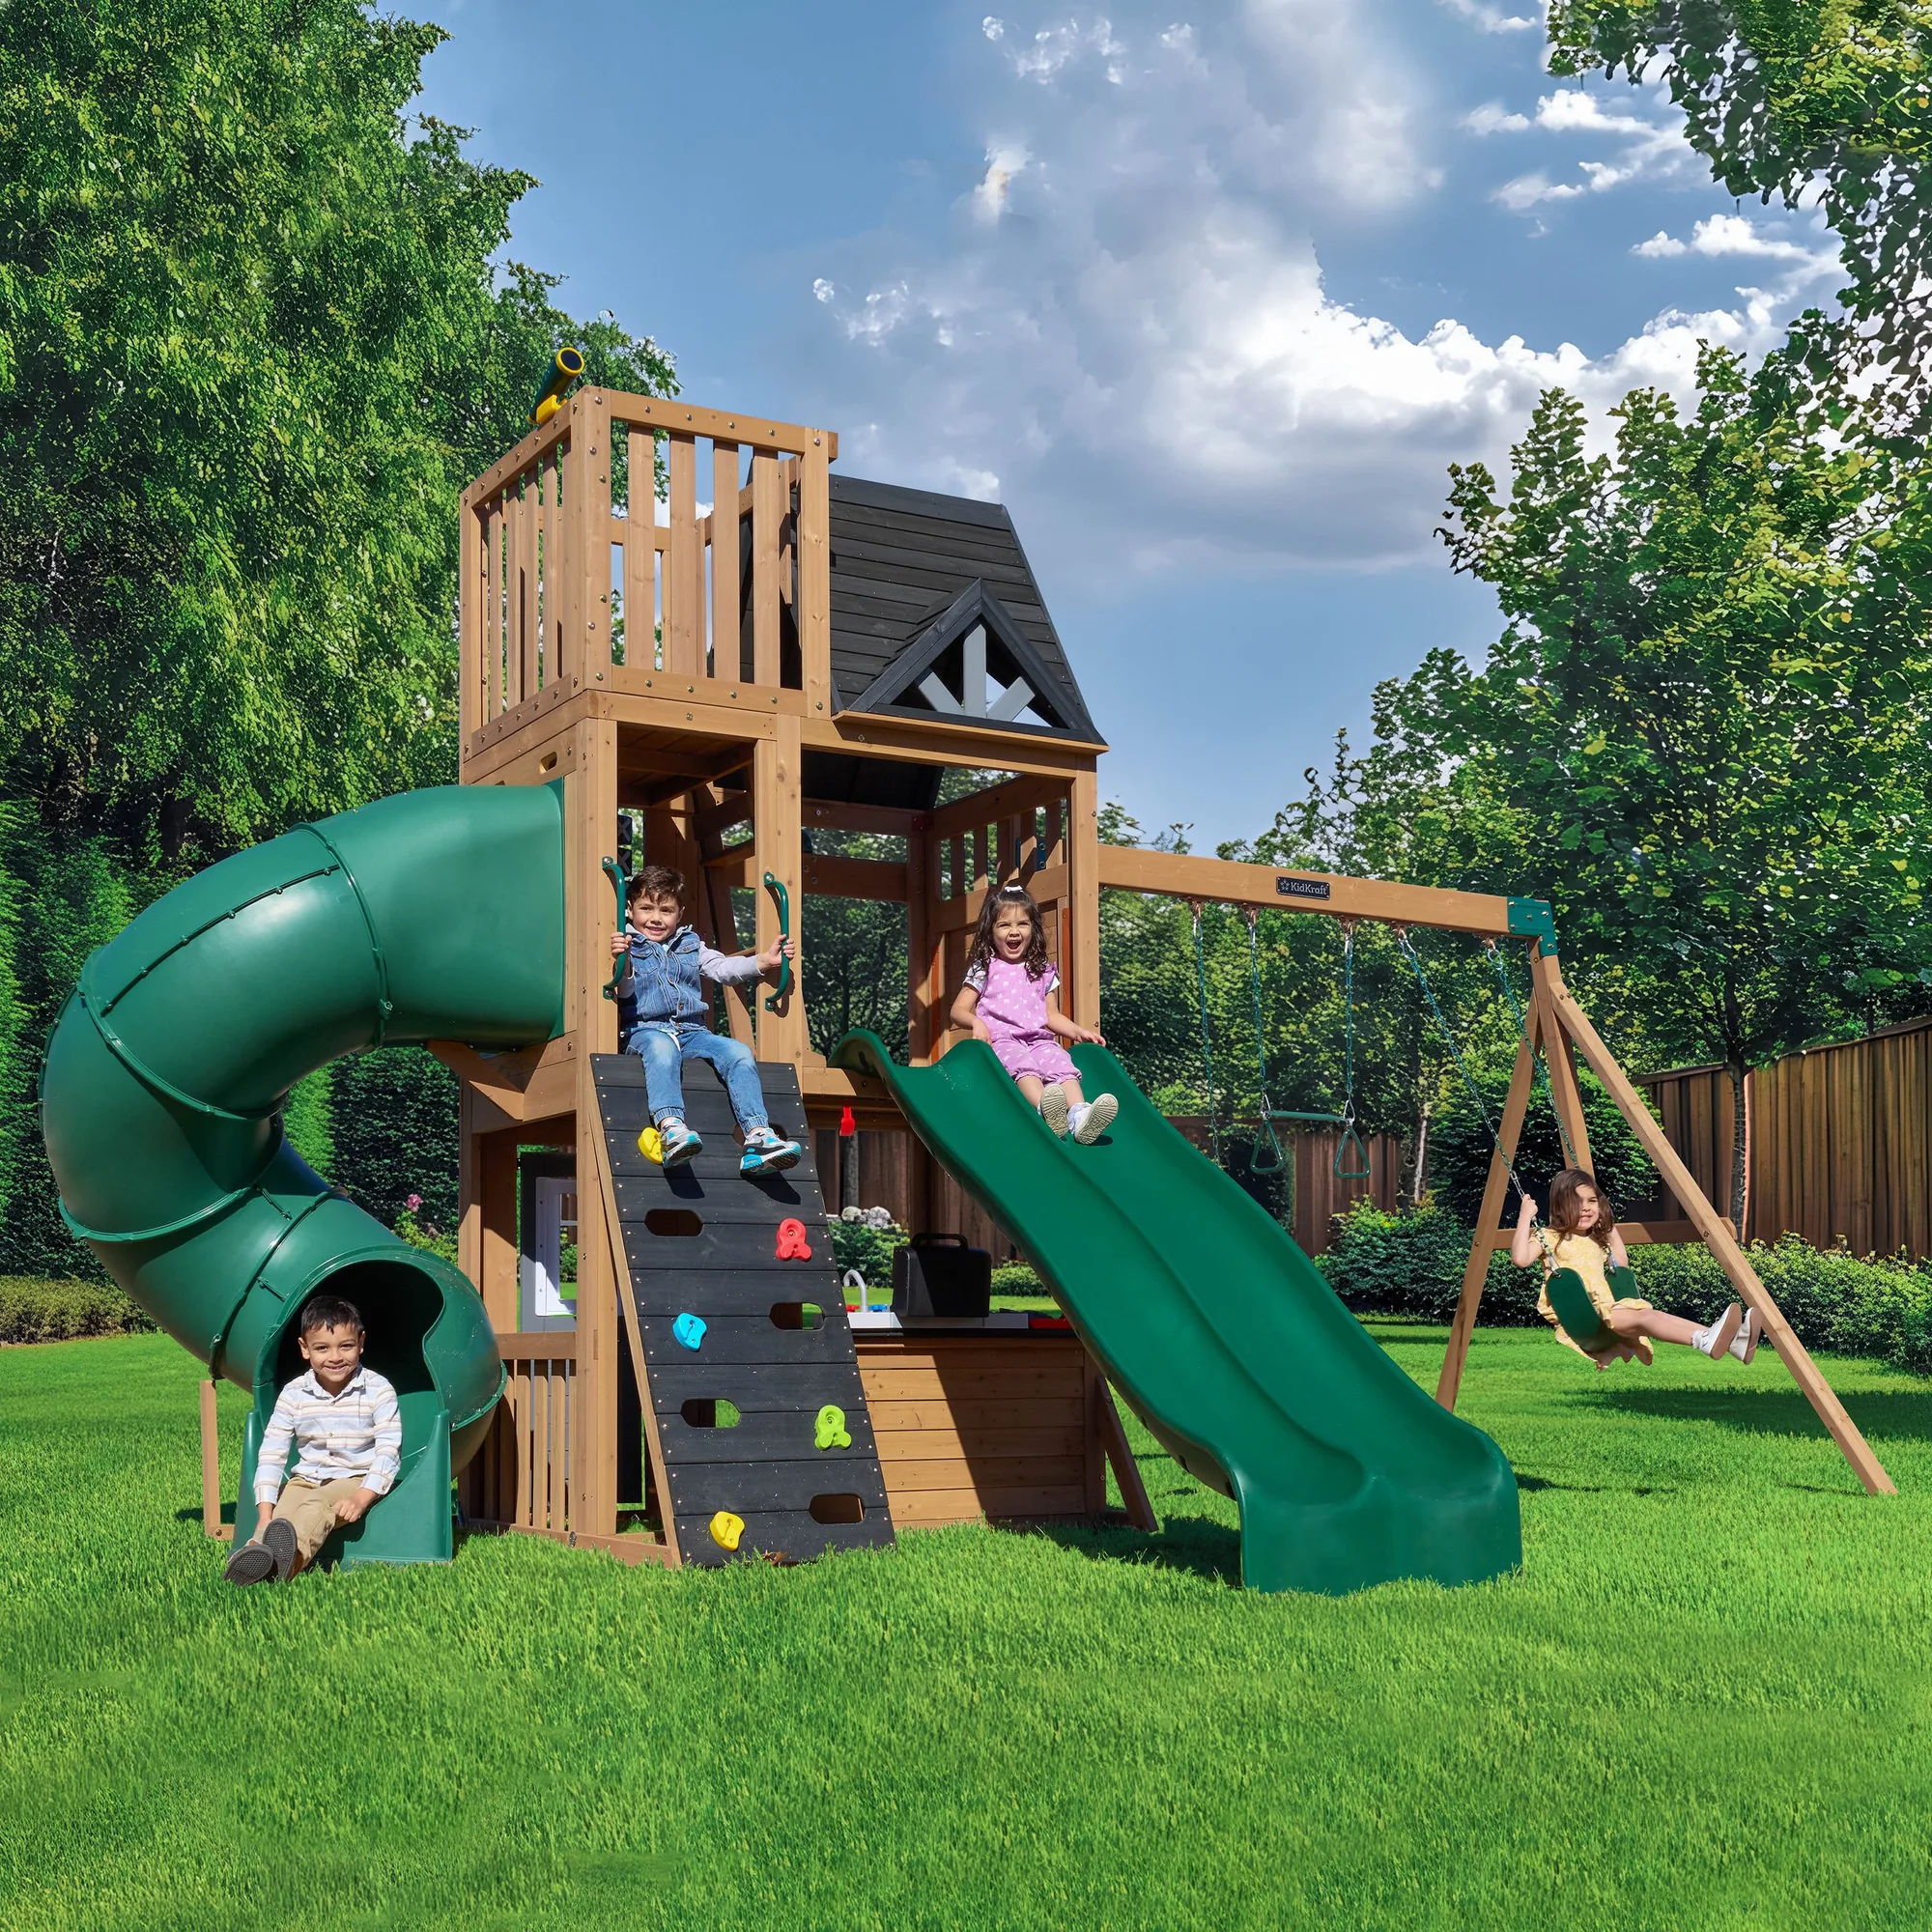
- Horizon Lookout Wooden Outdoor Swing Set - Installation Available (Assembly Included): The Horizon Lookout Swing Set includes a ground-level clubhouse with a play kitchen featuring a grill, sink, and play food accessories, plus a second level reached by a rock wall and a shaded area. The play kitchen sink and play food must be emptied and dried before freezing temperatures arrive. The rock wall and second-level shaded area create ledges where water can collect, so check those spots for standing water after rain.
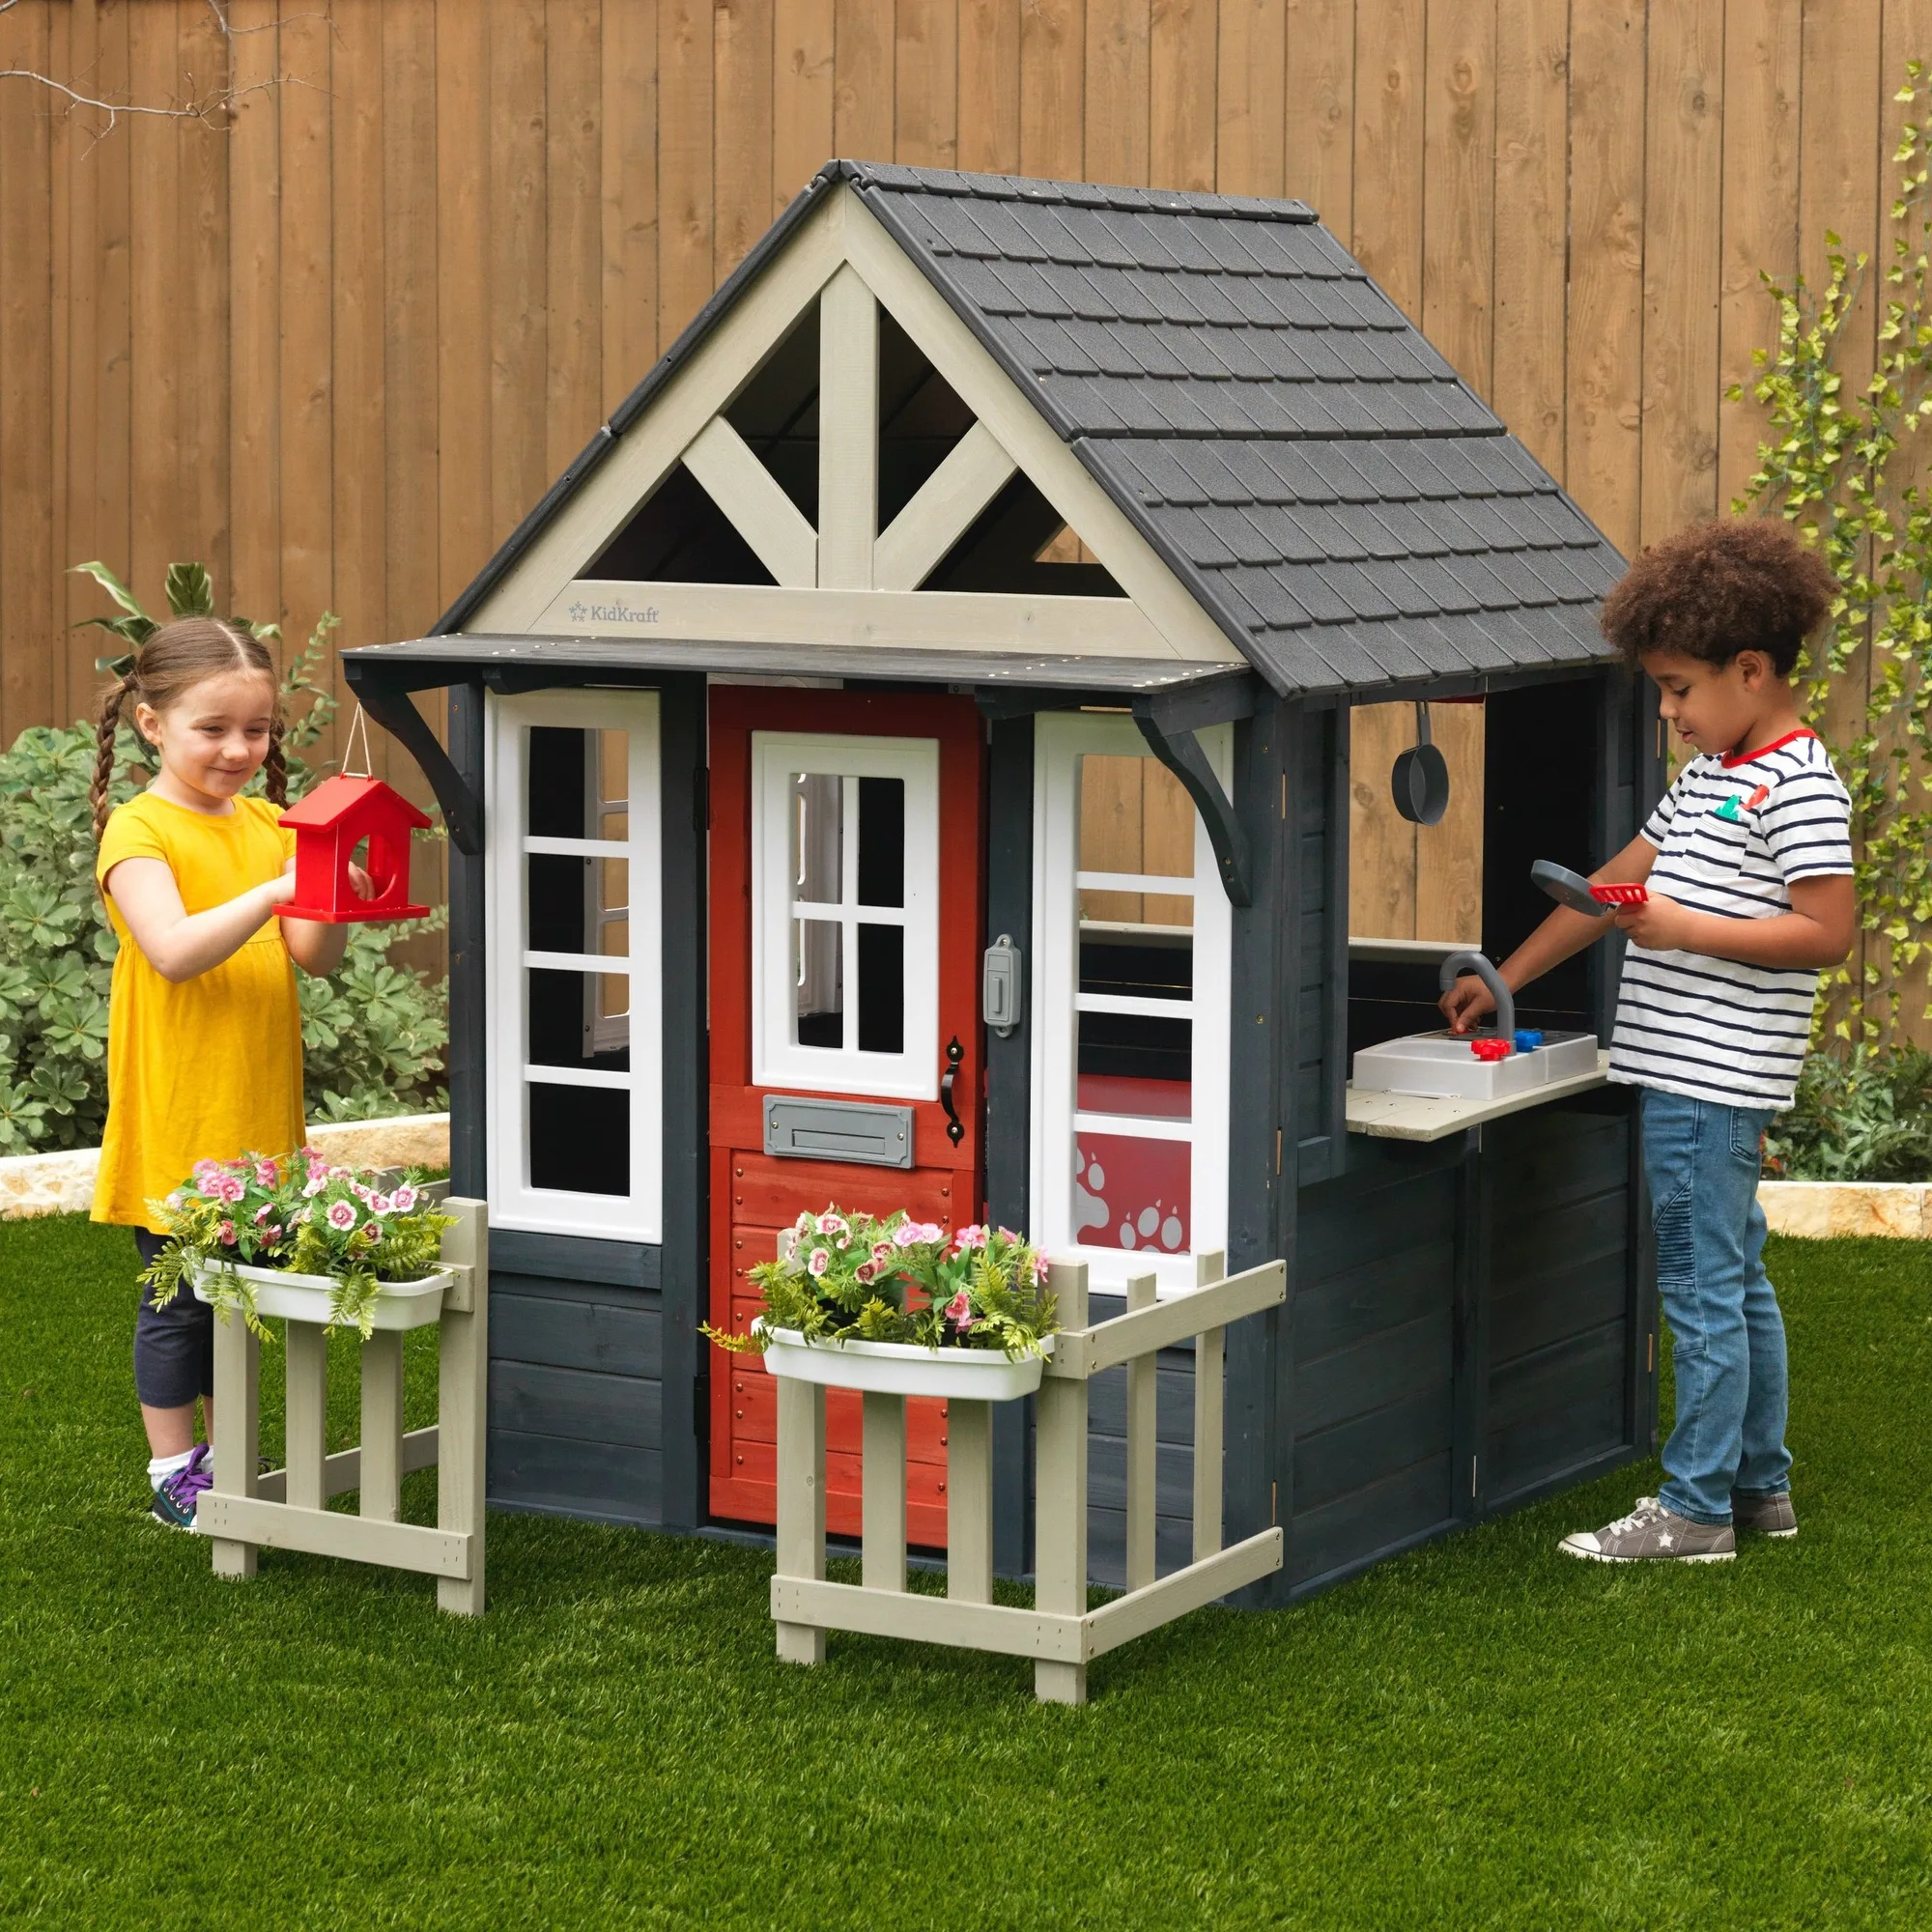
- Riverscape Playhouse - Navy: The Riverscape Playhouse has a picket-fence yard, porch trellis overhang, planter boxes, and a hanging bird feeder. The planter boxes and bird feeder hold moisture directly against the wood. Empty both and store the feeder indoors. The trellis overhang can trap leaves and debris, so clear it to prevent water from backing up under the roof.
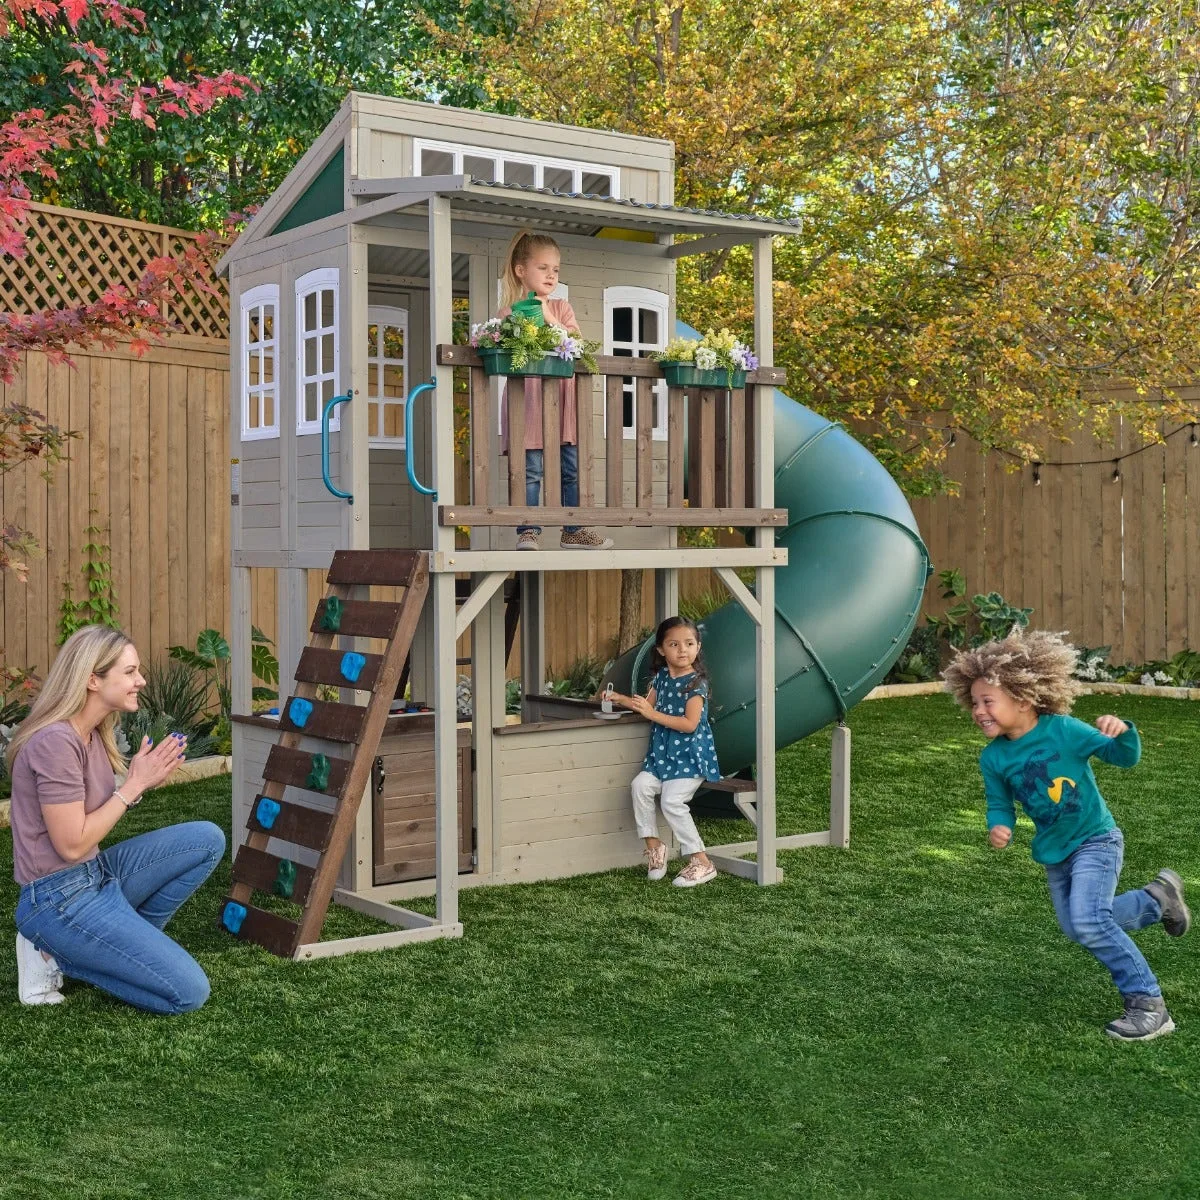
- Cozy Escape Playhouse - Installation Available (Assembly): The Cozy Escape Playhouse is a double-decker structure with two lower entrances, a sink and play stove, a covered area with bench and café window, and upper deck planters. The upper deck planters are a common place for water to pool and freeze. Empty them completely. The café window and bench area should be checked for water stains or soft wood, especially where the bench meets the wall.