Night vision is one of the most critical features of any outdoor security camera. When the sun goes down, your cameras need to deliver clear, detailed footage to identify people, animals, or vehicles. Lorex Nocturnal 3 cameras are engineered for exceptional low-light performance, but even the best hardware can benefit from a few tweaks. In this guide, we’ll walk you through the essential settings and placement strategies to get the most out of your Lorex Nocturnal 3 night vision capabilities.
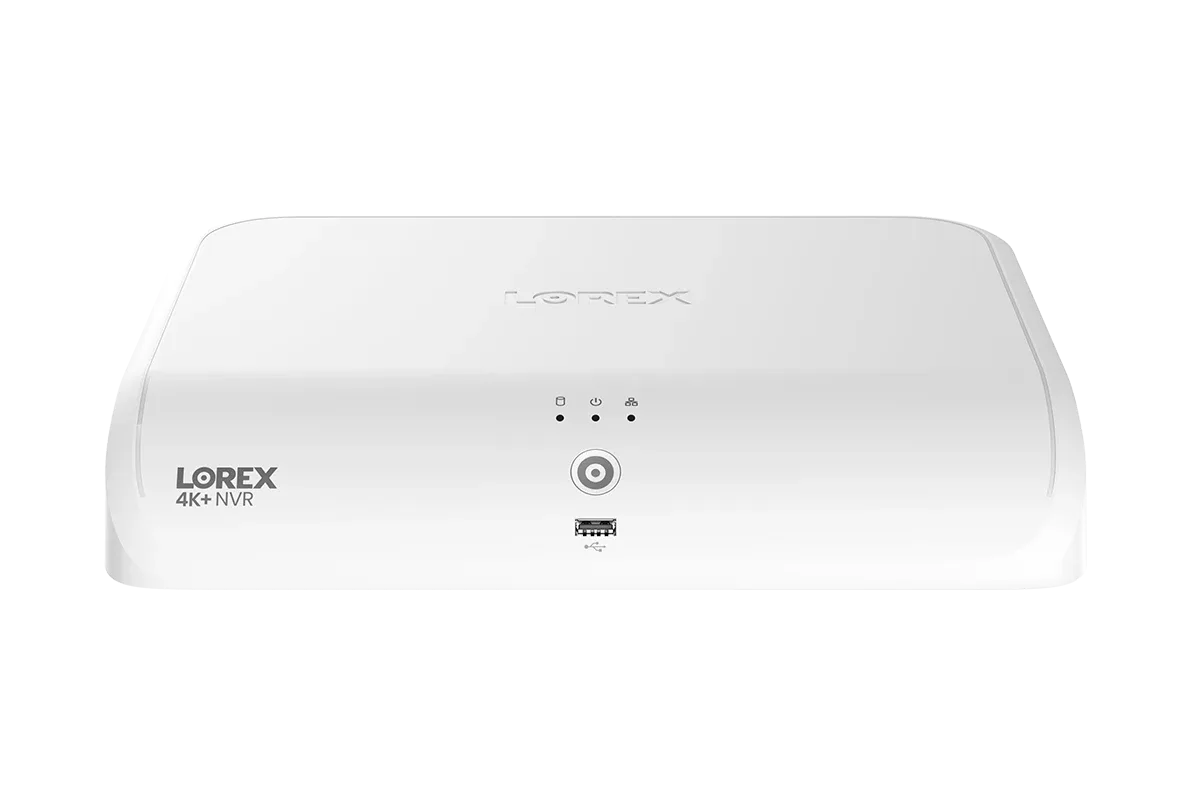
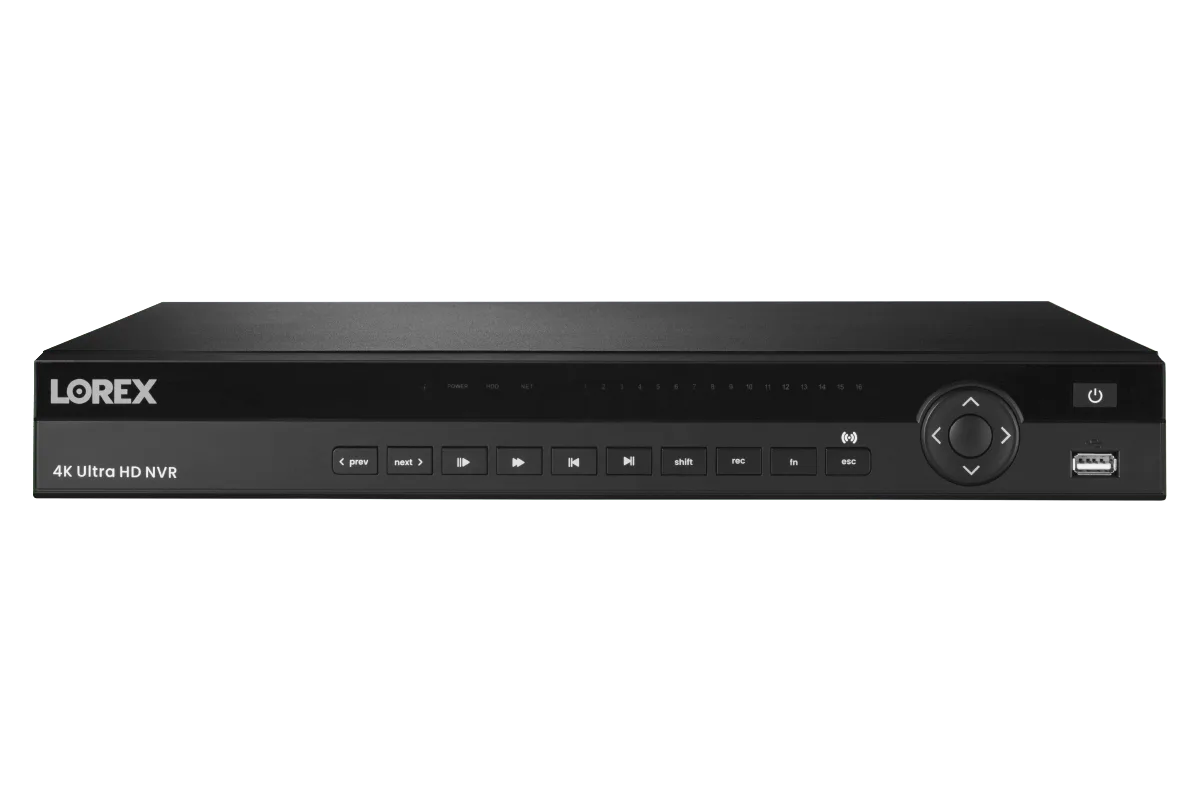
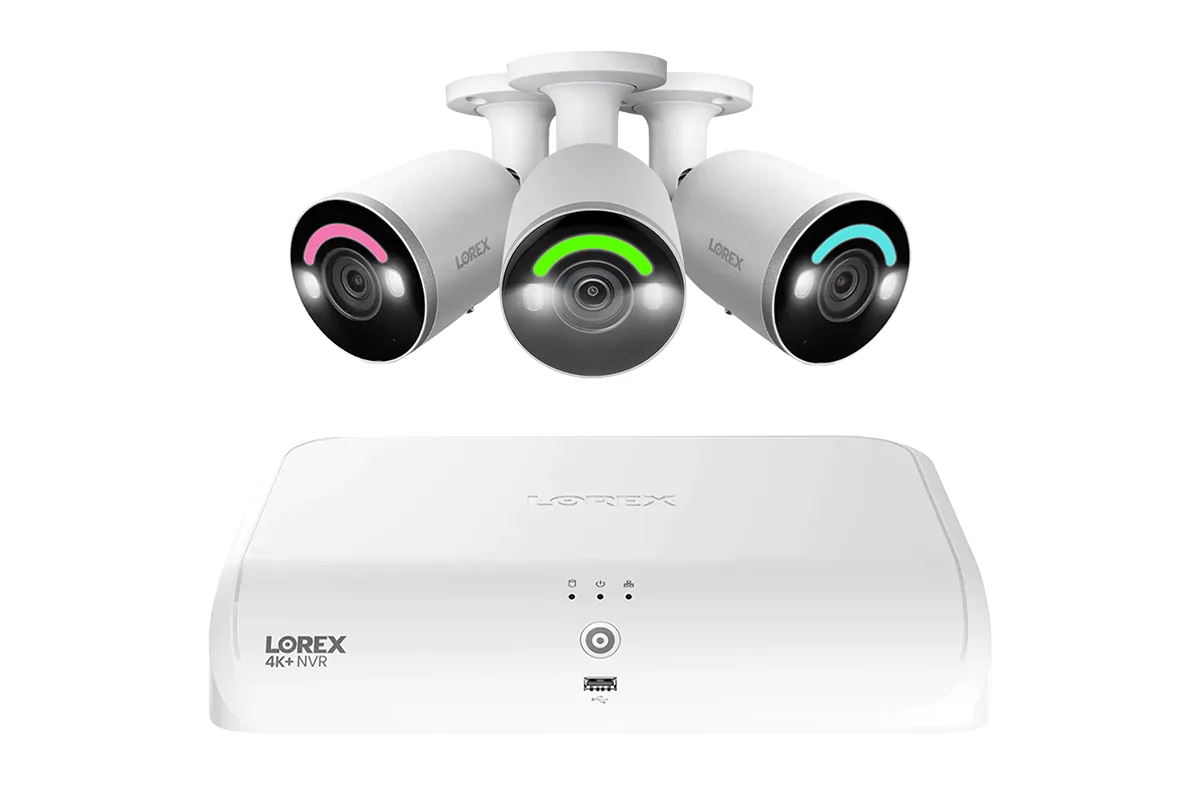
Whether you’re using a Lorex 4K IP Wired Bullet Security Camera with Smart Security Lighting and Smart Motion Detection or a Lorex 4K 20 Camera Capable DVR System with seven smart deterrence CVI bullets, understanding how infrared (IR) illumination works with your environment is the key to crisp night vision. We’ll cover IR mode adjustments, position tips, lighting integration, and common troubleshooting steps to ensure your property stays protected 24/7.
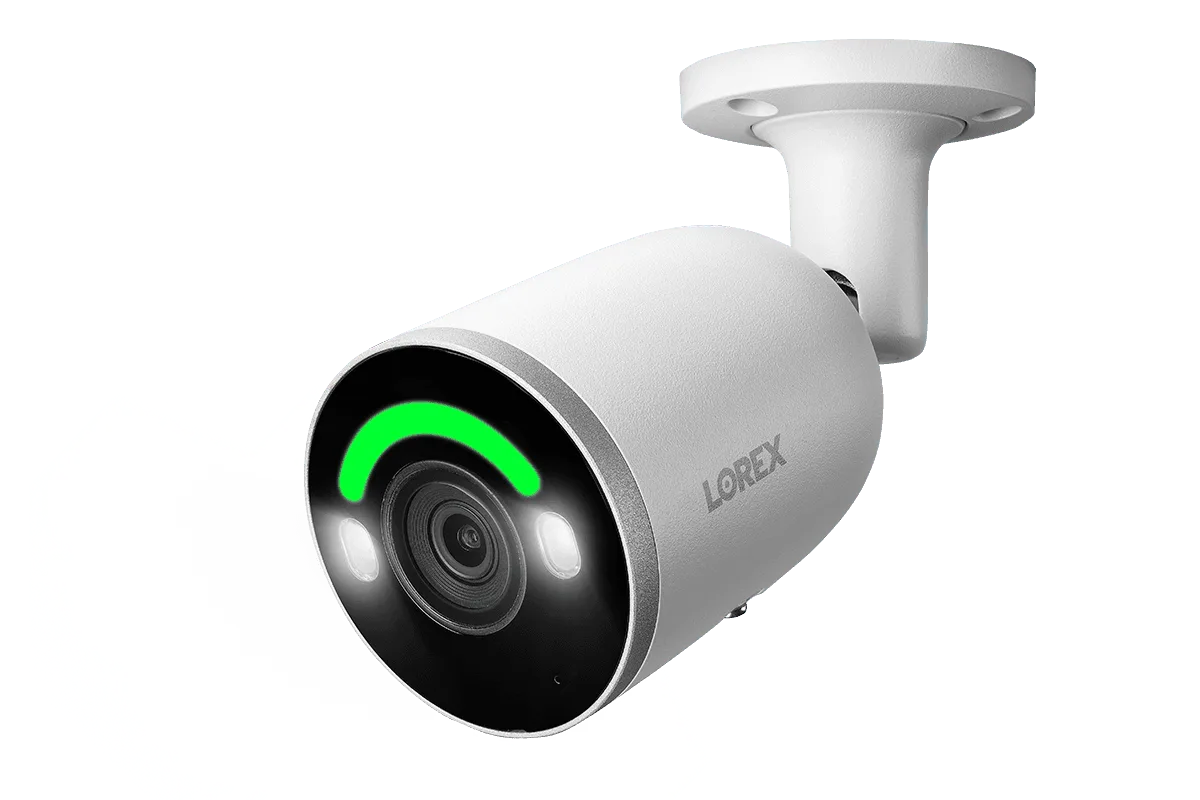
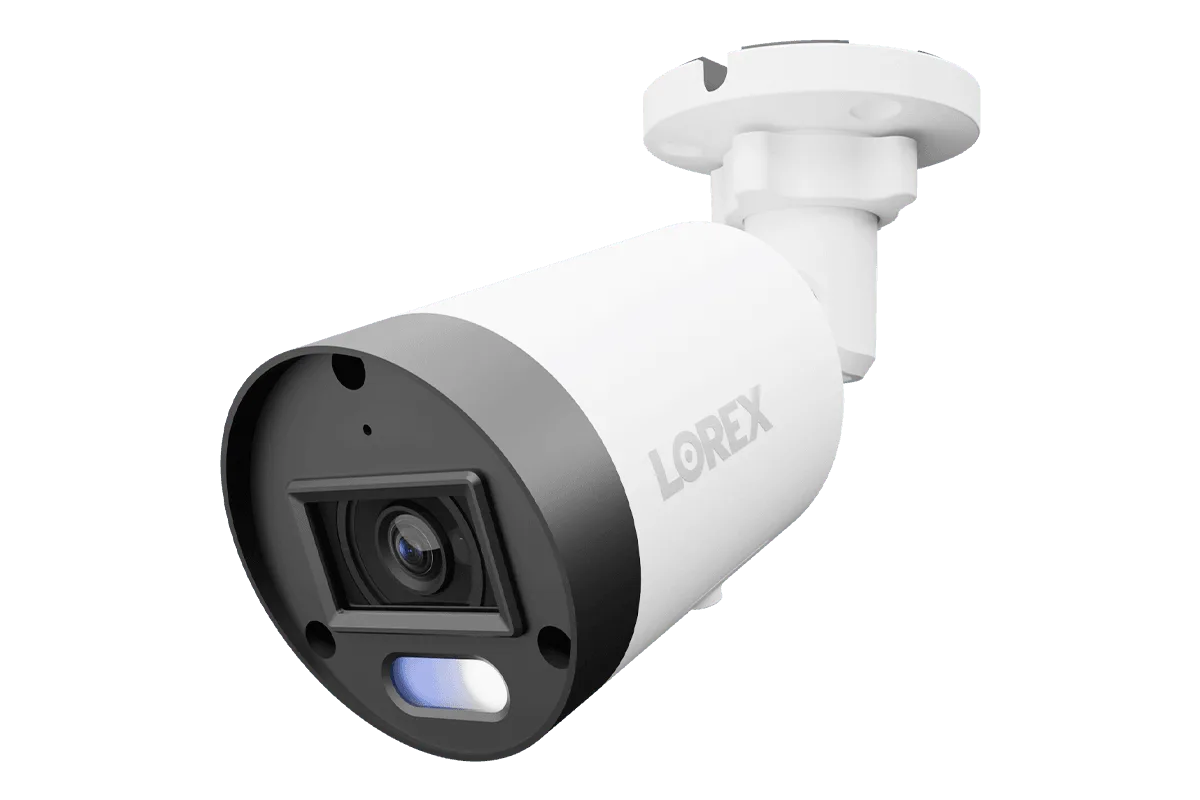
Lorex 4K IP Wired Bullet Security Camera with Smart Security Lighting and Smart Motion Detection
Understanding IR Night Vision on Nocturnal 3 Cameras
Lorex Nocturnal 3 cameras use an array of infrared LEDs that automatically activate in low-light conditions. These LEDs emit invisible light that the camera’s sensor can see, producing black-and-white footage even in total darkness. The “Nocturnal 3” designation means the camera can see color in very low light (down to 0.05 lux) before switching to IR black-and-white mode. This is a significant advantage over older models that lose all color early at dusk.
The quality of your night vision depends on three main factors: the intensity and spread of the IR beam, the camera’s sensor sensitivity, and the environment around the camera. For example, a camera pointed at a blank wall will reflect IR and wash out the image, while one aimed across an open yard will rely on its LED power to illuminate distance. Knowing how these variables interact will help you make better adjustments.
- Nocturnal 3 cameras offer Starlight Color Night Vision for color in near-darkness
- Automatic IR cut filter removes IR during the day and engages it at night
- IR range varies by model: some Nocturnal 3 cameras reach up to 100 feet
Optimizing Nocturnal 3 Settings for Better Night Video
The first step to improving night vision is checking your camera’s firmware and ensuring the settings are configured for low-light performance. Log into your Lorex NVR or the Lorex Home app and navigate to the camera’s image settings. You’ll find controls for exposure, gain, and IR mode. For most outdoor scenes, leaving IR mode on “Auto” is ideal—the camera switches to black-and-white when ambient light drops. However, if you notice the camera switching too early or too late, you can adjust the “Day/Night Threshold” slider. A lower threshold keeps the camera in color mode longer, while a higher threshold forces IR on earlier.
Another key setting is “Smart IR” (if available on your camera). Smart IR automatically adjusts the IR LED intensity to avoid overexposure of close objects. If you have a Lorex Connect X3 4K Motorized Varifocal PoE Turret Camera with Active Deterrence, enable Smart IR to prevent bright spots when someone stands near the camera. For scenes with mixed distances, such as a driveway with a nearby door and a far property line, experiment with manual IR brightness levels. Start at 80% and adjust until the foreground isn’t blown out and the background remains visible.
- Set Day/Night Threshold to balance color retention and IR activation
- Enable Smart IR to reduce hotspots from close-up subjects
- Adjust manual IR brightness between 50% and 90% based on scene depth
Placement Tips to Maximize IR Range and Clarity
Camera placement is just as important as settings. For Nocturnal 3 cameras, aim the lens parallel to the direction you want to monitor. Avoid pointing cameras directly at walls, fences, or foliage—these surfaces reflect IR and create a blurry “white-out” effect. Instead, position cameras so the IR beam travels across open space. For example, mount a bullet camera under an eave and angle it slightly downward to cover the entrance path, keeping the IR beam clear of obstructions.
Height also matters. Mount cameras at least 8 to 10 feet off the ground. This not only deters tampering but also reduces the chance of IR reflecting off a low ceiling or porch roof. Use a Lorex outdoor junction box or corner mount bracket to achieve the perfect angle. For longer driveways or large backyards, choose a camera with a longer IR range, like many Lorex 4K IP Wired Bullet models, which often include extended IR LEDs. When installing, clean the camera lens with a microfiber cloth to remove dust or fingerprints that can scatter IR light.
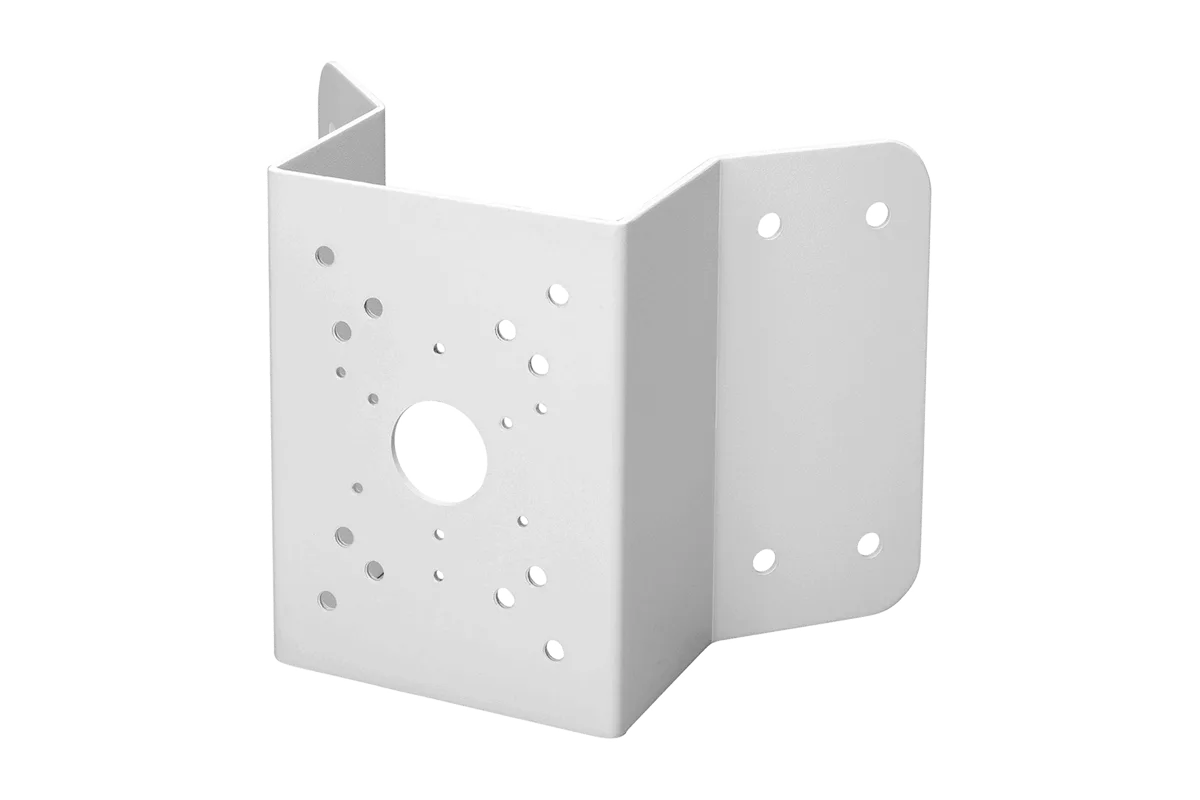
corner mount bracket
- Mount cameras 8–10 feet high to minimize IR reflection and avoid glare
- Avoid placing IR cameras near heat sources (vents, sunlight) that can cause false triggers
- Clean the dome or lens cover regularly to maintain IR transmittance
Integrating Smart Security Lighting for Color Night Vision
One of the best ways to improve night vision without relying solely on IR is to add ambient or smart lighting. Lorex’s smart security lighting cameras, such as the Lorex 4K IP Wired Bullet Security Camera with Smart Security Lighting, combine built-in white LEDs with IR to provide color footage at night. When motion is detected, the LEDs activate, allowing the camera to show full-color video. You can set these lights to stay on at a low level or trigger only on events.
Even if your Nocturnal 3 cameras are standard IR-only models, placing a nearby smart light (such as a Lorex outdoor floodlight) can illuminate the scene enough for color night vision to kick in before IR takes over. In the NVR settings, you can configure the “Light Control” tab to sync with camera motion events. This hybrid approach gives you the best of both worlds: color video when movement happens, and IR black-and-white during quiet periods.
- Smart security lighting can keep cameras in color mode longer
- Sync lights with camera motion via NVR or mobile app
- Use a separate Lorex outdoor light for areas with insufficient built-in lighting
Troubleshooting Common Night Vision Issues
If your Nocturnal 3 footage is grainy, dim, or has ghosting, start by checking the camera’s gain settings. High gain amplifies the sensor signal but also introduces noise. In the camera’s image settings, set “Digital Noise Reduction” to “Medium” or “High” to smooth the image without over-softening. Also verify that the IR LEDs are not blocked by spider webs, tree branches, or dirt—these are common culprits after a storm.
Another issue is “IR bloom” where the center of the image is washed out. This often happens when a camera is placed too close to a reflective surface. If repositioning isn’t possible, try reducing the camera’s exposure time or enabling “Wide Dynamic Range” to balance bright and dark areas. For long-range scenes, consider adding a separate PoE extender to ensure consistent power to the IR LEDs. The Lorex Single Port IP & PoE Cat5e Extender Set can help maintain signal integrity over long cable runs.
- Reduce gain and enable noise reduction for clearer low-light video
- Inspect camera housing for obstructions blocking IR LEDs
- Use PoE extenders for long cable runs to maintain IR power
Getting the most out of your Lorex Nocturnal 3 night vision is a blend of smart configuration and thoughtful installation. By adjusting your camera’s IR settings, positioning it to avoid reflective surfaces, and optionally adding smart security lighting, you can achieve crisp, usable footage even on the darkest nights. For a camera that already excels in low light and offers built-in smart lighting to maximize color night vision, take a closer look at the Lorex 4K IP Wired Bullet Security Camera with Smart Security Lighting and Smart Motion Detection. Upgrade your home security today and see every detail after sunset.