Quick answer
Mount indoor monkey bars and climbing nets into wall studs, a proper header, or rated concrete anchors, never drywall alone, and keep a clear landing zone with a mat underneath. Check every fixing and connection before each play session, and set a weight and age rule your child can follow. If you cannot find solid framing, choose a freestanding option or hire an installer.
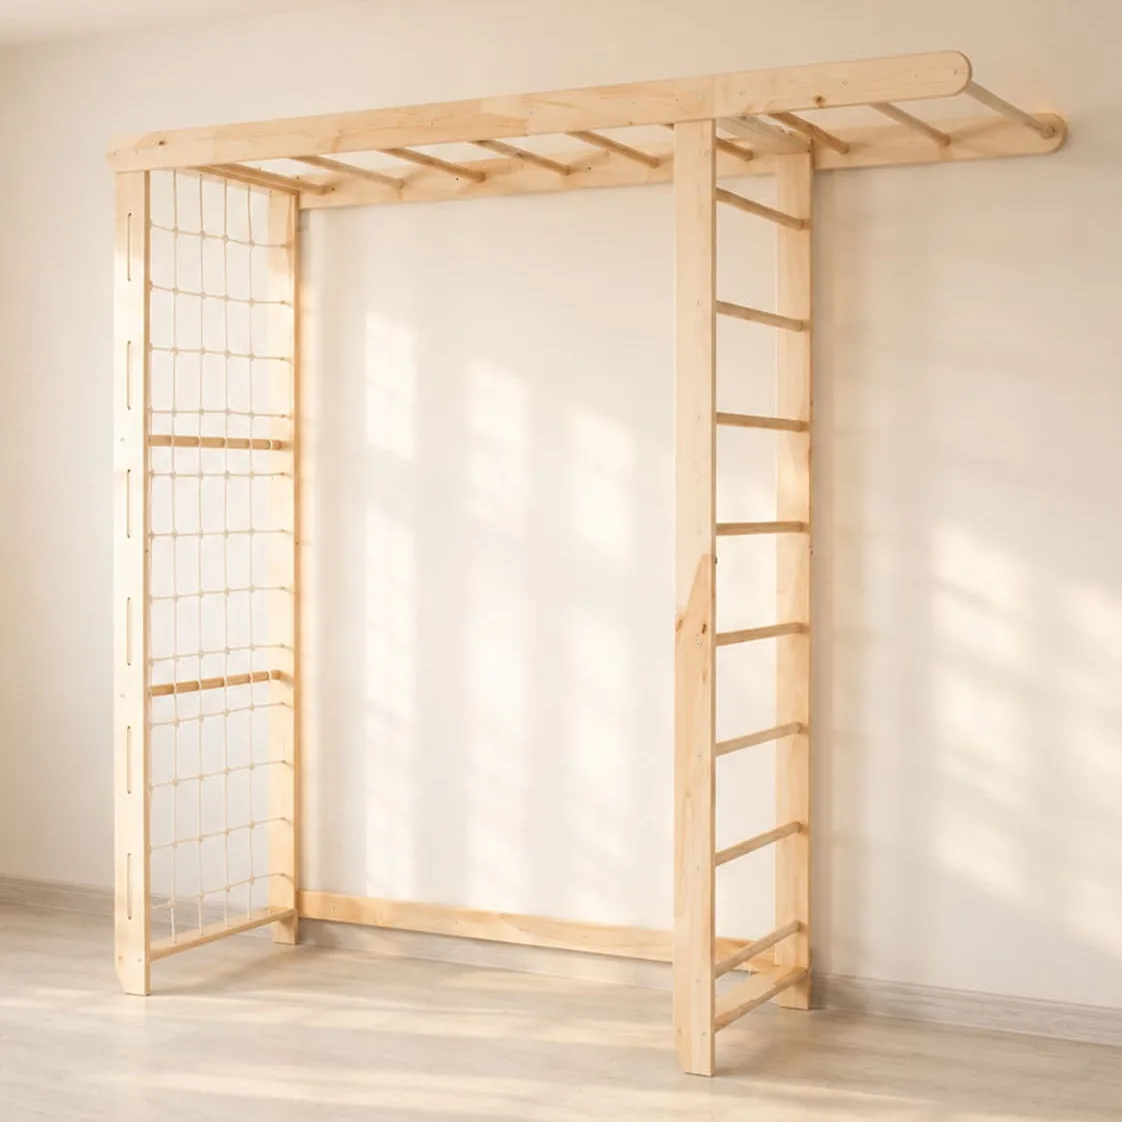
indoor monkey bars
Indoor monkey bars and climbing nets turn a wall or corner into daily movement, but they ask more of your walls than a bookshelf does. The questions below cover the ones parents ask most: what to mount into, how much space to leave, which ages fit which setup, and how to keep it safe over time.
Answers are short and standalone so you can jump to the one you need. Product details come from the WoodandHearts catalog; anything not listed there, such as a specific wall type in your home, is something you will need to confirm yourself or with an installer.
What should I mount indoor monkey bars into?
Solid wood studs, a structural header, or rated concrete anchors. Drywall alone, including drywall with toggle bolts, is not a safe substrate for a bar a child hangs and swings from. Use a stud finder, mark centers, and confirm the fixing points line up with the bar's mounting plates before drilling. If studs are spaced awkwardly, a horizontal mounting board fixed across several studs gives you a solid surface to attach to.
If you rent or cannot locate framing, do not compromise on the fixing. A freestanding climbing structure or a wall-mounted ladder system installed by a professional are the realistic alternatives. Whichever route you take, follow the manufacturer's hardware and spacing instructions rather than substituting your own.
- Test each fixing by hand with firm downward pressure before a child uses it.
- Re-tighten bolts after the first week, then check monthly.
How much space do monkey bars and climbing nets need?
Plan for the equipment footprint plus a landing zone. As a working rule, keep at least 1 meter (about 3 feet) of clear floor around and below the climbing area, and more where a child can swing or drop. Remove hard furniture, sharp corners, and glass from that zone rather than relying on a mat to fix a cramped layout.
Ceiling height matters too. A child needs clearance above the highest bar or net attachment to hang without their feet hitting anything. Measure your ceiling, then compare it with the height range given for the product you are considering. If the numbers are close, size down rather than squeeze in.
- Walk the route a child will take to reach the bars and remove trip hazards.
- Place a mat that covers the full drop zone, not just the center.
How do I install a climbing net safely?
Climbing net installation follows the same rule as bars: anchor to structure, not to plaster or drywall. Nets spread load across multiple attachment points, so every point needs to be solid. Fix the top attachments first, check the net hangs with even tension and no twists, then secure the lower points so the net cannot swing free or wrap around a child.
Leave the bottom of the net slightly off the floor or firmly fixed, depending on the design, and keep the space behind it clear. A net that rubs against a wall or shelf will wear faster and can catch clothing. After installation, pull on each corner firmly to confirm nothing shifts.
- Inspect rope and knots for fraying or loosening every few weeks.
- Never let two children climb the same net panel at once.
What age and weight limits apply?
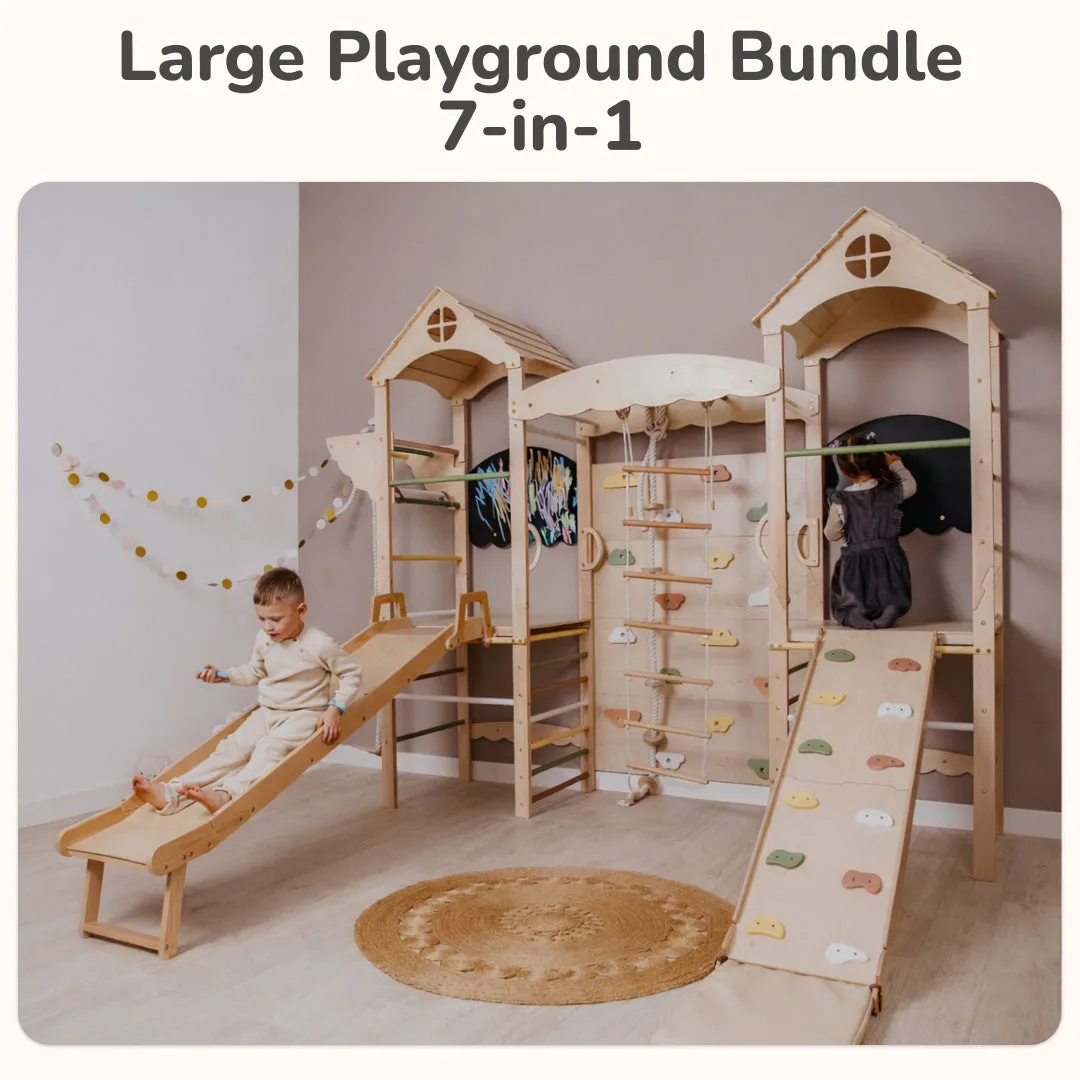
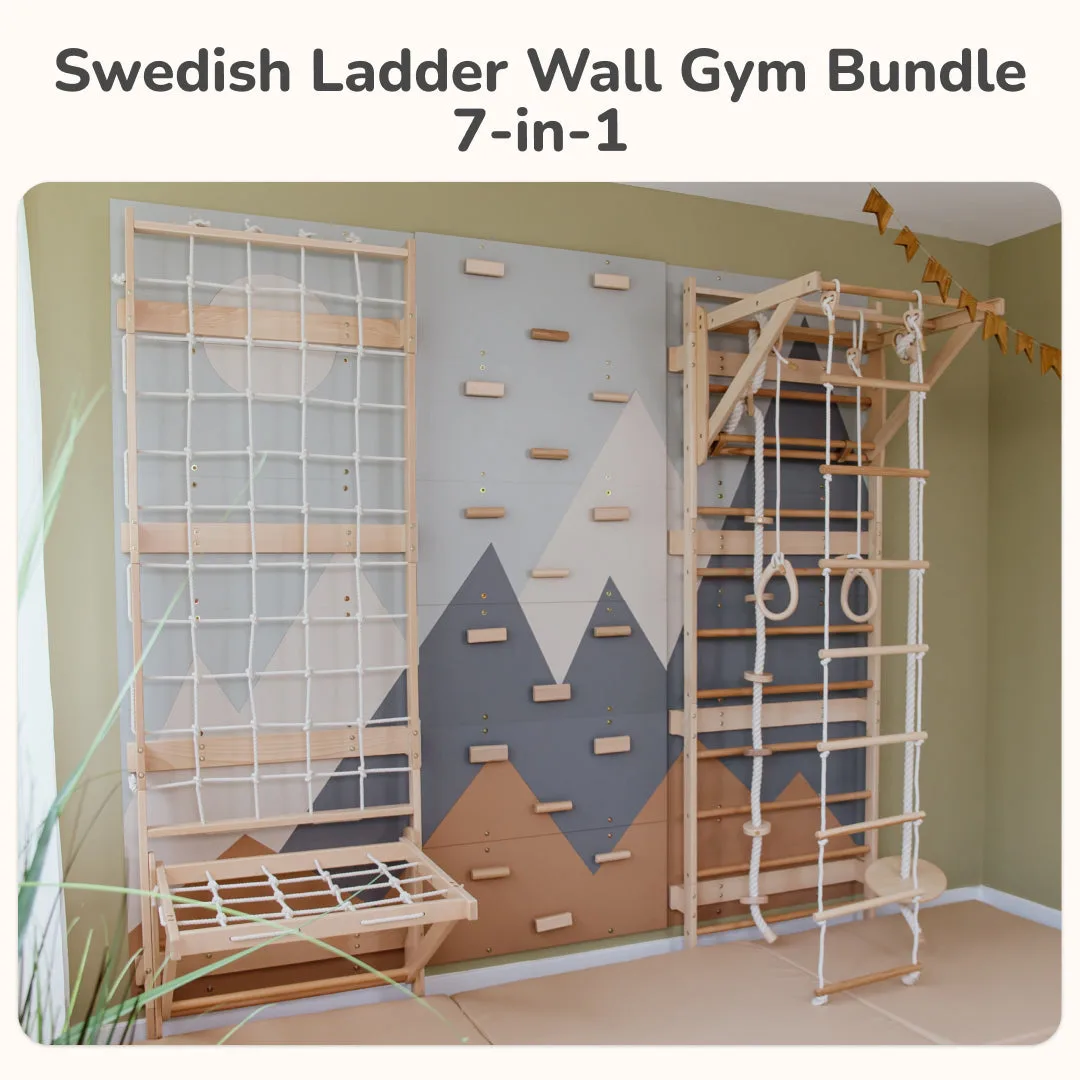
Follow the limits stated for the specific product, and treat them as ceilings rather than targets. The Wooden Climbing Gym is created for children ages 3 and up, and the Large Kids Indoor Playground, Complete Playspace for Kids is designed for children aged 3–8 years. The Kids Swedish Ladder Wall Gym 7-in-1 Bundle is described as suitable for children aged 3+ and even suitable for adults, which makes it a practical choice for families who want one structure to serve several users.
Where a product record does not state a maximum user weight, do not assume one. Ask the seller before buying, or choose a model that publishes the figure. For mixed-age households, set a house rule that younger children climb only when an adult is present.
- Write the age rule where children can see it, not just in your head.
- Reassess the setup as your child grows heavier and more daring.
How do I keep the setup safe over time?
Do a quick check before each play session and a fuller check monthly. The quick check is visual: bolts, straps, knots, and the mat. The monthly check is hands-on: tighten hardware, test anchors, look for splinters or cracks in wooden parts, and confirm nothing has worked loose. Wood moves with humidity, so seasonal tightening is normal.
Keep the landing zone clear as a habit, not an occasional tidy-up. Toys, pillows, and stray blocks under a climbing area are the most common cause of avoidable injuries at home. A simple rule, nothing stored under the bars, is easier for children to follow than a long list.
- Photograph the installed setup so you can spot changes over time.
- Replace any worn strap, rope, or fixing immediately rather than repairing it.
Can I install monkey bars in an apartment?
Yes, if you can anchor into structure and your lease allows it. Concrete or solid brick walls often take rated anchors well, while lightweight partition walls usually do not. Check with your landlord before drilling, and be prepared to patch and repaint on move-out. If drilling is not an option, freestanding equipment is the honest answer.
Noise and floor loading matter in apartments too. A mat reduces impact sound for neighbors below, and spreading load across a mounting board is kinder to the wall than concentrating it in two points. If you are unsure about your wall type, an installer can usually identify it in a short visit.
- Ask about wall construction before buying wall-mounted equipment.
- Choose freestanding if you cannot drill or cannot confirm framing.
Quick checks before your child climbs
Anchors
Confirm every fixing goes into a stud, header, or rated concrete anchor, and tighten hardware after the first week of use. If you cannot identify what is behind the wall, stop and get help.
Landing zone
Keep at least 1 meter of clear floor around and below the equipment, with a mat covering the full drop area. Nothing stored under the bars, ever.
Age and weight rule
Match the product's stated age range and any published weight limit to your child, and ask the seller when a limit is not listed. Younger children climb only with an adult present.
Monthly inspection
Check bolts, straps, knots, rope, and wooden parts for wear, cracks, or loosening, and replace damaged parts rather than repairing them. Photograph the setup so changes are easy to spot.
Catalog details worth knowing before you mount anything
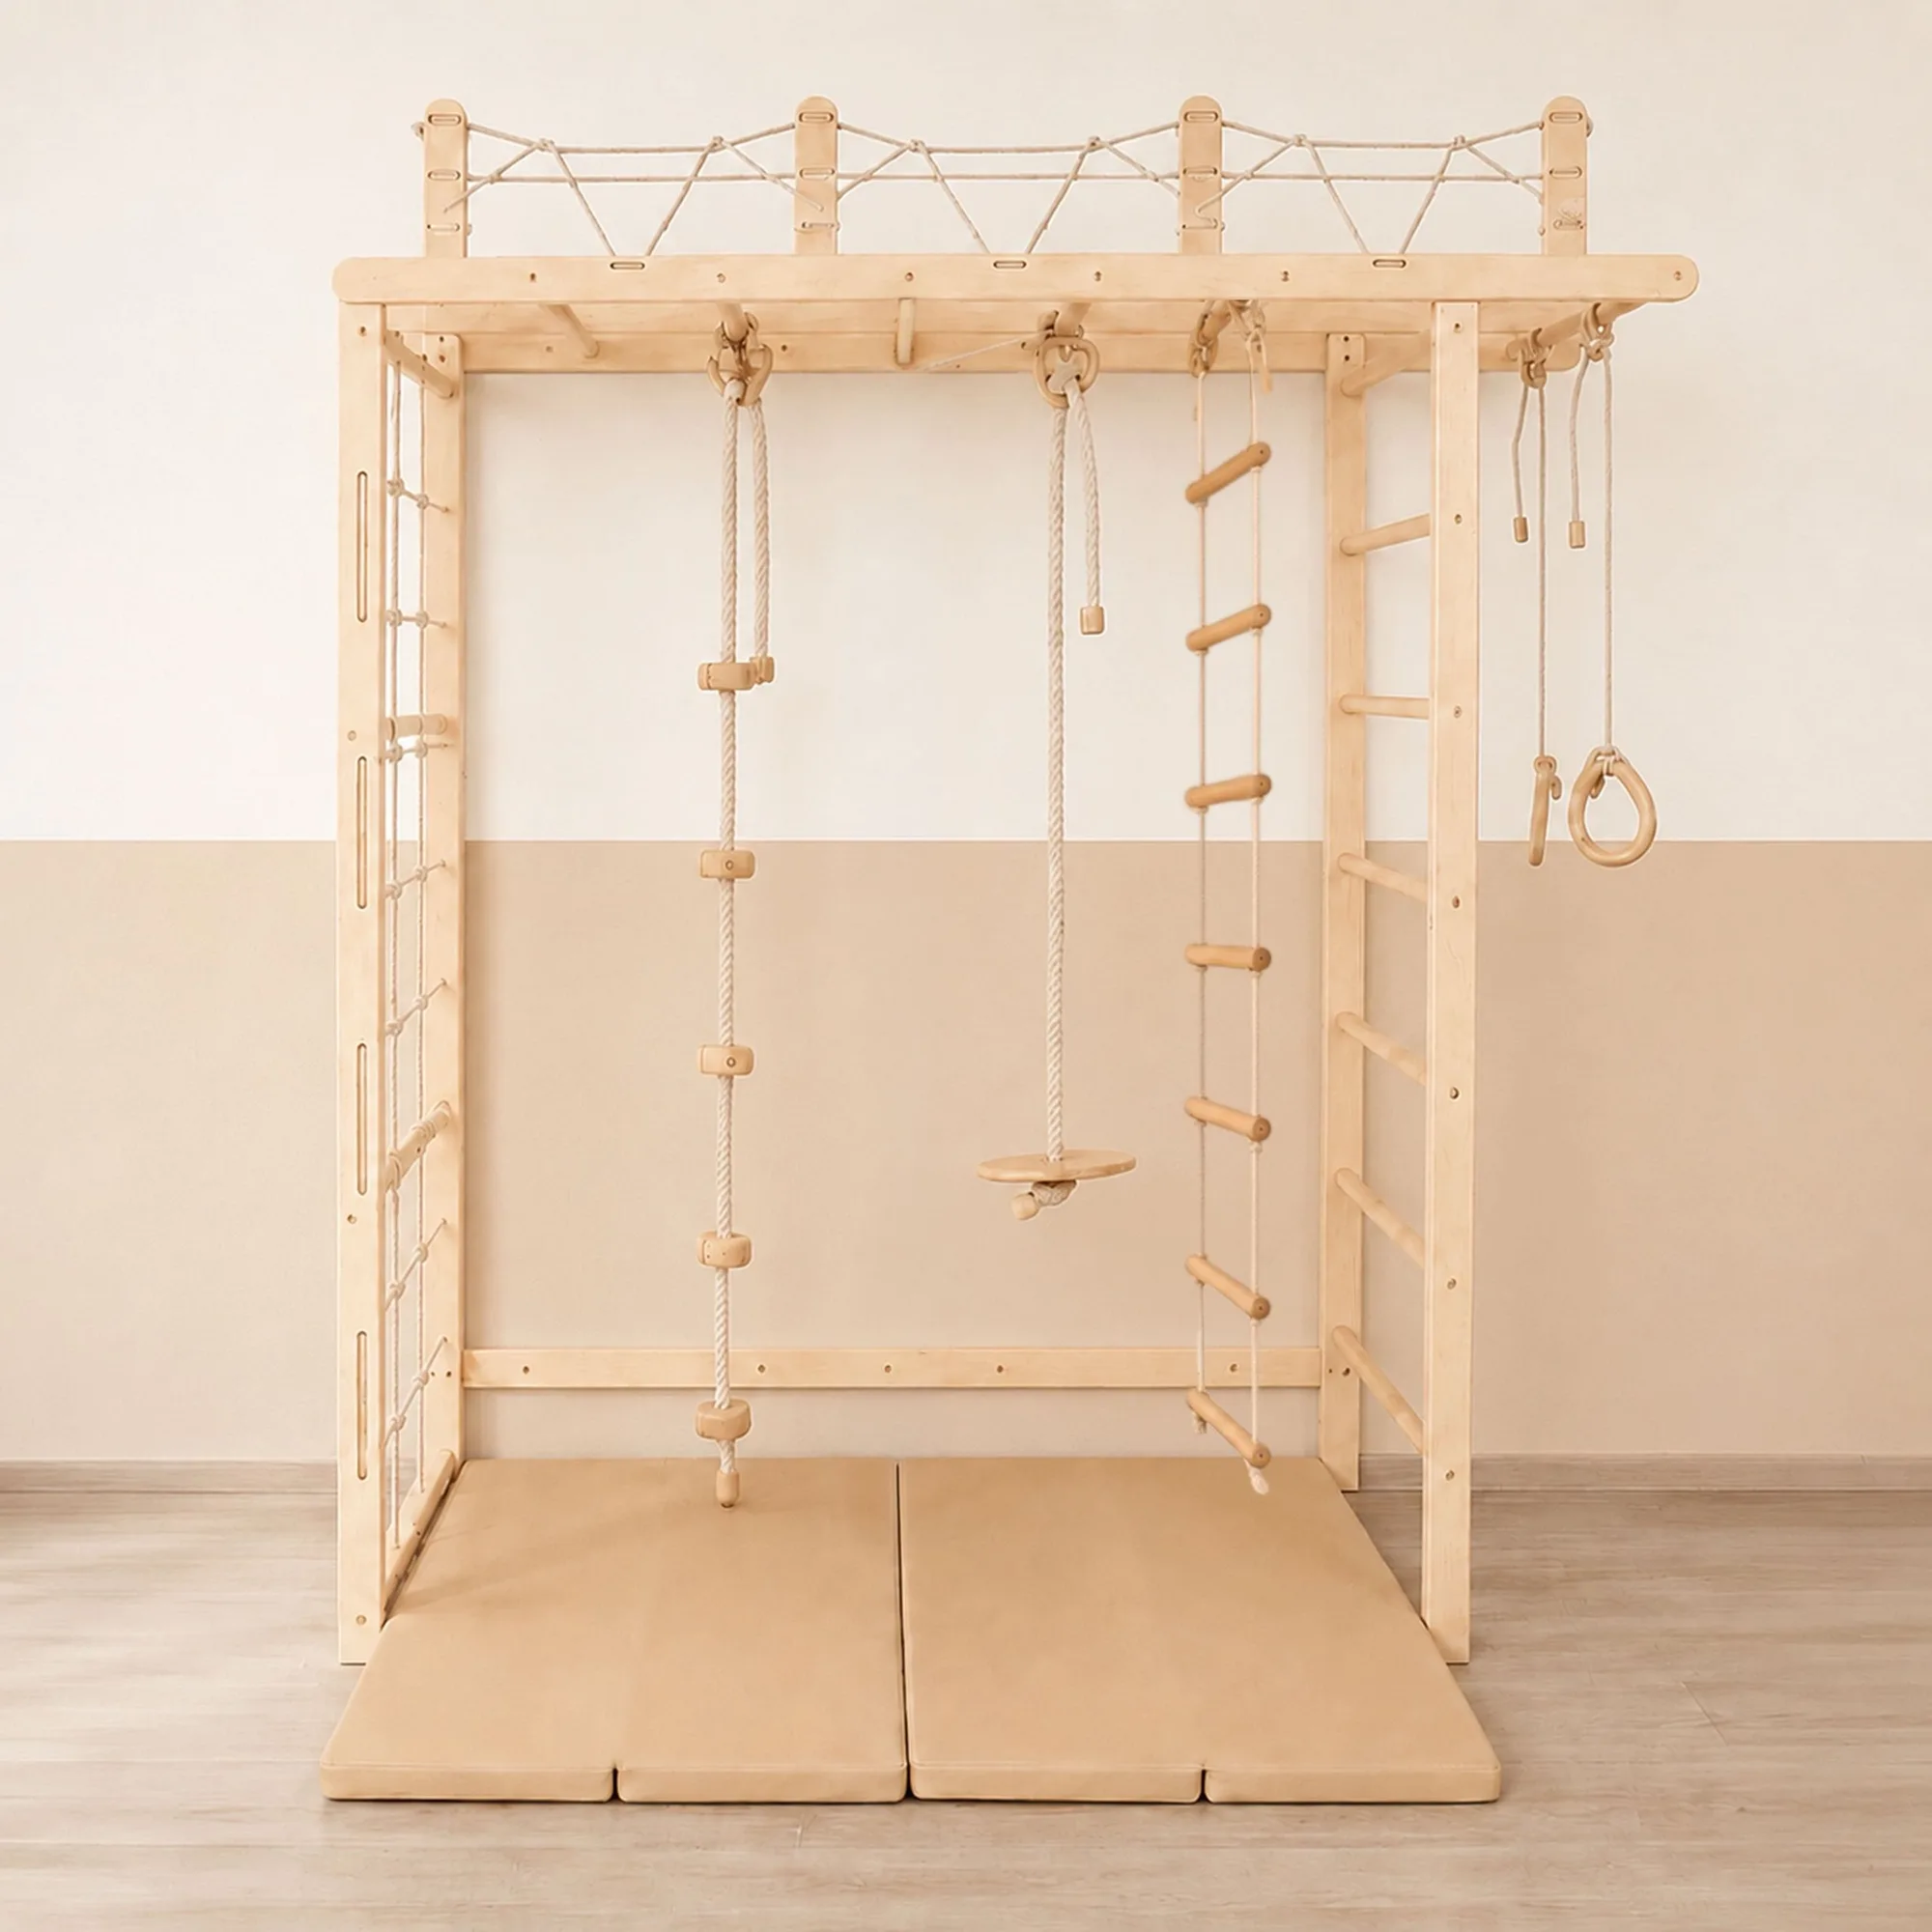
- Indoor Monkey Bars: Described as a versatile, Montessori-inspired climbing structure designed for toddlers, preschoolers, and teens, with a 4-in-1 structure that includes a climbing ladder. A multi-age structure suits families who want one installation to serve several children, but it also means the mounting must handle the heaviest user, so anchor quality matters more.
- Childrens Climbing Net “Mountain”: Designed to strengthen muscles and boost coordination, and supplied with 6 decorative mountain-themed panels as a free gift. A net adds a different climbing motion than bars, and the included panels let you build the surrounding play area without buying extra decor.
- Kids Swedish Ladder Wall Gym 7-in-1 Bundle: A multifunctional setup for climbing, swinging, training, and relaxing, described as suitable for children aged 3+ and even suitable for adults. It is a reasonable pick when adults also want to train, since the stated age range extends beyond early childhood.
- Playground Set with Monkey Bars: An all-in-one indoor gym that includes climbing monkey bars among its elements. If you want monkey bars as part of a larger play zone rather than a single wall fixture, this consolidates the setup into one purchase.
Most indoor climbing accidents at home trace back to mounting and layout, not the equipment itself. Confirm your wall can take the load, leave a real landing zone, and check the setup regularly. If any of those three is uncertain, choose a freestanding option or bring in an installer before your child starts climbing.