Quick Recommendation
For a bright, low‑maintenance garden, install solar cactus lights in a flat, sunny spot and secure the base firmly. Choose lights with a detachable solar panel for easy daytime charging.
Solar cactus lights add a whimsical, desert‑inspired glow to any garden while staying energy‑efficient. This guide covers everything you need to know for a smooth solar cactus light installation, from selecting the right spot to wiring and final testing.
Whether you’re a seasoned gardener or a first‑time DIYer, following these steps will help you avoid the most common pitfalls—like poor sun exposure or insecure mounting—so your lights shine reliably night after night.
Preparing the Site
Start by choosing a location that receives at least six hours of direct sunlight each day; solar panels need ample light to charge fully. Clear any debris, level the ground, and mark the exact spots where each cactus light will stand. If the soil is loose, compact it lightly to provide a stable base for the light’s spike.
Check for underground utilities before you dig. Use a garden fork or a small trowel to create a shallow hole just deep enough for the spike—usually about 10 cm. A common mistake is digging too deep, which can make the light wobble and reduce its tilt angle toward the sky, lowering charging efficiency.
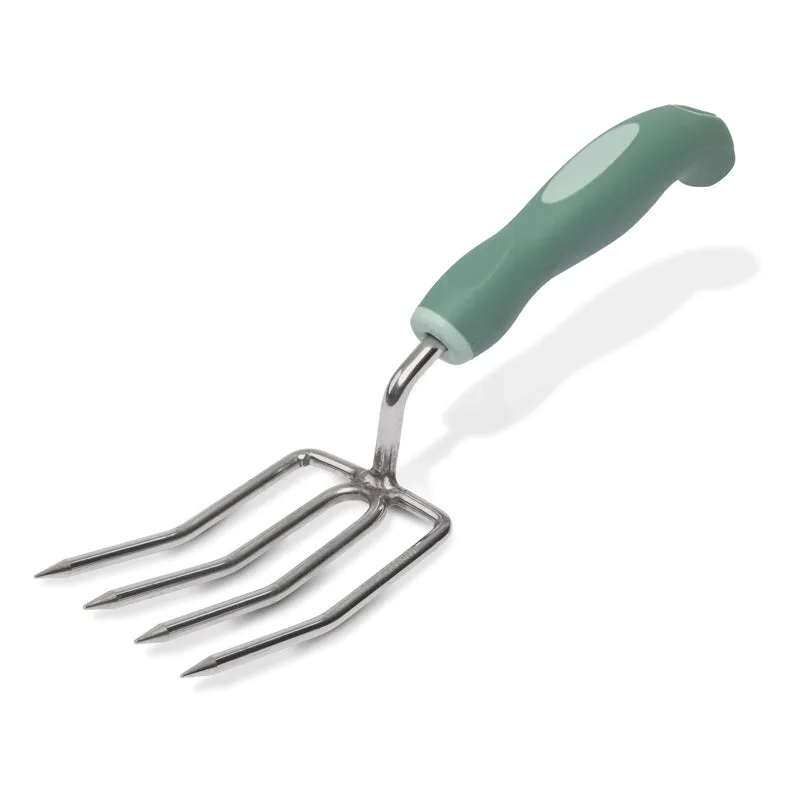
garden fork
- Tip: Place a small rock or piece of cardboard under the spike while you work; it will keep the hole clean and make it easier to insert the light later.
Step‑by‑Step Installation
- 1. Position and Mark: Lay out the cactus lights where you want them, using a garden hose or string to keep spacing even. Mark each spot with a small flag or stone. Checkpoint: Verify each spot gets sufficient sun; adjust marks if any location is shaded.
- 2. Insert the Spike: Push the light’s spike into the prepared hole until it’s firm. Use a rubber mallet if needed, but avoid overtightening which can crack the spike. Common mistake: Over‑driving the spike can bend it, reducing panel tilt and charging efficiency.
- 3. Attach the Solar Panel: Connect the detachable solar panel to the light’s base, ensuring the connector clicks securely. Position the panel so it faces upward at a 30‑45° angle. Checkpoint: Test the panel connection by covering it for a few seconds; the light should dim briefly, confirming a proper link.
- 4. Test and Adjust: Turn the light on manually to confirm illumination. At night, observe the charging indicator (if present) and adjust the panel angle if the light doesn’t stay on. Mistake to avoid: Ignoring a dim indicator can signal insufficient sun exposure; reposition the light or panel as needed.
Related Solar Decorative Lights
- Solar Festive String Lights | Multi-coloured | 50 LED | BUBBLE: Add a dash of colour with our Solar Festive String Lights and make your space sparkle with joy and warmth. Install anywhere with a portable solar panel; indoor use requires moving the panel to a sunny spot during the day. The detachable panel lets you charge the lights even when they’re mounted in shaded garden corners, offering flexibility similar to cactus lights.
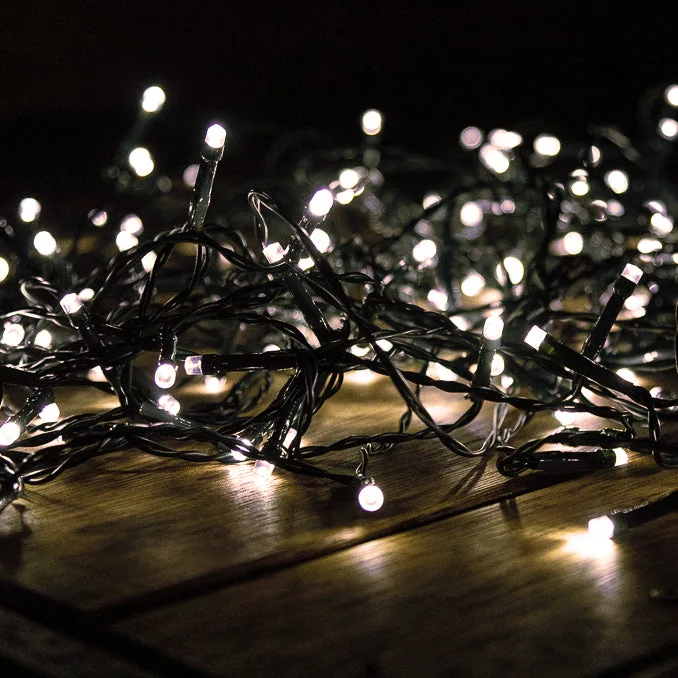
- Solar Fairy Lights | Warm White | 150 LED | 16.5m | PIXIE: New design, new feature - plug in, plug out solar panel. Install anywhere, inside or out, for a festive atmosphere. Plug‑out panels simplify charging and ensure consistent power, a useful feature if your cactus lights are positioned where sunlight is intermittent.
With careful placement, secure mounting, and regular panel checks, your solar cactus lights will provide a lasting, low‑energy sparkle that highlights your garden’s unique style.