Quick answer
Introduce one new sensory toy at a time, in a calm moment, and let your child lead. Offer it without pressure, keep the first session under five minutes, and stop while it is still going well. If your child pulls away, wait a few days and try again with less demand.
Some children dive into a bin of sensory toys. Others flinch at the feel of silicone, cover their ears at a rattle, or refuse anything new until they have watched it from across the room for a week. If you are parenting a child with sensory sensitivities, the goal is not to push them into play. It is to make the first few encounters so low-pressure that their nervous system starts to file the toy under safe.
That changes how you introduce sensory toys. Instead of handing over a brand-new item and hoping for the best, you break the introduction into small, predictable steps. The process below works for toddlers, preschoolers, and older kids who are sensitive to touch, sound, or visual clutter.
Why sensitive kids need a different introduction
Children with sensory sensitivities process input differently. A toy that feels pleasantly squishy to one child can feel sticky, cold, or unpredictable to another. That does not mean the toy is wrong. It means the introduction needs to be slower and more controlled.
You are also teaching your child that new sensory experiences are not a trap. When they learn they can look, touch, or walk away without a reaction from you, the toy stops being a threat. Gentle sensory play works best when the child feels they are in charge of the pace.
- Watch for signs of overload: turning away, covering ears, stiffening, or repeating a phrase to block input.
- Keep your own voice and movements calm; your child reads your nervous system before they read the toy.
Step 1: Pick one toy with a clear sensory job
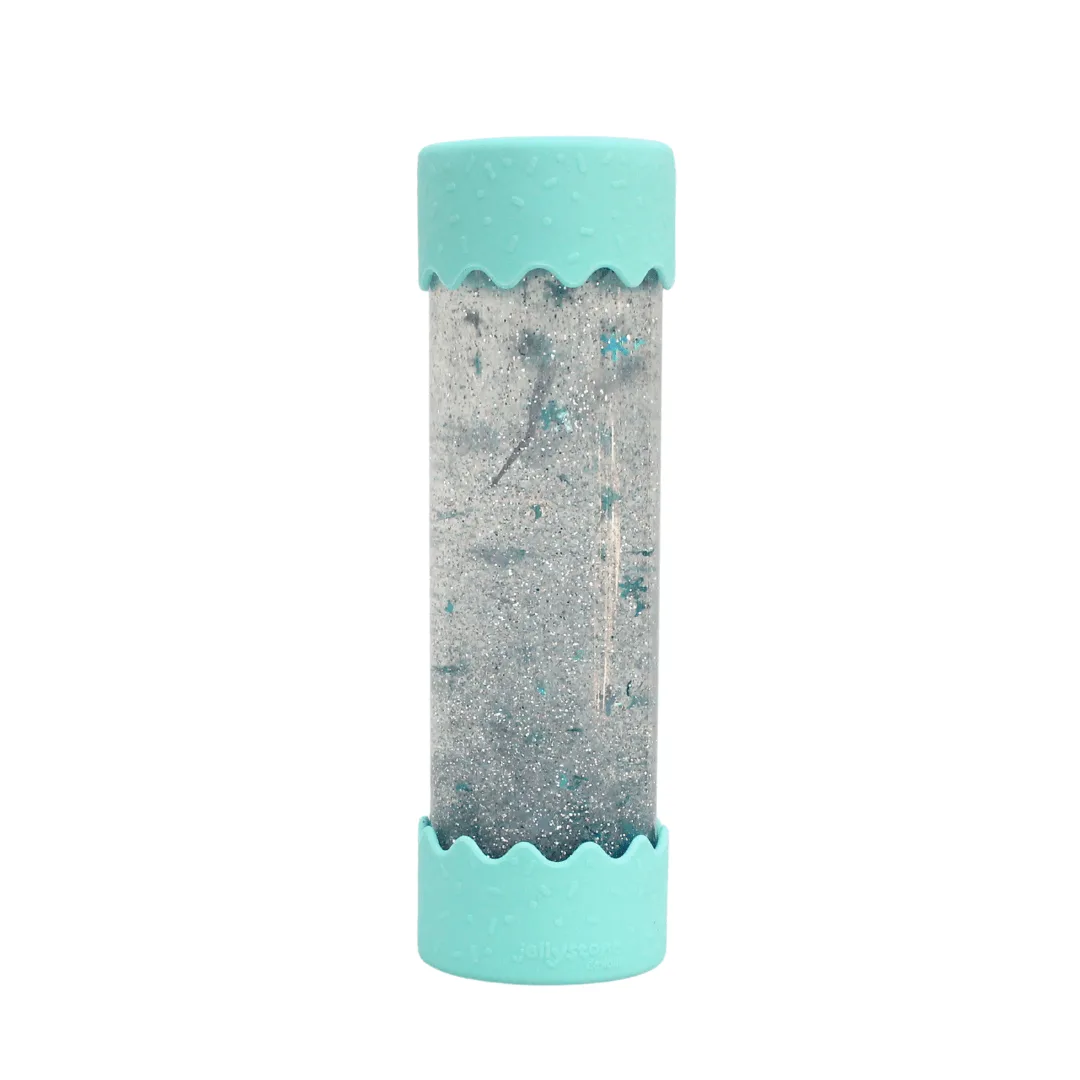
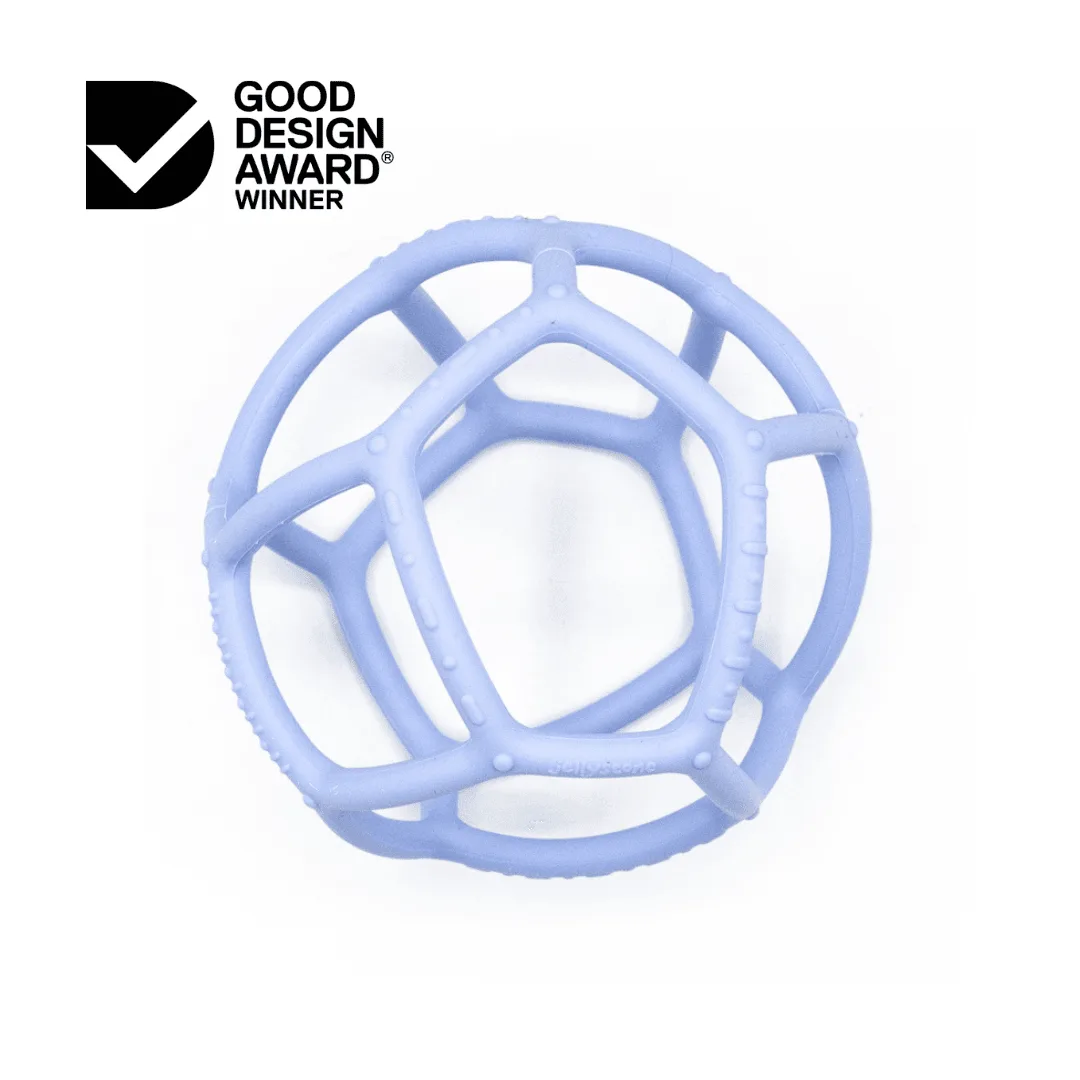
Choose a toy that does one thing well instead of a busy toy with lights, sounds, and multiple textures at once. For a first introduction, a single-texture item such as a food-grade silicone teether or a sealed calm-down bottle is easier to process than a toy that buzzes, flashes, and plays music.
Look for toys that do not require a specific action to work. Open-ended items let your child decide how much or how little to engage. A stacking set, a textured tray, or a simple ball can be explored with one finger or the whole hand.
- Avoid toys with sudden sounds or flashing lights for the first introduction.
- Check the material and cleaning instructions before you buy; a toy your child cannot safely mouth is not a good first step for a chewer.
Step 2: Set up a calm, familiar space
Introduce the toy in a room your child already knows, at a time when they are fed, rested, and not rushed. A corner of the living room floor or the kitchen table works better than a crowded playroom with siblings running through.
Reduce competing input. Turn off the television, put away the tablet, and keep the toy within arm's reach rather than dropping it in their lap. If your child is noise-sensitive, a quieter room is part of the toy's success.
- Sit at your child's eye level rather than standing over them.
- Place the toy beside you, not on your child, and let them come to it.
Step 3: Model the play without asking your child to join
Start by using the toy yourself. Roll the ball slowly, press the textured lid of a tray, or tip a calm-down bottle and watch the sparkles settle. Narrate what you notice in a neutral voice: "The bumps feel bumpy here." Do not ask your child to try it yet.
Modeling gives your child information without demand. Many sensitive kids need to watch an activity several times before they will touch it. That watching is participation, not avoidance.
- Keep your demonstration short, around one to two minutes.
- If your child reaches for the toy, pause and let them take the lead.
Step 4: Offer a low-commitment first touch
When your child shows interest, offer a way to touch the toy that does not require holding it. They might poke it with one finger, tap it with a knuckle, or rest their hand on it while you hold it steady. A single fingertip is a valid first step.
If they pull back, do not chase the interaction. Put the toy down and say something neutral like, "We can try again another day." This keeps the toy from becoming a source of pressure.
- Let your child decide how long the first touch lasts.
- Never place a toy in a child's mouth or hand without their go-ahead.
Step 5: Build time in small increments
Once your child tolerates a brief touch, extend the interaction by seconds, not minutes. The next session might be two minutes of rolling a ball back and forth. The one after that might include stacking two pieces. Stop while your child is still comfortable, even if that means ending early.
Ending on a good note teaches the nervous system that the toy is predictable. If you wait until your child is overwhelmed, the toy becomes associated with the feeling of losing control.
- Aim for success, not duration. Two calm minutes beat ten stressful ones.
- Keep a consistent spot for the toy so your child knows where to find it.
Step 6: Add variety only after the first toy feels easy
Resist the urge to introduce a whole collection at once. Wait until your child independently seeks out the first toy before you add a second. That might take a week or a month, and both are normal.
When you do add something new, change only one variable: a different texture, a different color, or a different action. Keeping the rest familiar helps your child generalize the feeling of safety from one toy to the next.
- Rotate toys rather than piling them all into view.
- If a new toy flops, put it away for two weeks and try again later.
Your first-week introduction plan
- Day 1: Place, do not present: Set the toy on the floor near your child during a calm moment and use it yourself for one minute. Do not hand it over or ask them to try it. Checkpoint: your child looks at or moves toward the toy without prompting.
- Day 2: Invite a single touch: Hold the toy steady and let your child poke, tap, or rest a hand on it. Keep the interaction under two minutes and end before they pull away. Checkpoint: your child touches the toy and stays in the same room afterward.
- Day 3: Follow their lead for five minutes: If your child reaches for the toy, let them hold it and explore at their own pace. Stay nearby but quiet. If they hand it back, accept it without comment. Checkpoint: your child initiates contact or returns to the toy on their own.
- Day 4: Pause and repeat: Skip the toy for a day or two, then bring it back in the same spot. Repetition in a familiar context builds tolerance faster than constant exposure. Checkpoint: the second introduction is easier than the first.
- Day 5 and beyond: Add one new toy: Once the first toy feels easy, introduce a second item with a different texture or action. Change only one thing at a time. Checkpoint: your child explores the new toy without needing you to model it first.
Toys that work well for a gentle introduction
- Sensory Ball: A teether and toy rolled into one, made from food-grade silicone with an open frame design that is easy to grab. The open frame gives small hands a clear place to hold, and the soft silicone surface lets a sensitive child explore with one finger before committing to a full grip.
- Baby Calm Down Bottle: Comes prefilled with sparkles and water and is totally sealed. Because it is sealed, there is no mess and no loose parts, which makes it a low-demand visual option for a child who is not ready to touch a textured toy.
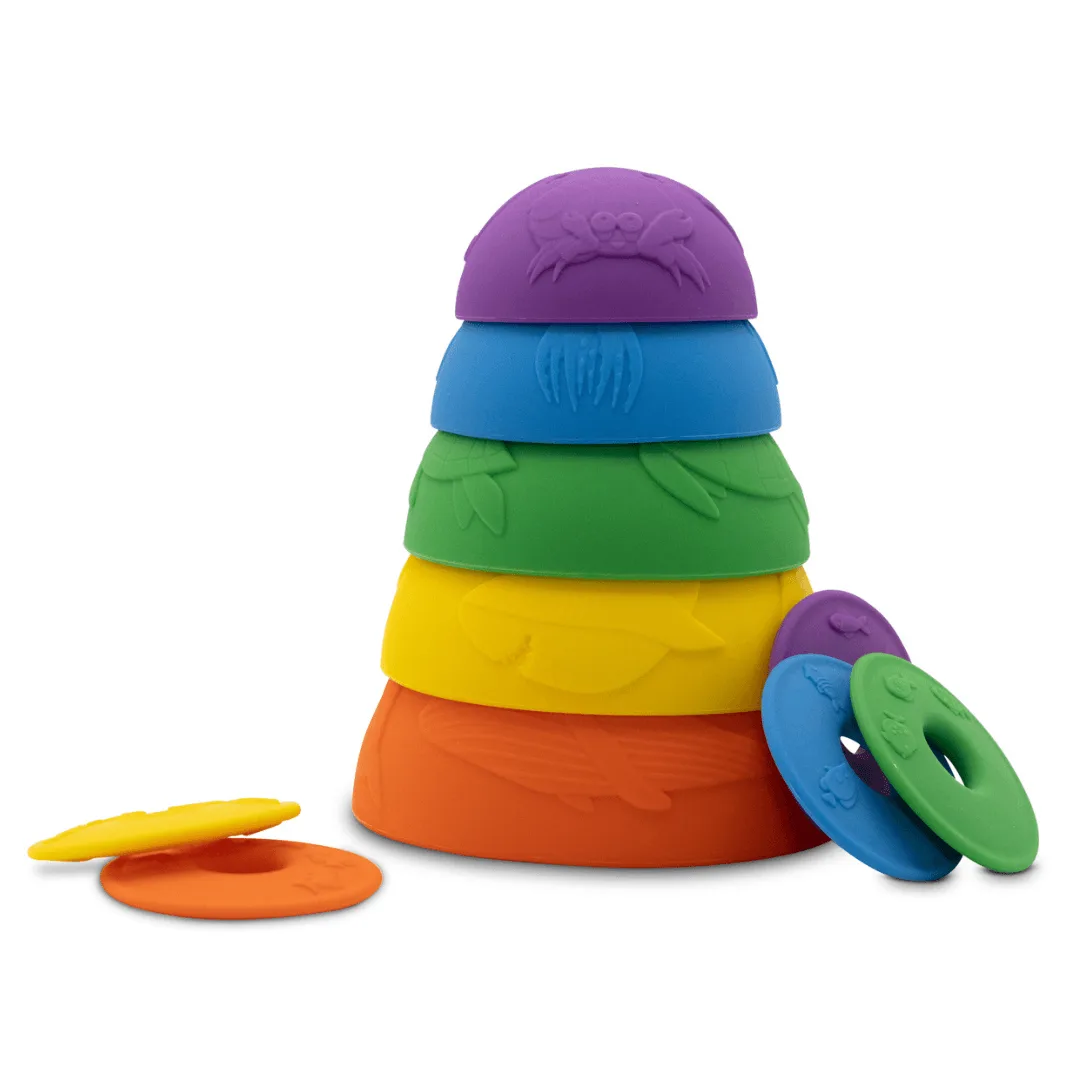
- Ocean Stacking Cups: A set of 5 stacking cups plus 5 treasure coins designed for bath time and sensory play. The cups can be stacked, nested, or used to scoop water, so the same toy scales from a single quiet touch to a fuller play session as your child's tolerance grows.
Introducing sensory toys to a sensitive child is less about the toy and more about the pace. Start with one item, keep the demand low, and let your child's comfort set the timeline. If a toy causes distress rather than curiosity, put it away and try again later. You are not behind, and your child is not failing. You are building trust one small touch at a time.