Quick answer
Install the bell on the handlebar where their thumb reaches without letting go, mount the bottle holder on the frame tube so the bottle clears their knees, and set up the rechargeable light set on the front and rear for visibility. Test each accessory with your child before the first ride.
Why placement matters more than the accessory itself
A bell they can't reach, a bottle that rubs their leg, or a light that points at the ground all defeat the purpose. Before you tighten anything, have your child sit on the bike and pretend to ride. That two-minute check prevents most installation regrets.
Also consider the order: mount the bottle holder first, because it takes up frame space that might affect where the light or bell can go. If you're adding all three, plan the layout together rather than one at a time.
Step-by-step accessory installation
- Mount the water bottle holder: Attach the holder to the frame's down tube or seat tube using the provided bolts or straps. Position it so the bottle sits upright and doesn't interfere with pedaling. Common mistake: mounting it too high, causing the bottle to hit the top tube when removing it. With your child seated, check that their knee doesn't brush the bottle when pedaling.
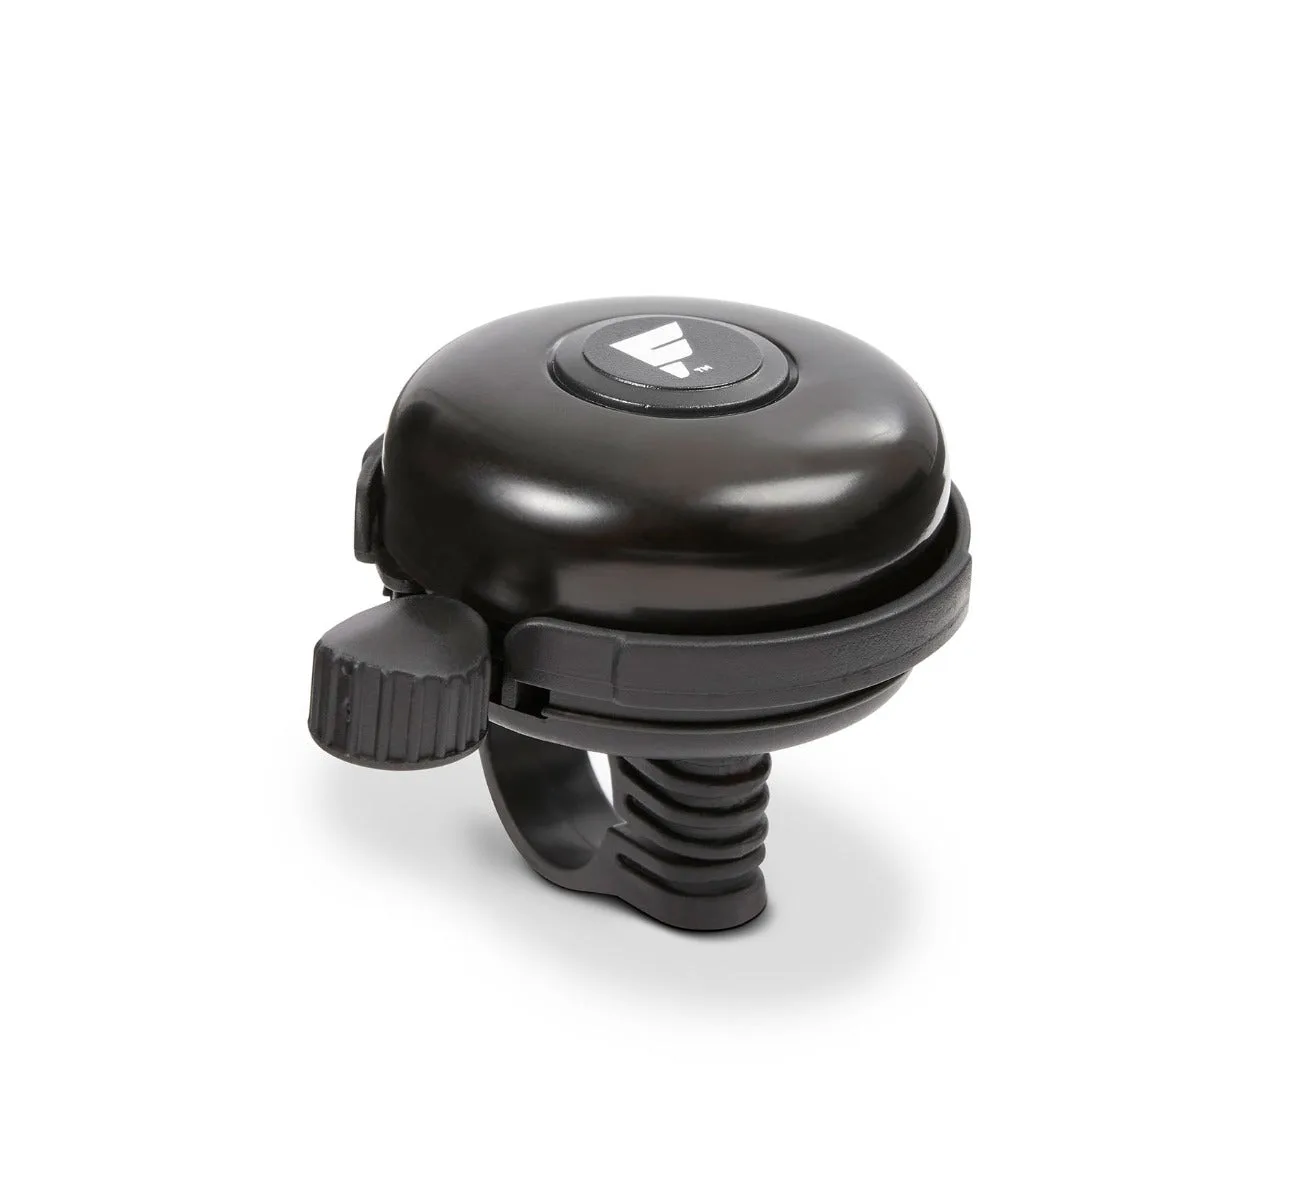
- Install the bell on the handlebar: Loosen the bell's clamp and slide it onto the handlebar near the grip, within easy thumb reach. Tighten until the bell is secure but can still be rotated by hand for adjustment. Common mistake: placing it too far inboard, so your child has to move their hand to ring it. Have your child ring the bell while holding the grip—it should sound clearly without shifting.
- Set up the rechargeable light set: Charge the lights fully before first use. Mount the front light on the handlebar or fork and the rear light on the seat post or rear rack, following the manufacturer's instructions. Angle the front light slightly downward toward the path, not into oncoming eyes. Common mistake: leaving the light loose so it slips on bumps. Give each light a firm wiggle test—if it moves, tighten the mount or add the provided grip pad.
- Do a family test ride: Before letting your child ride alone, watch them ring the bell, grab the bottle, and check that lights stay put over a few bumps. Adjust any accessory that shifts or feels awkward. Common mistake: skipping the test ride and discovering a loose bottle holder mid-ride. Recharge the lights after every few rides so they're ready when needed.
Accessories that fit the plan
-
Kids' Bike Rechargeable Light Set: Rechargeable light set designed for kids' bikes. You won't need to buy separate batteries, but you will need to remember to charge it before evening rides.
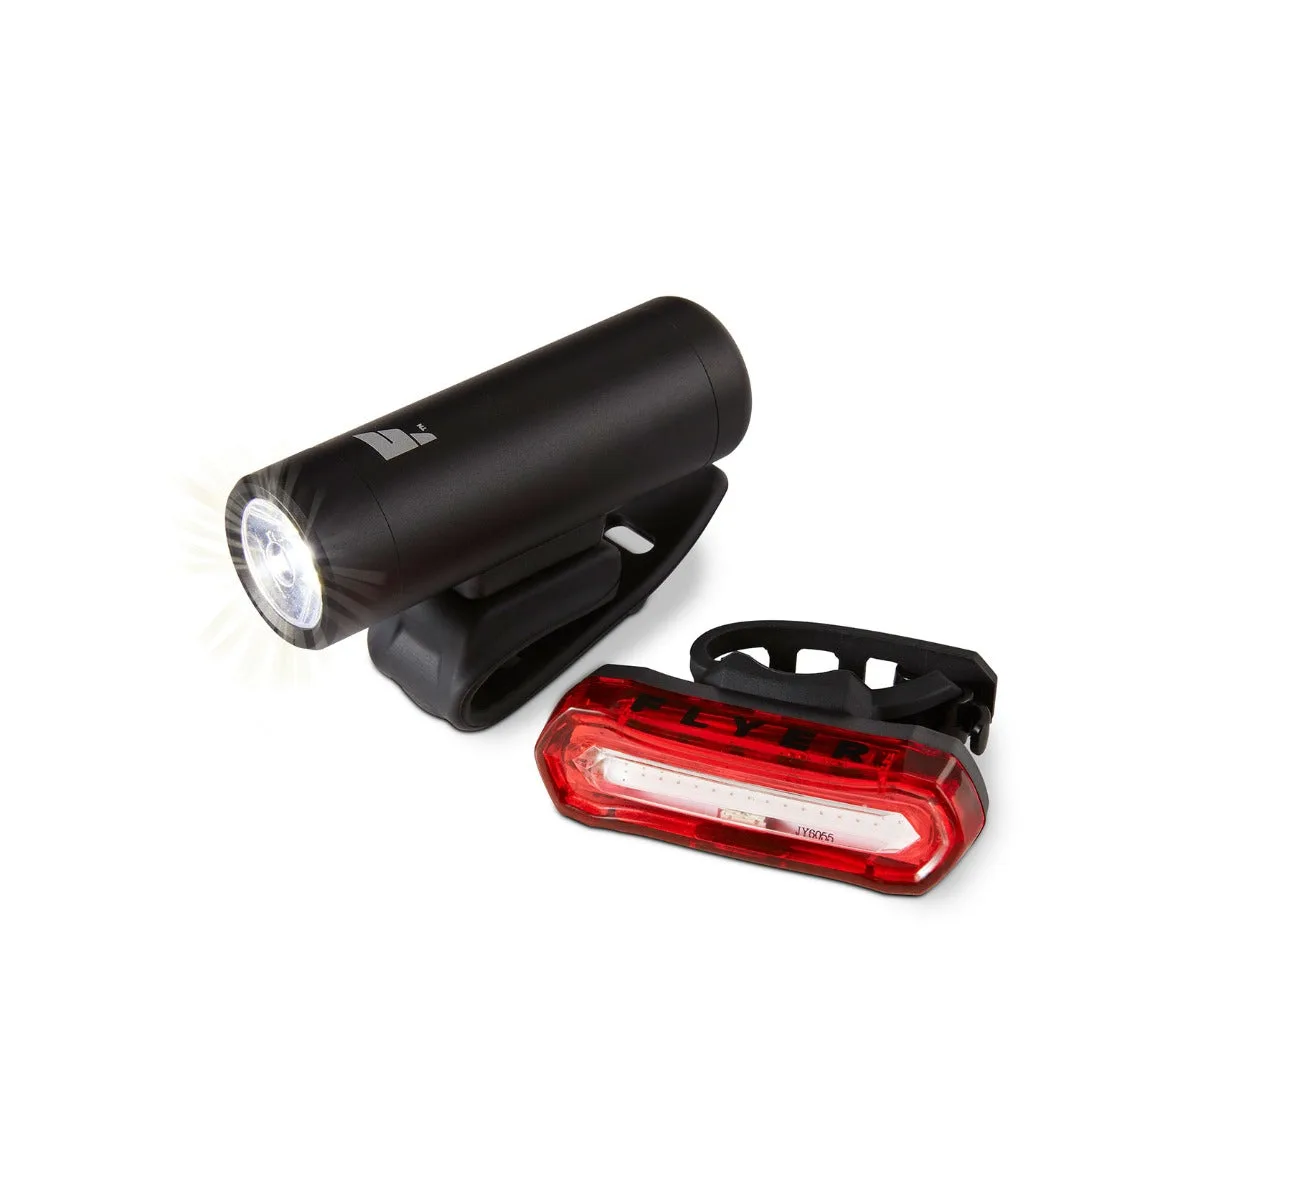
Kids' Bike Rechargeable Light Set
-
Kids' Bike Water Bottle Holder: Fits any standard-sized water bottle, including the Flyer Water Bottle. You can use a bottle you already own, but check that it's standard diameter—oversized sport bottles may not fit.
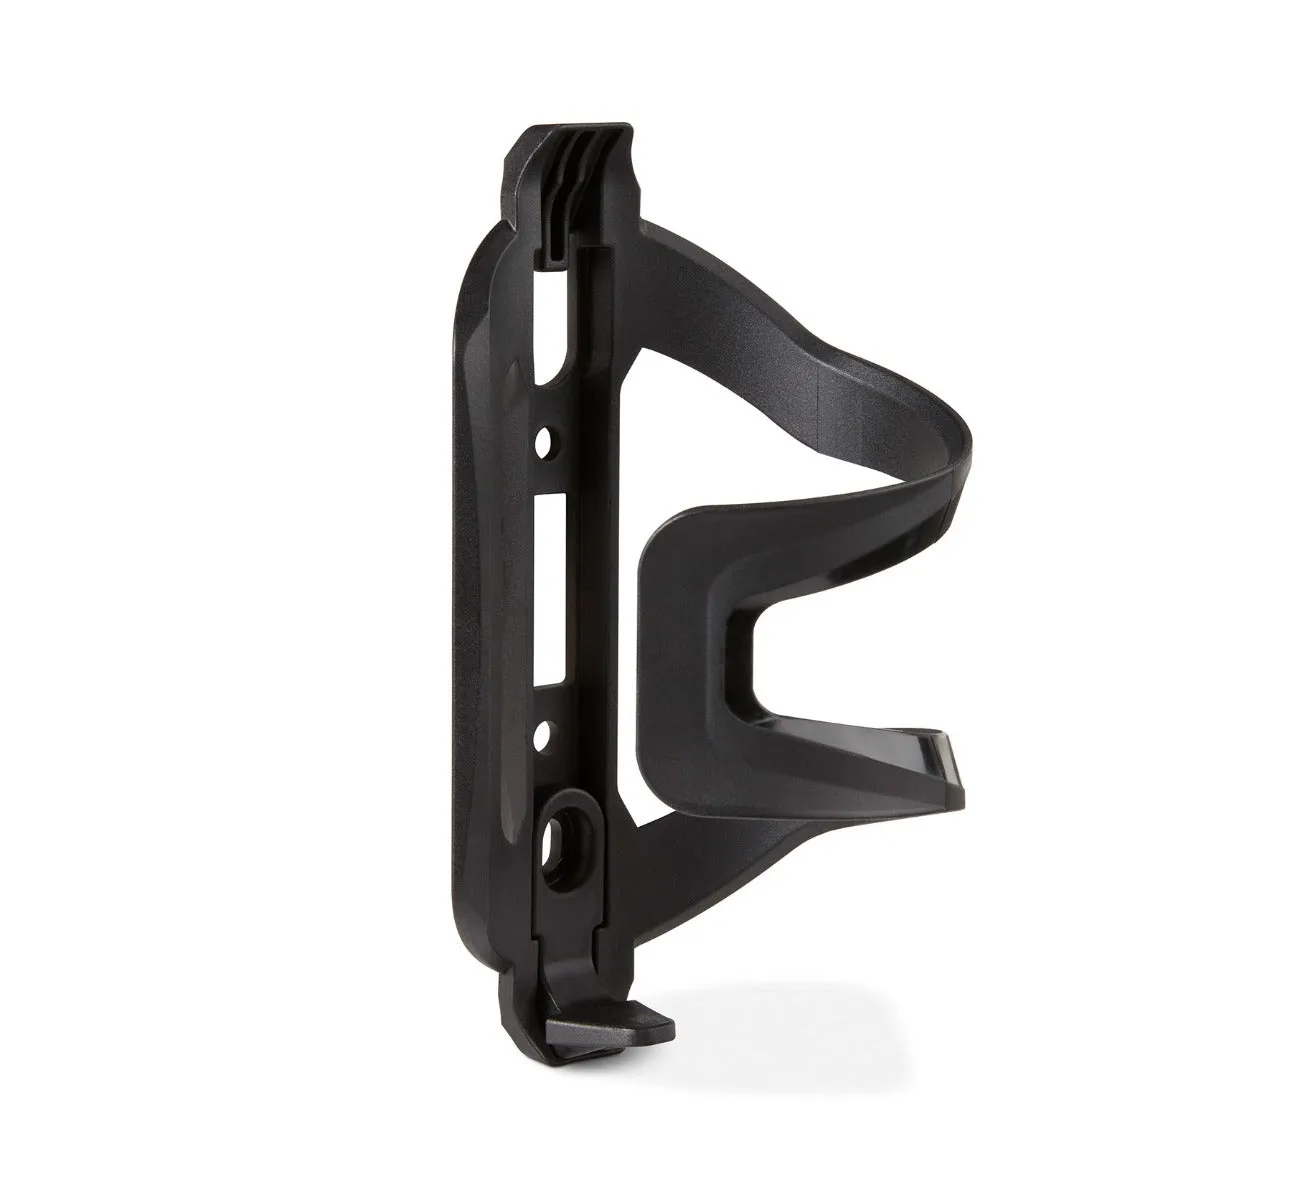
Kids' Bike Water Bottle Holder
-
Kids' Bike Bell: Compatible with all Flyer Kids' Bikes. If you have a Radio Flyer bike, you can be confident the bell will mount without adapters.