Quick answer
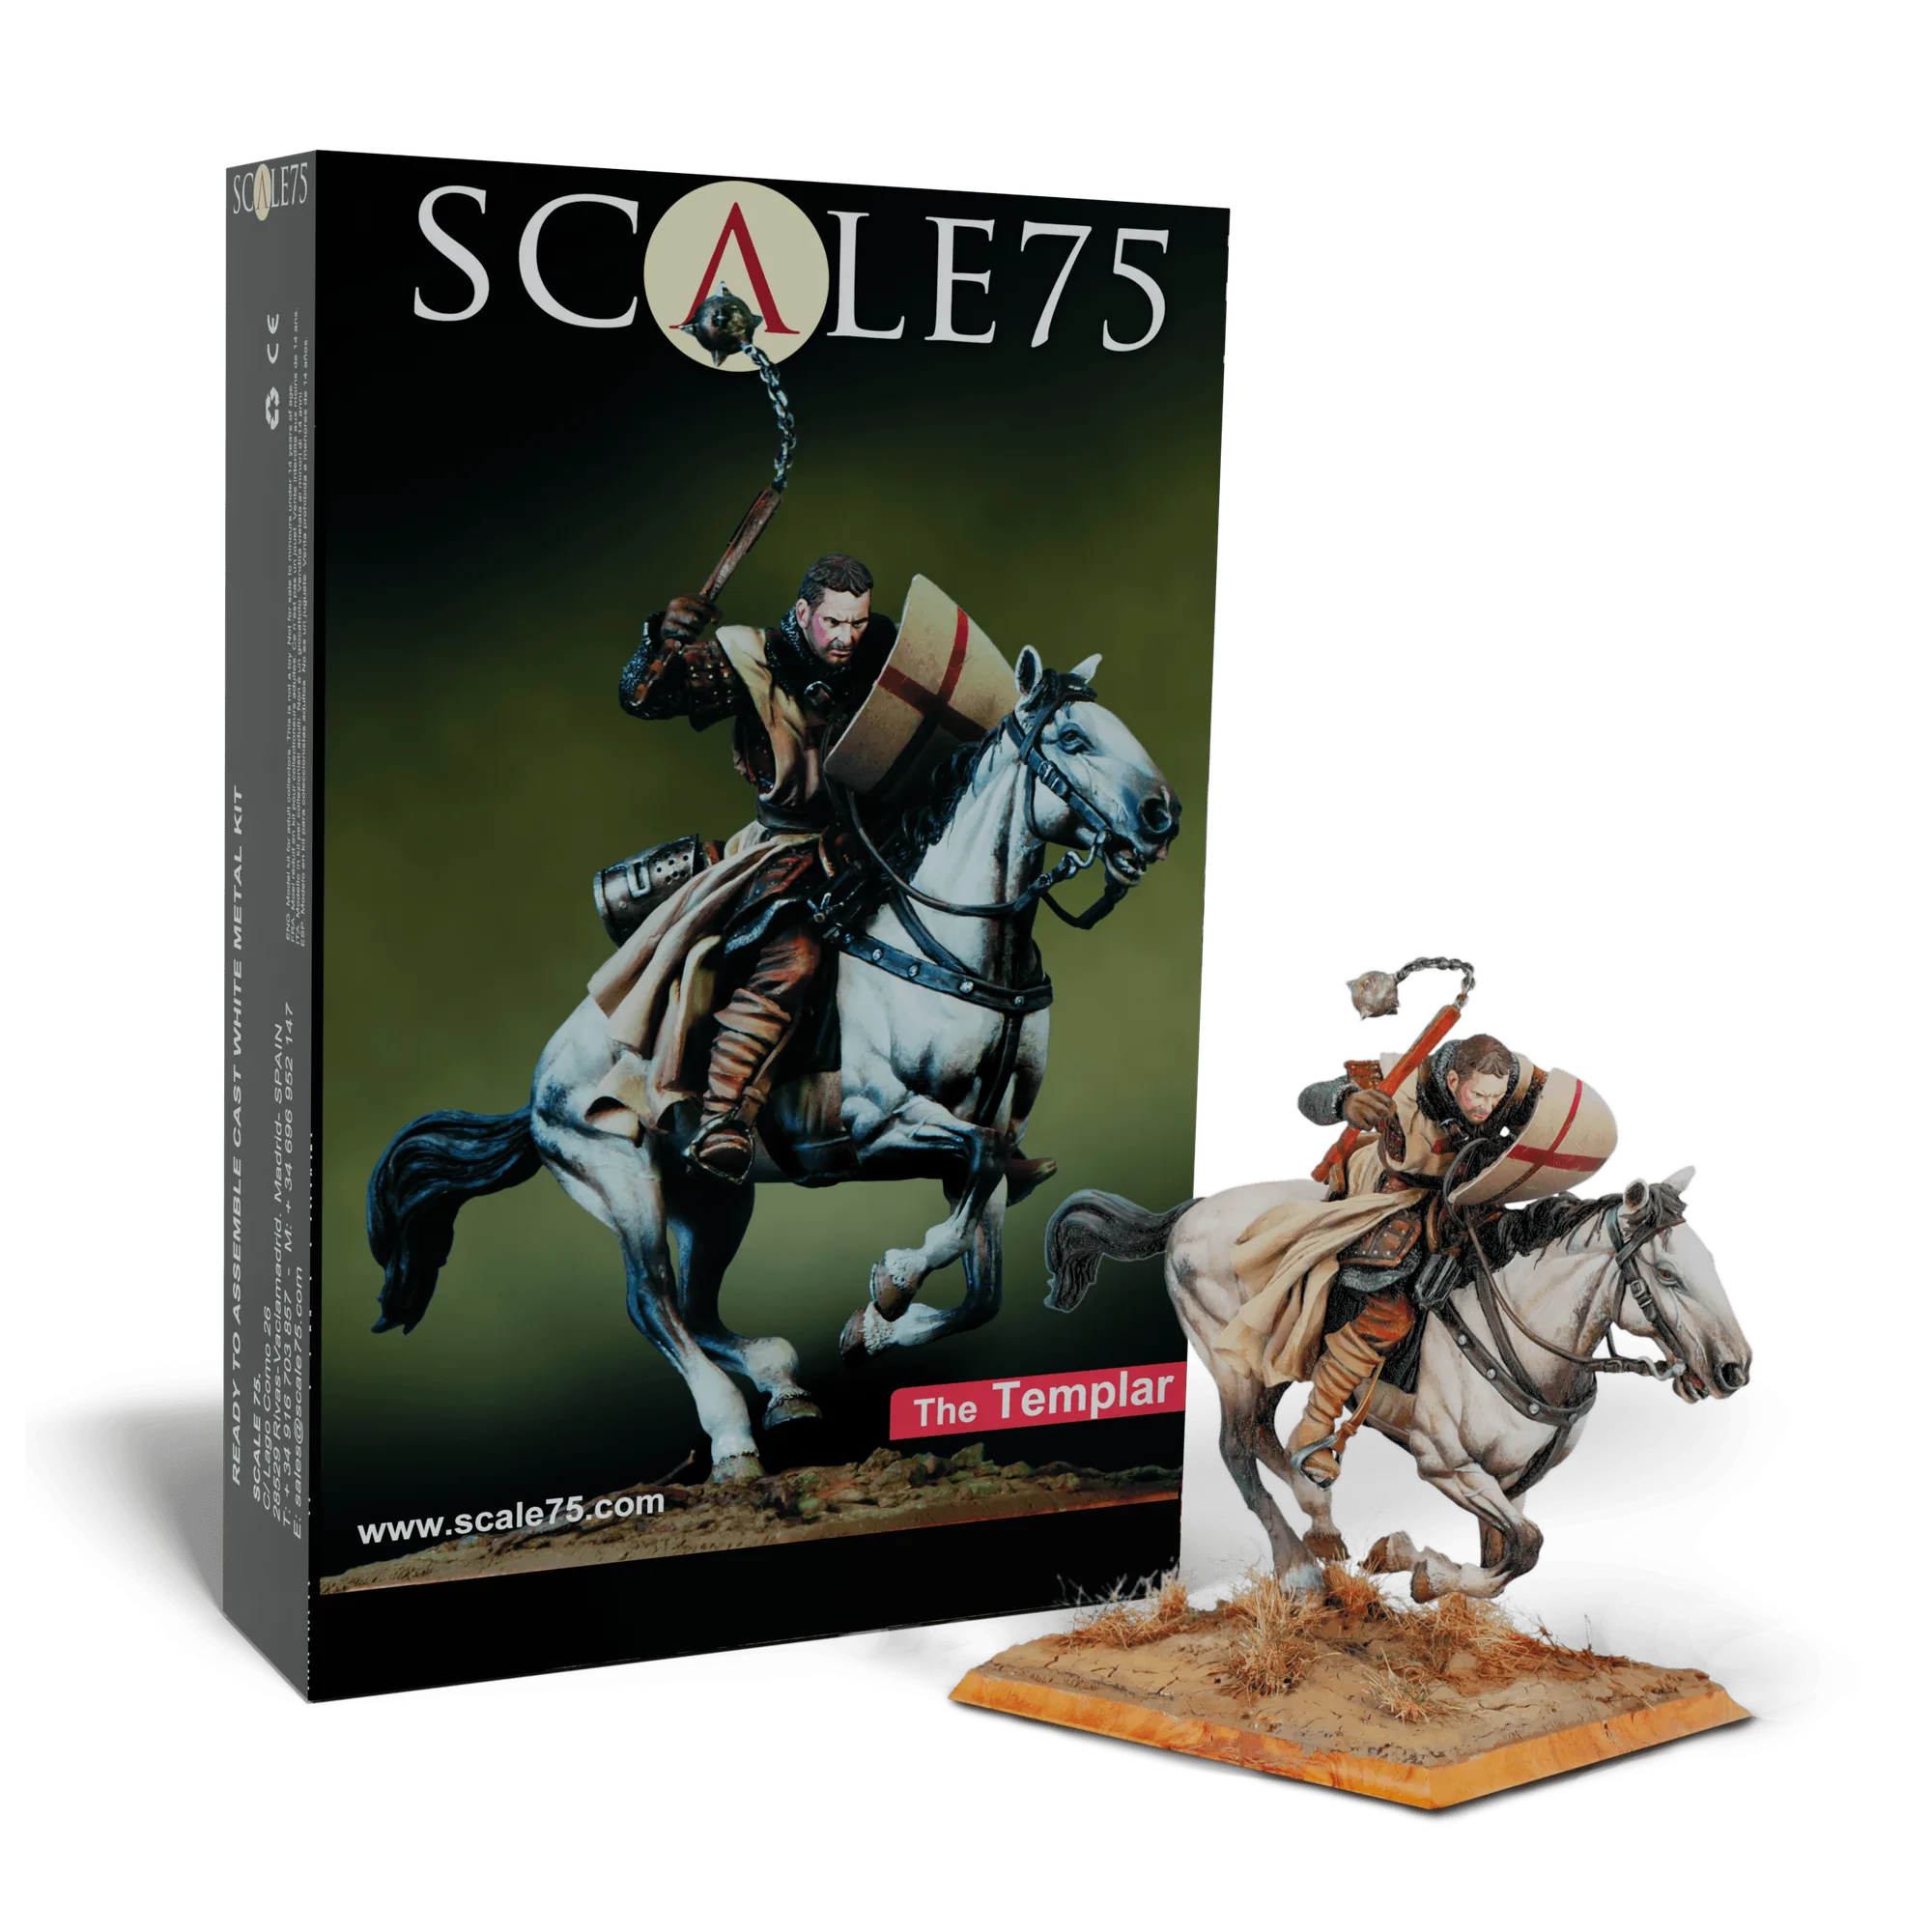
Paint the Templar first as your anchor: white-1-a190166d490a29fe8213b012-1816307">white-2c58a54a96968356c7438d99-1815651">white or off-white cloth, steel, and a restrained palette. Then build the Saracen Warrior in warmer, richer tones so the two read as clearly different forces at arm's length. If you only buy one figure to start, the Templar teaches you cloth and metal control; the Saracen rewards you with more color freedom. Buy both only if you actually plan to paint them as a matched pair.
Painting two opposing forces is a different job from painting two separate figures. The Templar and the Saracen Warrior sit next to each other on the table, so every value and hue decision you make on one changes how the other reads. Get the contrast right and both figures look better than they would alone.
This comparison sticks to what the SCALE75 catalog actually tells us about these figures and the paints that support them. Where a specification is missing, I say so rather than guess. The goal is a practical plan you can follow whether you are painting crusades figures for the first time or adding a second army to an existing collection.
What actually differs between the two figures
Both figures share the same production approach: high quality resin, unpainted, assembly required, and a SCALE75 painting reference included in the box to guide your color choices. That shared baseline means the real difference is not material quality but silhouette and surface area. The Templar is dominated by large cloth panels and flat shield faces, while the Saracen Warrior tends to reward layered, patterned color work.
Because the catalog does not list scale for the Templar or the Saracen Warrior individually, check the product page before you buy if scale matters for your collection. The Abyssal bust is listed at 1/10 scale and BlackBeard at 75mm, which shows SCALE75 works across very different sizes, so do not assume the two crusades figures match each other.
- Wash resin parts in warm soapy water and let them dry fully before priming; mold release fights paint.
- Dry-fit every joint before gluing, especially weapon arms and capes that cross the body.
Building a palette that separates the two forces
The fastest way to make opposing forces miniatures read clearly is to split them by temperature. Give the Templar cool neutrals: off-white, grey, steel, and a single restrained accent. Give the Saracen Warrior warm earths, ochres, deep reds, and greens. When the two stand together, the eye separates them instantly without either figure shouting.
SAP GREEN is a strong anchor for the Saracen side because it is a premium creamy acrylic with high pigment load, works for both brush and airbrush, and comes in a 20ml pot. For the Templar, keep whites slightly warm or slightly cool but consistent across the whole figure, because inconsistent whites are the most common reason a crusader figure looks muddy.
- Test your two palettes on a spare base or plastic spoon before committing to the figures.
- Photograph both test swatches together in the light you actually paint under.
Transparencies, glazes, and keeping cloth believable
Cloth is where these two figures live or die. DISPEL MAGIC is an acrylic medium made to facilitate dilution and application of transparencies, which is exactly what you want for glazing shadows into folds rather than painting hard lines. Thin your base color with it and build depth in several passes instead of one heavy layer.
Use the same medium on both figures so your technique stays consistent, then let color temperature do the differentiating. On the Templar, glaze cool shadows into the deepest folds. On the Saracen, glaze warm shadows so the fabric feels sunlit and dry rather than cold.
- Keep glazes thin enough that you can still see the previous layer through them.
- Let each pass dry completely; rushing glazes is how cloth turns chalky.
Assembly order and painting sequence
Both figures require assembly, so decide early what gets painted before gluing. Large cloth areas and shield faces are far easier to paint flat, while weapons, hands, and anything that crosses the torso are easier to attach first and paint in place. There is no single correct order, but mixing the two approaches on one figure usually creates awkward reach problems.
If you are new to resin figures, paint the Templar first. Its large flat panels forgive uneven blends and teach you how thin layers behave. Move to the Saracen Warrior once your glazing is consistent, because busier surfaces punish sloppy transitions more visibly.
- Pin heavy parts with a small drill and wire if the joint feels weak.
- Keep sub-assemblies on corks or handles so you are not touching fresh paint.
Displaying them as a pair
Opposing forces look best when they share a base treatment. Use the same ground texture, the same rim color, and the same varnish sheen on both figures. The contrast should come from the figures themselves, not from mismatched basing, which reads as two unrelated projects rather than one scene.
If you want to push the pairing further, the PACK SWEET DREAMS + LADY VALERIOUS bundles a paint set with a figure, which is a sensible way to expand your palette without buying single pots one at a time. The catalog describes it as including the SSAR-009 paint set and the SSP-014 LADY VALERIOUS figure.
- Match varnish finish across both figures; mixed matte and satin looks accidental.
- Photograph the pair together against a neutral background to check contrast honestly.
Trade-offs to weigh before you start
- Templar first vs Saracen first: The Templar's large cloth panels are forgiving and teach thin glazing, but the restricted palette leaves little room to hide uneven blends. The Saracen offers richer color freedom but busier surfaces expose sloppy transitions. Start with the Templar if your glazing is still developing; start with the Saracen if you already control thin layers.
- Buying both vs buying one: Buying both only pays off if you genuinely intend to paint and display them as a matched pair with shared basing and varnish. A single figure finished well beats two half-finished ones sitting in a queue. Commit to the pair only when you have time for both in the same painting window.
- Single paints vs a bundled set: Single pots like SAP GREEN let you fill a specific gap in your palette for a low cost. A bundle such as PACK SWEET DREAMS + LADY VALERIOUS gives you a paint set plus a figure, which is efficient if you need broader coverage but redundant if you already own those colors. Audit your existing paints before buying a bundle; buy singles for gaps.
Catalog facts that affect your choice
- BlackBeard: 75mm scale figure made with high quality resin, unpainted, assembly required, with a SCALE75 painting reference included. Shows the shared SCALE75 resin-figure format, so you know what to expect in the box for other resin figures in the range.
- Abyssal bust: 1/10 scale resin figure, unpainted, assembly required, with a SCALE75 painting reference included. Confirms SCALE75 produces figures at very different scales, so verify scale per product rather than assuming the crusades figures match.
- DISPEL MAGIC: Acrylic medium to facilitate dilution and application of transparencies. Directly supports the glazing approach both figures need for believable cloth and smooth transitions.
- SAP GREEN: Premium creamy acrylic paint, 20ml, high coverage, suitable for brush and airbrush. A reliable warm anchor color for the Saracen palette that also works if you airbrush base coats.
Which figure should you paint first?
Best for
- Painters building a matched pair of opposing forces for display or gaming
- Anyone comfortable with resin prep, assembly, and thin glazing who wants a clear contrast exercise
- Hobbyists who already own a warm and cool palette and want to use both
Not for
- Painters who want a single pre-painted figure out of the box; both figures are unpainted and need assembly
- Anyone unwilling to verify scale on the product page before buying
- Beginners looking for a first-ever miniature; start with a simpler, larger surface before these
Paint the Templar to lock in your cool neutrals and glazing discipline, then build the Saracen Warrior in warm, richer tones so the two forces separate at a glance. Keep the basing and varnish identical, verify scale before you buy, and let color temperature do the storytelling.