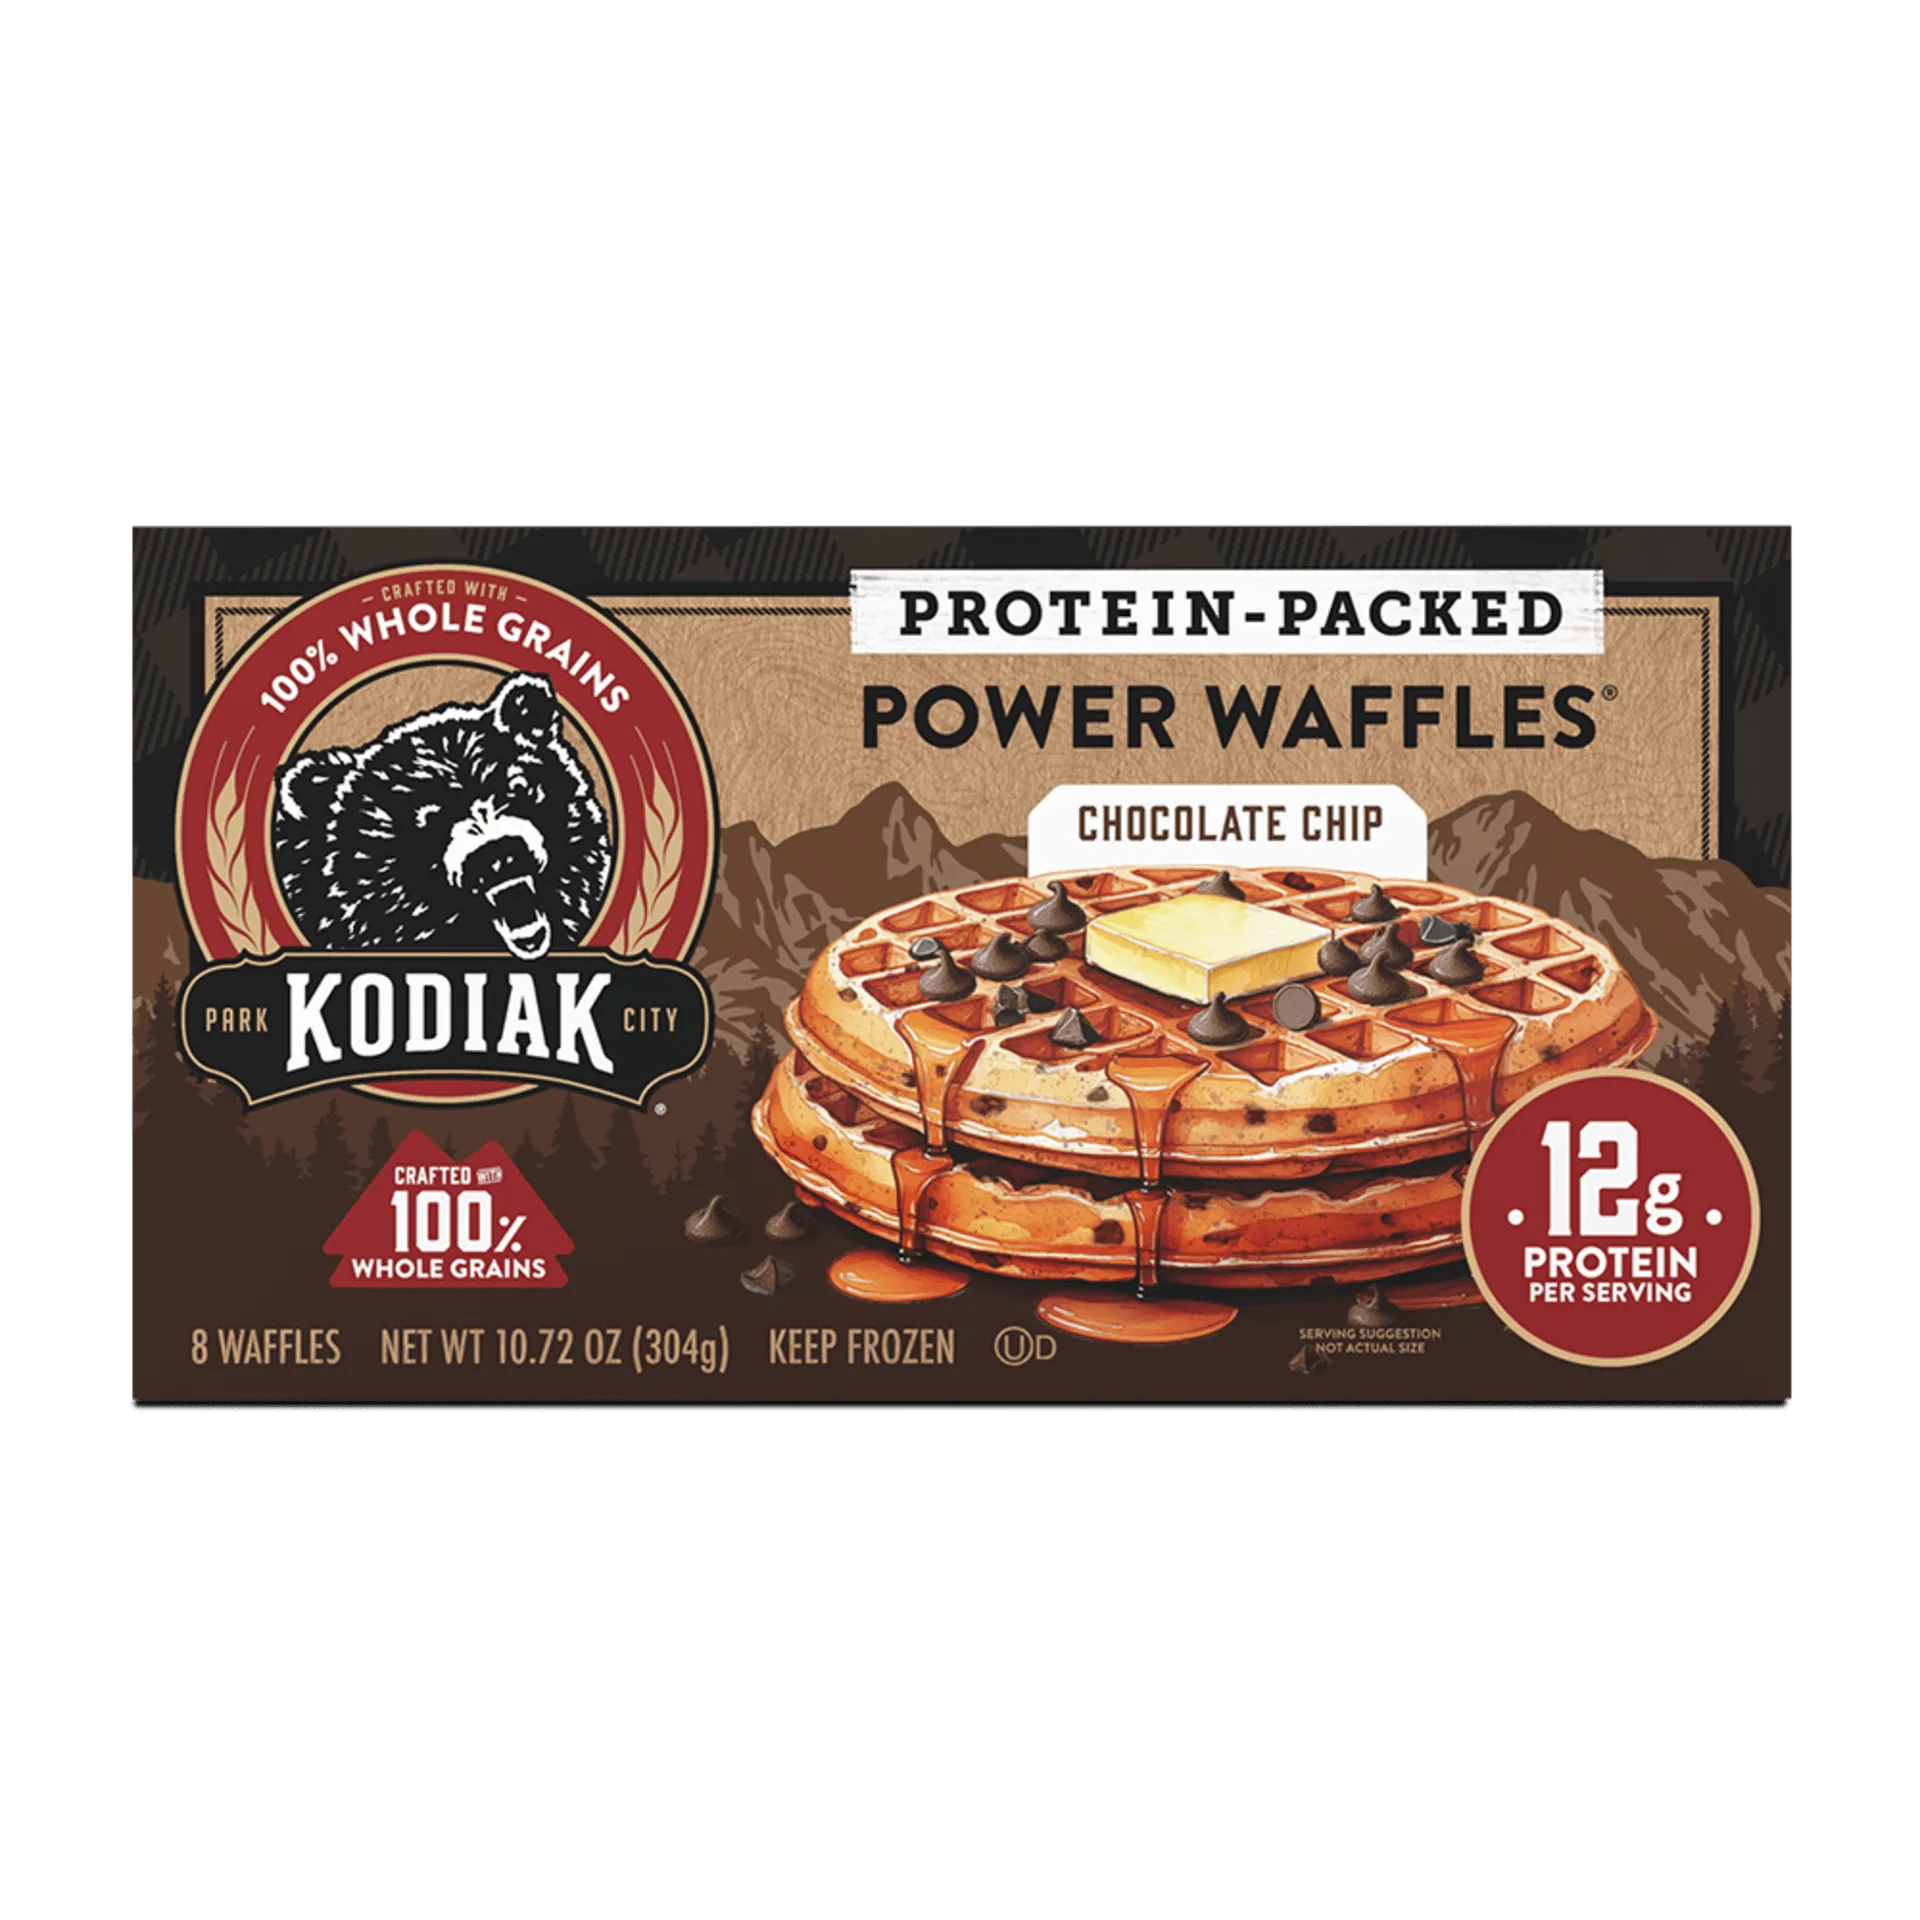
There’s nothing quite like the smell of waffles on a weekend morning, but getting that ideal balance of a crispy exterior and a tender, fluffy interior can be tricky—especially when you’re working with a protein-packed mix. Kodiak Cakes Power Waffles are designed to deliver whole grains and protein, but the batter behaves a little differently than standard pancake mix. With the right technique and a few simple adjustments, you can nail that golden, crunchy waffle every time.
Whether you’re using a classic round waffle iron or a Belgian-style deep-pocket model, these tips will help you get the most out of your Kodiak Cakes mix. We’ll cover batter consistency, iron temperature, cooking time, and a few pro tricks that make all the difference.
Start with the Right Batter Consistency
The key to crispy waffles lies in the batter. Kodiak Cakes Power Waffles mix is thicker than traditional waffle batter because of the added protein and whole grains. If you follow the box instructions exactly, you may end up with dense, heavy waffles. For a lighter texture, add an extra tablespoon or two of milk (or water) until the batter reaches a pourable but still slightly thick consistency—think heavy cream rather than pancake batter. This helps the waffles cook through evenly and develop a crisp shell.
Another tip: let the batter rest for 3 to 5 minutes after mixing. This allows the whole grains to absorb moisture and the gluten to relax, resulting in a more tender waffle. If you’re in a hurry, you can skip this step, but the texture won’t be quite as airy.
- Use whole milk or buttermilk for extra richness and a softer crumb.
- For dairy-free waffles, substitute almond or oat milk and add a teaspoon of apple cider vinegar to mimic buttermilk’s acidity.
Preheat Your Waffle Iron Properly
Temperature control is one of the most overlooked factors when making waffles. Most waffle irons have a dial with settings from 1 to 5 or a simple light that indicates readiness. For Kodiak Cakes Power Waffles, aim for a medium-high heat—around setting 4 or 5 on most machines. If the iron is too cool, the waffles will steam rather than crisp up; too hot, and the outside burns before the inside cooks through.
Give your waffle iron a full 5 to 7 minutes to preheat. Don’t rely solely on the indicator light—test the heat by flicking a drop of water onto the surface; it should sizzle and evaporate immediately. Once the iron is hot, lightly brush the plates with oil or use a non-stick spray for an extra-crisp crust.
- Avoid butter or margarine for greasing—they burn at high heat. Use avocado oil or coconut oil spray instead.
- If your waffle iron has a removable drip tray, empty it before preheating to prevent smoke.
Pour the Right Amount and Don’t Overfill
It’s tempting to fill the waffle iron to the brim, but that often leads to overflow and uneven cooking. For most standard waffle irons, about 1/2 cup of batter is ideal. Pour the batter into the center of the iron and let it spread naturally. Use a spatula to gently spread it to the edges if needed, but don’t press down—you want the waffle to rise and create those deep pockets.
If you’re using a Belgian waffle iron with deeper grids, you may need slightly more batter (about 3/4 cup). The goal is to have the batter just reach the edges without spilling over. Excess batter that oozes out will burn on the heating element and create smoke.
- Use a measuring cup or ladle for consistent portions every time.
- For mini waffle makers, reduce batter to about 1/4 cup per waffle.
Cook Until Golden Brown and Listen for the Steam
Cooking time varies by waffle iron, but a good rule of thumb is 4 to 5 minutes for a standard iron. Don’t open the lid too early—if you peek before the waffle is set, it can tear or stick. Instead, wait until the steam escaping from the sides slows down significantly. That’s a sign the waffle is nearly done.
For extra-crispy results, let the waffle cook for an additional 30 to 60 seconds after the indicator light turns green (or the beep sounds). This extra time allows more moisture to evaporate, creating a crunchier exterior. If you prefer softer waffles, remove them as soon as the light indicates they’re done.
- Use tongs to remove waffles—fork tines can scratch non-stick coatings.
- Place cooked waffles on a wire rack instead of a plate to prevent sogginess from trapped steam.
Keep Waffles Crispy While You Finish the Batch
If you’re making multiple waffles, the first ones can turn limp while waiting for the rest. To keep them crispy, preheat your oven to 200°F (95°C) and place the finished waffles directly on the oven rack or a baking sheet lined with a wire rack. This keeps them warm and dry without overcooking.
Avoid stacking waffles on top of each other—the trapped steam will soften the crust. If you’re serving a crowd, you can hold waffles in the oven for up to 20 minutes without losing quality. For longer storage, let them cool completely, then freeze in a single layer on a baking sheet before transferring to a zip-top bag.
- Reheat frozen waffles in a toaster or toaster oven for the crispiest texture.
- Skip the microwave for reheating—it makes waffles chewy and soft.
Flavor Variations and Topping Ideas
Once you’ve mastered the basic technique, it’s easy to customize your waffles. For a fruity twist, fold in a handful of blueberries or finely diced apples into the batter before cooking. The Blueberry Thick and Fluffy Power Waffles are a great starting point—just follow the same batter and cooking tips above. You can also add a teaspoon of vanilla extract or a pinch of cinnamon for extra warmth.

Blueberry Thick and Fluffy Power Waffles
For a decadent treat, try the Double Dark Chocolate Muffin Mix as a waffle base. Simply prepare the mix according to the waffle instructions (add an extra splash of milk to thin the batter), and top with fresh berries and a dollop of Greek yogurt. If you’re in a hurry, the Chocolate Chip Power Cakes mix also works beautifully in a waffle iron—just reduce the liquid slightly since the chocolate chips add moisture.
- Sprinkle chopped nuts or coconut flakes on top of the batter just before closing the lid for added crunch.
- Drizzle with warm maple syrup or a spoonful of peanut butter for a protein boost.
Making Kodiak Cakes Power Waffles in a waffle iron doesn’t have to be a guessing game. With the right batter consistency, a properly preheated iron, and a few simple tricks like resting the batter and using a wire rack, you can enjoy waffles that are crisp on the outside and tender inside every time. Experiment with different Kodiak Cakes mixes and toppings to find your favorite combination—whether it’s classic maple and butter or a loaded berry-and-cream creation.