Quick Answer
Clean fused quartz coverslips with a lint-free wipe and optical-grade solvent, handle them by the edges with clean forceps, and store them in a sealed, padded container away from dust and moisture. Avoid abrasive cloths, bare fingers, and stacking without separators.
Why Fused Quartz Coverslips Need Special Care
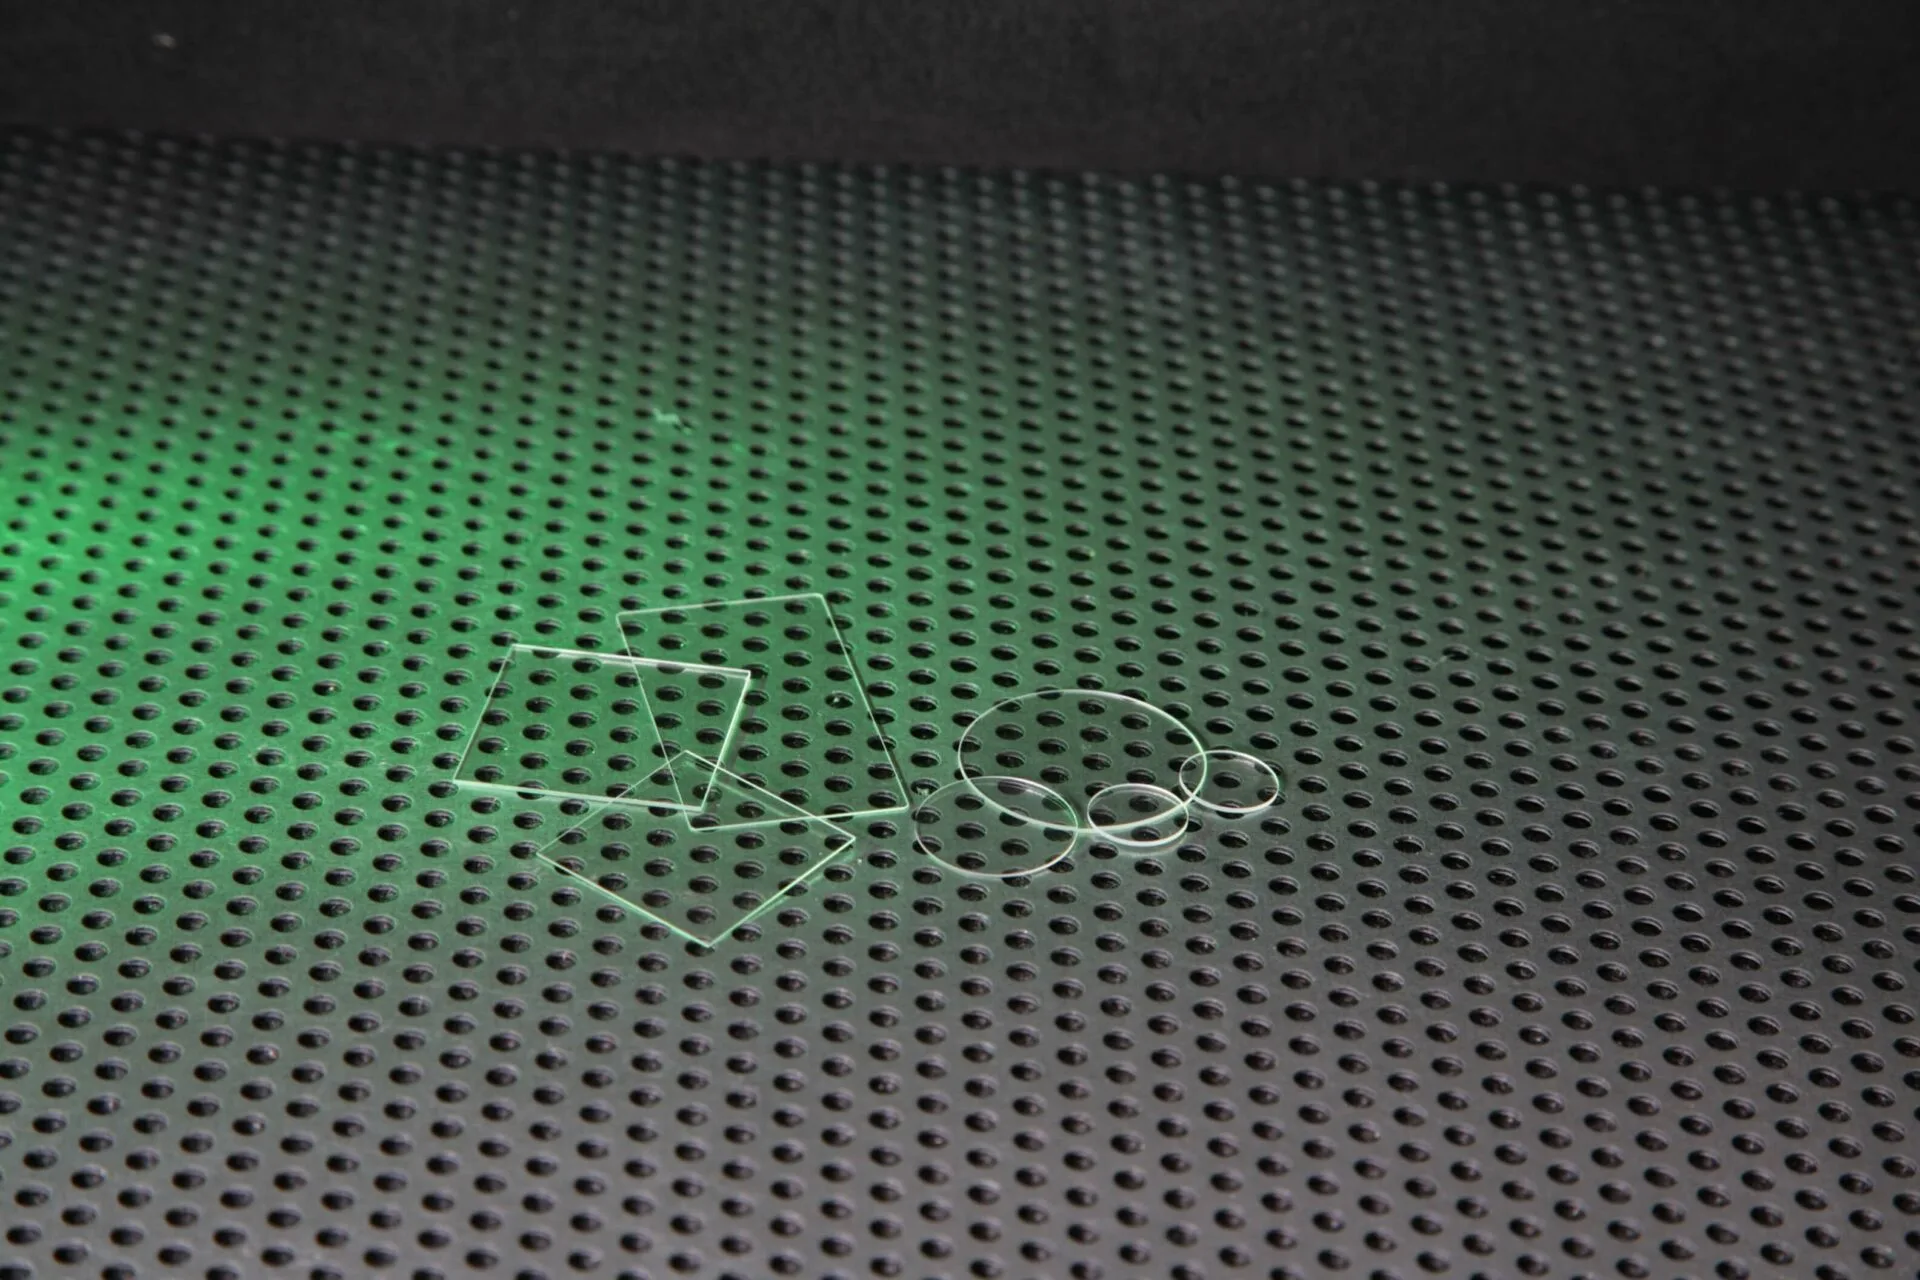
Fused quartz coverslips offer superior UV transmission, thermal stability, and chemical resistance compared to standard glass coverslips. However, their optical performance depends on a pristine surface. Even a single fingerprint or scratch can scatter light, reduce contrast, and compromise quantitative measurements in microscopy or spectroscopy. Because fused quartz is harder than soda-lime glass but still brittle, improper handling can lead to edge chips or complete breakage. Treating these coverslips as precision optics rather than disposable labware will save time and money.
Common Contaminants and Their Effects
Skin oils, dust, adhesive residues from packaging, and dried immersion oil are the most frequent contaminants. Skin oils absorb UV light and leave a fluorescent residue that can appear as background noise. Dust particles can scratch the surface during cleaning if dragged across the quartz. Adhesive residues from tape or labels may require solvent soaking. Knowing what you are dealing with helps you choose the right cleaning method without damaging the coverslip.
Step-by-Step Care Routine
- 1. Prepare a Clean Workspace: Work in a low-dust area, ideally a laminar flow hood or on a clean benchtop. Wear powder-free nitrile gloves and use clean, flat-tipped forceps. Lay down a clean, lint-free cloth or optical-grade tissue as a resting surface. Checkpoint: Ensure your forceps tips are free of debris or adhesive before touching the coverslip.
- 2. Inspect Before Cleaning: Hold the coverslip by the edge under a bright light or stereomicroscope. Look for dust, smudges, or scratches. If the coverslip appears clean, skip cleaning to avoid unnecessary handling. Only clean when contamination is visible. Common mistake: Cleaning a pristine coverslip can introduce scratches from particles in the cleaning material.
- 3. Dry Clean First: Use a stream of filtered compressed air or a dedicated anti-static blower to remove loose dust. Hold the coverslip at an angle and blow from the center outward. Do not use canned air that may contain propellant residue. Checkpoint: If dust remains after blowing, proceed to wet cleaning. Never rub dry dust across the surface.
- 4. Wet Clean with Solvent: Place a few drops of optical-grade isopropyl alcohol or acetone on a lint-free wipe (e.g., Kimwipe or microfiber cloth). Gently wipe the coverslip in one direction, from the center to the edge. Use a fresh area of the wipe for each pass. Do not apply heavy pressure. Common mistake: Using household glass cleaner or ethanol with additives leaves a residue that affects UV transmission.
- 5. Dry and Final Inspection: Allow the solvent to evaporate completely in a clean environment. Re-inspect under light for streaks or particles. If streaks remain, repeat the wet cleaning step with a fresh wipe. For stubborn residues, soak the coverslip in solvent for 5–10 minutes before wiping. Checkpoint: A perfectly clean coverslip should show no visible residue and should not leave a fingerprint when touched with a clean glove.
- 6. Store Properly: Place cleaned coverslips in a sealed, padded container such as a slide box or a dedicated quartz coverslip case. Use individual slots or separate coverslips with lint-free paper. Store in a dry, temperature-stable environment away from direct sunlight. Common mistake: Stacking coverslips without separators can cause scratches from friction and trapped particles.
Product Spotlight
- Fused Quartz Coverslip #No5: Part No CFQ1050 – https://uqgopticser.com/products/fused-quartz-cover-slip-no5-7-fbb34faa1181c186a2347e3c-1696552https://uqgopticser.com/products/fused-quartz-cover-slip-no5-2-aedc2c6fdb2b0374e2720230-1696553https://uqgopticser.com/products/fused-quartz-cover-slip-no5-5-772702f8cbbe05941d86e9d1-1696555https://uqgopticser.com/products/fused-quartz-cover-slip-no5-4-c4858c529bdc254274153554-1696558Fused Quartz Coverslip #No5, thickness 0.50 mm, diameter 10 mm. Available from UQG Optics with worldwide shipping. The 0.50 mm thickness provides extra rigidity, making it easier to handle and less prone to flexing during cleaning. It is a good choice for applications where durability is a priority over ultra-thin optical path length.