Quick answer
For most people, especially beginners, a dedicated lash applicator is the easier tool to apply false lashes because its curved end grips the lash band and its angled rubber tip presses the lash down without scratching. Tweezers give you more pinpoint control for accents or touch-ups, but their rigid metal tips can slip, poke, or crush delicate bands. If you want one tool that covers the whole process, start with an applicator.
How a lash applicator changes the application
A lash applicator is designed as a two-step tool. The curved end grips and holds the lash so you can place it along your real lash line; the angled rubber tip then gently presses the lash down and secures it at the corners of your eyelids. That rubber tip is the key difference: it distributes pressure instead of concentrating it like a metal tweezer point, which reduces the chance of bending the band or poking your lid. Because the tool is longer than tweezers, you also get a clearer view of the lash line in a mirror, which helps you set the strip straight the first time.
Where tweezers still win
Tweezers are not obsolete. Their fine tips let you isolate a single cluster, nudge a corner that lifted, or remove a stray lash without disturbing the rest of the strip. If you already have a favorite pair of slant-tip tweezers, you can absolutely apply lashes with them, but you will need a steadier hand. The trade-off is control versus comfort: tweezers offer precision, while an applicator offers a safer, more forgiving grip for full strips and underlash clusters.
Matching the tool to the lash format
The lash format matters as much as the tool. Press-on pre-glued extensions, for example, are placed under natural lashes so the bands cannot be seen. That underlash position is awkward to reach with straight tweezers because you are working from below and need to press upward. An applicator with a curved end and rubber tip is better suited to that angle. Traditional strip lashes sit on top of the lash line, where tweezers can work fine if you are comfortable. For a full routine that covers both, the applicator is the more versatile pick.
Trade-offs: applicator vs tweezers at a glance
- Grip and placement: An applicator's curved end cradles the lash band so it stays put while you position it. Tweezers pinch at a single point, which can rotate the band or leave one end hanging. Choose the applicator if you struggle to keep the strip level during placement.
- Pressing and sealing: The applicator's angled rubber tip presses the lash down gently along the lash line and corners. Metal tweezer tips can scratch or press too hard, especially on thin underlash bands. Use the rubber tip for the final press; reserve tweezers for lifting a corner that needs adjusting.
- Precision and touch-ups: Tweezers let you isolate one cluster or remove a stray lash without disturbing the rest. An applicator is bulkier, so it is less useful for micro-adjustments after the lash is on. Keep both tools if you wear accents or individual clusters; otherwise the applicator covers most needs.
Tools and lashes that pair well
- Lash Applicator: The Lash Applicator has a curved end to grip and hold the lash and an angled rubber tip to gently press it down and secure it along the lash line and corners. That two-ended design replaces both the gripping and pressing steps you would otherwise do with fingers or tweezers, which is why it is easier for beginners to control.
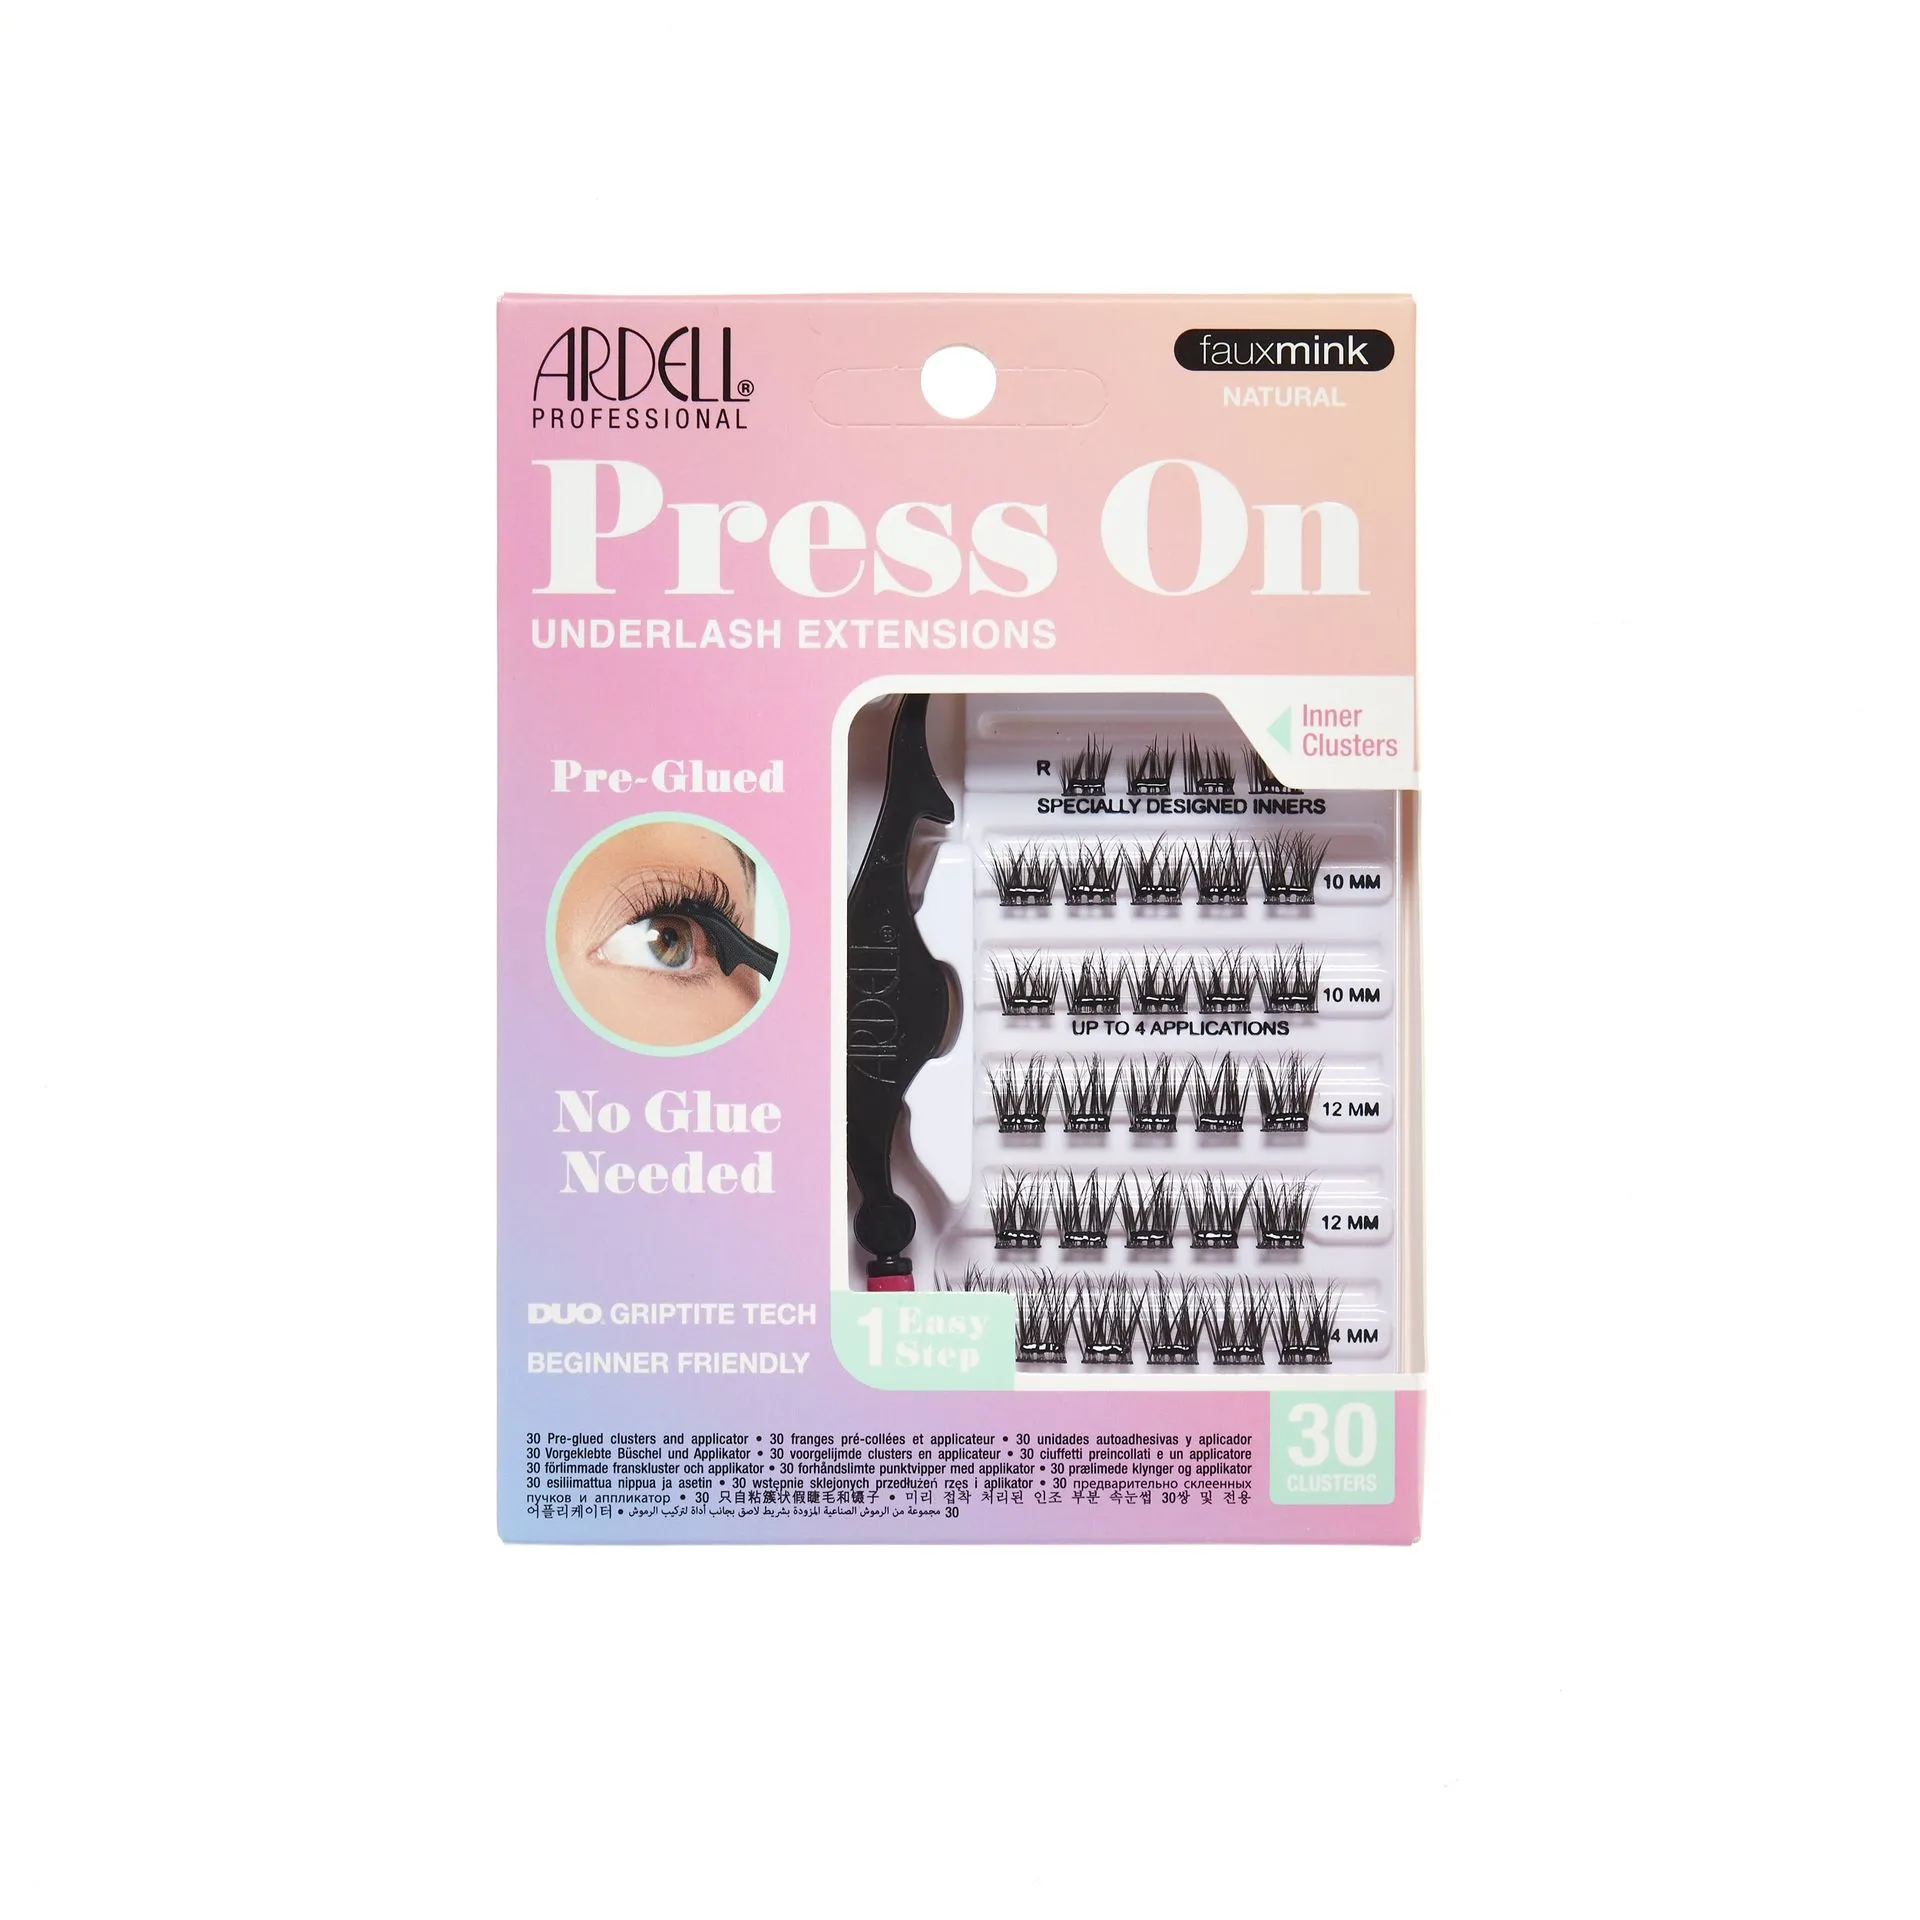
- Press On Fauxmink Natural 30 ct + Applicator: Press On Fauxmink Natural 30 ct + Applicator includes 30 clusters in 4 lengths and is applied under natural lashes so the bands cannot be seen. Underlash clusters are hard to place with rigid tweezers because you press upward from below; the included applicator and the curved grip make that angle much more manageable.
- Press On Fauxmink Natural, 100-Count: Press On Fauxmink Natural, 100-Count is a 100-cluster pack of pre-glued underlash extensions that press on in one step with no glue. If you apply lashes often, a larger cluster count means you can practice with the applicator without running out, and the no-glue format removes one more variable while you learn the motion.
Which tool should you use?
Best for
- Beginners applying full strips or underlash clusters for the first time
- Anyone who wears press-on pre-glued extensions placed under the natural lashes
- People who want one tool that grips and presses without switching hands
Not for
- Detail work like isolating a single accent lash or removing one stray cluster
- Users who already have a tweezer technique that works and do not want a second tool