Quick answer
A leather paint set is a versatile tool for refreshing worn leather, covering scratches, or adding custom color to bags and accessories. With the right preparation and a steady hand, you can achieve a durable, professional-looking finish at home.
Why leather paint beats dye for small projects
Leather paint sits on the surface rather than soaking in like dye, which makes it ideal for touch-ups, small details, and projects where you want to change color without altering the leather's natural texture. It's also easier to control and correct mistakes, since you can paint over an area without worrying about uneven absorption. For larger, all-over color changes, dye might be a better choice, but for most bag repairs and custom details, paint is the more forgiving option.
Know your leather before you paint
Not all leather behaves the same. Smooth, finished leather takes paint well with minimal prep, while porous or unfinished leather may need a sealer first to prevent the paint from soaking in unevenly. Suede and nubuck are poor candidates for painting because the nap makes the finish look blotchy. If you're unsure, test on a hidden area—like an inside seam or the bottom edge—before committing to a visible spot.
How to paint a leather bag: step-by-step
- Clean the leather surface: Wipe the area with a damp cloth and a mild soap (like saddle soap) to remove dirt, oils, and any old polish. Let it dry completely. A common mistake is painting over residue, which prevents the paint from adhering and leads to peeling. Check that the surface is completely dry before moving on.
- Mask off areas you don't want painted: Use painter's tape to protect hardware, zippers, and adjacent leather that should stay unpainted. This is especially important when adding details or painting near edges. Skipping this step often results in paint on metal or stitching that is hard to remove. Press the tape down firmly to avoid paint bleeding underneath.
- Prepare your paint and brushes: Stir the paint thoroughly—don't shake, as that creates bubbles. If you need a custom color, mix small amounts on a palette or piece of cardboard. Use the included brushes: a wider one for large areas and a finer one for details. A common mistake is using too much paint on the brush, which leaves visible brush strokes. Test your mixed color on a scrap piece of leather or cardboard first.
- Apply thin, even coats: Apply a thin layer of paint using smooth, even strokes. Let it dry completely before adding another coat. Two to three thin coats give better coverage and durability than one thick coat. Rushing between coats can cause the paint to lift or create an uneven surface. Wait at least the manufacturer's recommended drying time between coats.
- Seal the paint for durability: Once the final coat is dry, apply a leather sealer or finisher to protect the paint from scratches and moisture. This step is optional but highly recommended for bags that get daily use. Without a sealer, painted areas may wear off faster on high-contact spots like handles or edges. Test the sealer on a hidden area to ensure it doesn't alter the color.
- Let it cure fully before use: Allow the painted bag to cure for at least 24–48 hours before using it. Even if the paint feels dry to the touch, it can still be soft underneath. A common mistake is using the bag too soon, which can leave fingerprints or indentations in the finish. Store the bag in a dust bag or open area away from dust while curing.
Product spotlight
-
Leather Paint Set: The Klum House Leather Paint Set includes five mixable colors—Black, White, Red, Yellow, and Turquoise—plus two brushes. You can mix custom shades and have the right brush for both broad coverage and fine detail, so you don't need to buy extra tools for most projects.
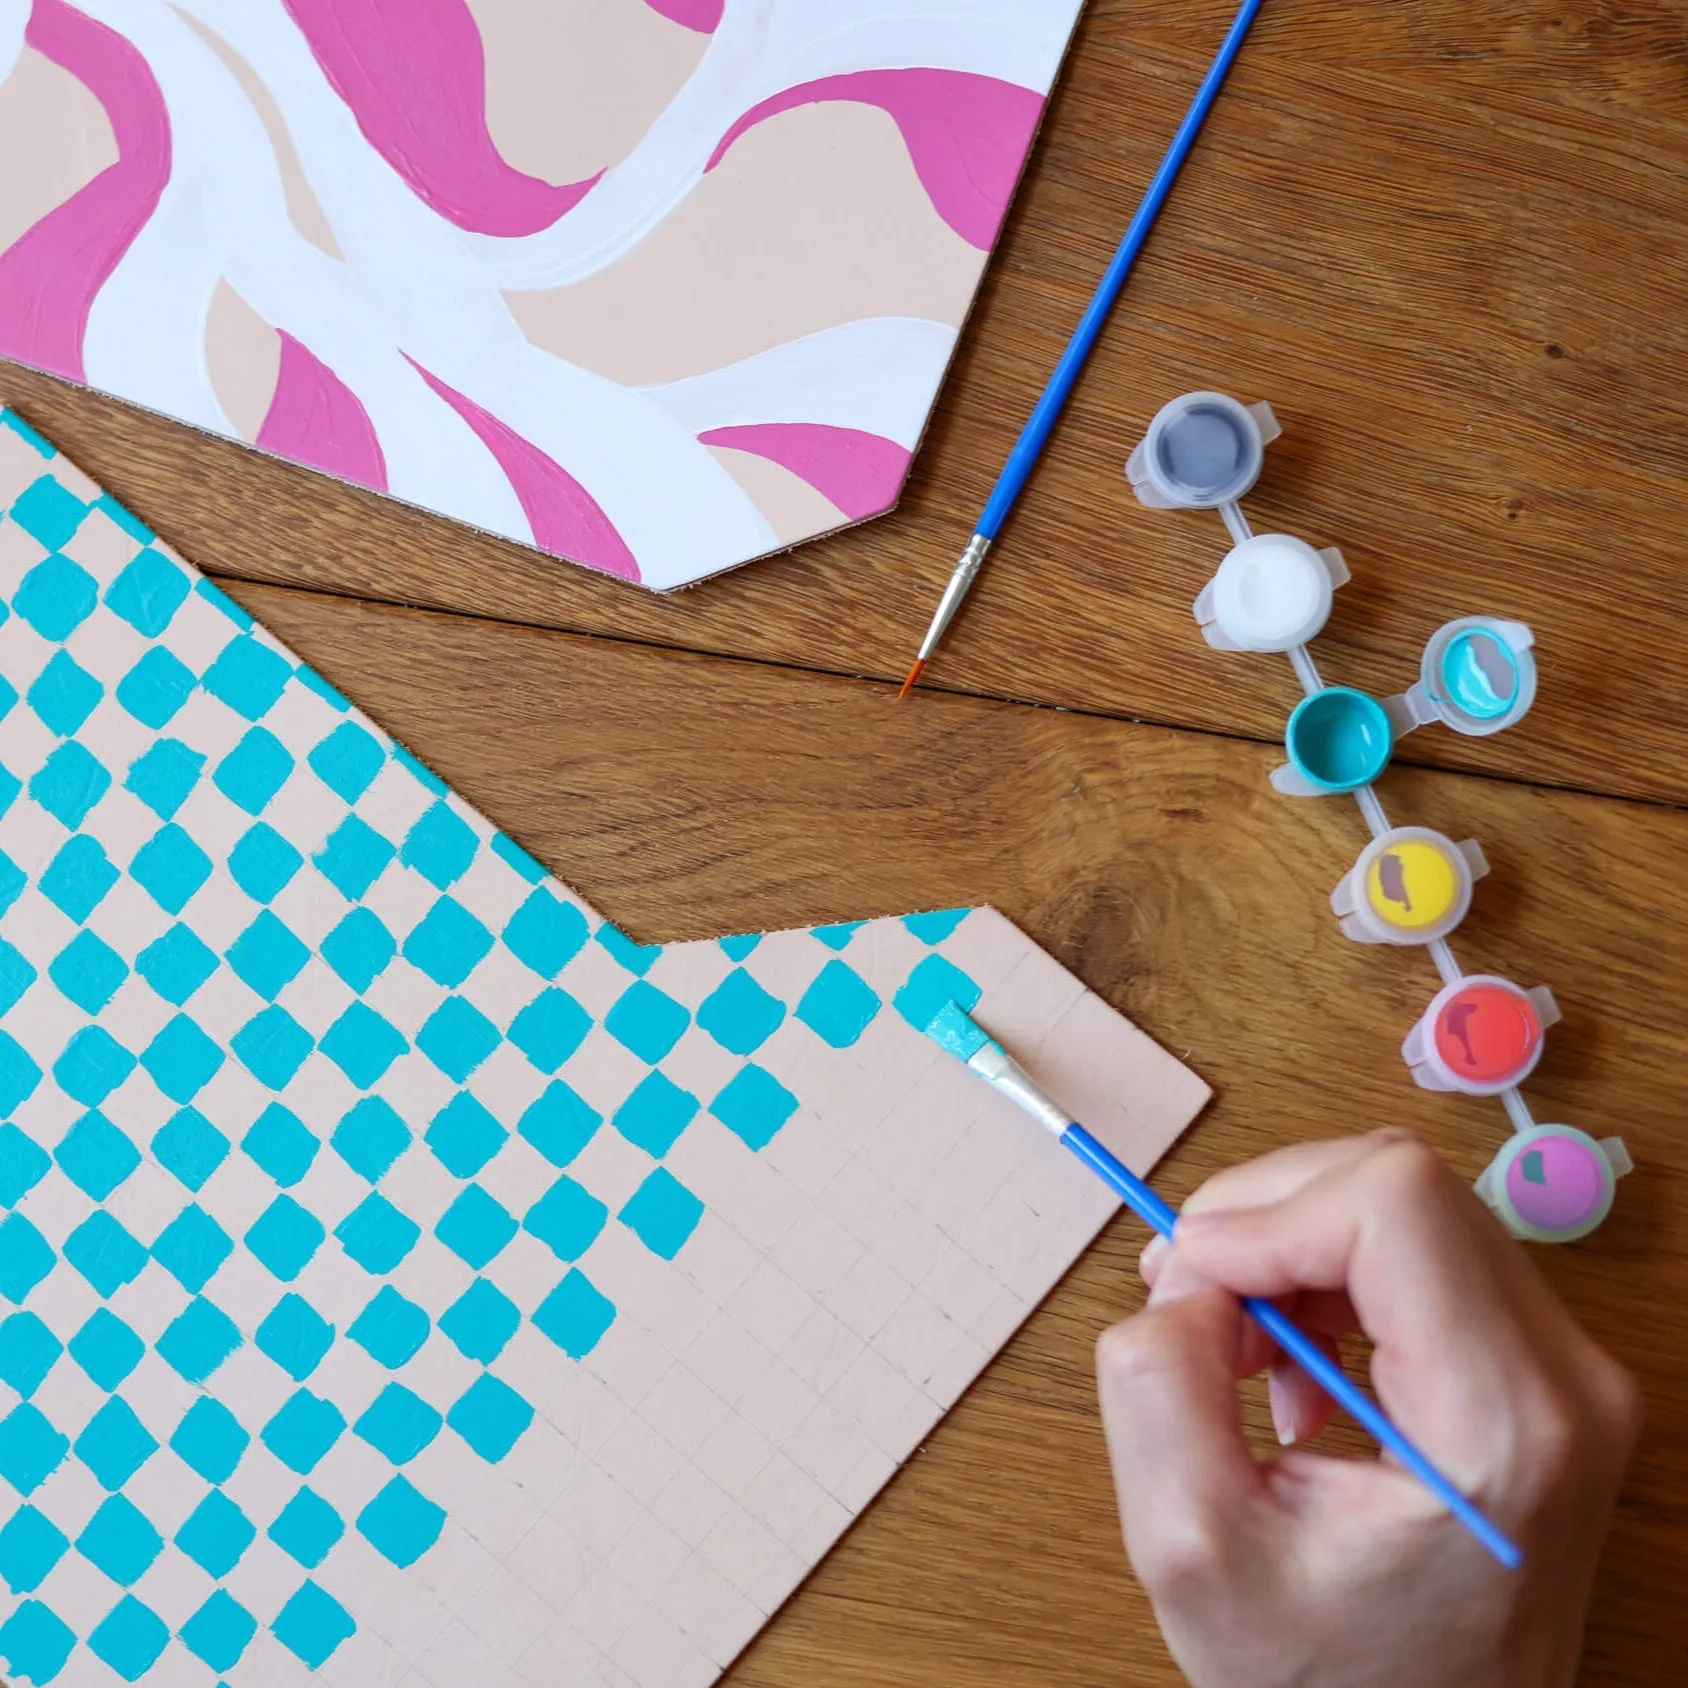
Leather Paint Set