Quick answer
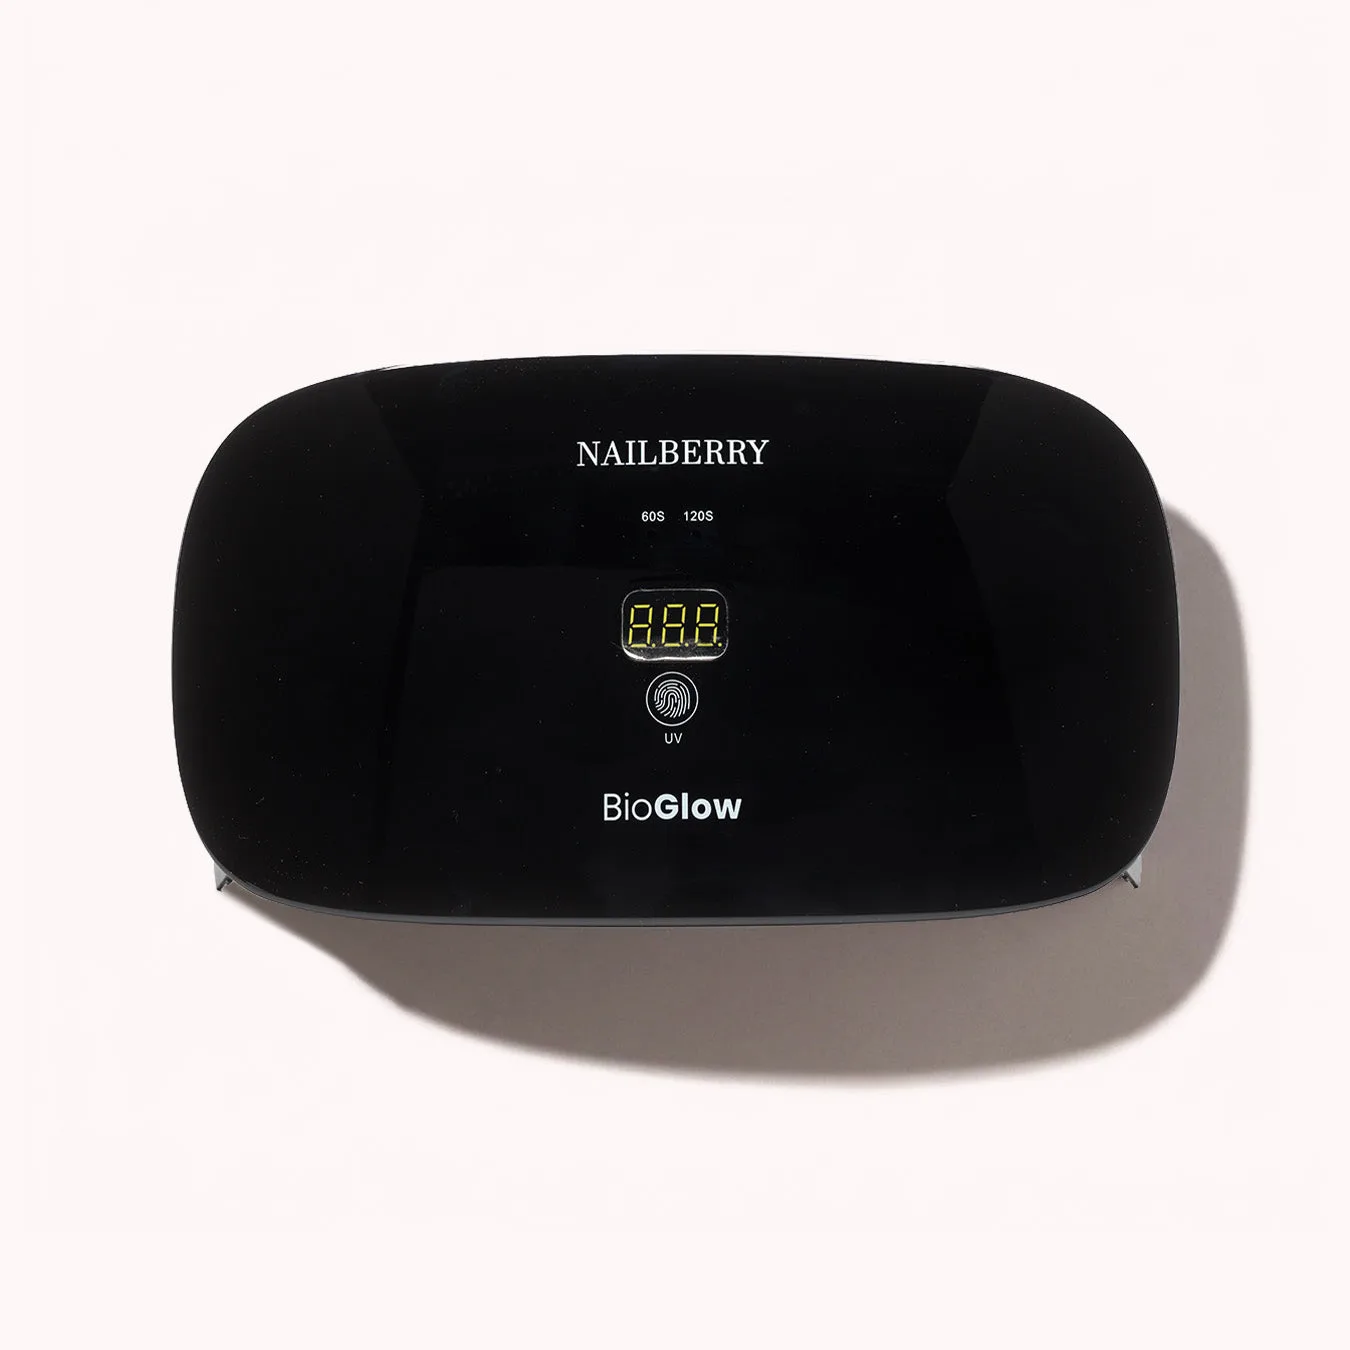
To get salon-quality results from an LED lamp, prep and dehydrate the nail plate, apply thin coats, and place your hand so every nail sits directly under the lamp's LEDs. Cure each coat for the full time your gel brand specifies, usually 30–60 seconds, and never pull your hand out early. A 48W lamp with quartz glass encapsulated LEDs, like the BioGlow LED Lamp, cures more evenly and reduces heat build-up.
Why LED curing fails even when your polish is good
Under-curing is the most common reason an at-home gel manicure chips, peels, or feels tacky after a few days. It usually happens because the lamp's power output is too low, the nails are not positioned directly under the LEDs, or the gel is applied too thickly for the light to penetrate. A higher-wattage lamp with a higher wavelength and quartz glass encapsulated LEDs performs more effectively than standard LED lamps, which is why the BioGlow LED Lamp (48W) is built for even, fast curing with reduced heat build-up and a lamp lifespan that is 4X longer. If your current lamp leaves the inhibition layer wet or your polish wrinkles, the lamp or your placement is the likely bottleneck.
Prep the nail so the gel has something to grip
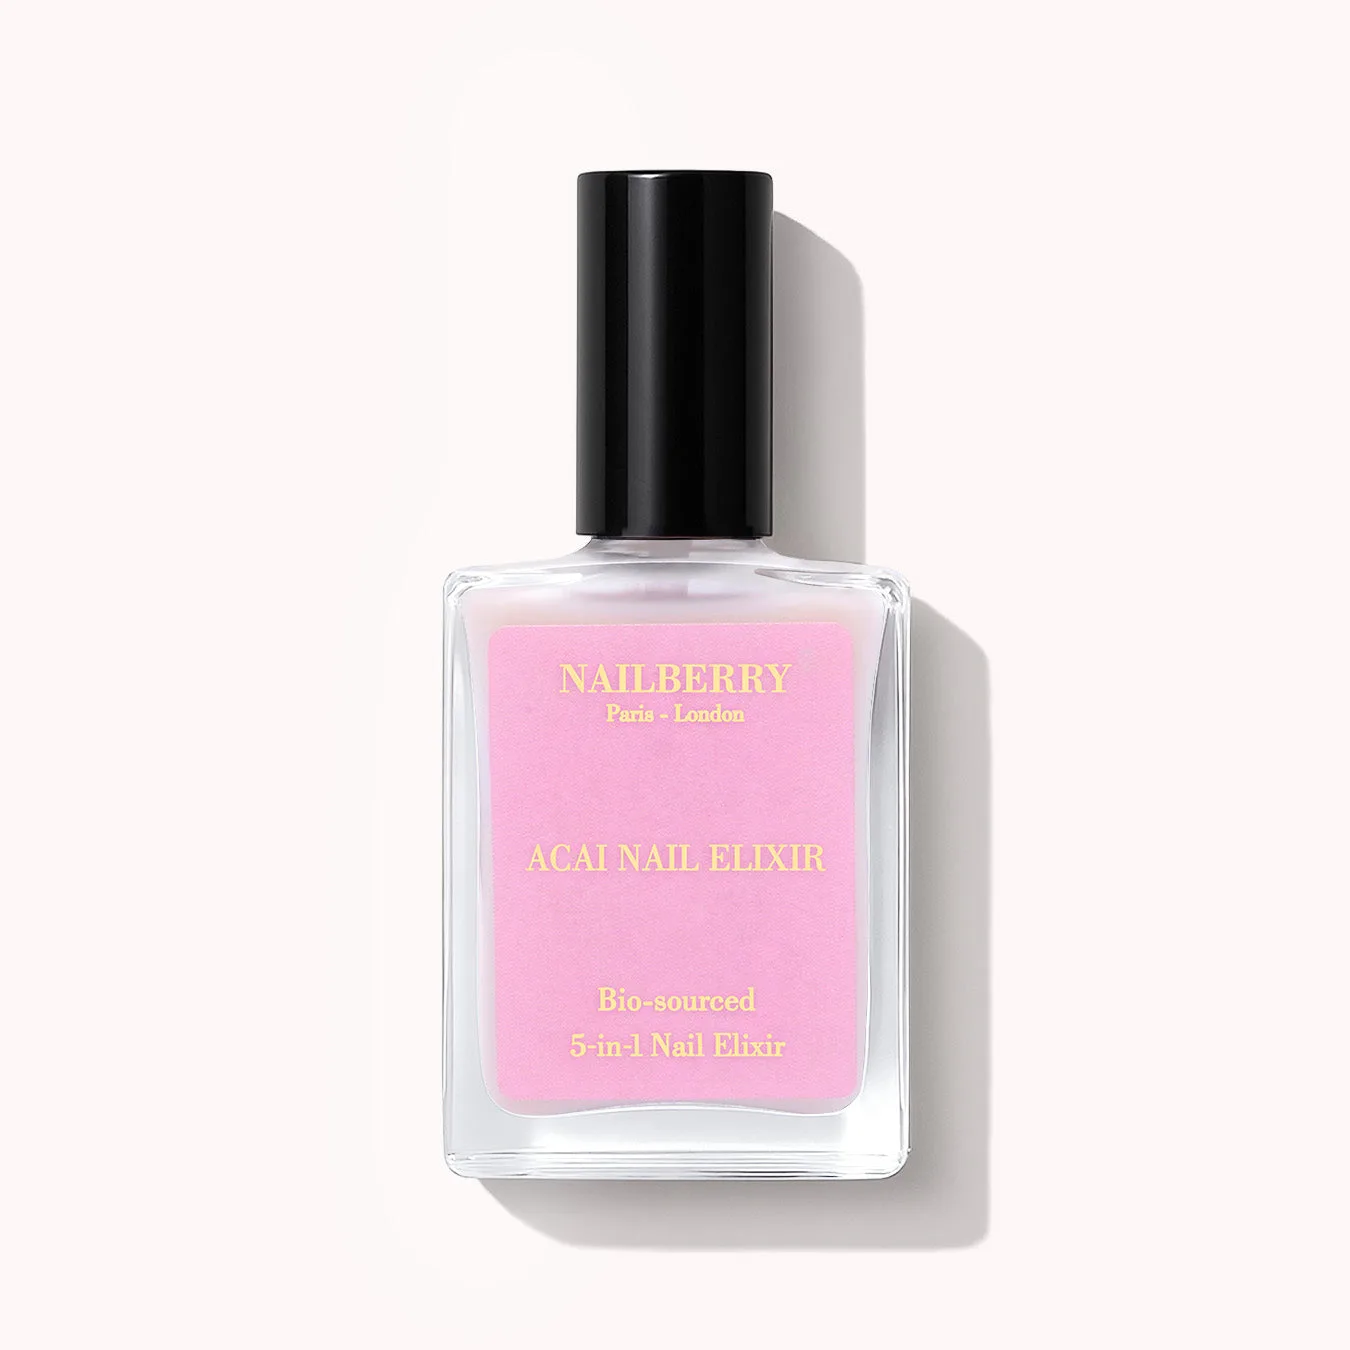
Curing only works if the gel bonds to a clean, dry nail plate. Push back cuticles, lightly buff the shine off the natural nail, and wipe away dust and oils with a lint-free pad. If your nails are dry or damaged, a strengthening base coat and treatment can improve the surface the gel sits on. The Acai Nail Elixir is a 5-in-1 base coat and treatment that is 78.5% naturally derived and contains a patented active proven to improve nail condition and reduce breakage, so it can double as a prep step for weaker nails. Let it dry fully before moving on to gel color.
clean
Choose the right lamp settings and placement
Most LED lamps have one or two preset timers, not adjustable power. The setting you choose should match the gel system you are using, so read the polish instructions before you start. Place your hand flat on the floor of the lamp with the nails facing the LEDs, not angled toward the opening. If your lamp has a removable base, take it out for pedicures so the toes sit directly under the light. Keep the lamp on a stable surface and avoid moving your hand during the cycle, because even a small shift can leave one side of the nail under-cured.
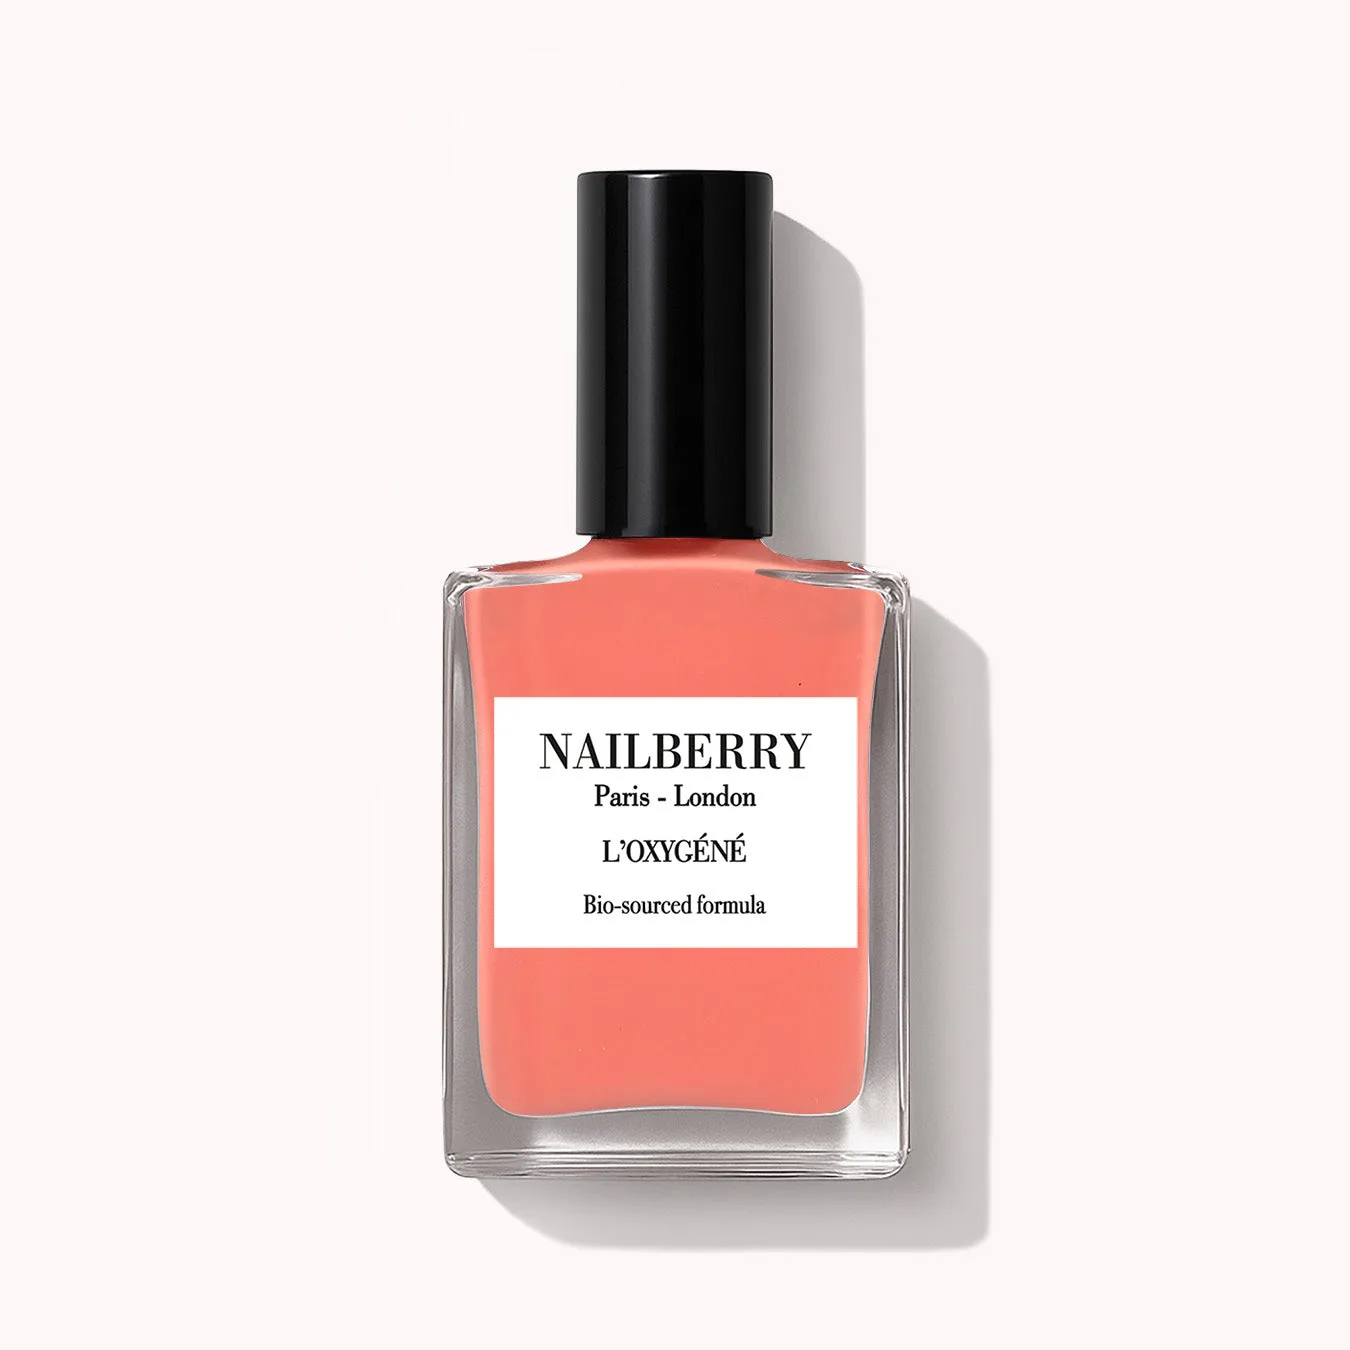
For color, thin coats cure more reliably than thick ones. Two thin coats of a shade like Peony Blush, an opaque light coral from the L'Oxygene range, will cure more evenly than one heavy coat and deliver a smooth, streak-free finish. The patented formula is designed to avoid clumping, but it still needs a full cure between coats.
Step-by-step LED curing routine
- 1. Prep and dehydrate the nail plate: Push back cuticles, buff the shine, and wipe each nail with a lint-free pad to remove oils and dust. Apply a strengthening base coat and treatment such as Acai Nail Elixir if nails are dry or damaged, and let it dry completely. Checkpoint: the nail should look matte and feel dry before any gel touches it.
- 2. Apply a thin base coat and cure: Brush on a thin, even layer of gel base coat, cap the free edge, and place your hand flat in the lamp with nails facing the LEDs. Cure for the full time your gel brand recommends, typically 30–60 seconds. Common mistake: pulling your hand out a few seconds early, which leaves the base tacky and shortens wear.
- 3. Build color in thin coats: Apply color in two thin coats rather than one thick one. A shade like Peony Blush applies smoothly and streak-free in a single sweep, but each coat still needs a full cure before the next. Keep the hand centered so every nail sits directly under the light. Checkpoint: if the color wrinkles or drags, the coat is too thick or the previous layer was not fully cured.
- 4. Seal with top coat and cure again: Finish with a gel top coat, cap the edges, and cure for the full cycle. If your lamp has a low-heat mode, use it for the top coat to reduce the warming sensation on thin or sensitive nails. Common mistake: skipping the free edge, which is where chips and peeling usually start.
- 5. Check for tackiness and finish: After curing, the inhibition layer may feel slightly sticky, which is normal for many gels. Wipe with cleanser if your system requires it, then inspect each nail under bright light for dull or soft spots. Next step: if any nail still feels soft, cure it for one more full cycle rather than adding more polish.
Products that support a better cure
- BioGlow | LED Lamp: BioGlow LED Lamp combines a higher 48W wattage, emits power at a higher wavelength, and uses quartz glass encapsulated LEDs to perform more effectively than other LED lamps. More even light output means fewer under-cured spots, less heat build-up, and a lamp that lasts 4X longer while helping protect nails from chips, peeling, and under-curing.
- Acai Nail Elixir: Acai Nail Elixir is a 5-in-1 base coat and treatment that is 78.5% naturally derived, fortified with nourishing oils and antioxidant-rich actives, and contains a patented active proven to improve nail condition and reduce breakage. Using it as a prep or base layer strengthens and nourishes dry or damaged nails, giving gel something healthier to bond to and reducing the chance of lifting.
- Peony Blush: Peony Blush is an opaque light coral from the L'Oxygene range whose patented formula delivers a smooth, streak-free professional finish in a single sweep and will not clump. A formula that applies evenly in thin coats cures more predictably under an LED lamp, so you get a clean, salon-style color without thick, under-cured layers.