Quick answer
To mount your Byrna Level II holster on a backpack or vest, you need the Level II Holster MOLLE Adapter (product ID 679137). It replaces the standard paddle grip with a MOLLE-compatible connector. The process takes about five minutes: remove the paddle, attach the adapter to the holster body, then weave it through MOLLE webbing. Always confirm your holster is the Level II model, as this adapter is not designed for other Byrna holsters.
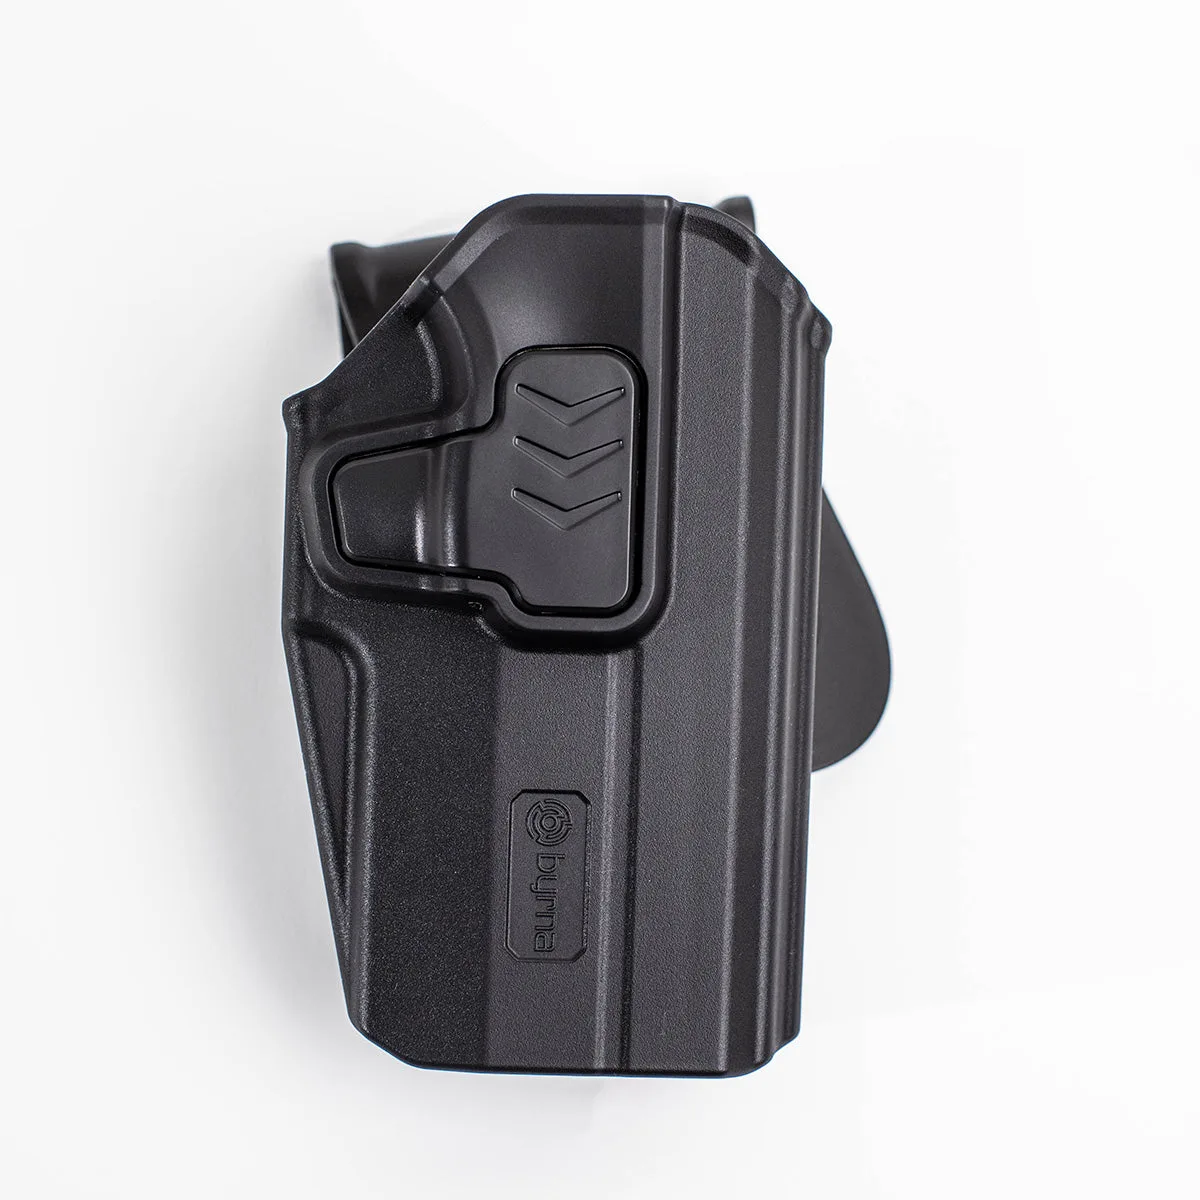
Byrna Level II holster
Why use a MOLLE adapter instead of the paddle?
The standard Level II holster uses a paddle that tucks into your waistband. That works well for belt carry, but it shifts around when you're wearing a backpack or a tactical vest. The MOLLE adapter locks the holster onto webbing so it stays put. This matters if you're hiking, biking, or wearing gear that doesn't have a sturdy belt. The adapter is also useful when you want to keep your waist free for other equipment. Just remember: the adapter is only for the Level II holster, not for the Nylon Waistband Holster or other models.
Check your MOLLE webbing before you start
Not all MOLLE panels are the same. The adapter needs at least two horizontal rows of webbing that are 1 inch apart, and the vertical straps should be wide enough to pass the adapter's hooks through. If your backpack has loose or thin webbing, the holster may wobble. Test by threading a pen or a small screwdriver through the webbing first. If it slides easily, you're good. If the webbing is too tight or too loose, consider a different mounting spot. Also, make sure the area behind the webbing is flat; a bulky seam can push the holster away from your body.
Step-by-step MOLLE mounting
- Remove the paddle from your Level II holster: Press the retention tab or unscrew the paddle according to your holster's design. Keep the screws and paddle in a safe place in case you want to switch back. Checkpoint: The holster body should now have a flat back with mounting holes.
- Attach the MOLLE adapter to the holster body: Align the adapter's holes with the holster's mounting points. Insert the screws and tighten them evenly. Do not overtighten, as you can strip the threads. Common mistake: Forcing the adapter onto a non-Level II holster. It will not fit other models.
- Position the holster on your bag or vest: Decide where you want the holster: strong side, cross-draw, or chest. For a backpack, the side panel or waist belt works well. For a vest, the upper chest or side webbing is common. Checkpoint: Make sure the holster does not interfere with backpack straps or arm movement.
- Weave the adapter through the MOLLE webbing: Start by threading the adapter's horizontal hooks through the top row of webbing, then the bottom row. If your adapter has straps, weave them in an over-under pattern. Pull tight. Common mistake: Skipping the bottom row. That allows the holster to flop forward.
- Secure and test retention: Once the adapter is woven, tug on the holster firmly. It should not shift more than a quarter inch. If it does, re-weave or add a strap. Then insert your Byrna launcher and practice drawing. Checkpoint: The holster should hold the launcher securely but allow a smooth draw.
Product facts
- Level II Holster - MOLLE Adapter: The Level II Holster MOLLE Adapter is an add-on that converts the Byrna Level II holster from the standard paddle grip to a MOLLE compatible connector. Holster not included. You must already own the Level II holster to use this adapter. It is not a standalone holster.
- Byrna Nylon Waistband Holster (Bundle Item): The Byrna Nylon Waistband Holster is compatible with Byrna CL, SD, EP, HD and Hi Viz launchers without accessories or with only one accessory installed. It will not fit LE, SDXL, HDXL, or SD/HD launchers with a Boost adapter and a rail-mounted accessory. If you are considering a waistband holster instead of a MOLLE setup, check your launcher model and accessories first. The MOLLE adapter is a separate solution for the Level II holster.