Quick Answer
Installing a LifeStraw Community replacement tap is straightforward: remove the old tap, clean the mounting area, insert the new tap with the provided gasket, and tighten securely. Regular maintenance—checking for leaks, cleaning the tap, and replacing worn parts—keeps your dispenser safe and functional for years.
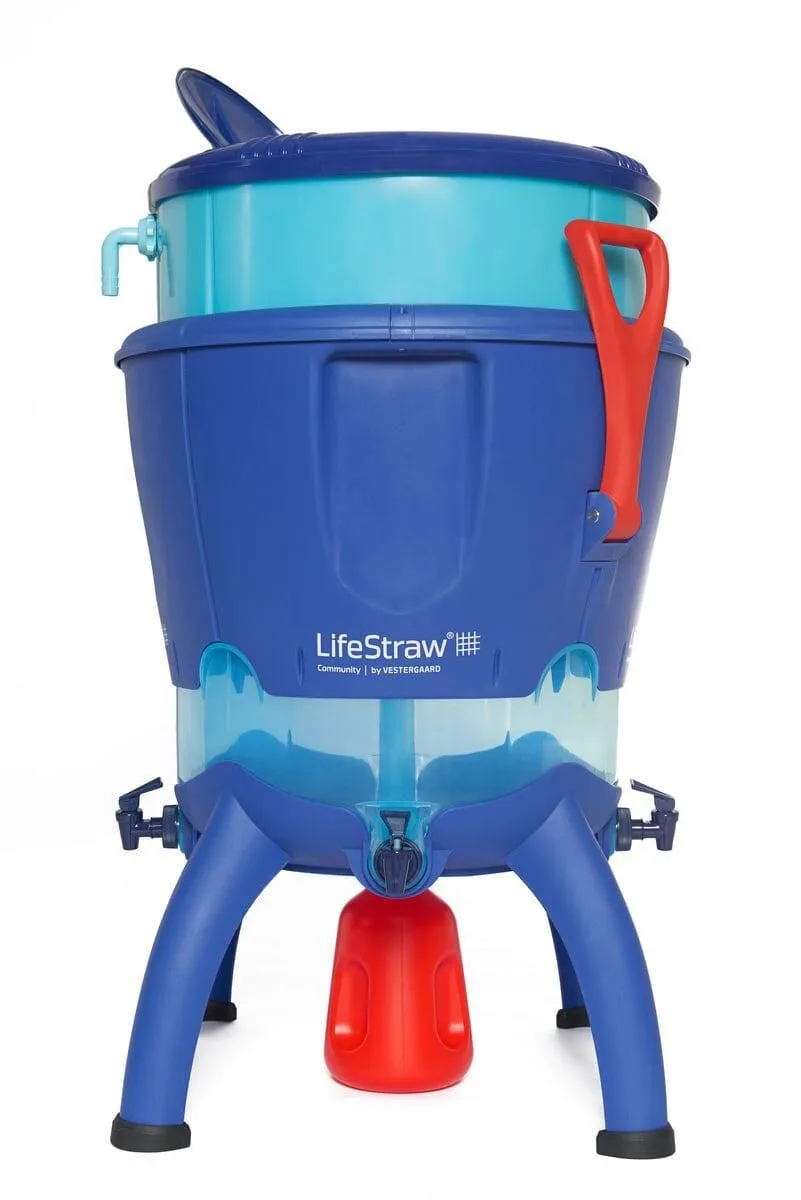
LifeStraw Community
If your LifeStraw Community dispenser has a worn or leaking tap, replacing it is a simple DIY task that restores reliable performance. This guide walks you through the installation process and explains how to maintain your tap to avoid future issues. Whether you're setting up a new unit or swapping out an old faucet, these steps apply to most LifeStraw Community dispensers.
We'll also cover common mistakes, such as over-tightening or misaligning the tap, and share tips for extending the life of your replacement part. With a few basic tools and a little care, you can keep your community water point in top shape.
Understanding Your LifeStraw Community Tap
The tap on your LifeStraw Community dispenser is the final control point for delivering filtered water. Over time, repeated use can cause wear, leaks, or stiffness. Replacing it with a genuine LifeStraw Community Replacement Filter ensures compatibility and maintains the same safety standards. Always check that the replacement tap matches your model—most Community dispensers use a standard fitting, but verifying beforehand saves time.
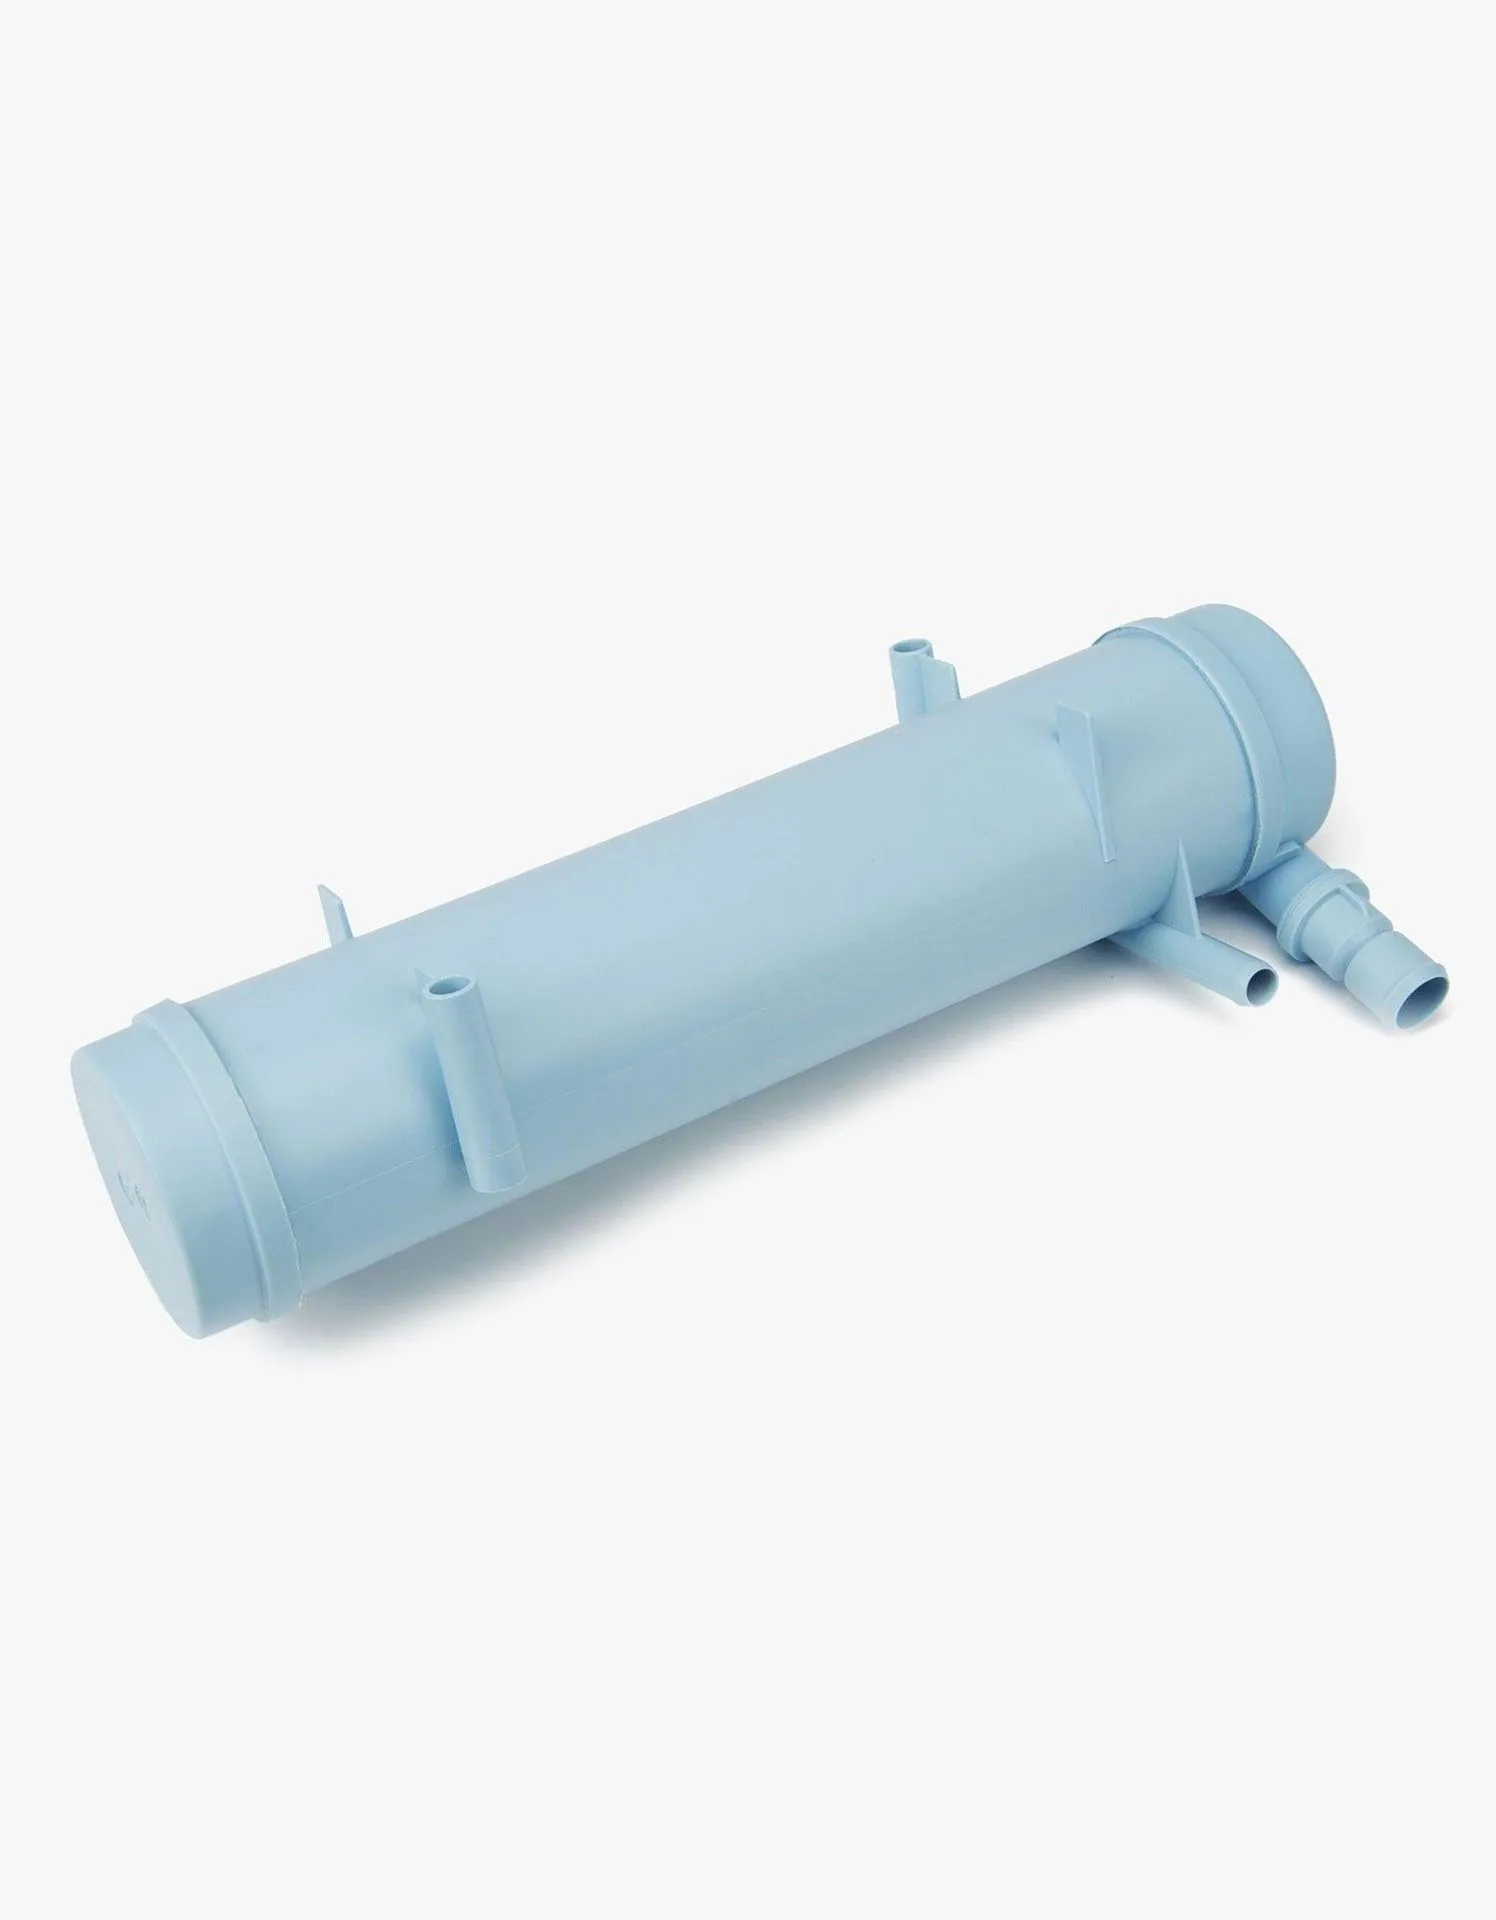
LifeStraw Community Replacement Filter
Before you start, gather a few tools: an adjustable wrench, plumber's tape, and a clean cloth. Turn off the water supply and drain any remaining water from the system. This prevents spills and makes removal easier. If your unit is wall-mounted, have a second person help hold the dispenser steady while you work.
- Check the tap size and thread type before ordering to avoid returns.
- Keep the area around the tap clean to prevent contamination during installation.
Step-by-Step Installation
Removing the old tap: Use an adjustable wrench to loosen the nut securing the tap. Turn counterclockwise. If it's stuck, apply a penetrating oil and wait a few minutes. Once loose, pull the tap straight out. Clean the mounting hole and surrounding surface with a mild detergent and dry thoroughly.
Installing the new tap: Wrap plumber's tape around the threads of the new tap (if applicable) to ensure a watertight seal. Insert the tap into the mounting hole, aligning any alignment tabs or markers. Hand-tighten the nut, then use the wrench to give it an extra half-turn—avoid over-tightening, which can crack the housing or strip threads. Turn on the water supply and check for leaks.
- Always use a new gasket or O-ring if your replacement tap includes one.
- Test the tap fully open and closed to ensure smooth operation.
Common Installation Mistakes to Avoid
Over-tightening is the most frequent error. It can warp the gasket, crack the tap body, or make the handle stiff. Tighten just enough to stop leaks—if it drips, tighten slightly more. Under-tightening causes leaks, so find the balance.
Another mistake is forgetting to clean the mounting area before installation. Dirt or old sealant can prevent a proper seal, leading to leaks. Also, avoid cross-threading: start the nut by hand to ensure it's straight before using tools.
- If the tap leaks after tightening, turn off the water and recheck the gasket alignment.
- Never use excessive force on plastic components—use a wrench only on metal nuts.
Maintenance for Long-Lasting Performance
Routine maintenance keeps your tap flowing smoothly. Clean the exterior regularly with a soft cloth and mild soap. Periodically check for leaks at the base and handle. If the tap becomes stiff or drips, disassemble, clean, and replace the gasket if worn.
In high-usage community settings, inspect the tap monthly. Look for signs of corrosion or mineral buildup, especially if your water is hard. Soaking the tap in vinegar can dissolve lime deposits, but rinse thoroughly before reinstalling. Replace the tap immediately if you notice cracks or persistent leaks—a damaged tap can compromise the entire system's hygiene.
- Keep a spare gasket or O-ring on hand for quick fixes.
- Lubricate the tap stem with food-grade silicone grease annually.
Installation and Maintenance Steps
- Turn off water supply: Locate the shut-off valve for your dispenser and close it. Drain any remaining water by opening the tap. Checkpoint: No water flows from the tap before you start.
- Remove old tap: Use an adjustable wrench to loosen the nut counterclockwise. If stuck, apply penetrating oil and wait. Checkpoint: Tap pulls out freely without forcing.
- Clean and prepare mounting area: Clean the hole and surrounding surface with mild detergent, dry thoroughly. Inspect for damage. Checkpoint: Surface is clean and free of old sealant or debris.
- Install new tap: Wrap plumber's tape on threads if needed. Insert tap, align properly, hand-tighten nut, then tighten half-turn with wrench. Checkpoint: Tap is secure but not over-tightened.
- Test for leaks: Turn on water supply, open and close tap several times. Check for drips at base and handle. Checkpoint: No leaks after full cycle.
- Perform regular maintenance: Clean tap monthly, inspect for wear, and replace gaskets if needed. Lubricate stem annually. Checkpoint: Tap operates smoothly with no drips.
Genuine LifeStraw Replacement Parts
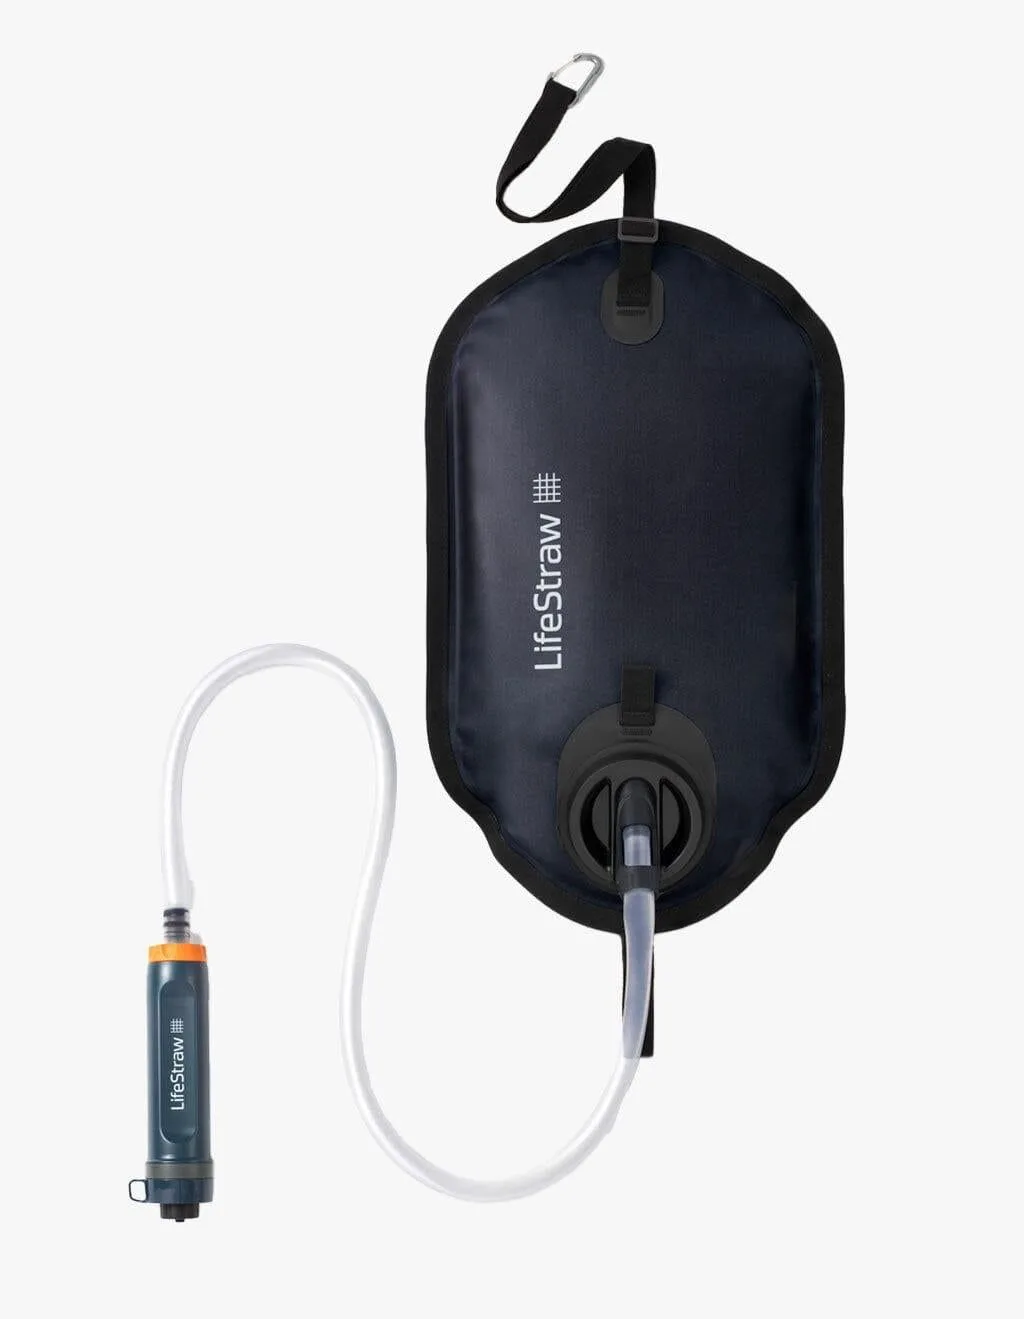
- LifeStraw Community Replacement Filter: Protects against viruses, bacteria, parasites, microplastics, dirt, sand, and cloudiness. Independently lab tested. Lifetime of 26,000 gallons, enough for 100 people for 3-5 years. While the tap controls water flow, the filter is the heart of your Community dispenser. Replacing it on schedule ensures the water you deliver remains safe, making your tap maintenance part of a complete system care routine.
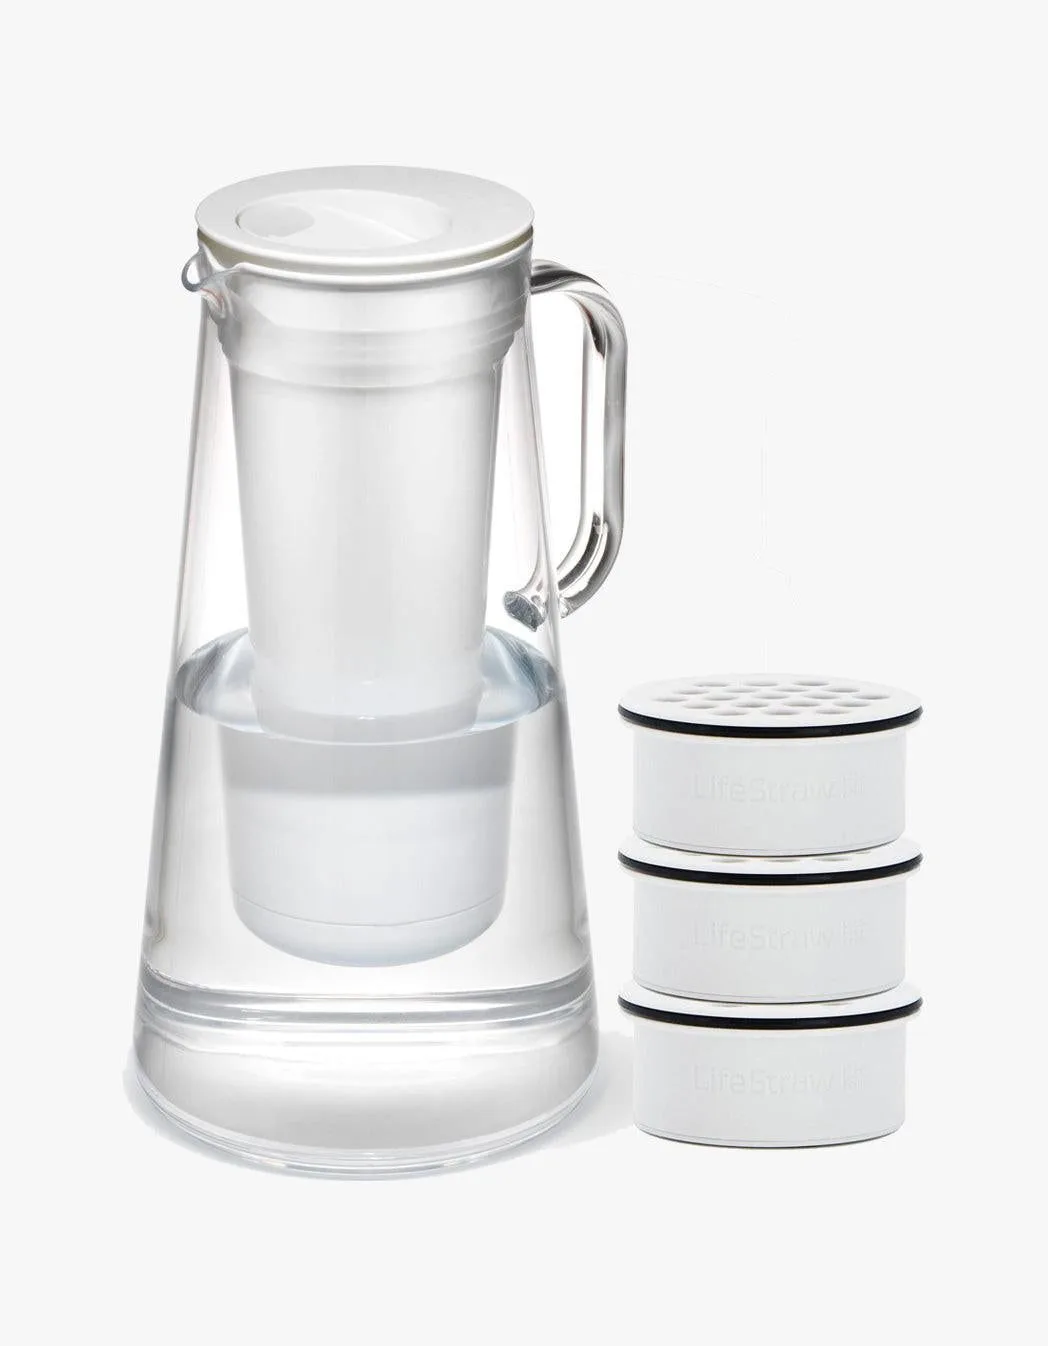
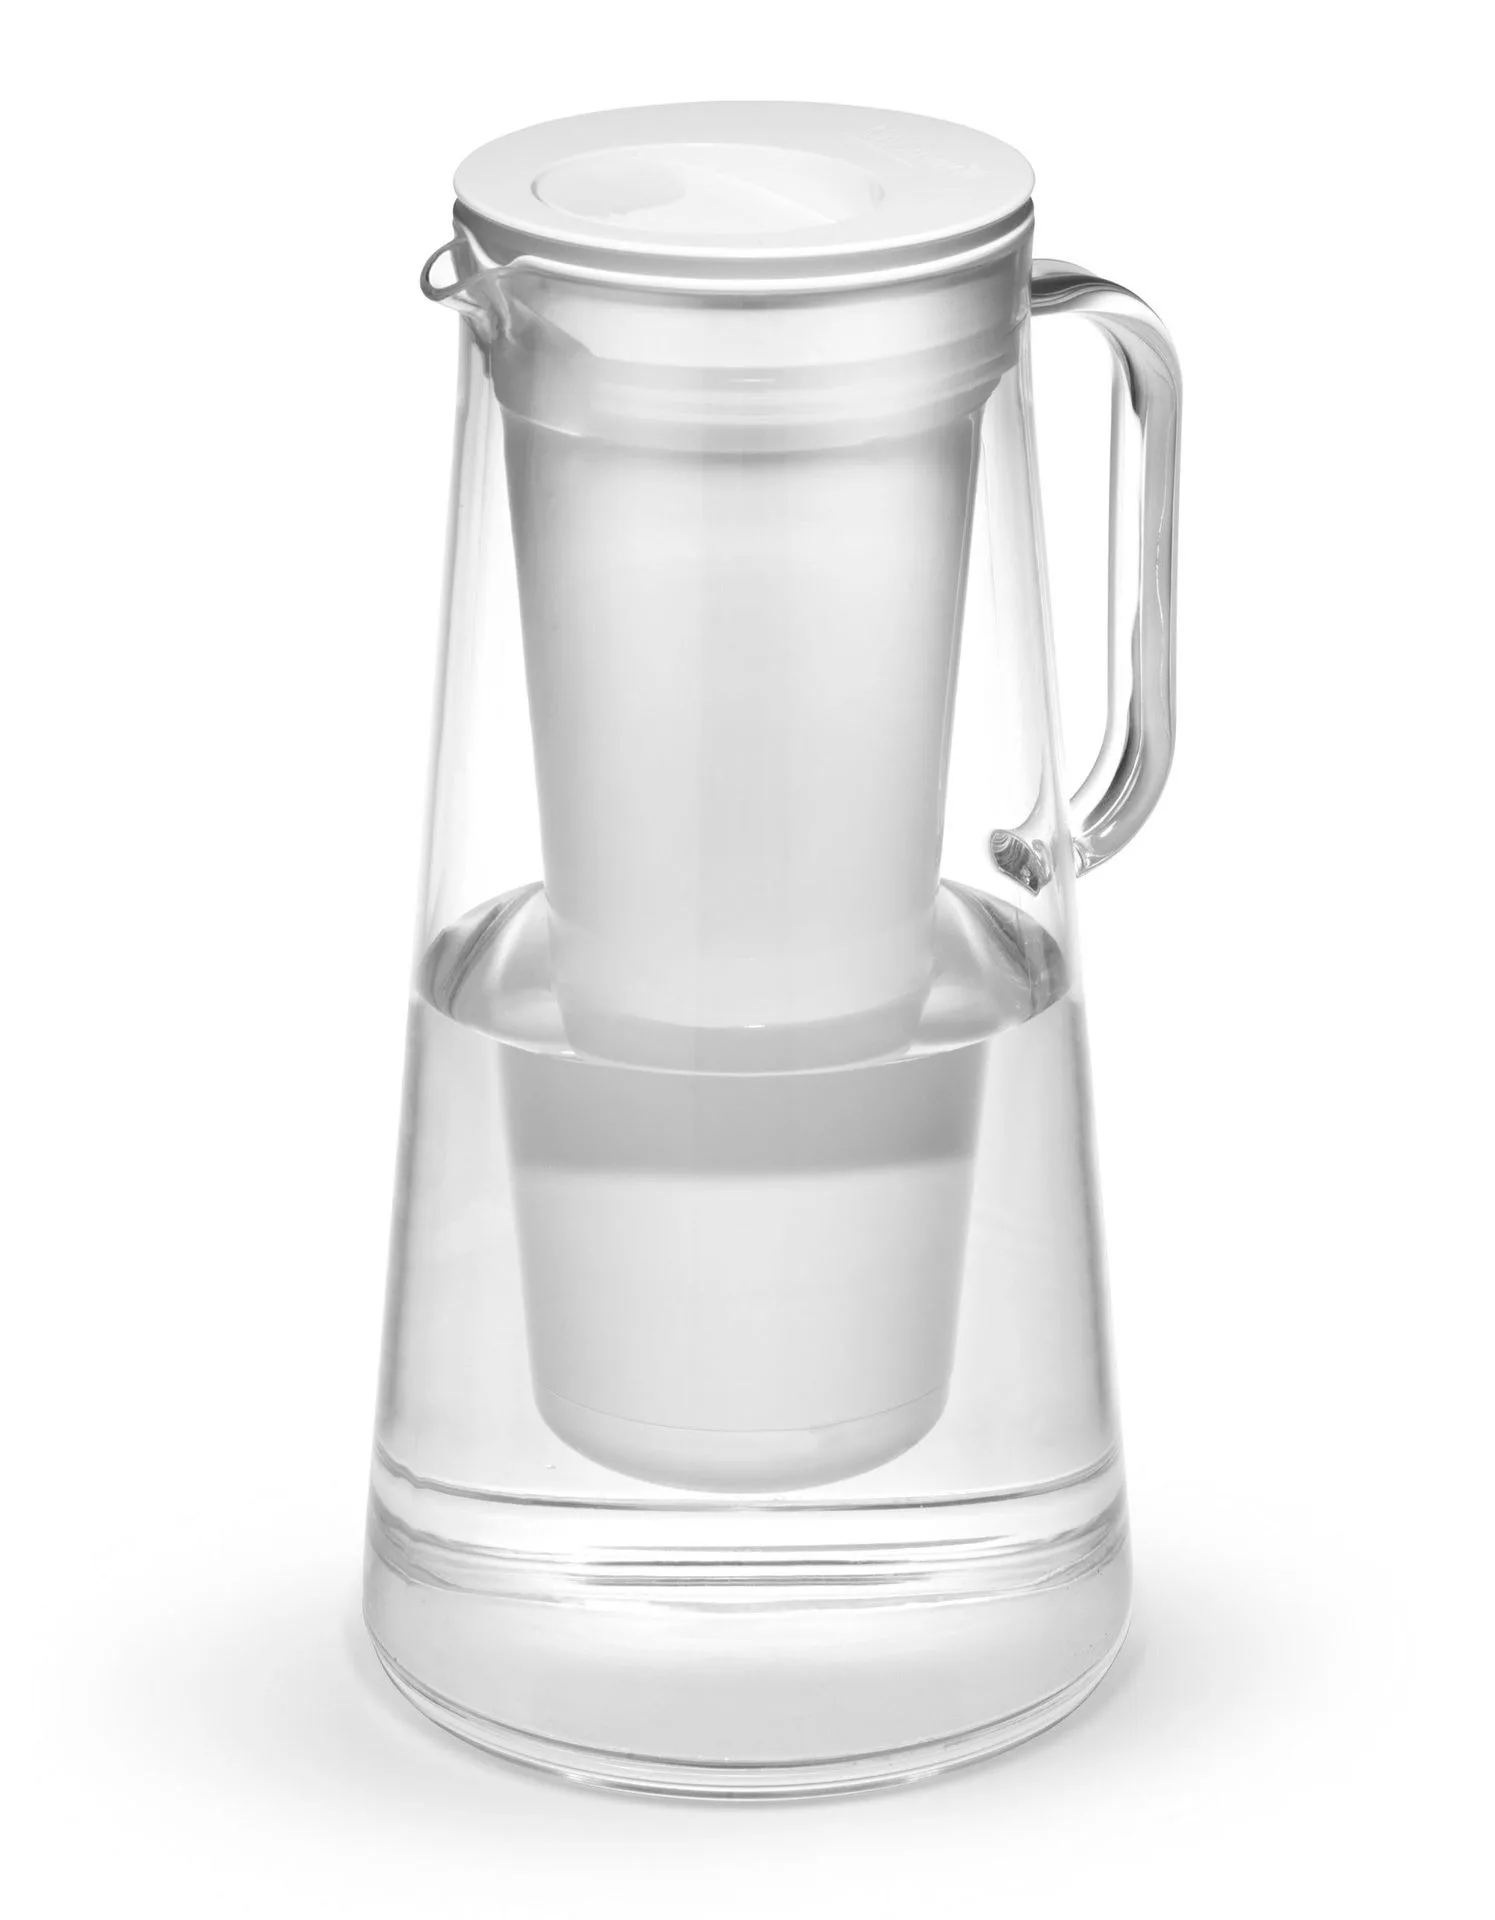
- LifeStraw Home Replacement Filters: Protects against over 30 contaminants including bacteria, parasites, microplastics, lead, mercury, and chemicals including PFAS, chlorine, organic chemical matter, dirt, sand, and cloudiness; improves taste. Compatible with all LifeStraw Home Pitcher and Dispenser products. If you use a LifeStraw Home dispenser with a similar tap, this filter offers broader contaminant reduction. Knowing your filter's capabilities helps you decide when to upgrade or replace components for optimal water quality.
Replacing and maintaining your LifeStraw Community tap is a simple task that ensures your dispenser delivers safe water reliably. By following these steps and avoiding common mistakes, you'll extend the life of your equipment and keep your community hydrated. For filter replacements, always use genuine LifeStraw parts to maintain performance and safety standards.