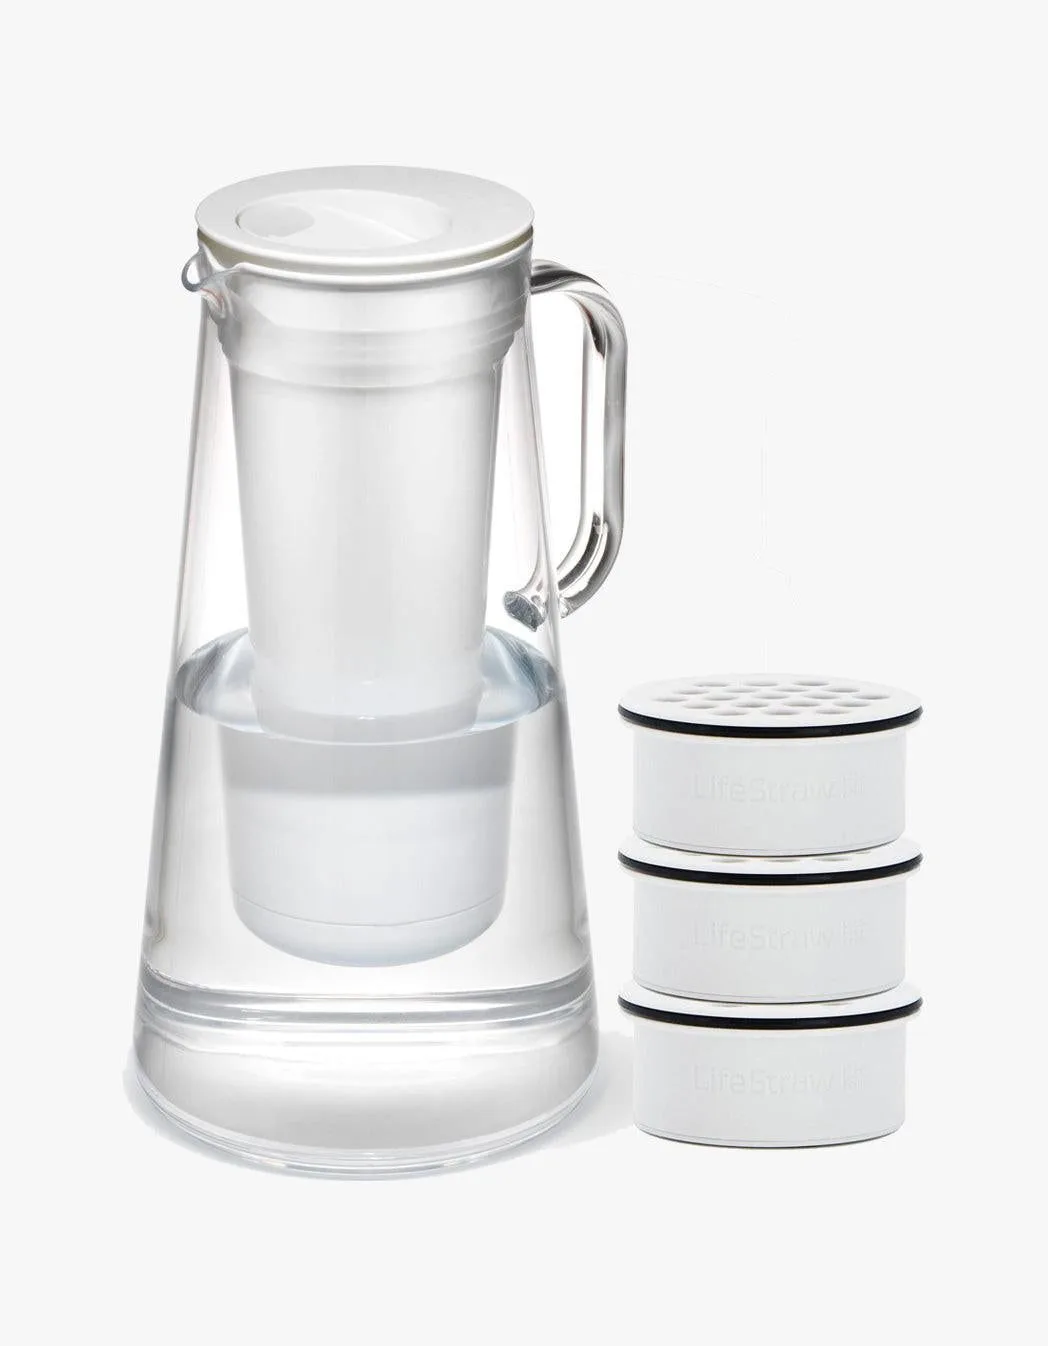
Keeping your LifeStraw Home 10-Cup Pitcher in top shape means swapping the filter on schedule. Over time, the filter traps sediment, chlorine, and other contaminants, which reduces flow and performance. This guide walks you through the replacement process, from spotting the right time to change it to the final flush that preps your new filter for daily use.
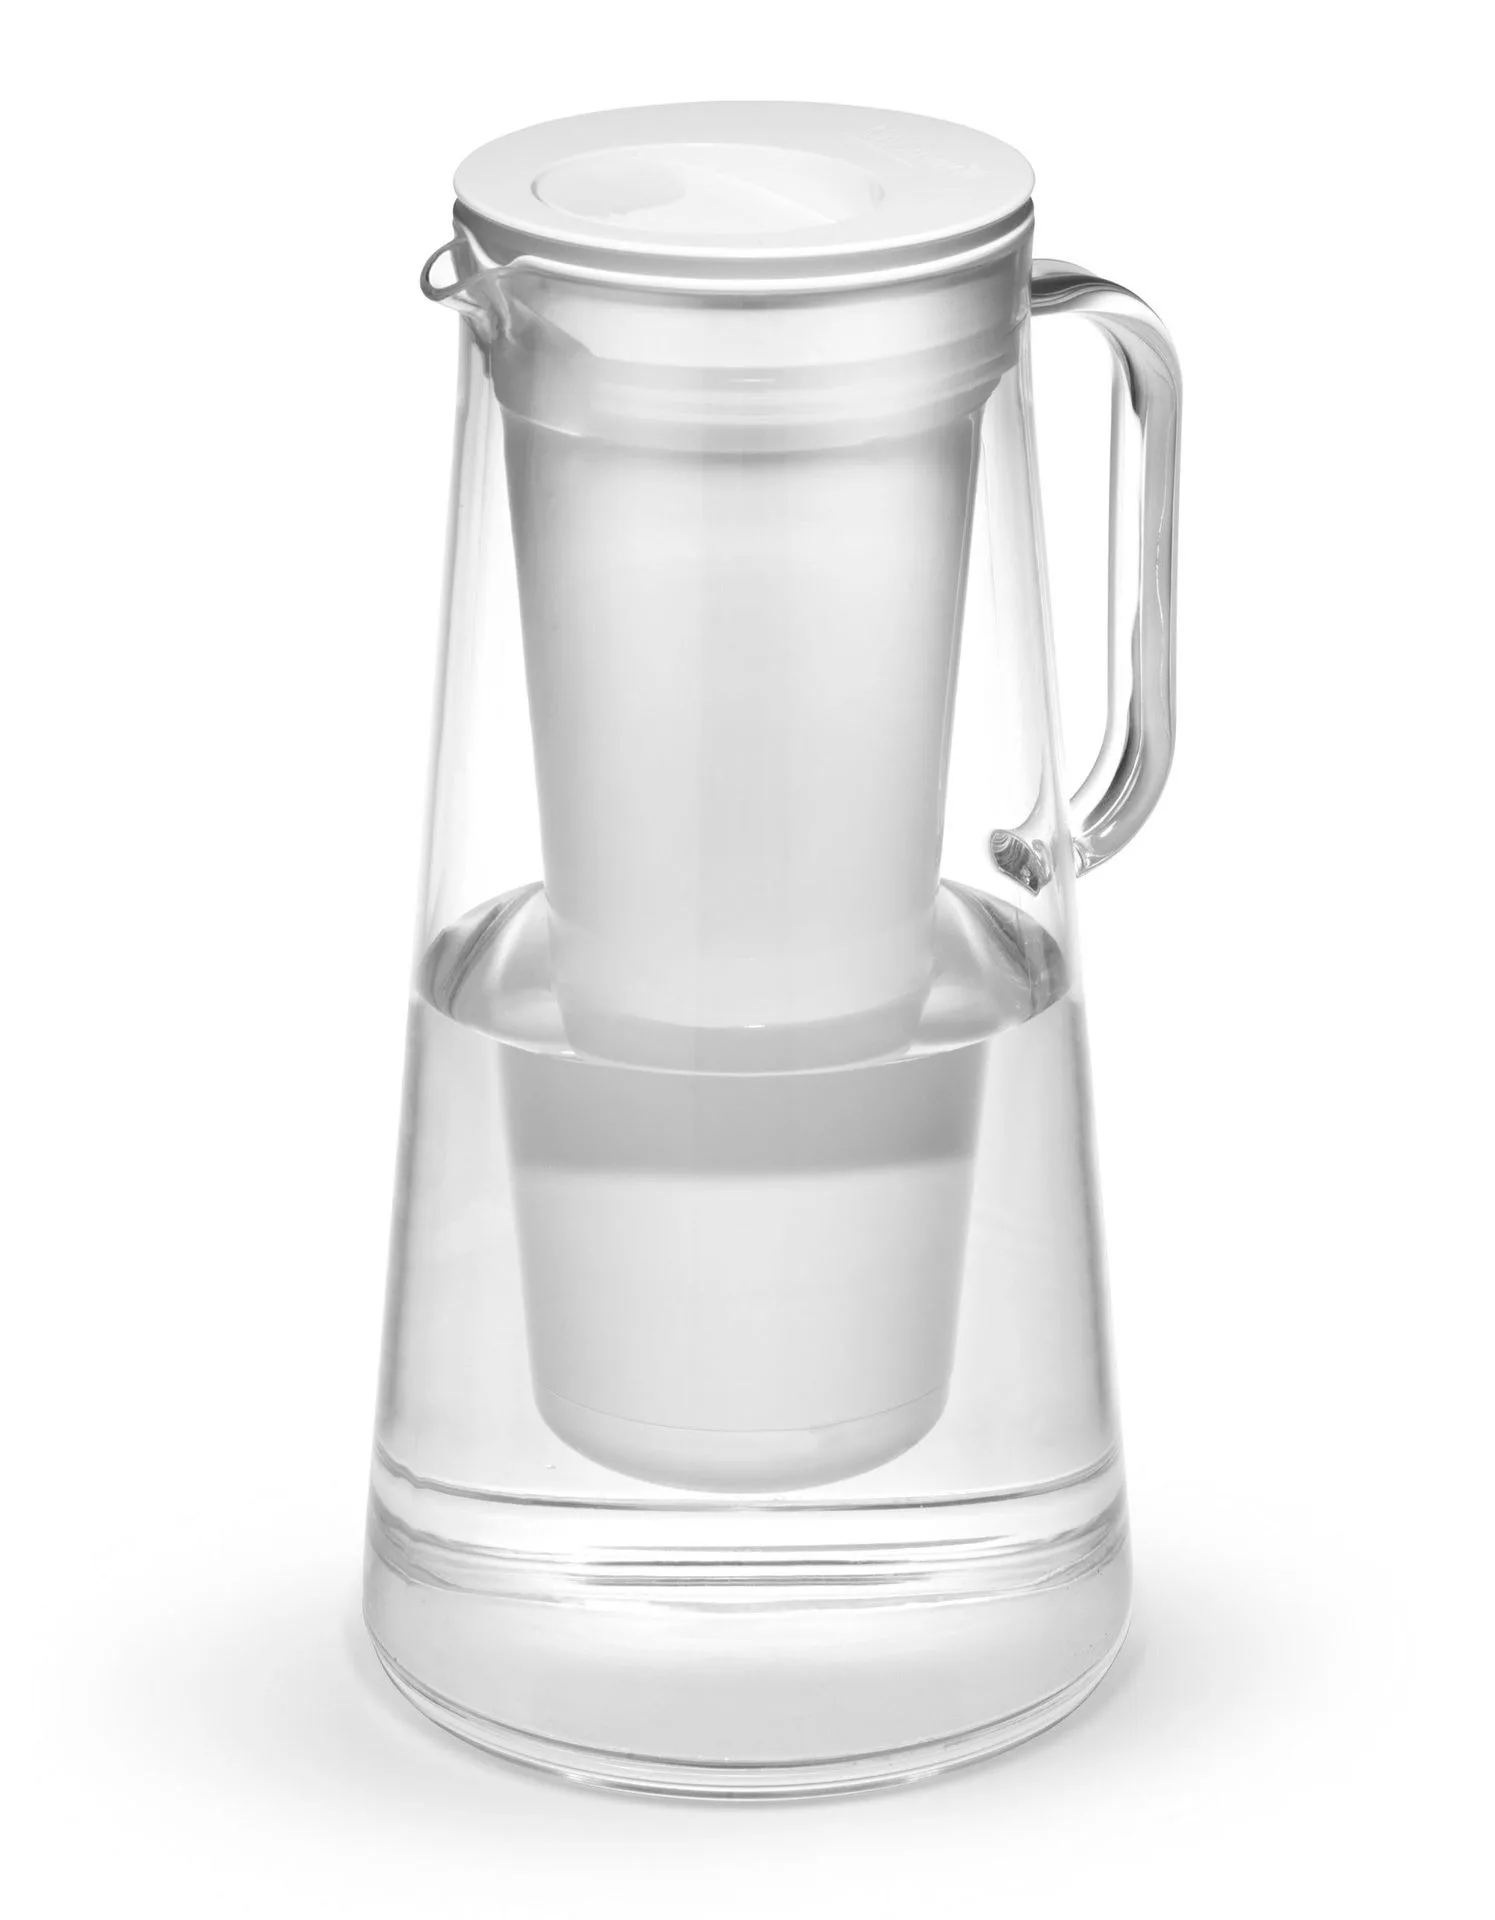
LifeStraw Home 10-Cup
Whether you're a first-time owner or a seasoned user, knowing how to replace a LifeStraw home pitcher filter correctly ensures you get the most out of your investment. We'll cover the tools you need, the step-by-step swap, and a few tips to keep your pitcher running smoothly between changes.
When to Replace Your LifeStraw Home 10-Cup Pitcher Filter
The LifeStraw Home 10-Cup Pitcher filter typically lasts about 40 gallons or two months, depending on your water quality and usage. If you notice a slower drip, a change in taste, or that the pitcher takes noticeably longer to fill, it's time for a swap. Hard water or high sediment levels can shorten filter life, so keep an eye on flow rate rather than relying solely on the calendar.
A good practice is to mark the installation date on the filter housing or set a phone reminder. The LifeStraw Home Pitcher uses a simple twist-lock mechanism, so replacement is straightforward and doesn't require any special tools. Always use genuine LifeStraw replacement filters to maintain performance and warranty coverage.
- Check flow rate weekly: if it takes more than 10 minutes to fill the pitcher, consider replacing the filter.
What You'll Need for the Filter Swap
Before you start, gather the following items: a new LifeStraw Home 10-Cup Pitcher filter (compatible with the Home Pitcher model), a clean towel or paper towels, and access to your kitchen sink. No screwdrivers or wrenches are needed — the filter is designed for hand-tightening only. You may also want to have a small bowl or container to catch any residual water when removing the old filter.
If you're replacing a filter that has been in use for several months, the old filter may be heavy with trapped particles. Dispose of it in your regular household waste. LifeStraw filters are recyclable in some areas, but check local guidelines. Having a spare filter on hand is always a good idea so you're never without clean water.
- Keep a spare LifeStraw Home filter in your pantry to avoid running out mid-swap.
Step-by-Step LifeStraw Home Pitcher Filter Installation
Start by removing the pitcher lid and lifting out the old filter. The filter is located in the upper reservoir and twists counterclockwise to unlock. Grip the filter firmly and turn it left — it should release with moderate effort. If it feels stuck, run warm water over the base of the filter for a few seconds to loosen any mineral buildup. Once removed, rinse the reservoir with mild soap and water to clear any debris.
Take your new LifeStraw Home 10-Cup Pitcher filter and soak it in cold water for about 30 seconds to activate the carbon inside. This step is important because it primes the filter and removes any loose carbon dust. Insert the new filter into the reservoir, aligning the tabs, and twist clockwise until it locks into place. The filter should sit flush and not wobble. Replace the lid and your pitcher is ready for the next step.
- Always soak the new filter before installation — it helps the carbon settle and improves initial taste.
Flushing and Priming the New Filter
After installing the new filter, you need to flush it to remove any fine carbon particles and prepare it for use. Fill the upper reservoir with cold tap water and let it filter through into the lower pitcher. Discard this first batch of water — it may appear slightly cloudy or contain tiny black specks, which is normal and harmless. Repeat this process two more times, for a total of three full pitchers of water flushed through.
The first few pitchers after a filter change may have a slight carbon aftertaste, but this usually fades after the first day of use. If you notice any lingering taste, run another full pitcher through and let it sit for an hour before drinking. Once the water runs clear and tastes fresh, your LifeStraw Home 10-Cup Pitcher is ready for daily use. Remember to wash the pitcher and lid regularly to prevent bacterial buildup.
- Flush three full pitchers before drinking to remove carbon dust and prime the filter.
Maintenance Tips to Extend Filter Life
To get the most out of your LifeStraw Home pitcher filter, keep the pitcher away from direct sunlight and heat sources, which can promote algae growth. Clean the pitcher and lid with mild dish soap every week, and avoid using abrasive scrubbers that can scratch the plastic. If you travel or won't use the pitcher for more than a week, empty the water, remove the filter, and store both in a cool, dry place.
Replacing the filter on time not only ensures great-tasting water but also protects the pitcher's internal components from sediment buildup. Pairing your pitcher with a LifeStraw Go Series 1L bottle for on-the-go hydration can help you stay consistent with clean water habits. For those who use multiple LifeStraw products, such as the LifeStraw Peak Series Collapsible Squeeze 1L Bottle with Filter, keeping a maintenance log for each device helps you stay on top of replacements.
- Store your pitcher in the refrigerator during hot months to slow bacterial growth and keep water crisp.
Replacing the filter in your LifeStraw Home 10-Cup Pitcher is a quick, tool-free process that takes about 10 minutes from start to finish. By following the soak, install, and flush steps outlined here, you'll maintain consistent water quality and extend the life of your pitcher. Keep a spare filter on hand, mark your calendar for the next change, and enjoy clean, great-tasting water every day.