Quick answer
Start with clean, dry, lotion-free skin. Apply breast tape in short strips, starting from the outer breast and lifting upward toward the shoulder for a natural shape. Press firmly for a few seconds. To remove, soak the tape with oil (like baby oil or coconut oil), wait a minute, then peel slowly while holding the skin taut. Always test on a small area first and never apply to broken or irritated skin.
Prep your skin for a secure hold
Before applying any tape, wash your skin with a mild soap and water to remove oils, lotions, or deodorant. Dry completely. Any residue can weaken the adhesive and cause the tape to shift. If you have sensitive skin, do a patch test on your inner arm 24 hours before to check for reactions. Avoid applying tape to sunburned, irritated, or broken skin.
Cut and apply tape for lift and shape
Cut strips of tape long enough to reach from the outer breast to the shoulder or desired anchor point. For a lift, start at the outer side of the breast and pull the tape upward and inward, pressing firmly as you go. Use shorter strips for the lower breast to create a rounded shape. Overlap strips slightly for extra support. Avoid stretching the tape too much; it should feel snug but not tight. For plunge dresses, angle the tape diagonally toward the center for cleavage. For backless outfits, anchor the tape to the side of your torso rather than the back.
Remove tape without damaging skin
Never rip the tape off dry. Saturate the tape with oil (baby oil, coconut oil, or olive oil) and let it sit for at least a minute. Then, hold your skin taut with one hand and peel the tape back slowly with the other, following the direction of hair growth. If resistance is felt, apply more oil. After removal, wash off any residue with warm soapy water and apply a gentle moisturizer. If any adhesive remains, use a cotton pad with oil to gently rub it away.
Step-by-step: apply and remove breast tape
- Cleanse and dry skin: Wash with mild soap, rinse, and pat dry. Avoid moisturizer or deodorant on the area. Checkpoint: skin must be completely dry and free of products.
- Patch test: Apply a small piece of tape to your inner arm and leave for 24 hours to check for allergic reaction. Checkpoint: skip this step only if you have used the tape before without issues.
- Cut strips: Cut tape into strips long enough to reach from the breast to your desired anchor point (shoulder, side, or torso). Common mistake: cutting strips too short, which reduces lift.
- Apply for lift: Starting at the outer breast, pull tape upward and inward, pressing firmly. Overlap strips for more support. Checkpoint: tape should feel snug but not restrict breathing or cause pain.
- Remove with oil: Soak tape with oil, wait one minute, then peel slowly while holding skin taut. Wash off residue and moisturize. Common mistake: rushing removal, which can irritate skin.
Product facts
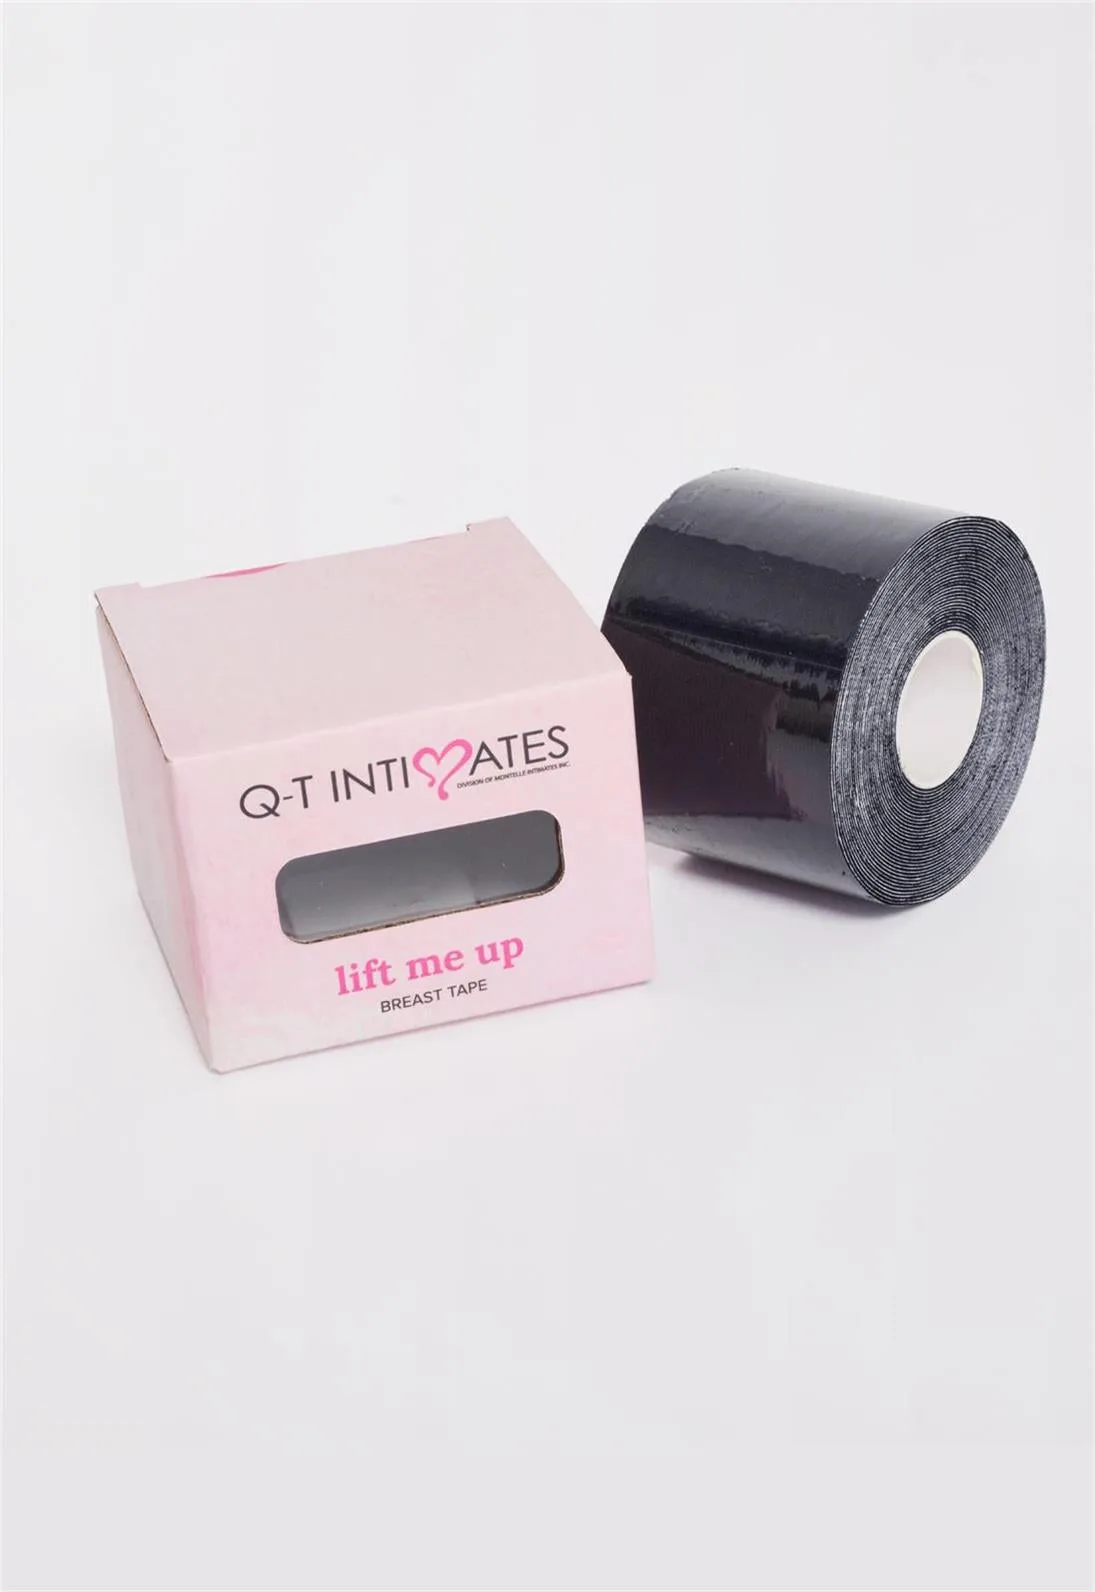
- Lift me up - Breast Tape: Lift me up - Breast Tape is designed to hold, separate, and lift without visible lines or the hassle of a bra. It is hypoallergenic, latex-free, and comes in a 16.4-foot by 2-inch roll for one-time use. This tape is a practical option for strapless, backless, or plunge outfits, and the latex-free formula reduces irritation risk for sensitive skin.
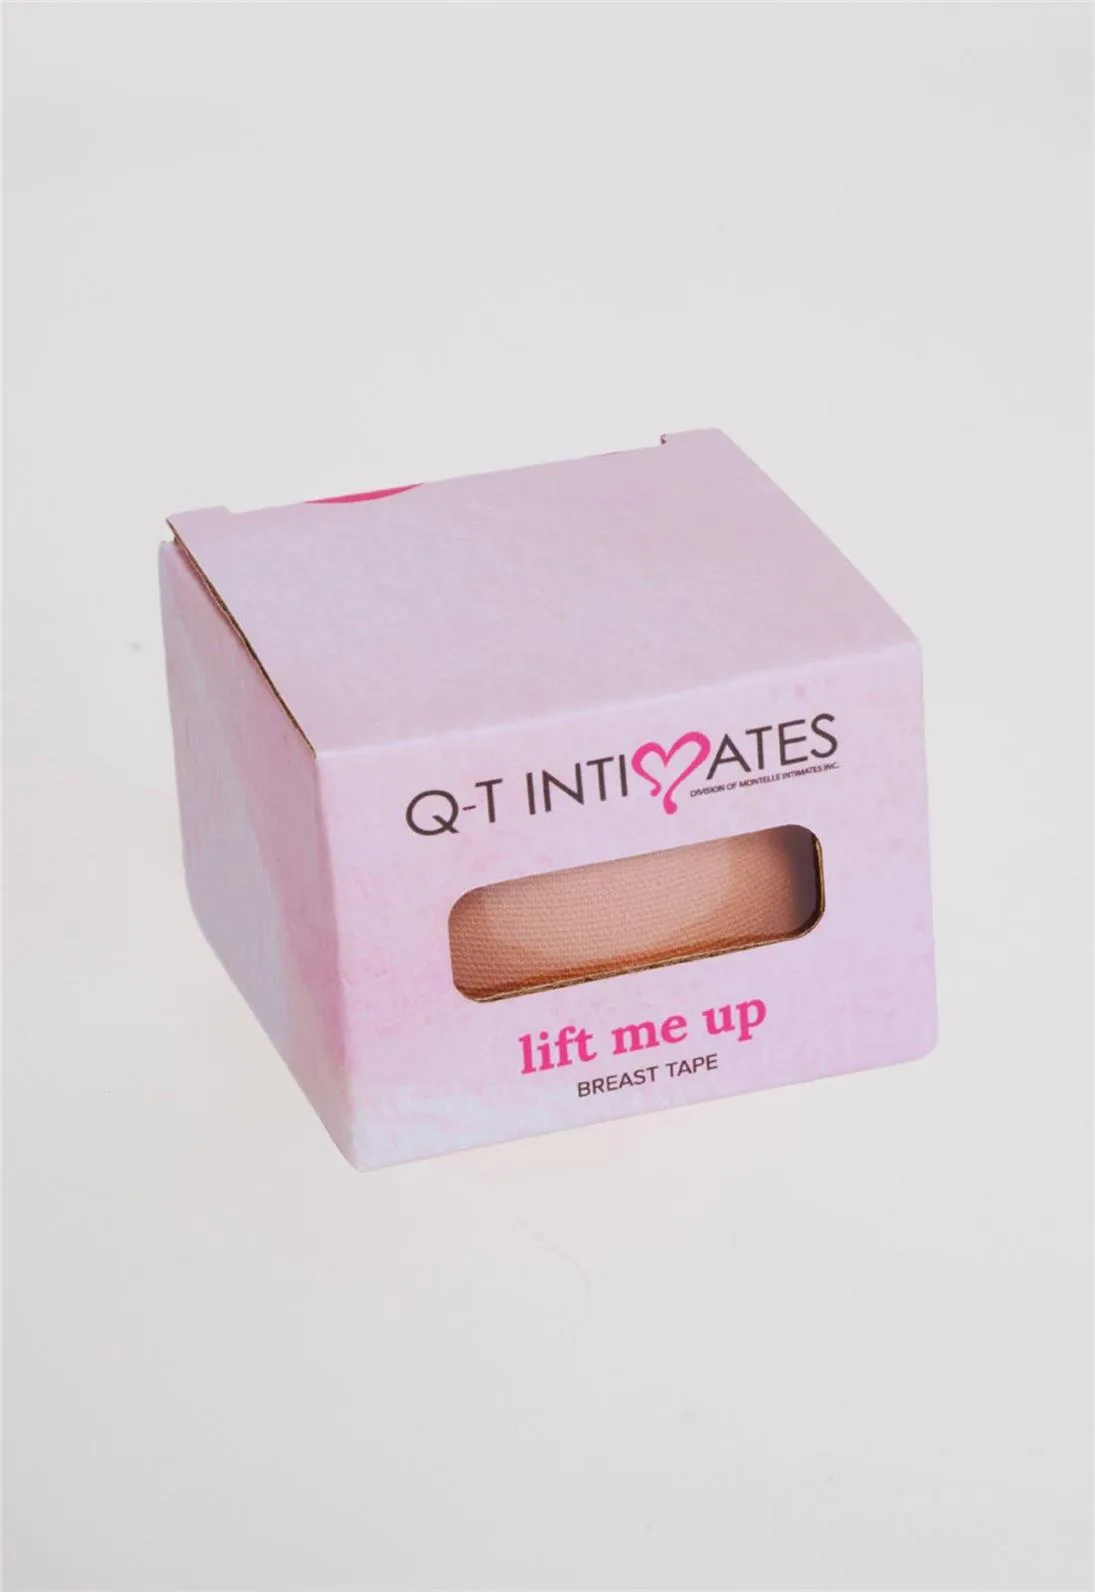
Lift me up - Breast Tape