Quick Answer
You can light your book nook kit without soldering by using battery operated lights with pre-attached wires or connectors, and securing connections with electrical tape or heat-shrink tubing. Most Hands Craft book nook kits include touch-activated LED lights that require only simple battery placement, making them ideal for beginners.
Why Avoid Soldering for Book Nook Lighting?
Soldering requires a hot iron, flux, and steady hands—tools that many hobbyists don't have on hand. For a book nook kit, the wiring is typically low-voltage and low-current, so secure twist-on connections or plug-in connectors work just as well as solder joints. This approach is faster, safer, and easier to fix if you make a mistake.
Battery operated lights for book nook kits often come with a small battery pack and pre-stripped wires. You can connect them to LED strips or individual bulbs using wire nuts, crimp connectors, or even simple twisting plus electrical tape. The key is to ensure a firm mechanical connection before insulating it.
What You'll Need
Gather a few basic supplies: the book nook kit's LED light components, a small flathead screwdriver for terminal blocks, electrical tape or heat-shrink tubing, wire strippers (if you need to trim wires), and a battery pack with fresh batteries. Some kits, like the Hands Craft Indigo Story Parlor, require 2 AAA batteries that are not included, so check your kit's requirements before starting.
If your kit uses a touch-activated switch, you'll need to mount the sensor so it's accessible from the outside of the nook. Plan the wire routing before gluing any walls in place—this prevents awkward rework later.
Choosing the Right Light Source
Most book nook kits come with LED lights, but you can upgrade or replace them with battery operated strip lights if you prefer a different color temperature or brightness. Look for LED strips with adhesive backing and pre-soldered leads—these are the easiest to work with without soldering.
Consider the power source: a battery pack hidden in the base or back of the nook keeps the exterior clean. Touch-activated lights are convenient because you don't need to fumble with a switch, but they do require a small metal contact that must be exposed.
Step-by-Step: Install Book Nook Lights Without Soldering
- Plan the wire route: Before assembling the nook, decide where the battery pack and LED wires will go. Leave a small channel or gap between walls to tuck wires neatly. Checkpoint: dry-fit the walls to ensure wires won't be pinched.
- Connect wires with a terminal block or twist-on connector: Strip about 1/4 inch of insulation from each wire end. Twist matching wires together (positive to positive, negative to negative) and secure with a wire nut or cover with electrical tape. Alternatively, use a small screw-terminal block for a sturdier connection. Checkpoint: tug gently on each connection to confirm it's secure before insulating.
- Mount the LED lights: Peel the adhesive backing from LED strips (if applicable) and press them into the intended spots. For individual bulbs, insert them into pre-drilled holes or use a dab of hot glue to hold them in place. Checkpoint: test the lights before gluing the nook together permanently.
- Hide the battery pack: Place the battery pack in a recess at the base or behind a removable panel. Ensure the switch or touch sensor remains accessible. If your kit has a dust cover, plan the pack position so it doesn't interfere with the cover. Checkpoint: close the nook and test the lights from the outside.
- Troubleshoot common issues: If lights don't turn on, check battery orientation, wire polarity, and connection tightness. Loose twists are the most common cause of intermittent lighting. Checkpoint: re-twist or re-terminate any loose connections and retest.
Hands Craft Book Nook Kits with Easy Lighting
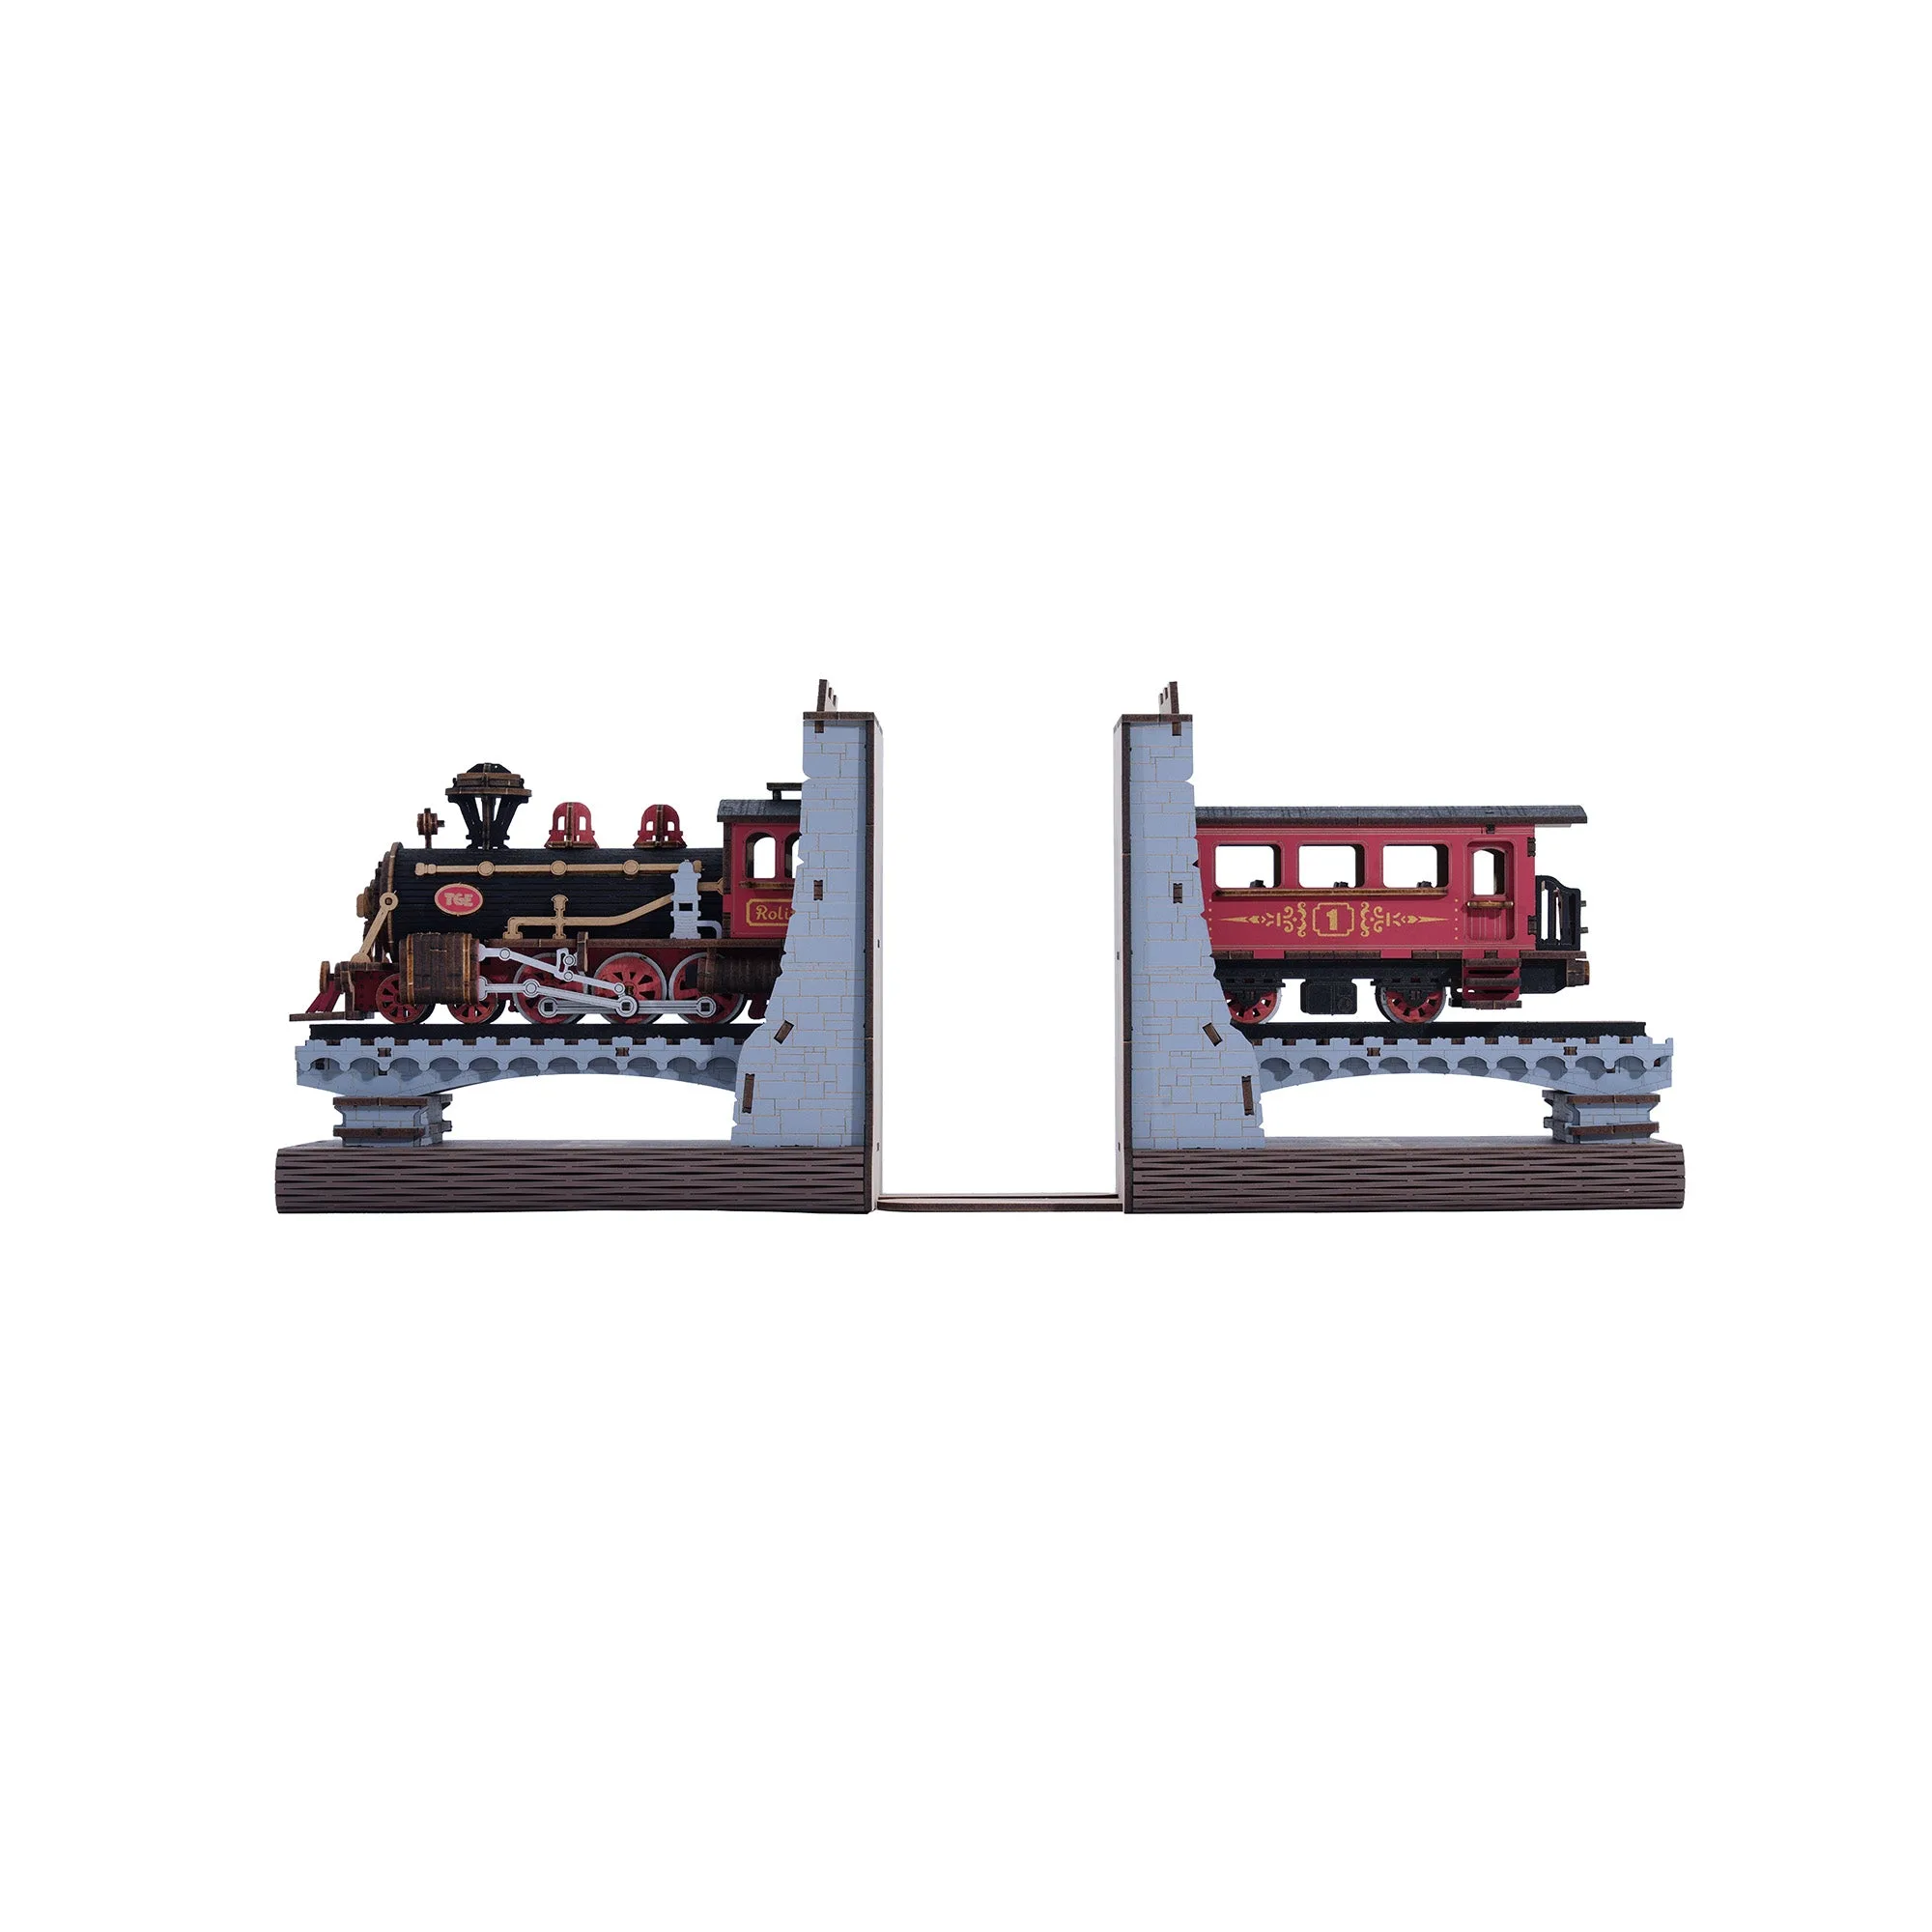
- Hands Craft | The Secret Rhythm w/ Dust Cover: The kit includes tiny LED bulbs to light up each little room. This colorful, [TOUCH-ACTIVATED LED LIGHTS] feature adds ambiance without complex wiring. Touch-activated LEDs mean no switch to mount and no soldering—just touch the designated sensor to turn the lights on and off.
- Hands Craft | Indigo Story Parlor: Includes Touch-activated LED light. 2 AAA batteries required; batteries are not included. Simple battery placement and touch control make this kit perfect for beginners who want to avoid any wiring work.