Proper placement of your security cameras is just as important as the camera's resolution or features. Even the best 4K camera can miss critical details if it's positioned poorly. For Lorex bullet cameras, which are designed for outdoor use with long-range viewing and weatherproof durability, getting the angle and height right is essential to maximize coverage and minimize blind spots.
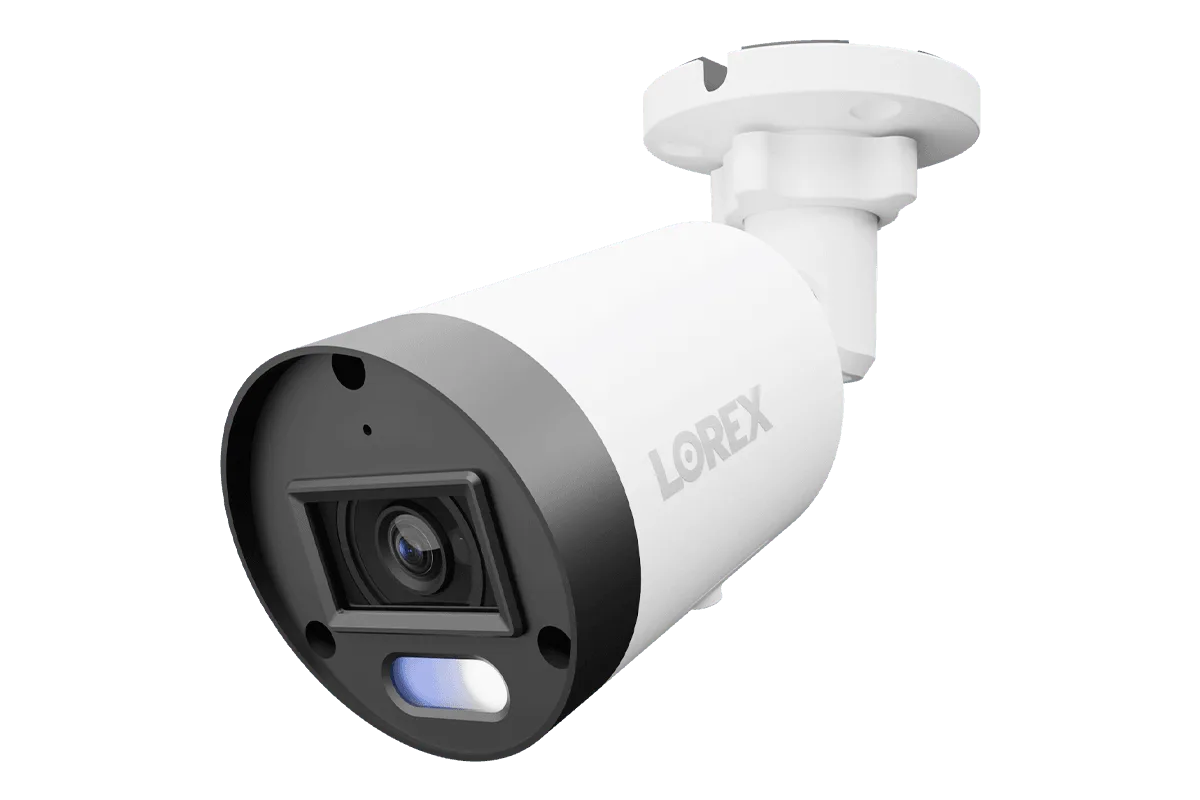
In this guide, we'll walk through practical tips for positioning your Lorex bullet cameras—including models like the Lorex Connect X5 4K PoE Turret Camera with AI Color Night Vision - White/Black—to ensure you capture every important area around your property. Whether you're installing a single camera or a multi-camera system, these principles will help you achieve comprehensive security coverage.
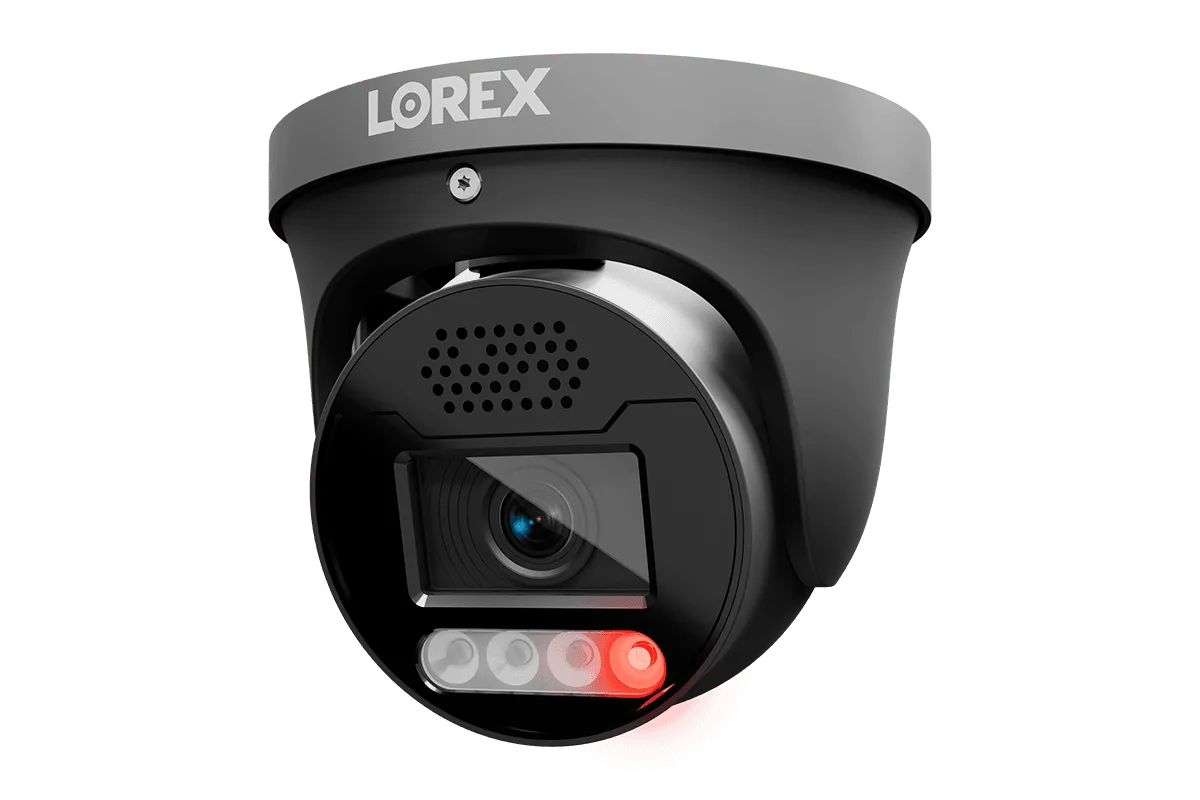
Lorex Connect X5 4K PoE Turret Camera with AI Color Night Vision - White/Black
1. Choose the Right Height for Optimal Field of View
One of the most common mistakes is mounting cameras too high. While it may seem like a higher vantage point gives a broader view, it often results in a top-down perspective that misses faces and license plates. For bullet cameras, the ideal mounting height is between 8 and 10 feet off the ground. This height allows the camera to capture a clear view of a person's face while still covering a wide area.
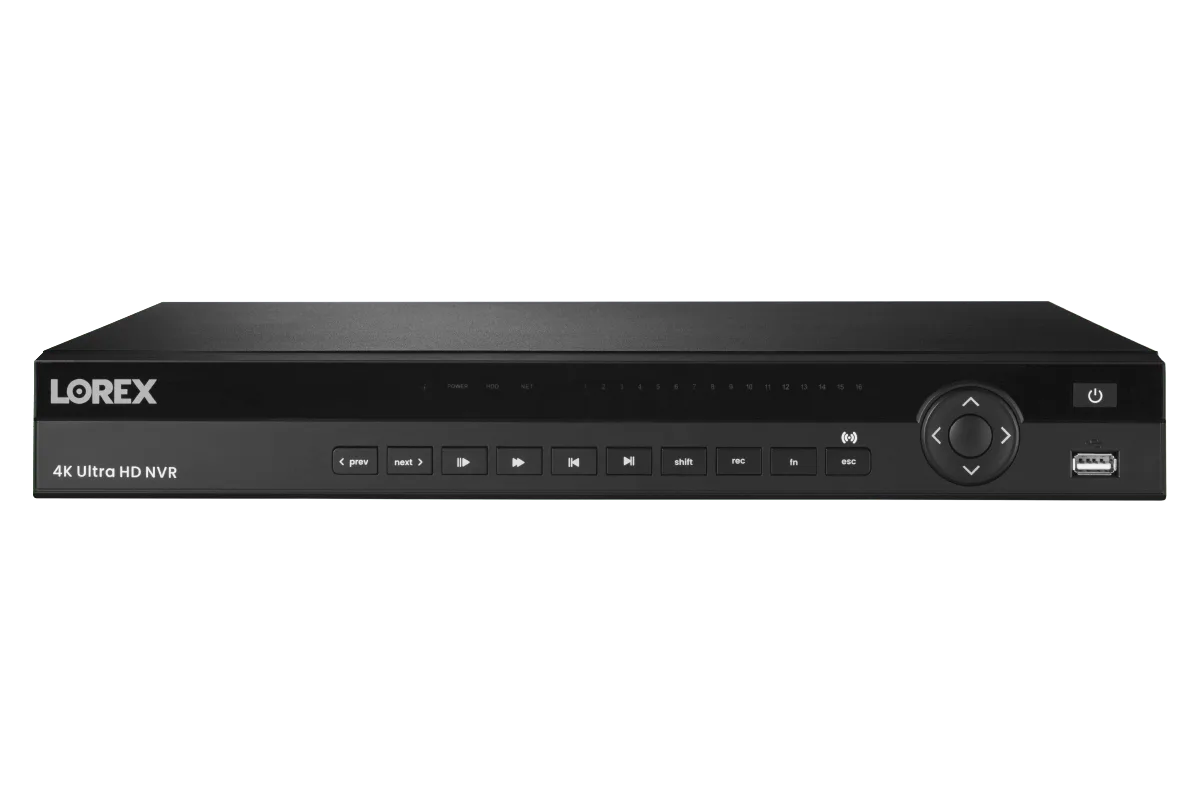
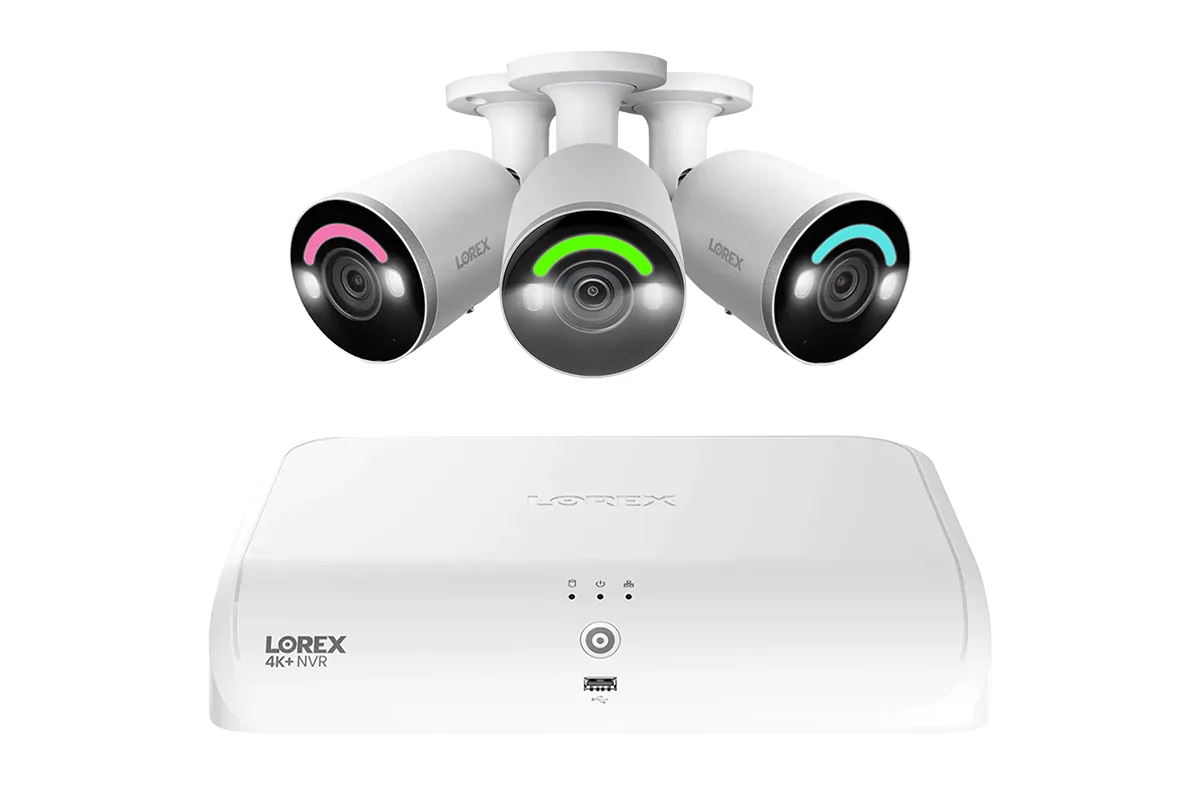
If you need to monitor a larger area, consider using a camera with a varifocal lens or a higher resolution like the Lorex 4K Fusion 4TB Wired NVR System with Six 4K IP Bullet Cameras and Four 4K IP Dome Cameras and 4K PTZ Camera, which offers flexible zoom and pan capabilities. Adjust the angle so that the camera points slightly downward—about 15 to 30 degrees—to cover the ground in front of the camera without creating a large blind spot directly below.
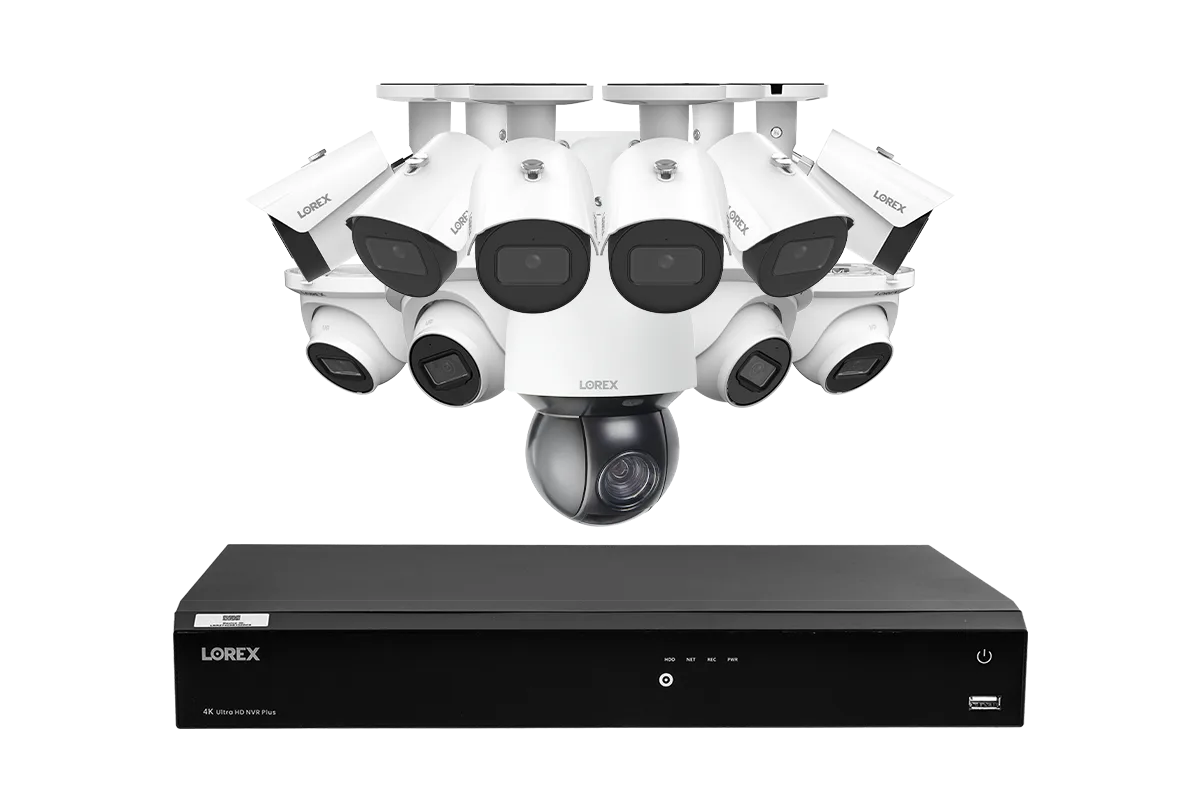
Lorex 4K Fusion 4TB Wired NVR System with Six 4K IP Bullet Cameras and Four 4K IP Dome Cameras and 4K PTZ Camera
- Mount cameras 8-10 feet high for optimal face and license plate capture.
- Angle the camera downward 15-30 degrees to reduce the blind spot directly beneath.
- Use a varifocal or PTZ camera for areas that need adjustable coverage.
2. Identify and Eliminate Common Blind Spots
Blind spots are areas that your camera cannot see, often caused by obstructions like pillars, trees, or the camera's own housing. To minimize these, walk around your property and note potential hiding spots. Common blind spots include corners of buildings, the area directly under the camera, and spaces behind large objects.
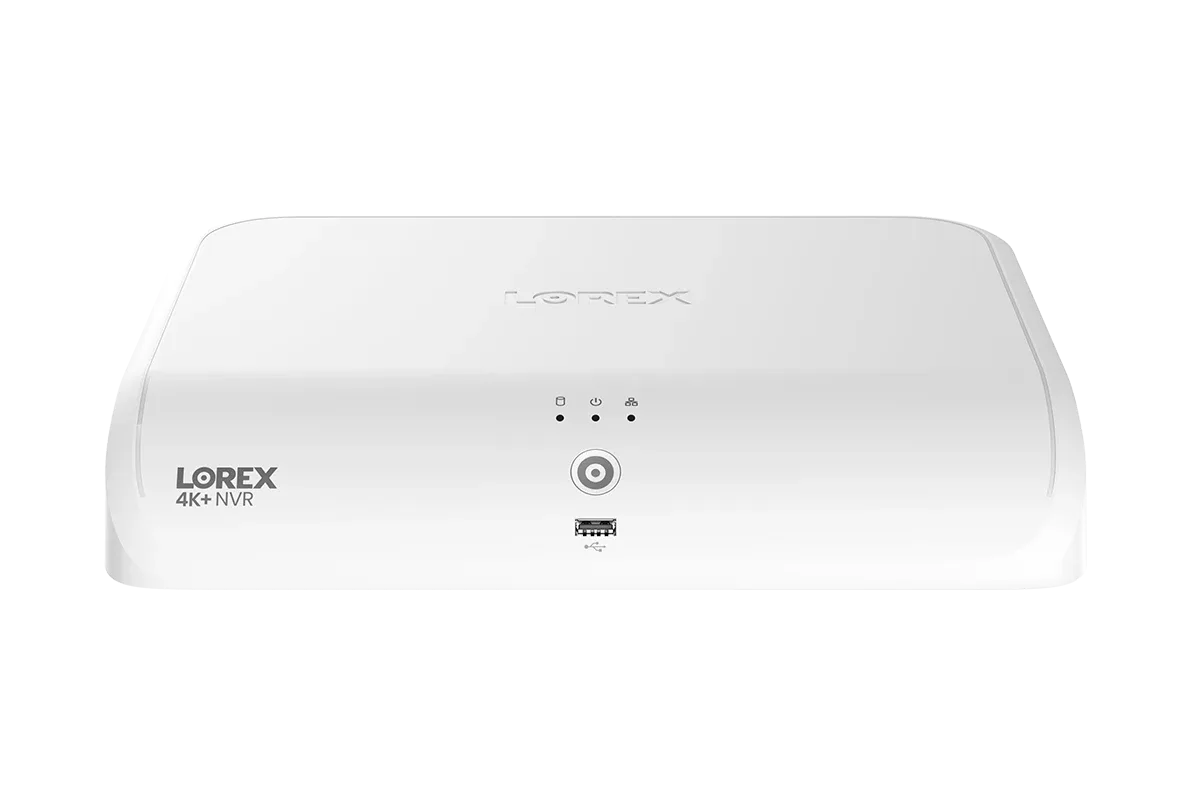
For bullet cameras, overlapping fields of view are key. If you have multiple cameras, position them so that each camera's coverage slightly overlaps with the next. This ensures that if one camera misses a subject, another captures it. The Lorex Connect X Series 4K 32-Channel Wired NVR System with X3 Dual-Lens Turret Camera - 8TB can help cover wide areas with fewer blind spots thanks to its dual-lens design, but for standard bullet cameras, strategic placement is still essential.
- Walk the perimeter to identify obstructions like bushes, columns, or eaves.
- Overlap camera views by 10-20% to eliminate gaps.
- Consider dual-lens or multi-camera systems for complex layouts.
3. Adjust for Lighting Conditions and Glare
Lighting can make or break a security camera's effectiveness. Avoid pointing cameras directly at bright light sources, such as the sun or outdoor floodlights, as this can cause glare and wash out the image. Instead, position the camera so that the light source is behind or to the side of the camera.
For night vision, ensure that the camera's infrared LEDs are not obstructed by nearby walls or objects. The Lorex Connect X5 4K PoE Turret Camera with AI Color Night Vision - White/Black is designed to provide color night vision without additional lighting, but proper placement still matters. Test the camera's view at different times of day to ensure consistent image quality.
- Avoid direct sunlight or bright lights in the camera's field of view.
- Position cameras so that IR LEDs have a clear path for night vision.
- Test footage during day and night to confirm visibility.
4. Secure Mounting and Cable Management
A poorly mounted camera can shift over time, creating new blind spots or losing coverage entirely. Use the included mounting bracket and hardware to secure the camera to a solid surface like brick, wood, or siding. For bullet cameras, ensure the mount is tight and the camera is locked in place.
Run cables through walls or conduit to protect them from weather and tampering. If you're using a PoE (Power over Ethernet) system, like the one that comes with many Lorex wired systems, a single Ethernet cable provides both power and data, simplifying installation. Always leave a small drip loop in the cable to prevent water from running into the camera connection.
- Tighten all mounting screws and check stability after installation.
- Use weatherproof cable connections and drip loops for outdoor cameras.
- Plan cable routes before mounting to avoid exposed wiring.
Positioning your Lorex bullet cameras correctly is the first step to a reliable security system. By following these tips—choosing the right height, eliminating blind spots, accounting for lighting, and securing your mount—you'll get the most out of your cameras. For a complete solution with advanced features, explore the Lorex Connect X5 4K PoE Turret Camera with AI Color Night Vision - White/Black, which offers exceptional clarity and smart detection to further enhance your coverage.