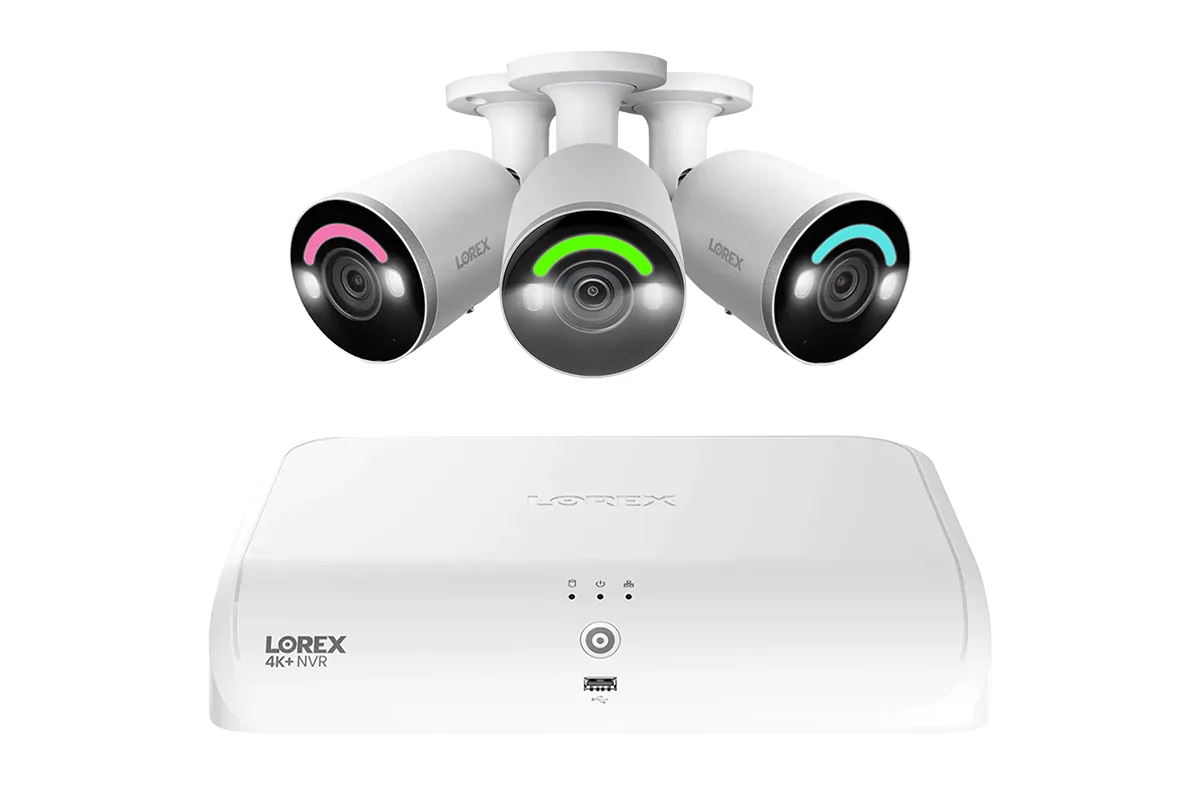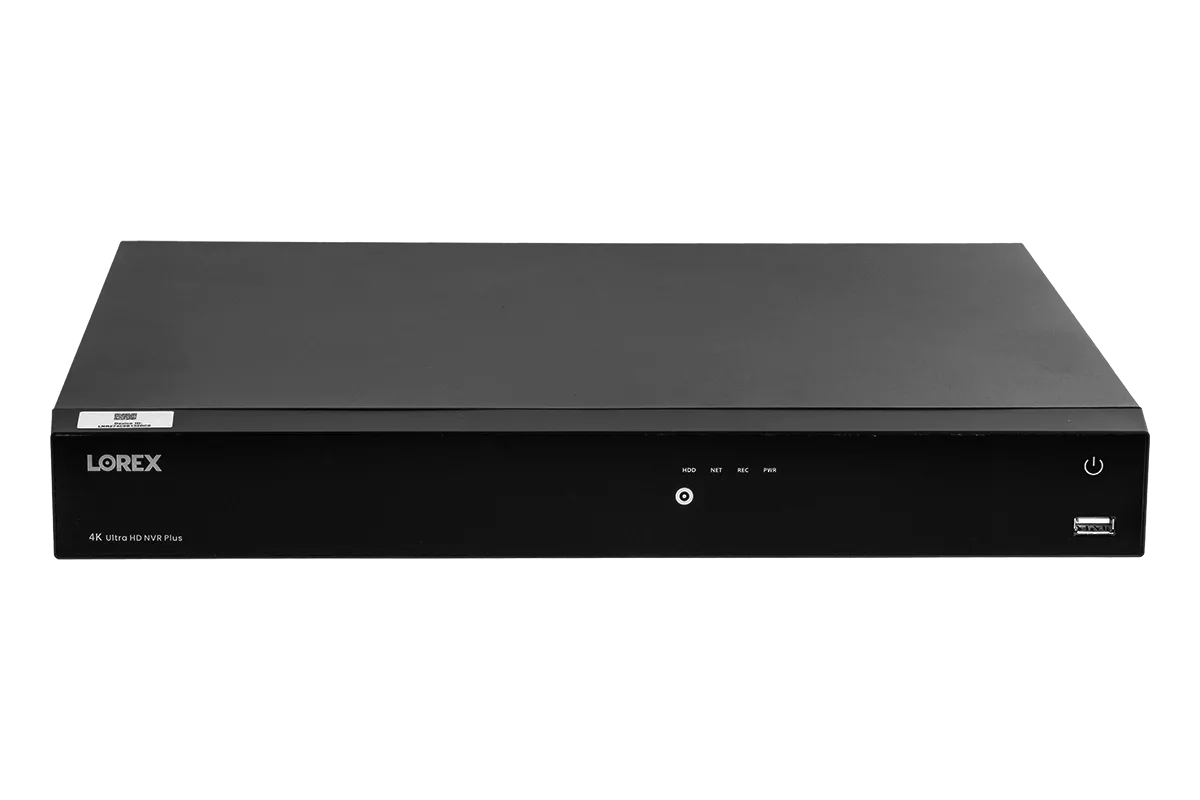
Setting up a new Lorex wired NVR system is the first step toward reliable 24/7 surveillance. Whether you are installing a system for your home or business, proper initial configuration and camera pairing are essential to get the most out of your security investment. This guide walks you through the entire process, from unboxing to finalizing your camera connections, so you can monitor your property with confidence.
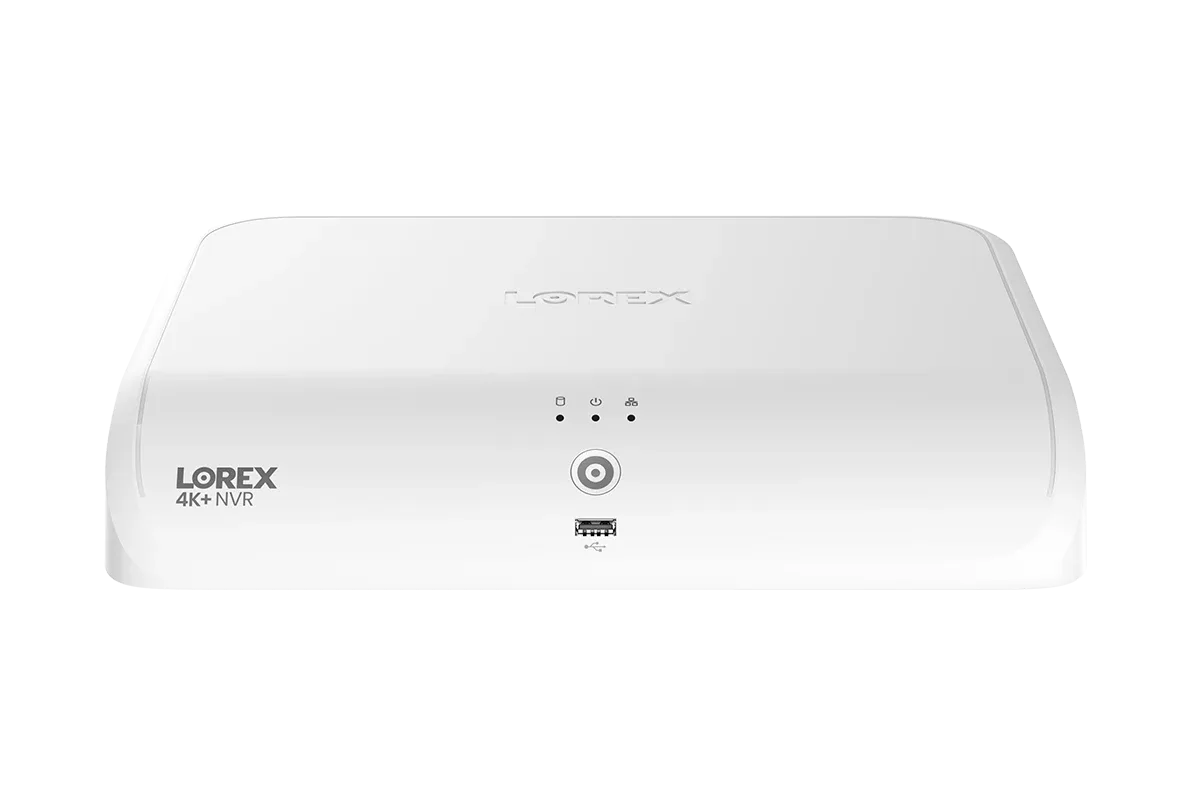
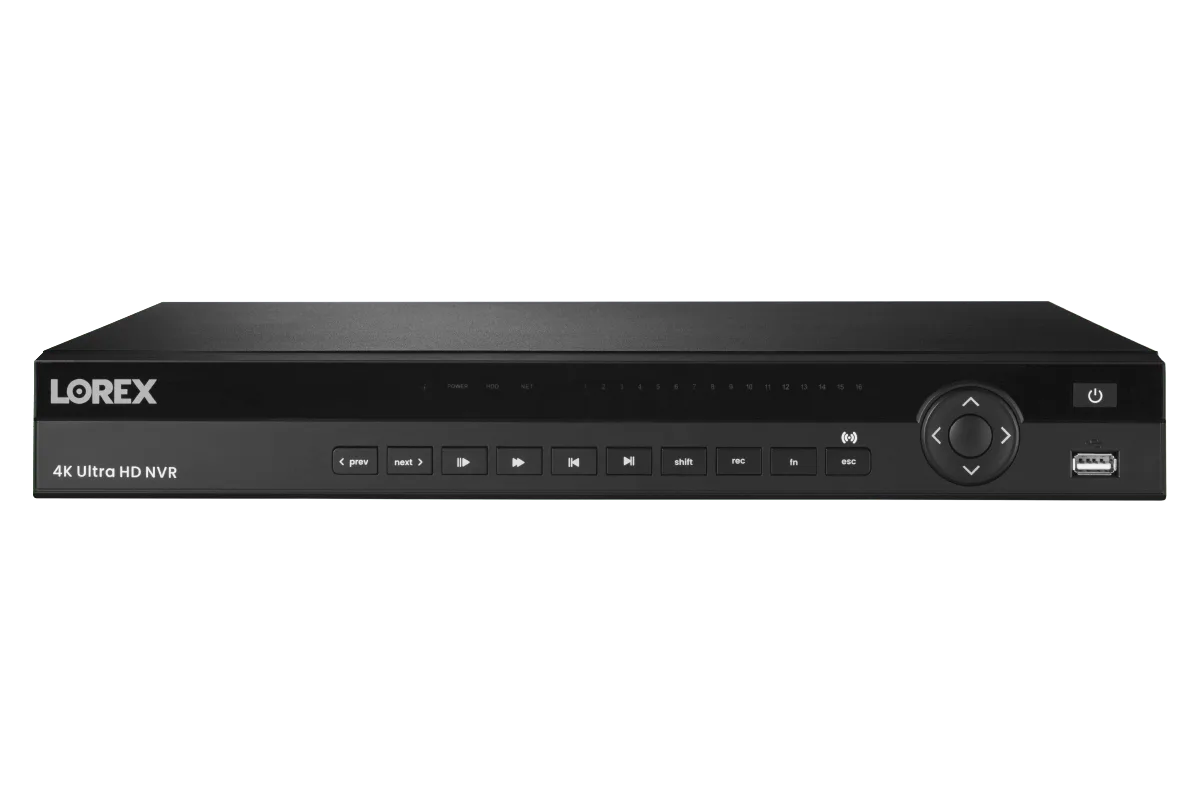
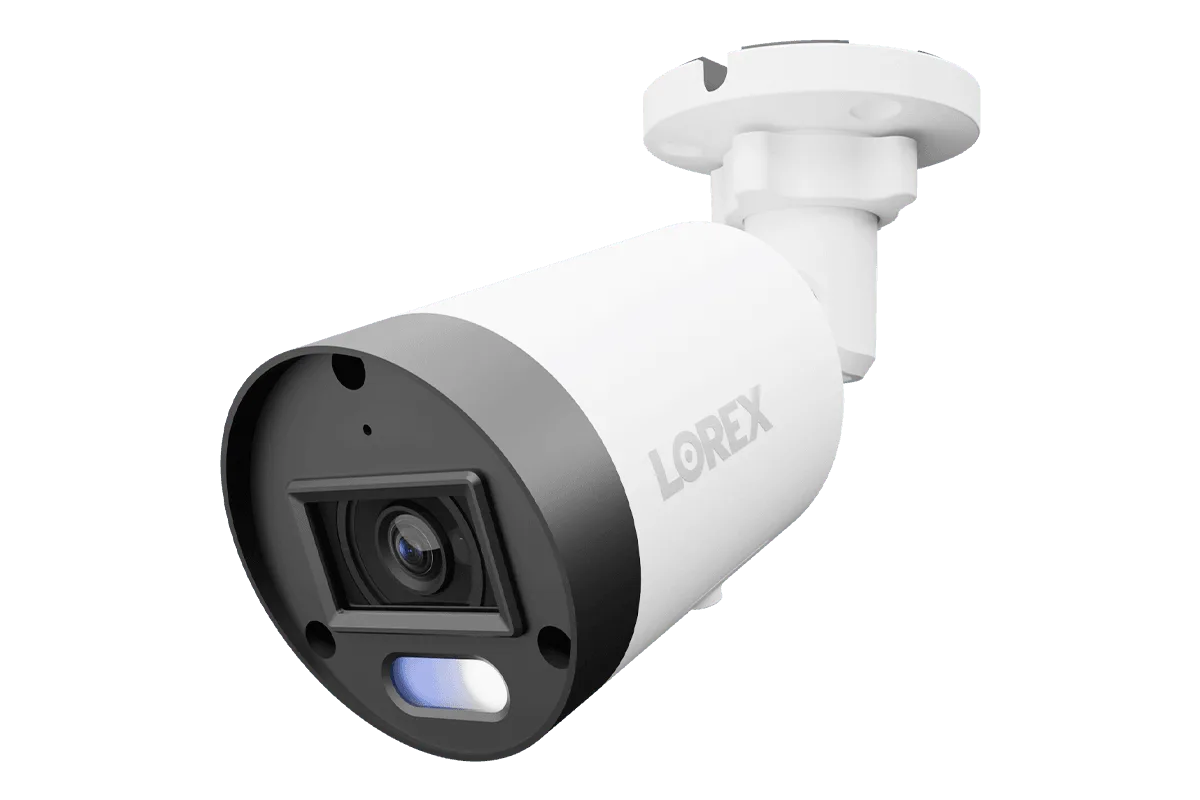
We will use the https://gadgetguardai.shop/products/lorex-fusion-4k-16-camera-capable-wired-fusion-wi-fi-4tb-nvr-218027Lorex Fusion 4K 16 Camera Capable (Wired / Fusion Wi-Fi) 4TB NVR as our primary example, but the steps apply to most Lorex wired NVR models. Pairing cameras like the Lorex H12 4K IP Wired Turret Security Camera with Smart Security Lighting is straightforward when you follow the correct procedure.
Unboxing and Hardware Setup
Start by unpacking your NVR and all included accessories. Your NVR box should contain the recorder unit, a power adapter, an Ethernet cable, a mouse, and a quick start guide. If your system came with cameras, they will be in separate boxes. Place the NVR in a well-ventilated location near your network router and power outlet. Connect the NVR to your router using the provided Ethernet cable for remote access and firmware updates.
Attach a monitor or TV to the NVR via the HDMI port (or VGA if available). Then plug in the power adapter and turn on the NVR. You will see the initial boot screen. Do not connect any cameras yet—the NVR needs to boot up and load its operating system first. Wait for the welcome screen to appear, which indicates the system is ready for configuration.
- Keep the NVR away from direct sunlight and moisture to ensure longevity.
Initial Configuration via Monitor
The first time you power on the NVR, it will prompt you to select a language and set up an admin password. Choose a strong password that includes letters, numbers, and special characters. This password is critical for protecting your footage from unauthorized access. Once set, the system will display the main menu. From here, you can configure date/time settings, storage options, and network preferences.
Navigate to the Network settings to enable DHCP (usually the default) or assign a static IP address if needed. DHCP is fine for most users. Then go to the Storage menu to initialize the hard drive (if not already initialized). Your Lorex NVR likely comes with a pre-installed hard drive, but you may need to format it. Select the drive and click 'Initialize'. This process takes a few minutes and prepares the drive for recording.
- Write down your NVR's IP address (found in Network settings) for remote access later.
Pairing Cameras via PoE Ports or Over Coax
Now it is time to connect your cameras. If you are using PoE cameras, plug them directly into the NVR's PoE ports using Ethernet cables. The NVR will automatically detect and assign IP addresses to each camera. For cameras that are not within range, consider using the Professional Single Port IP & PoE over Coax Set (1200m/4000ft end-to-end converters) to extend the connection via coaxial cable without signal loss.
Once connected, the NVR will add the cameras to the channel list. You may see a camera icon with a yellow warning initially – this is normal while the system negotiates. After a few seconds, the live view should appear. If a camera fails to connect, check the cable connections and ensure the camera is receiving power. For wired bullet cameras like the Lorex A14 4K IP Wired Bullet Security Camera with Listen-In Audio, the pairing process is identical: plug in, wait for detection, and confirm.
- Label each Ethernet cable to match the camera location for easy troubleshooting.
Configuring Smart Motion Detection and Recording Schedules
After pairing, you can fine-tune each camera's settings. Access the Camera menu from the NVR interface. Select a camera and go to the 'Motion Detection' tab. Enable smart motion detection to reduce false alerts from leaves or animals. The Lorex H12 4K IP Wired Turret Security Camera features smart security lighting that can be set to trigger on motion, adding an extra layer of deterrence.
Next, set up recording schedules. You can choose continuous recording, motion-only recording, or a combination. For most users, motion recording saves hard drive space while ensuring events are captured. Go to Schedule > Record and set the time periods. The 4TB drive on the Fusion NVR can store weeks of footage at 4K resolution, but schedules help optimize storage further.
- Enable audio recording if your cameras support it (check local laws first).
Network and Remote Access Setup
To view your cameras remotely, you need to enable remote access. From the NVR menu, go to Network > DDNS and enable the Lorex DDNS service. This gives you a web address to access your system from anywhere. You can also download the Lorex Home app on your smartphone and scan the QR code on the NVR to pair it. Ensure your router's firewall allows the necessary ports (usually 80, 443, and 37777) or use UPnP to auto-configure.
Test remote access by logging in from a separate network (turn off Wi-Fi on your phone and use mobile data). If you can see the live view, the setup is complete. For advanced users, you can set up email alerts or push notifications for specific motion events.
- Change the default HTTP port to a non-standard number for extra security.
Troubleshooting Common Pairing Issues
If a camera does not appear after connection, try these steps: (1) Power cycle the camera and NVR, (2) Check the camera's PoE status (LEDs should be lit), (3) Use a different Ethernet port or cable, (4) Manually add the camera via IP address in the NVR's Camera Management menu. For cameras over long distances with PoE over coax converters, ensure the converters are properly paired and powered.
Another common issue is low frame rate or lag. This can be caused by network congestion or incorrect camera settings. Reduce the camera's resolution temporarily to see if performance improves, or upgrade your network switch to a gigabit model. If all else fails, reset the NVR to factory defaults (use a paperclip on the reset button) and repeat the setup process.
- Keep your NVR firmware updated to the latest version from the Lorex support website.
Once your NVR is configured and all cameras are paired, take a few minutes to explore the advanced features like smart security lighting and two-way audio. For a powerful all-in-one solution, the Lorex Fusion 4K 16 Camera Capable (Wired / Fusion Wi-Fi) 4TB NVR offers the reliability of wired connections with the flexibility of Wi‑Fi cameras. Visit the product page to learn more and secure your property today.