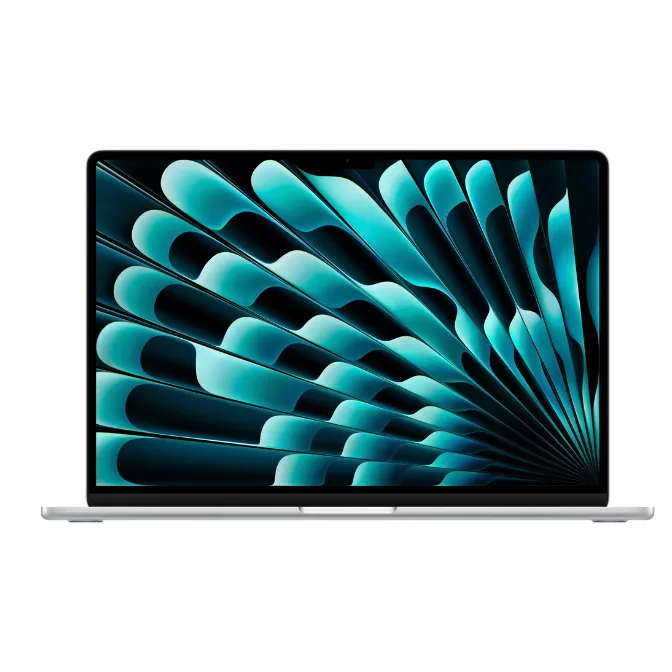
Start with the hardware you actually have
The MacBook Air M2 15.3-inch in this configuration ships with 8GB of unified memory and a 512GB SSD. Those two numbers shape your first-run decisions more than any menu option. Before you sign in to anything, know that the 512GB drive gives you room for apps and files, while 8GB of memory means you should be deliberate about how many heavy apps run at once.
The 15.3-inch Liquid Retina display is the main surface you will work on, and the 1080p FaceTime HD camera is the one you will use for video calls. Both are fixed parts of the machine, so your setup routine is about configuring software and confirming what works, not upgrading hardware.
The configuration that guides your setup
-
Apple MacBook Air Laptop with M2 chip: 15.3-inch Liquid Retina Display, 8GB Unified Memory, 512GB SSD Storage, 1080p FaceTime HD Camera, Touch ID. Works with iPhone/iPad; Starlight (factory renewed): Apple MacBook Air Laptop with M2 chip: 15.3-inch Liquid Retina Display, 8GB Unified Memory, 512GB SSD Storage, 1080p FaceTime HD Camera, Touch ID. These are the fixed specs you will configure around: the display size, memory, storage, camera resolution, and biometric login.
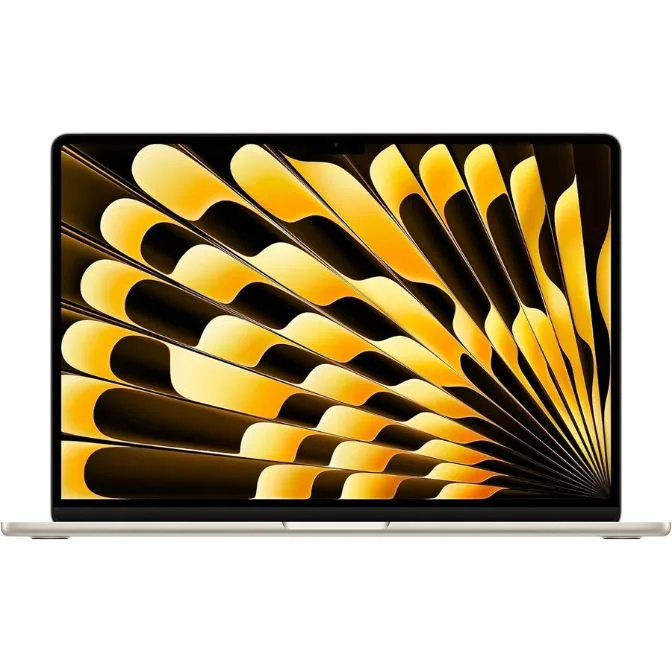
Apple MacBook Air Laptop with M2 chip: 15.3-inch Liquid Retina Display, 8GB Unified Memory, 512GB SSD Storage, 1080p FaceTime HD Camera, Touch ID. Works with iPhone/iPad; Starlight (factory renewed)
-
Apple MacBook Air Laptop with M2 chip: 15.3-inch Liquid Retina Display, 8GB Unified Memory, 512GB SSD Storage, 1080p FaceTime HD Camera, Touch ID. Works with iPhone/iPad; Starlight (factory renewed): Supercharged by the M2 chip, this sleek aluminum MacBook Air delivers blazing-fast performance and an incredible 18-hour battery life for all-day productivity. The M2 chip and 18-hour battery claim set expectations for a full workday away from a charger, so plan your first charge and power settings around that.
A sensible first-run order
The exact screens depend on the version of macOS installed, but the order below keeps you from skipping the settings that matter most on this machine.
- Power on and complete the initial setup assistant: Connect to Wi-Fi when prompted and sign in with your Apple Account. The setup assistant will walk you through language, region, and account steps.
- Set up Touch ID during or right after setup: Touch ID is built into the keyboard area on this model. Enroll at least one fingerprint so you can unlock the Mac and authorize purchases without typing your password each time.
- Check the 1080p FaceTime HD camera: Open FaceTime or any app that uses the camera and confirm you see a clear image. The camera is fixed, so if it does not work, check software permissions before assuming a hardware fault.
- Review storage and memory habits: With 512GB of SSD storage, you have space for a working library of apps and files, but it is not unlimited. With 8GB of unified memory, close apps you are not using when you switch to video editing or many browser tabs.
- Plan your first charge around the 18-hour battery claim: The catalog states up to 18 hours of battery life. Treat that as a best-case figure for light productivity, and charge fully before a long day away from an outlet.
What Touch ID setup actually does for you
Touch ID on the MacBook Air M2 is a convenience layer, not a replacement for your account password. After you enroll a fingerprint, you can use it to unlock the Mac, approve App Store purchases, and autofill passwords in Safari. If a fingerprint does not register cleanly, add a second finger rather than repeatedly forcing the same one.
The supplied product information confirms Touch ID is present but does not list the exact number of fingerprint slots or the precise enrollment screens. Those details come from the macOS version on your machine, so follow the on-screen prompts rather than a fixed recipe.
FaceTime camera: what to check and what not to assume
The 1080p FaceTime HD camera is the built-in webcam for video calls. During first use, open FaceTime and start a test call or use the camera preview in System Settings to confirm the image appears. If the image is black, check that the app has camera permission in System Settings > Privacy & Security > Camera.
The supplied information does not include camera setup steps, resolution settings, or low-light behavior beyond the 1080p specification. Do not expect a separate webcam utility; the camera works through apps that request it.
8GB memory and 512GB storage: practical first-week habits
Eight gigabytes of unified memory is enough for browsing, email, documents, and light photo editing, but it is not a workstation-class amount. Keep an eye on Activity Monitor if the machine feels slow, and quit apps you are not actively using rather than leaving many open at once.
The 512GB SSD gives you a comfortable amount of local storage, but it is still finite. Decide early where large files live: keep active projects on the internal drive and archive finished ones to an external drive or cloud service. The supplied information does not specify SSD speed or upgrade options, so treat the 512GB as fixed.
Battery expectations for the first day
The catalog describes an 18-hour battery life for all-day productivity. That figure is a claim from the product record, not a guarantee for every workload. Video calls, high screen brightness, and many background apps will shorten it. For your first day, charge to full, then use the machine normally and note how quickly the battery drops so you can plan future charges.
The supplied information does not include charging wattage, port details, or fast-charge behavior. Use the charger that came with the machine and follow Apple's guidance for your region rather than improvising with a higher-wattage adapter.
Where this MacBook Air fits in daily use
- Apple MacBook Air Laptop with M2 chip: 15.3-inch Liquid Retina Display, 8GB Unified Memory, 512GB SSD Storage, 1080p FaceTime HD Camera, Touch ID. Works with iPhone/iPad; Starlight (factory renewed): Works with iPhone/iPad. If you already use an iPhone or iPad, you can expect continuity features such as Handoff and Universal Clipboard, though the supplied information does not list every supported feature.
- Apple MacBook Air Laptop with M2 chip: 15.3-inch Liquid Retina Display, 8GB Unified Memory, 512GB SSD Storage, 1080p FaceTime HD Camera, Touch ID. Works with iPhone/iPad; Starlight (factory renewed): 15.3-inch Liquid Retina Display. The larger screen compared with smaller MacBook Air models gives you more room for side-by-side windows, which pairs well with the 8GB memory if you keep the number of open apps modest.
What the supplied information does not settle
The product record does not include the number of Thunderbolt ports, maximum external display support, Wi-Fi standard, or exact macOS version. It also does not provide step-by-step screens for Touch ID enrollment or camera permissions. For those details, rely on the setup assistant and Apple's documentation for the macOS version installed on your machine, rather than assuming a specific port count or display arrangement.