Quick answer
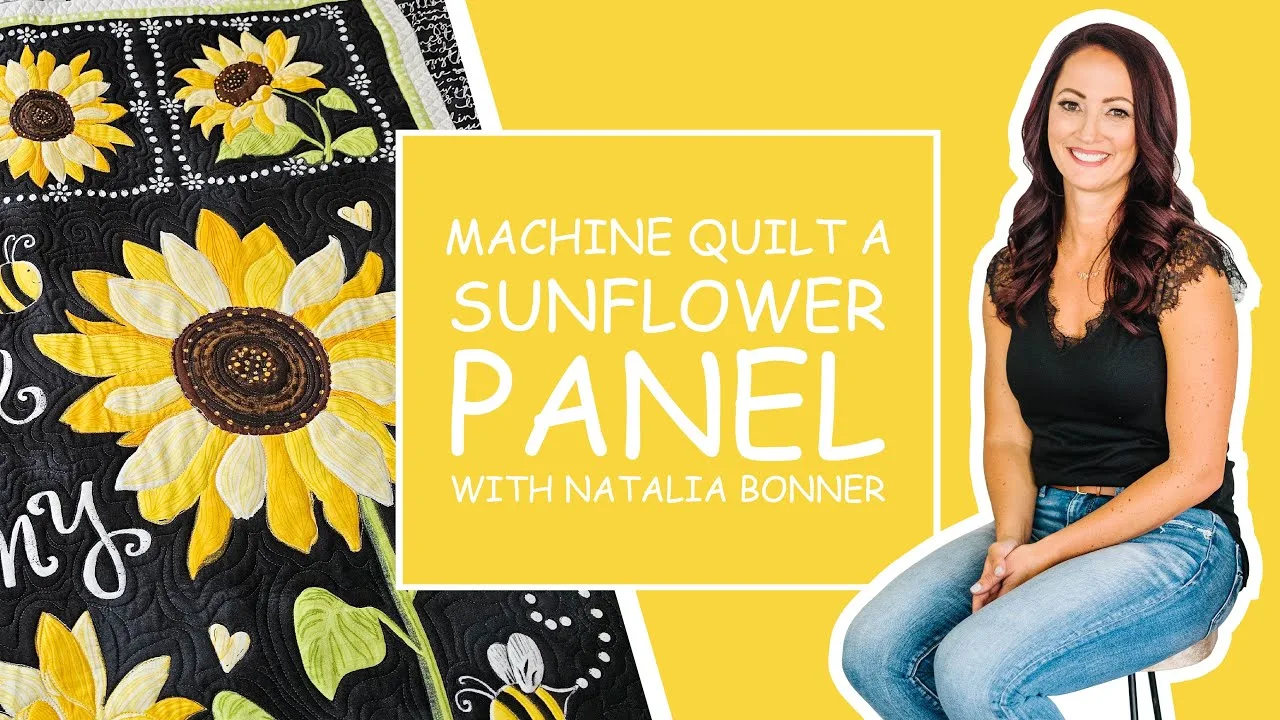
Quilt a sunflower quilt in this order: stabilize the whole quilt first, then outline the flower center and petals, then add background filler last. Work from the center of the quilt outward and keep petal quilting simple so the flower shape stays readable. If you want to see the full process in motion, the PNQ Academy video Machine Quilt A Sunflower Quilt with Natalia Bonner walks through the same sequence on a panel.
Set up the quilt and thread before the first stitch
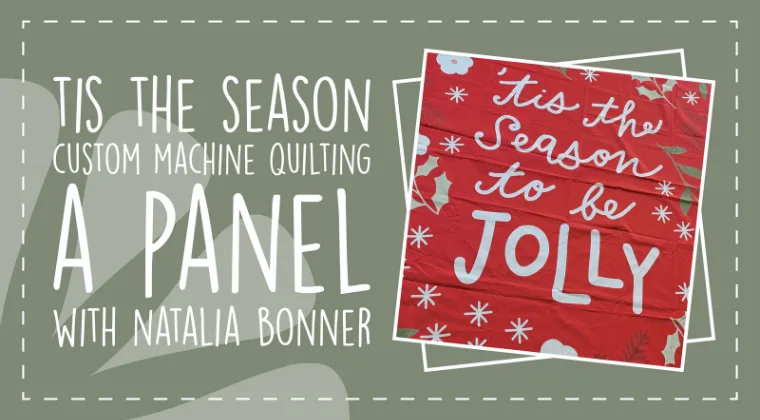
A sunflower quilt usually has a large focal flower, so any wobble in the petals is easy to see. Baste or pin thoroughly, and check that the quilt lies flat before you load or roll it. For thread, a fine thread lets you stitch dense detail without building heavy texture over the flower. The Tis the Season panel video uses So Fine! in 402, 412, and 445, which shows how a fine thread can blend across both red background and floral shapes. If your sunflower panel has similar high-contrast areas, test the same thread top and bobbin on a scrap sandwich first.
Stabilize the quilt before any decorative quilting
Stabilizing means stitching a simple, widely spaced design across the whole quilt so the layers stop shifting. On a sunflower quilt, that can be a large meander or a loose grid that avoids the flower center. Do not start with petal outlines; if you quilt the flower first, the unquilted background can shift and distort the petals before you reach them. Stabilize everything, then return to the flower with detail work.
Quilt the flower center before the petals
The center is usually the densest part of a sunflower, so quilt it first while the quilt is easiest to manage. Small circles, pebbles, or a spiral that follows the center shape all work. Keep the stitching inside the center boundary so you do not accidentally flatten the base of the petals. If the center is a printed panel motif, echo just inside the printed line rather than stitching directly on it.
Quilt sunflower petals with a repeatable path
Petals are where sunflower quilts either read clearly or turn muddy. Pick one path and repeat it: for example, stitch a gentle curve down one side of a petal, turn at the tip, and come back up the other side. Quilting sunflower petals this way gives each petal a defined edge without filling it so densely that the shape disappears. A common mistake is quilting every petal differently, which makes the flower look uneven even when the piecing or panel is symmetrical.
Add background filler last and keep it quieter than the flower
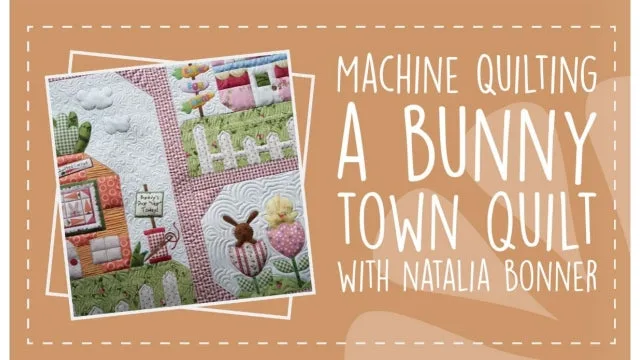
Background filler is the supporting actor. Choose one design, such as a small meander, swirls, or a grid, and keep the scale consistent. If the filler is denser or more dramatic than the petals, the eye goes to the background instead of the sunflower. Quilt the filler after the flower so you can adjust the density around the petals and avoid stitching into them. For a full example of this order, Machine Quilting A Bunny Town Quilt shows Natalia Bonner using background filler techniques after working around figurative shapes, which is the same logic you apply around a sunflower.
Check the back and secure the ends
Before you trim anything, look at the back of the quilt. Tension problems, bobbin thread showing on top, or a stray pleat are easier to fix before you bury threads. Secure and bury thread tails as you go or at the end, then check that no petal has a loose start or stop. If you quilted a panel, verify that the panel print still lines up and that no filler crossed into the flower where you did not intend it.
Sunflower quilt quilting order: 6 steps
- Baste and test thread: Layer and baste the quilt flat, then stitch a test sandwich with your chosen top and bobbin thread. Use a fine thread if you plan dense petal detail. Checkpoint: the test sandwich should show balanced tension before you touch the quilt.
- Stabilize the whole quilt: Stitch a loose meander or grid across the entire quilt, avoiding the flower center. This locks the layers before decorative quilting. Mistake to avoid: quilting the flower first and letting the background shift.
- Quilt the flower center: Fill the center with small circles, pebbles, or a spiral, staying inside the center boundary. Checkpoint: the center should be secure but not so dense that it pulls the petals inward.
- Outline and quilt the petals: Choose one repeatable path per petal and use it consistently. Quilt a curve down one side, turn at the tip, and return up the other side. Mistake to avoid: changing the petal design on every petal, which makes the flower look uneven.
- Add background filler: Quilt one consistent filler design around the flower, keeping the scale smaller and quieter than the petal quilting. Checkpoint: step back; the sunflower should be the first thing you see.
- Inspect the back and finish threads: Look for tension issues, pleats, or stray stitches on the back, then bury and secure thread tails. Mistake to avoid: trimming threads before you check that every start and stop is secure.
PNQ Academy videos that show this process
- Machine Quilt A Sunflower Quilt with Natalia Bonner: Machine Quilt A Sunflower Quilt with Natalia Bonner is a PNQ Academy video in which Natalia guides you through the machine quilting process on a sunflower quilt. It gives you a visual sequence to follow when you want to see how the flower and background are handled in order.
- Tis the Season - Custom Machine Quilting a Panel with Natalia Bonner: Tis the Season - Custom Machine Quilting a Panel with Natalia Bonner is a 21 minute video using So Fine! 402, 412, and 445 with one layer of Quilter's Dream Wool batting, and the goal is to make the panel appear as if the flowers and words are appliqued onto the red background. It shows how fine thread and wool batting can create an applique-like effect on a floral panel, which is useful if your sunflower quilt is panel-based.
- Machine Quilting A Bunny Town Quilt: Machine Quilting A Bunny Town Quilt is a PNQ Academy video where Natalia demonstrates echo quilting, quilting around figurative shapes, and bringing the grass to life with background filler techniques. Those same techniques apply when you quilt around sunflower petals and add filler to the background without overpowering the flower.