Quick answer
Build the MG Gundam Barbatos Lupus 1/100 in this order: snap the inner frame first, test the new shoulder and waist movement before armor goes on, then fit armor from the feet upward so you can reach the joints. Do panel lining after the armor is assembled but before decals, and keep the Valkyrja Buster Sword and effect parts for last so you do not knock them off while handling the kit.
What the MG Barbatos Lupus frame gives you before armor
The MG Gundam Barbatos Lupus 1/100 uses the Gundam Frame, and the catalog notes updated shoulder joints plus improved forward and backward tilt at the waist. That matters for a straight build because the frame is where the poseability lives. If you snap the frame, move each joint through its range once, then armor it, you will feel where the tight spots are before the armor hides them.
The backpack also has a swing gimmick that does not restrict movement, so leave the backpack off until the torso and shoulders are done. A common mistake is attaching the backpack early and then fighting it every time you rotate the arms.
Tools and setup for a clean first pass
You need nippers, a hobby knife or sanding stick, and a panel line pen or panel line wash. A soft brush and a lint-free cloth help with cleanup. Work on a tray with small parts separated by runner letter so you do not lose the small shoulder and waist pieces.
Checkpoint: cut at least 1-2 mm away from the part, then trim the nub. Cutting flush in one squeeze stresses the plastic and leaves white marks that show up badly on dark armor.
Panel lining and decal order that avoids rework
Panel line after the armor is on, not before. Lines that cross two armor pieces will not match if you line each piece separately. Use a fine-tip pen or a thin wash, let it cure, then wipe the surface with a light touch. On the Barbatos Lupus, the shoulder vents and the waist area are the spots where a little lining reads clearly without turning the kit into a scribing project.
Decals go last, after lining and after you have posed the kit once. If you apply decals first, handling during posing can lift edges. The catalog lists eye effect parts and damaged parts for the expansion set, so if you plan to use those later, keep the stock eye and shoulder parts bagged and labeled.
Articulation checks before you call it done
Test the waist tilt forward and back, the shoulder rotation, and the backpack swing. If a joint feels too tight, do not force it; trim or lightly sand the peg. If it feels loose, a thin layer of clear nail polish on the peg tightens it after it dries.
The MG Barbatos Lupus 1/100 is a 1/100 MG IBO kit, so its frame is the main selling point. Pose it once with the arms forward and once with the waist tilted to confirm nothing pops off. That single check catches most fit issues before the kit goes on the shelf.
Straight build steps
- Snap the inner frame first: Build the Gundam Frame torso, arms, and legs before any armor. Move the shoulders, waist tilt, and backpack swing through their range while you can still see the joints. Checkpoint: no joint should bind or feel gritty before armor goes on.
- Fit armor from the feet up: Attach leg and foot armor first, then waist, torso, arms, and head. Working upward keeps the joints accessible and stops you from pressing on finished armor. Common mistake: forcing armor over a tight frame peg and cracking a thin panel.
- Panel line after armor, before decals: Use a fine pen or thin wash on the shoulder vents, waist, and leg seams. Let it cure, then wipe lightly. Apply decals only after you have posed the kit once. Checkpoint: lines that cross two armor pieces should be done after assembly so they align.
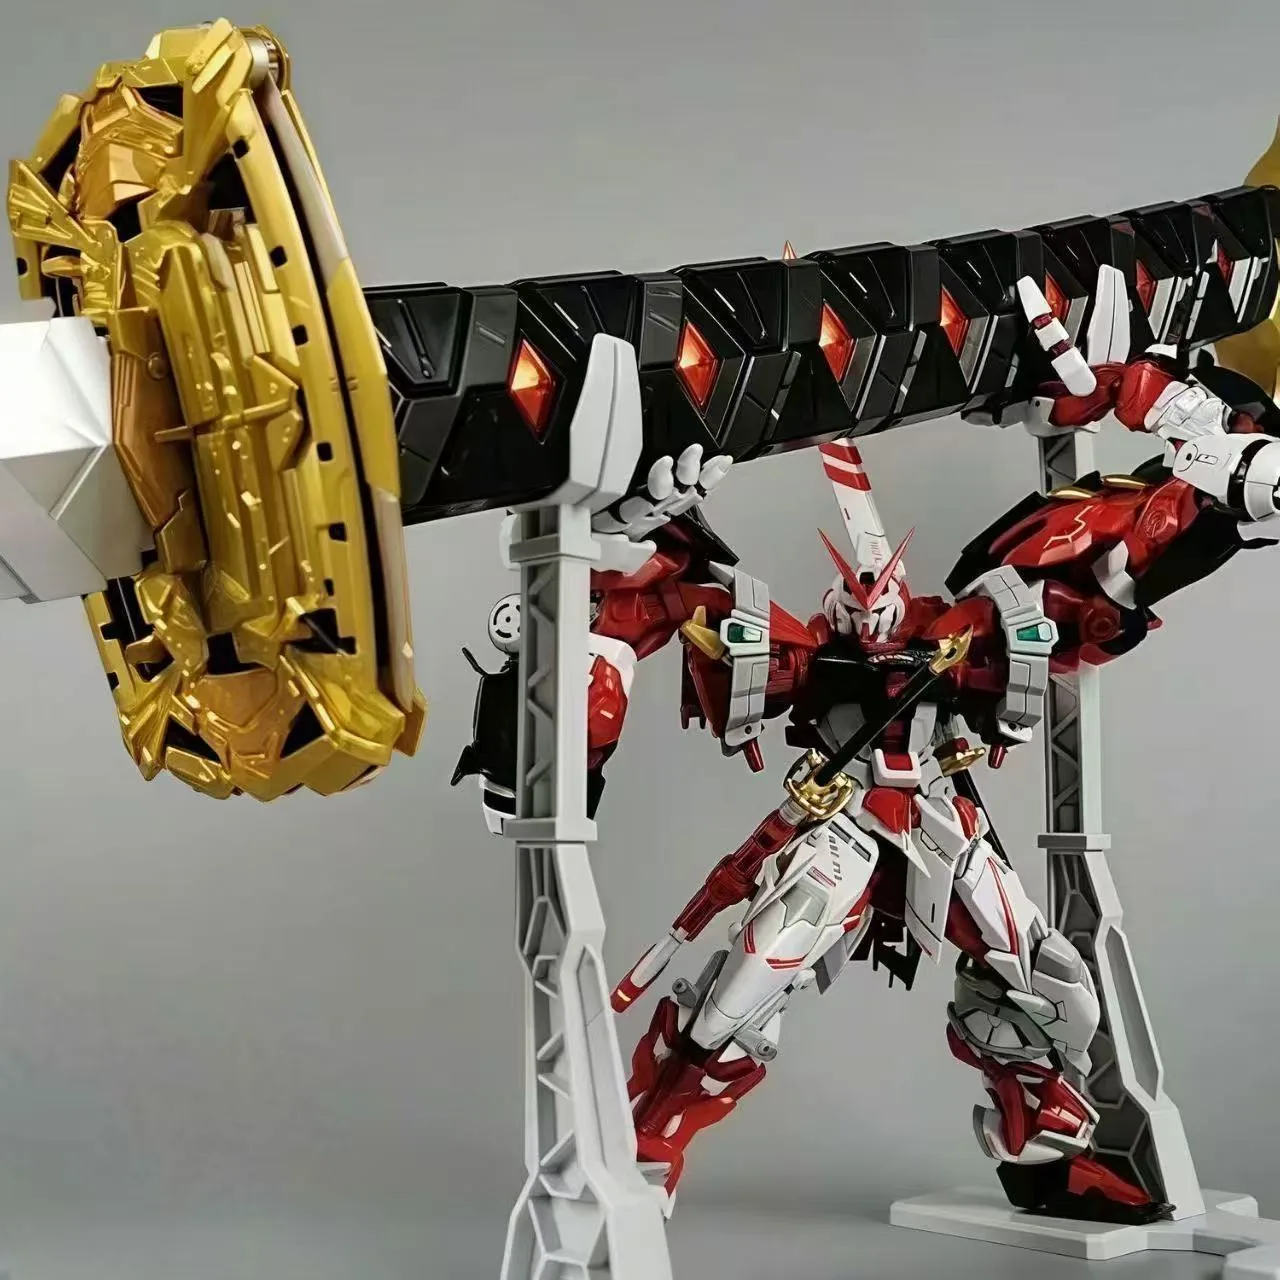
- Add the expansion set parts last: If you are using the P-Bandai expansion set, keep the Valkyrja Buster Sword, blueflame shoulder vents, and effect parts aside until the base kit is lined and posed. Next step: bag and label the stock shoulder and eye parts so you can swap back.
Kit facts that affect your build
- MG Gundam Barbatos Lupus 1/100: The MG Gundam Barbatos Lupus 1/100 uses the Gundam Frame with updated shoulder joints and improved forward and backward waist tilt, plus a backpack swing gimmick. These are the joints you should test before armor goes on, because the armor hides them and the pose range is the reason to build this kit.
- P-Bandai: MG 1/100 Gundam Barbatos Lupus Expansion Set: The P-Bandai MG 1/100 Gundam Barbatos Lupus Expansion Set includes the Valkyrja Buster Sword, blueflame shoulder vent effect parts, an arm rocket launcher, damaged shoulder and V-fin parts, and eye effect parts. If you plan to add the expansion set, build and line the base kit first, then swap parts; the damaged and effect parts are optional and easy to lose if you open them mid-build.