Quick answer
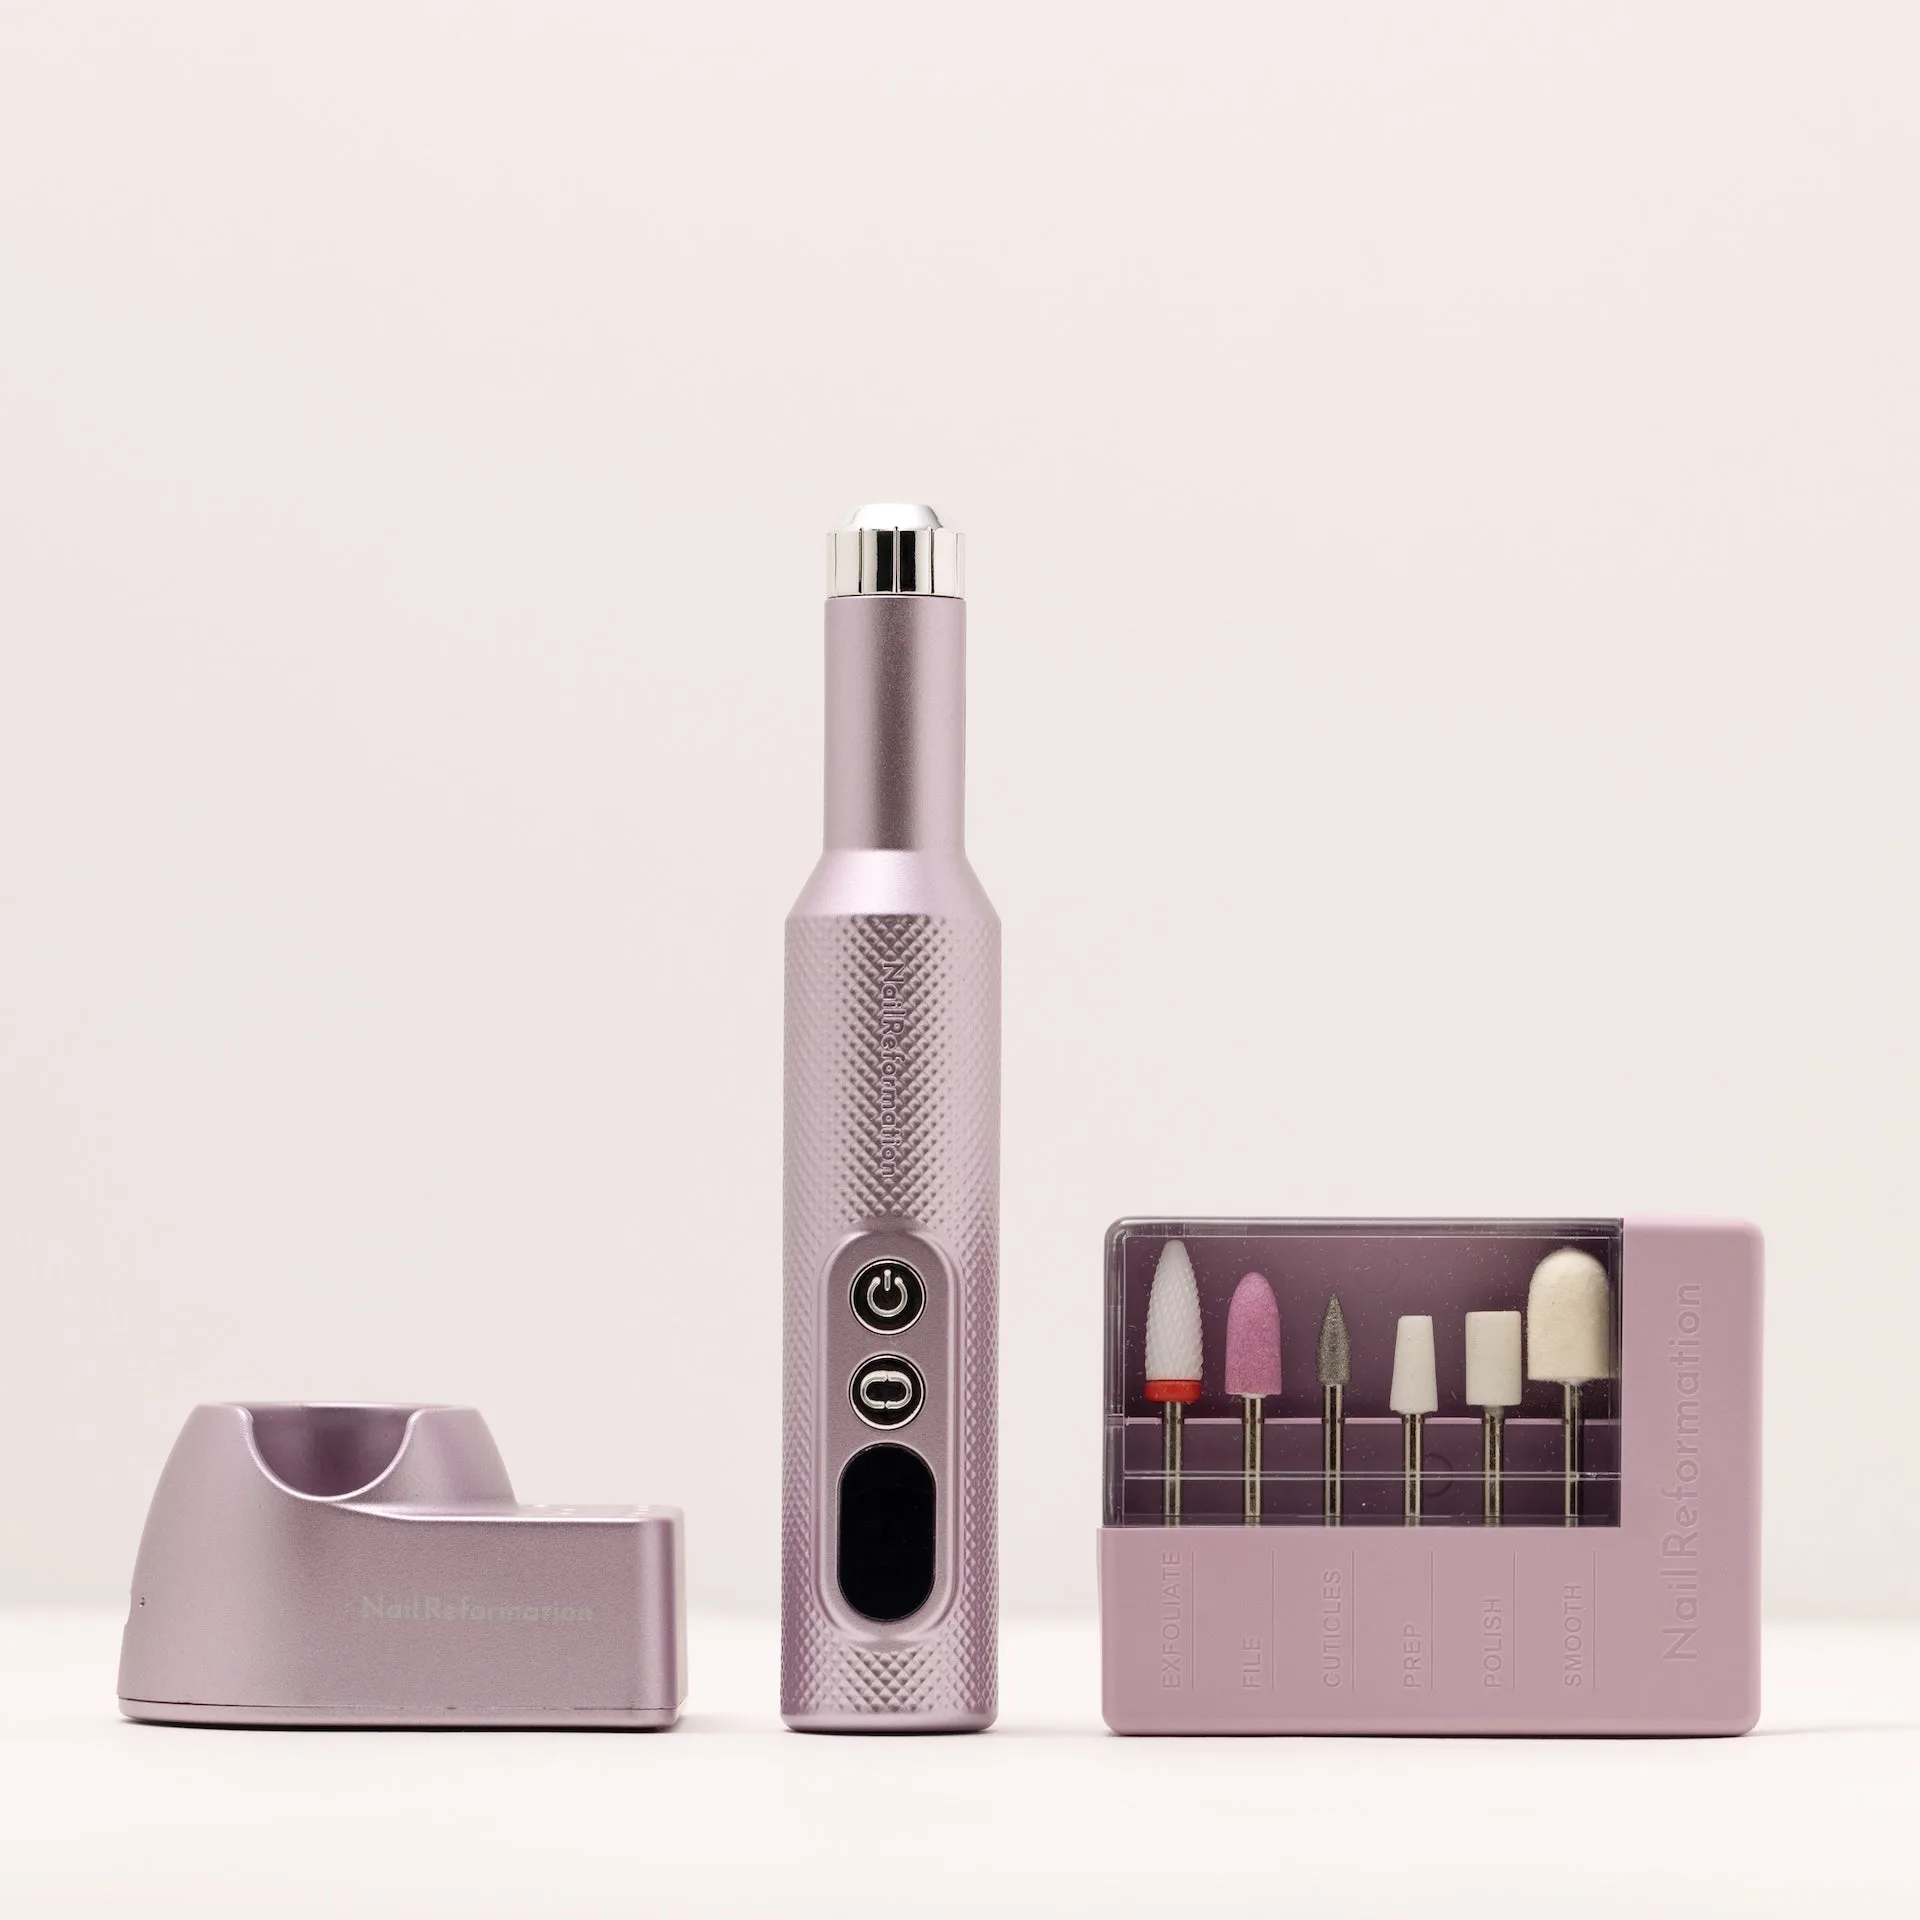
A basic nail tool kit for press-ons needs a cuticle pusher, a buffer block, rubbing alcohol, and a quality adhesive. Skip the expensive electric files—manual tools give you more control and won't damage the reusable nails.
Must-Have Prep Tools
Start with a cuticle pusher (metal or wood) to gently push back your cuticles. This creates a clean nail bed for the press-on to bond to. A buffer block lightly roughens the surface of your natural nail so the adhesive sticks better—don't over-buff or you'll weaken your nail plate.
Rubbing alcohol on a lint-free wipe removes oils and dust right before application. Even the best adhesive fails if the nail bed isn't degreased. These three tools cost under $10 combined and make the difference between nails that last a day and nails that last a week.
Adhesive Choices: Glue vs. Tabs
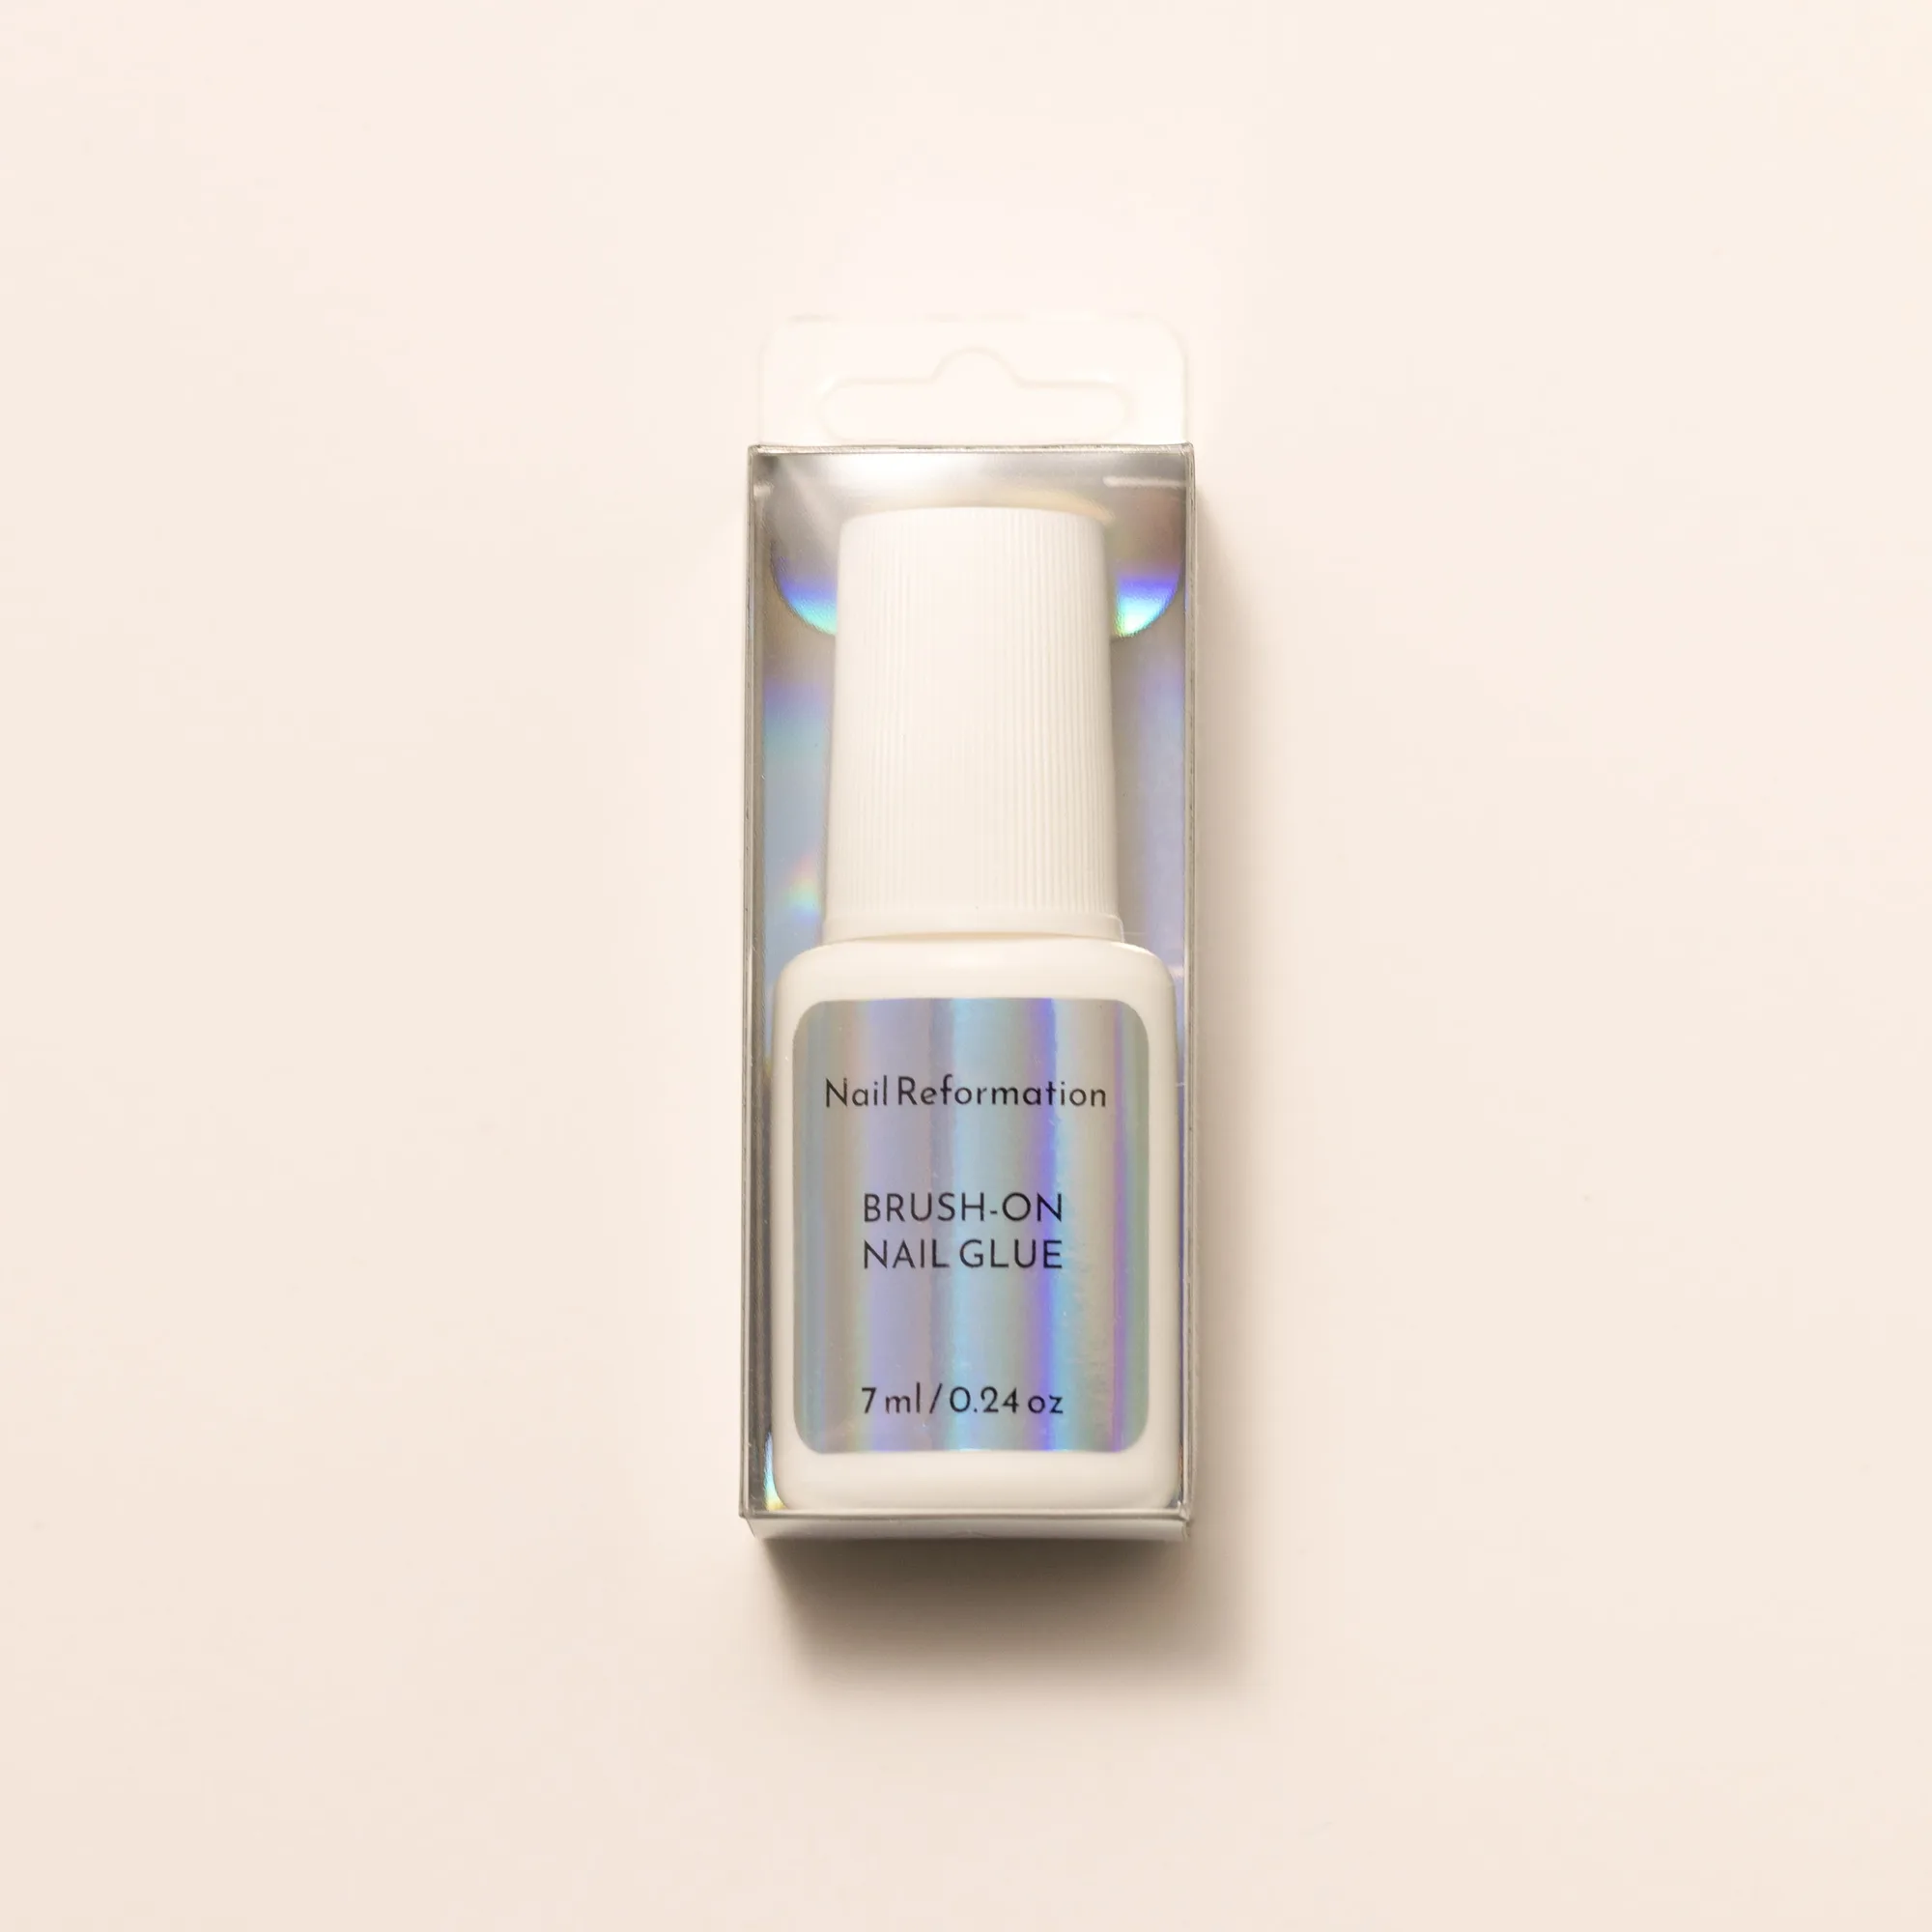
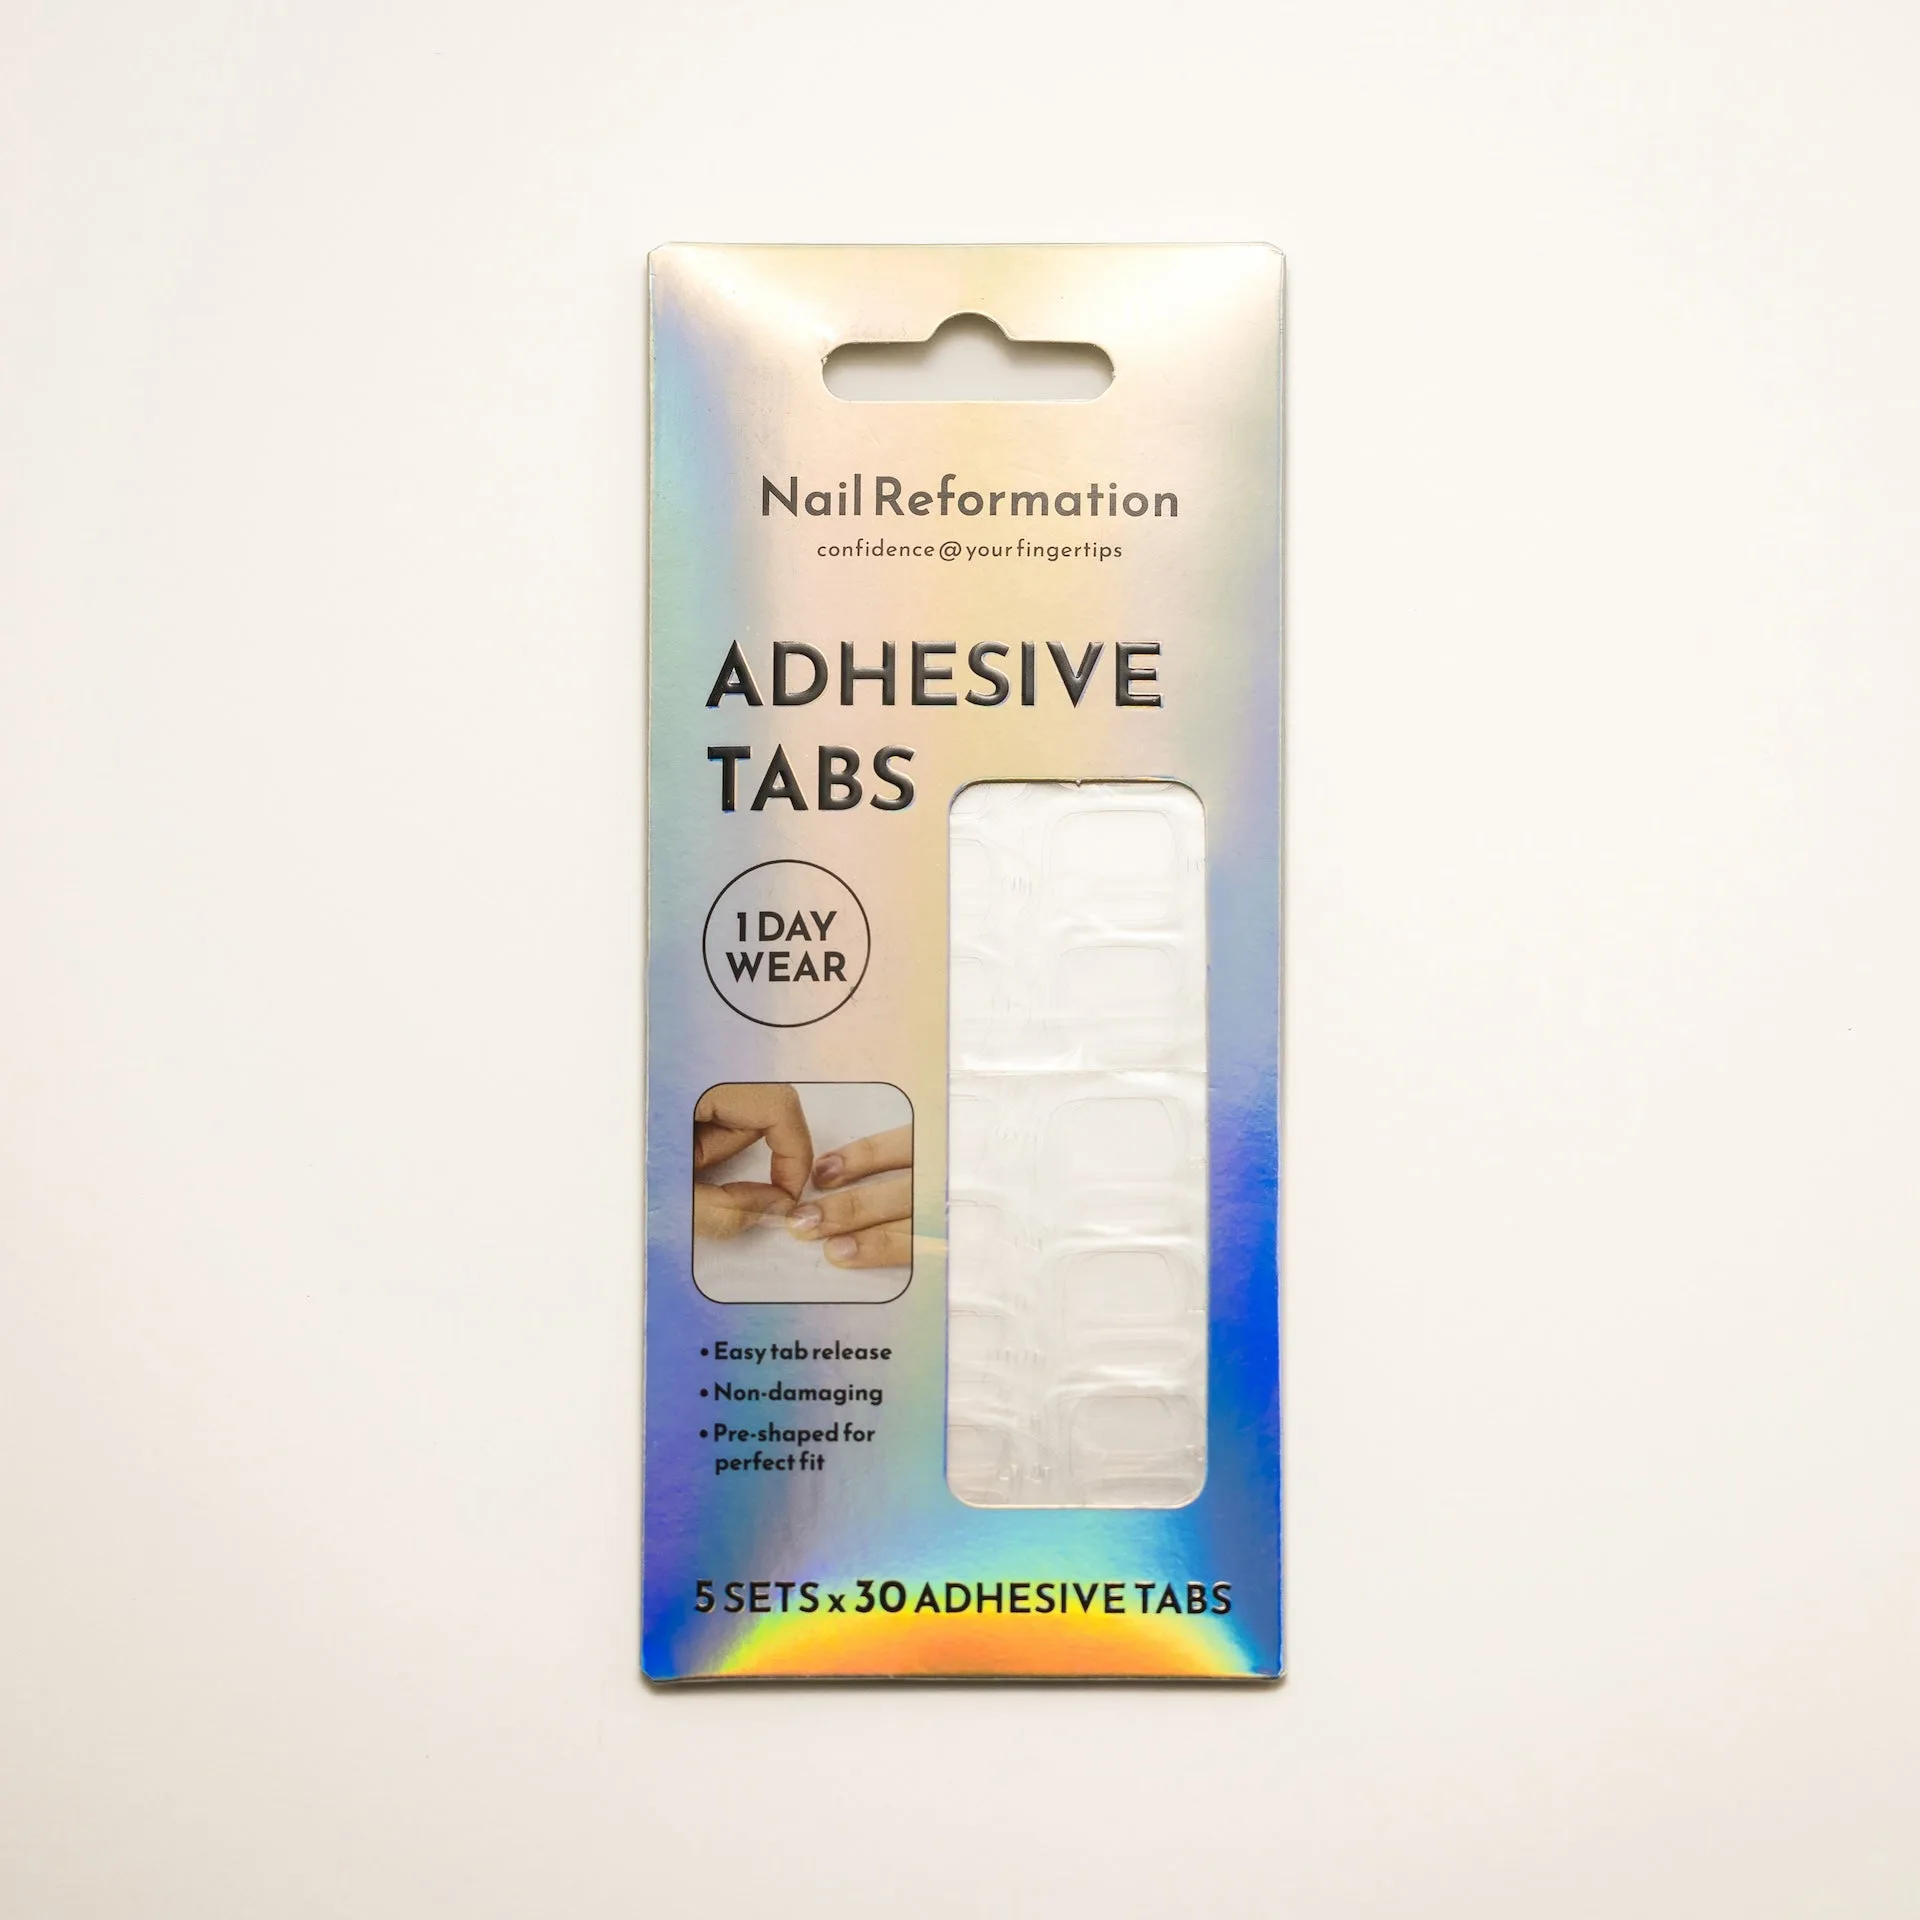
Nail glue gives the strongest hold (up to two weeks) but makes removal trickier and can damage the press-on if you pry it off. Adhesive tabs are gentler on both your natural nail and the reusable press-on, but they typically last only a few days. For reusable press-on nails like the Treasure Trove or Marble Dream sets, tabs are the better choice if you plan to rotate designs often.
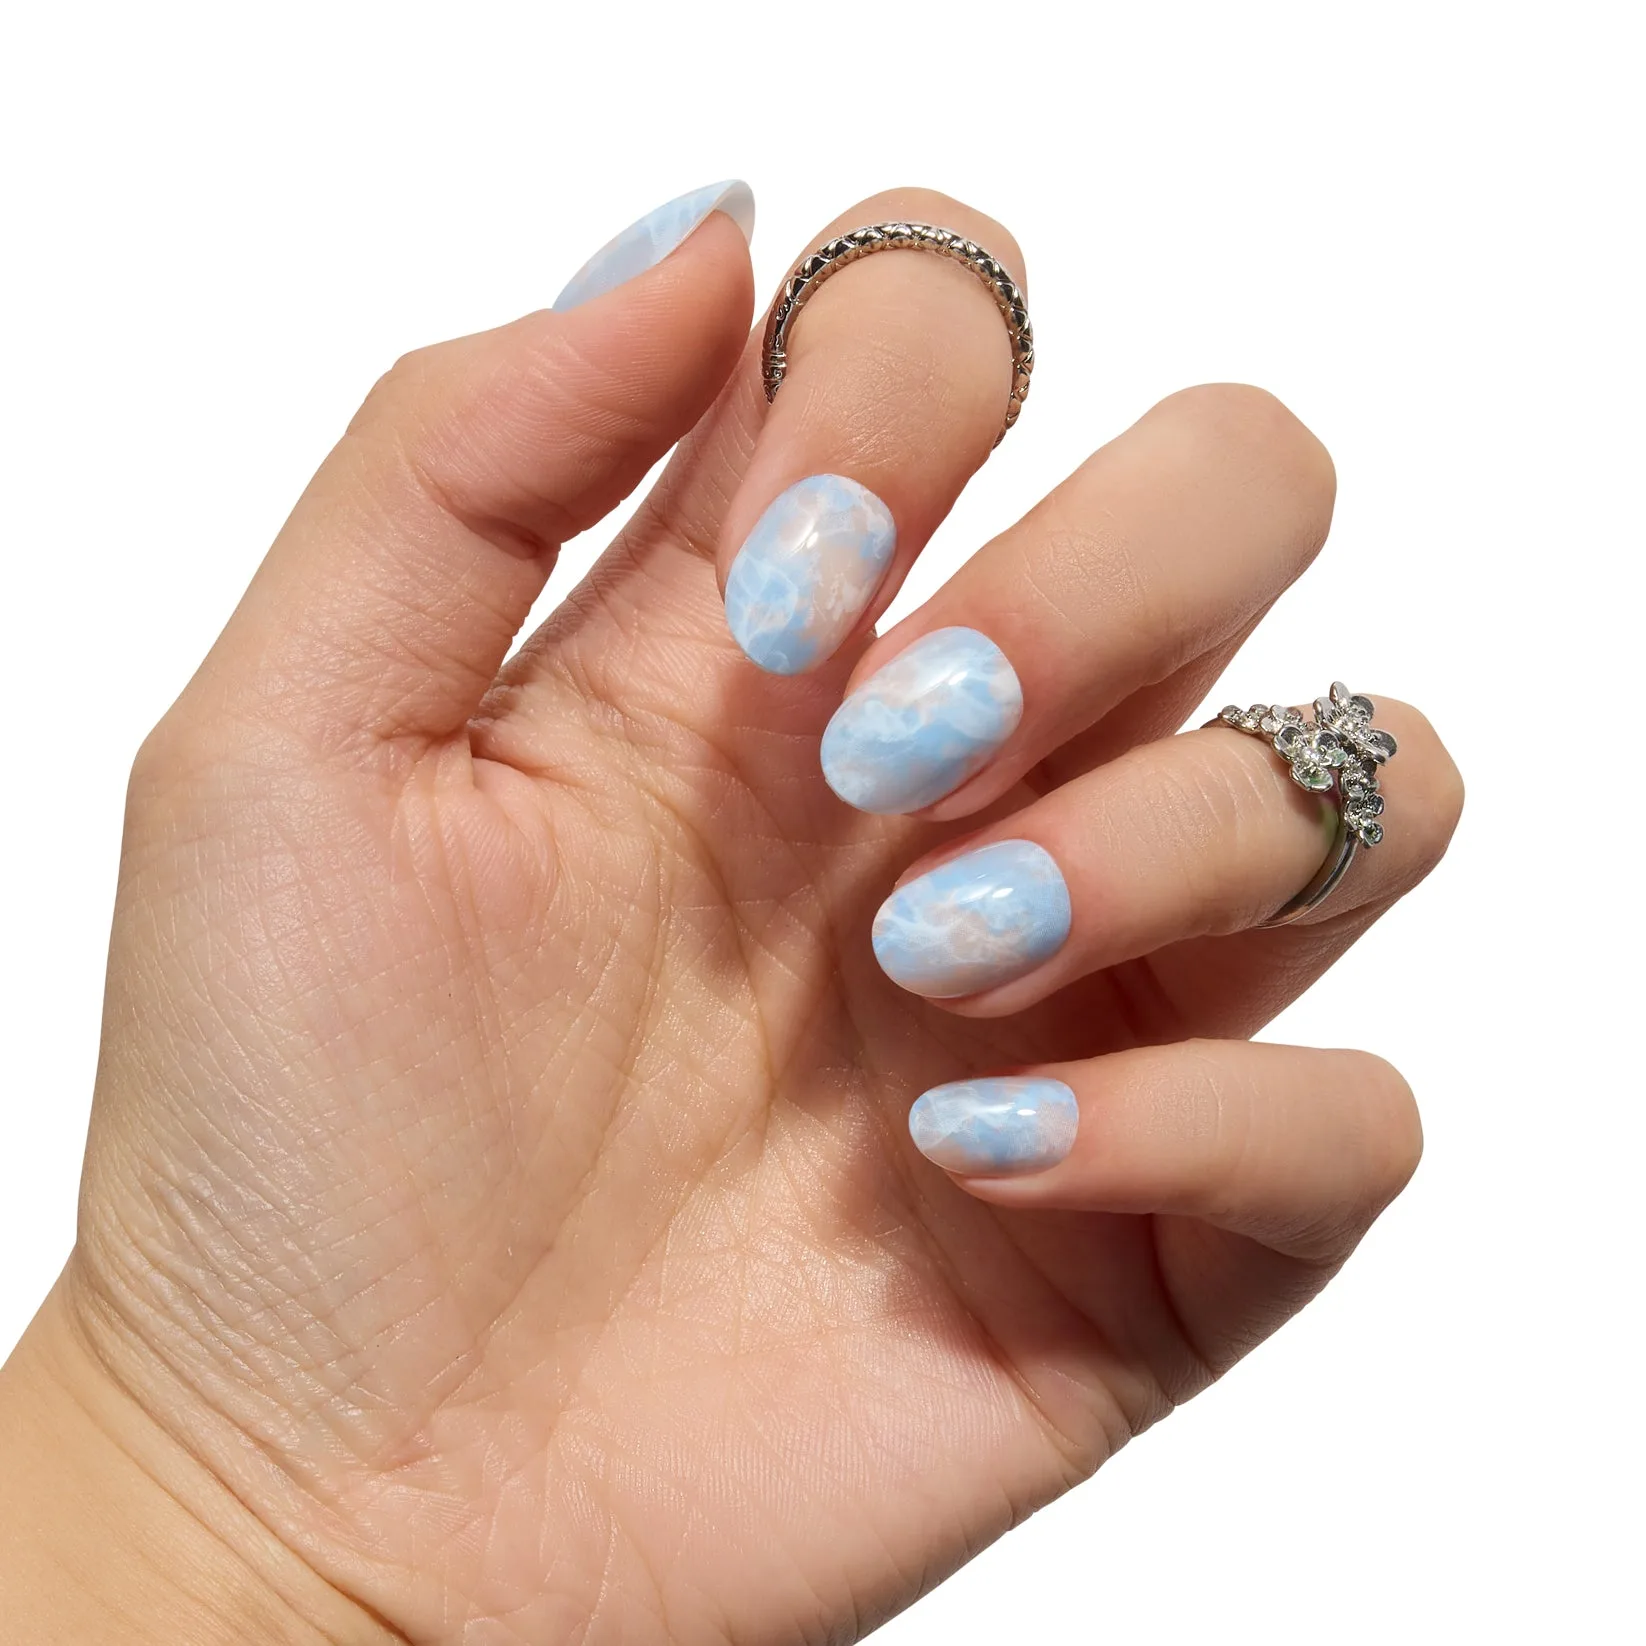
Marble Dream
If you need maximum hold for a special event, use glue—but soak off in warm, soapy water instead of peeling. A small bottle of glue or a pack of tabs belongs in every nail tool kit.
Fit Check Before You Stick
Press-on nails come in multiple sizes per set. Lay out all ten nails next to your natural nails before applying any adhesive. The nail should cover your nail from sidewall to sidewall without overhanging or touching your cuticle. A poor fit causes lifting and popping off.
If a nail is slightly too wide, use a fine-grit file to gently shape the sides—file only the press-on, not your natural nail. This step is especially useful for almond-shaped sets like Red Ruby or French Rosebud, where the curve at the base must align with your cuticle line.
Decision Rules for Your Nail Tool Kit
- If you want maximum wear time: Use nail glue and a metal cuticle pusher for the best bond. Skip adhesive tabs—they won't hold past a few days. Choose glue for events or vacations; accept that removal takes longer.
- If you plan to reuse your press-ons: Invest in adhesive tabs and a buffer block. Tabs allow easy removal without damaging the nail, and a light buff keeps the nail bed ready. Tabs + buffer = reusable-friendly combo.
- If your nails are oily or naturally curved: Add a dehydrator or primer to your kit. Apply it after rubbing alcohol to control oils and improve adhesion on curved nail beds. Primer is a cheap fix for tricky nail types.
Tools-Compatible Press-On Sets
- Treasure Trove: Treasure Trove press-ons feature metallic gold details that reveal vibrant jewel tones in emerald, sapphire, and rose. The medium almond shape keeps the look refined yet bold. The metallic finish means you should avoid acetone-based removers when cleaning the nails for reuse. Use rubbing alcohol instead to preserve the gold detailing.
- Marble Dream: Marble Dream press-ons blend pastel blue, peach, and white in a fluid marble effect with a glossy finish. The medium almond shape offers a flattering, natural fit. The glossy surface is forgiving with adhesive tabs—tabs stick well without needing to roughen the back of the nail, so you can swap designs without dulling the shine.
Which Kit Fits You?
Best for
- Anyone who wants reusable press-ons to last through multiple wears
- Beginners who prefer a gentle, low-commitment application method
Not for
- People who need a single application to hold for two weeks without any maintenance
- Those who dislike any extra prep steps before applying nails