Quick answer
If your glue gel won't cure, clean the lamp window and the gel surface first, then test with a fresh bead. Most curing failures come from dirty surfaces, too-thick gel, or a weak lamp, not from the gel itself. If cleaning and a thin layer still don't work, replace the lamp or switch to a kit with a known-working lamp.
A lamp that suddenly stops curing is frustrating, especially when you're halfway through a set. Before you blame the glue gel, run a quick check: wipe the lamp window, use a thinner bead, and test on one nail. Most problems are surface or technique issues, not a dead lamp.
This guide walks through the common symptoms, the likely causes, and the exact step to take. It also covers simple care habits that keep a small handheld lamp working for months, and the point where repair stops making sense.
Symptom: Glue gel stays tacky after a full cure cycle
If the gel feels wet or stringy after the recommended cure time, the light may not be reaching it. Wipe the lamp window with a dry, lint-free cloth, then apply a thinner bead and cure again. A bead that is too thick blocks light from reaching the bottom layer.
If the surface is still tacky after two thin-layer attempts, the lamp is likely weak. Test it on a fresh bead on a piece of foil; if that also stays wet, the lamp is the problem, not your technique.
- Use a thin bead, not a dome, for the first cure.
- Wipe the lamp window before every session.
- Test on foil to separate lamp problems from application problems.
Symptom: Lamp turns on but feels weaker than before
A lamp that still lights up but cures slowly usually has a dirty window or a failing LED. Clean the window first. If it's clean and the light looks dim or patchy, the LED is aging and the lamp is near the end of its useful life.
There's no safe way to replace a failed LED in a sealed mini lamp. If a clean lamp no longer cures a thin bead in the usual time, replace it rather than extending cure times, which can leave uncured gel against the nail.
- Clean before you assume the lamp is dying.
- Dim or patchy light means replace, not repair.
- Don't double cure times to compensate; uncured gel is a skin risk.
Symptom: Lamp won't turn on at all
Check the power source first. For USB lamps, try a different cable and adapter; for battery lamps, charge fully before judging. If it still won't turn on with a known-good cable, the lamp has failed and replacement is the practical choice.
A lamp that won't power on has no user-serviceable parts. Don't open it. Replace it, and if you're buying a new one, choose a kit that includes a lamp so you're not troubleshooting a separate purchase.
- Swap the cable and adapter before declaring it dead.
- Charge battery lamps fully before testing.
- Never open a sealed lamp; replace it.
How to clean a nail UV lamp without damaging it
Unplug the lamp and let it cool. Wipe the window with a dry microfiber cloth. For sticky gel residue, dampen the cloth with a tiny amount of isopropyl alcohol and wipe again, then dry. Don't pour or spray liquid into the lamp body.
Clean the window after every few sessions, and always after a spill. Keep the lamp away from water, lotions, and acetone. Store it capped or in a small pouch so dust doesn't settle on the window between uses.
- Unplug and cool before cleaning.
- Dry cloth first; minimal alcohol only for residue.
- Never submerge the lamp or spray liquid into it.
Care habits that keep a small lamp working longer
Treat the lamp as a tool, not a toy. Keep it on a stable surface so it doesn't get knocked around, and avoid leaving it in a hot car or a steamy bathroom. Heat and moisture shorten the life of the LED and the internal battery.
Use the lamp only for its intended curing job. Running it for long stretches when nothing is curing adds wear without benefit. A few short, correct cycles per set are better than one long, hot session.
- Store cool and dry.
- Short, correct cycles beat long sessions.
- Keep the window clean and the lamp capped.
Diagnosis: symptom, cause, action, stop point
- Tacky gel after full cure: Likely cause: dirty lamp window or too-thick bead. Action: wipe the window, apply a thin bead, cure again. Stop point: if two thin-layer attempts still stay wet, replace the lamp. Clean and thin first; replace if it still fails.
- Lamp lights but cures slowly: Likely cause: aging LED or residue on the window. Action: clean thoroughly and test on foil. Stop point: if a clean lamp no longer cures a thin bead in the usual time, replace it. Dim light means replace, not extend cure time.
- Lamp won't power on: Likely cause: cable, adapter, or battery, then internal failure. Action: swap cable and adapter, charge fully. Stop point: if it still won't turn on, replace it; don't open the housing. No user-serviceable parts; replace the lamp.
A kit that removes the guesswork
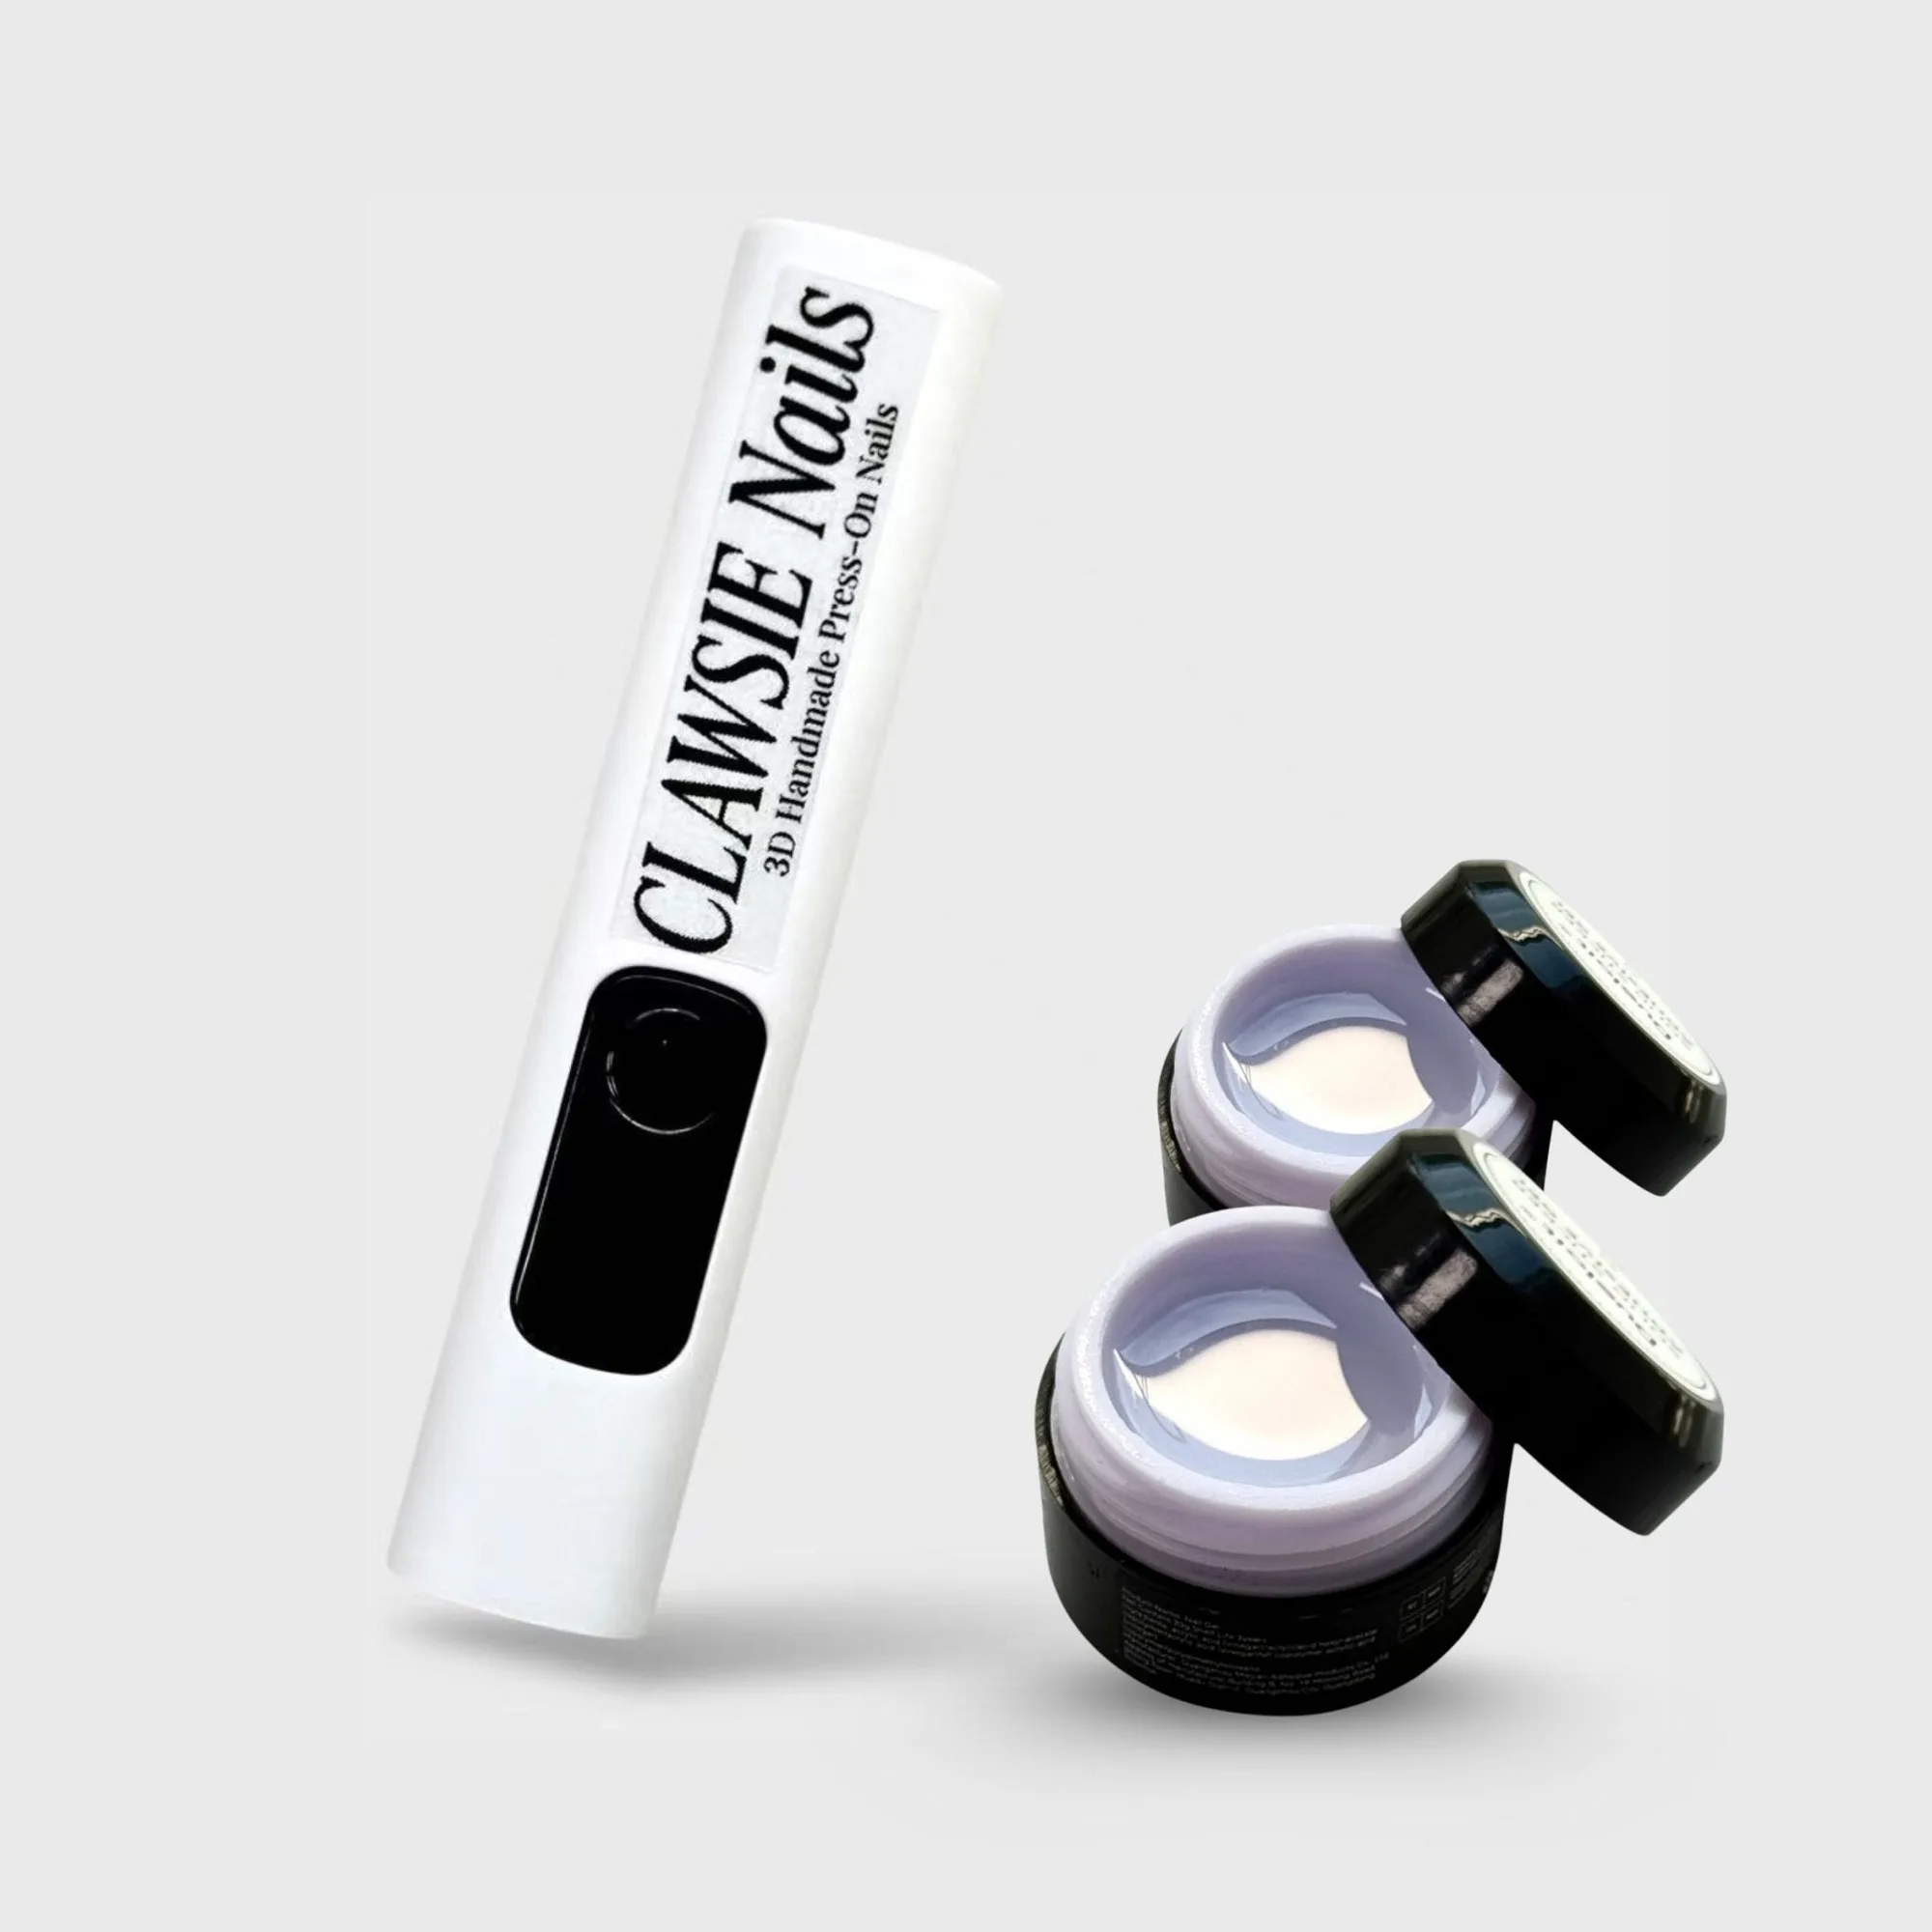
- NailFit Starter Kit: NailFit Starter Kit includes 1× Mini Handheld UV Lamp and 2× Solid Nail Glue Gels, and the lamp is described as curing solid nail glue in seconds, with the glue delivering hold for up to 4+ weeks. If your current lamp is the weak link, this kit pairs a known-working lamp with matching glue gel so you're not troubleshooting mismatched parts.
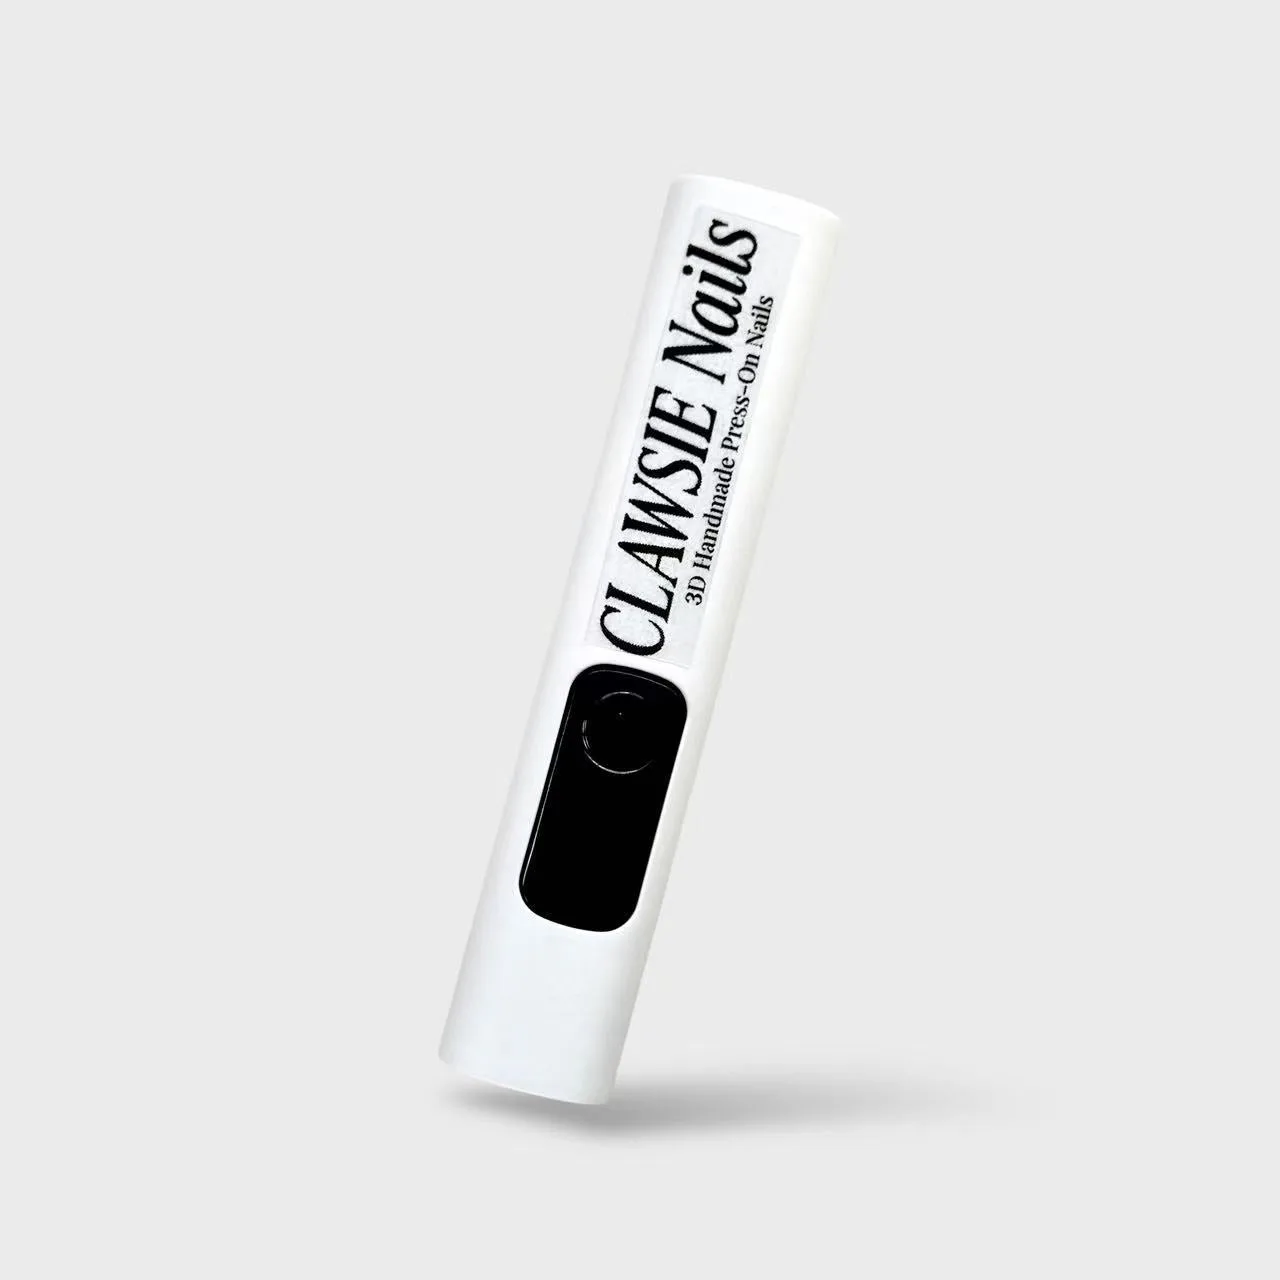
Handheld UV Lamp
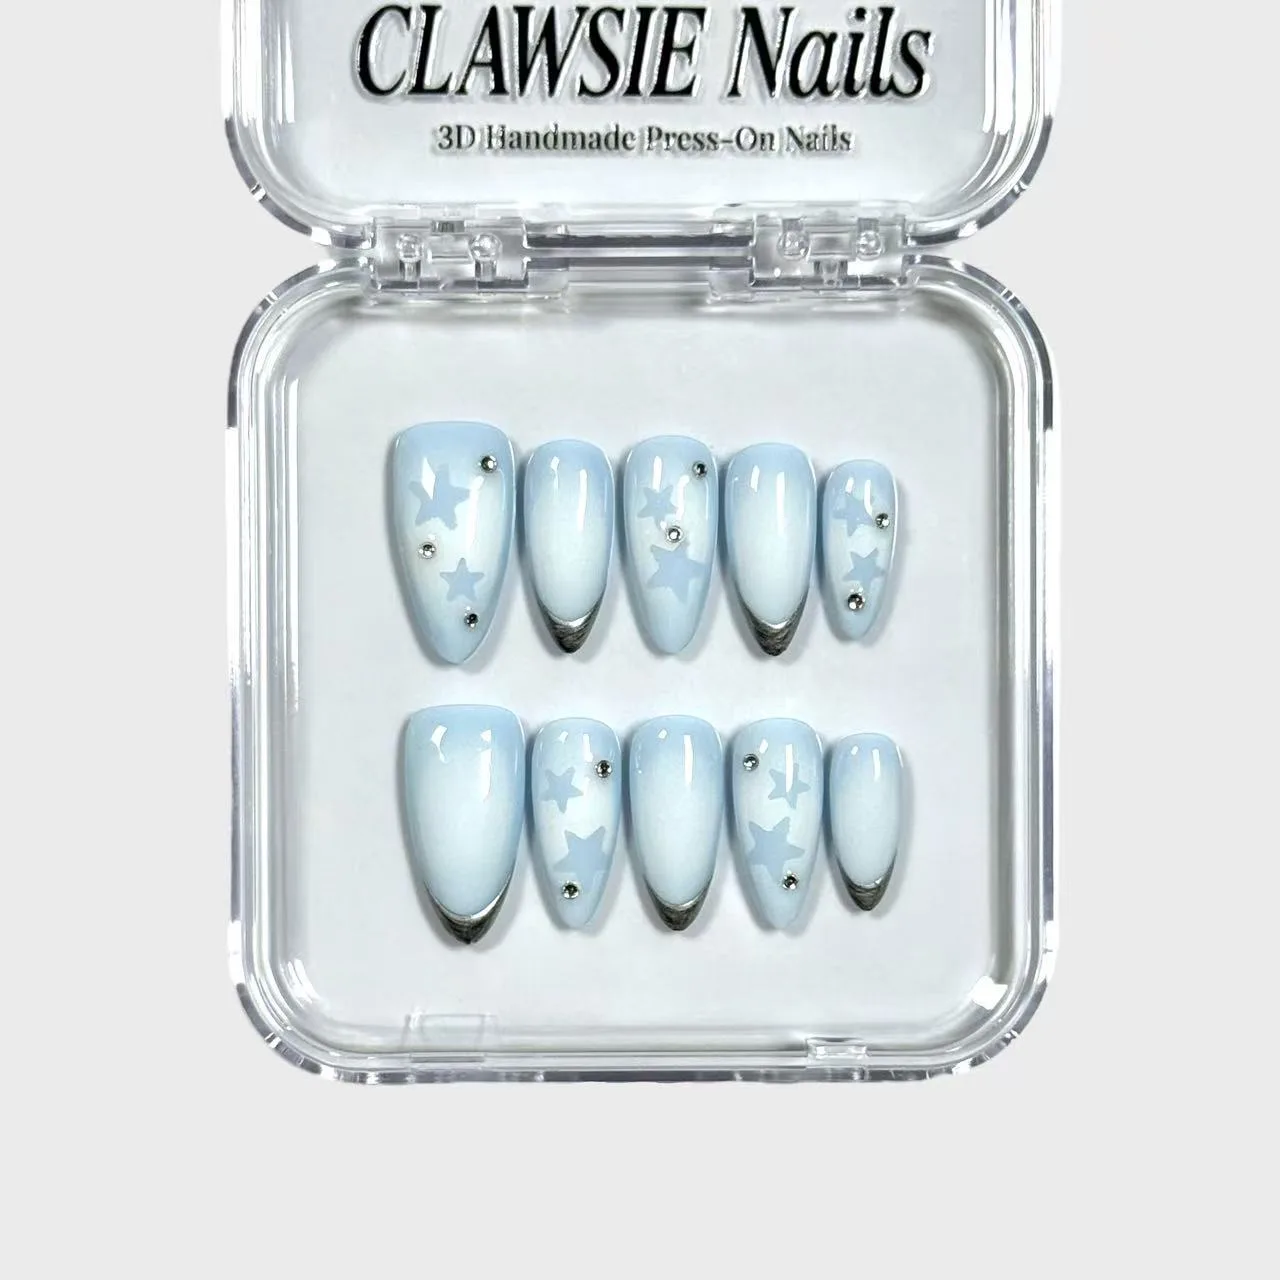
- Arctic Ocean: Arctic Ocean is a press-on nail set with size options XS and L, described as an easy at-home manicure look. A spare set lets you practice lamp technique and cure testing without ruining a set you plan to wear out.
Most curing problems trace back to a dirty window, a thick bead, or a weak lamp. Clean, test thin, and replace when a clean lamp still won't cure. That keeps your sets holding and your nails safe.