Quick answer
Push the threader's wire loop through the eye of your tapestry needle, pass 2 to 3 inches of thread through the loop, then pull the threader back out slowly and at the same angle you inserted it. The snap almost always happens on the pull, not the push, so slow down there and never force a loop that is too thick for the eye.
A needle threader should make starting a stitching session faster, not cost you a length of Pepperpot Silk. Most snaps come down to two things: the wire loop is too thick for the needle eye, or the thread is pulled through at an angle instead of straight.
The steps below work for the tapestry needles that come with most needlepoint kits, including the Bohin stainless steel needles in Poppy Monk kits. If your thread keeps fraying, the fix is usually in step 3, not in buying a different threader.
Match the threader to the needle and the thread
Not every threader fits every needle. A fine wire loop slides easily through a size 22 or size 20 tapestry needle, while a thick or bent loop will catch on the eye and drag. Before you thread anything, test the loop in the needle by itself. If it needs a push, it is too big for that eye.
Thread thickness matters just as much. A single strand of Pepperpot Silk or Essentials wool/silk blend passes through a wire loop cleanly. Folded strands, doubled lengths, or a fuzzy wool that has already been handled a lot will bunch at the eye and snap the loop on the way out.
- Keep two threader sizes on hand if you stitch with both 18-count and 14-mesh canvases.
- Retire any threader whose loop has a kink; a kinked loop cuts thread on the pull.
Step-by-step: threading a tapestry needle
Hold the needle steady against your work surface or between two fingers rather than in mid-air. Insert the wire loop through the eye from the side you can see best, then push until the loop clears the eye by about half an inch. If you are threading a needle that is already anchored in canvas, angle the needle slightly toward you so the eye is not blocked by the canvas.
Pass 2 to 3 inches of thread through the wire loop. Do not pull a long tail through; a short tail is easier to control and less likely to tangle with the loop. Then pull the threader back out in one smooth motion, keeping the same angle you used to insert it. The thread follows the loop through the eye.
If the thread catches, stop and back the loop out rather than tugging. A caught thread is usually a sign that the loop is twisted or that too much thread is sitting in the loop at once.
- Checkpoint: after threading, tug the needle gently. The thread should slide, not squeak or fray.
- Mistake to avoid: pulling the threader out at a different angle than you put it in.
Fixing the most common needle threader problems
If the thread frays every time, you are likely pulling too fast or using a loop that is too small for the thread. Switch to a larger loop or thread fewer strands at once. If the wire loop itself snaps, the threader was probably too fine for the needle eye and had to be forced through.
If the thread will not stay in the loop, the loop may be bent open. Squeeze it closed gently with your fingers, or replace it. For very fuzzy or heavily textured threads, a threader may not be the right tool at all; a needle with a larger eye and a damp fingertip can be faster and kinder to the thread.
- Do not use your teeth to close a wire loop; you will flatten it and create a sharp edge.
- If a threader keeps failing on one needle, try a different needle before blaming the threader.
When to skip the threader entirely
Some stitchers thread by hand for short tails, metallic threads, or very fine needles. If you are working with a thread that shreds easily, hand threading or using a needle with a larger eye may save more thread than a threader does. The goal is a threaded needle with an intact length of thread, not a perfect technique.
For kits that include a stitch guide and a generous thread supply, like the coastal designs from Poppy Monk, a snapped thread is rarely fatal but always annoying. A few seconds of care at the threading stage protects the thread you have already cut and keeps your rhythm going.
- Keep a spare threader in your project bag; they are small and easy to lose.
- If you snap thread twice in a row, change your technique before you cut a new length.
Threading steps at a glance
- Test the loop in the needle eye: Slide the wire loop through the empty eye before you add thread. It should pass with light pressure and no bending. If it catches, use a finer threader or a needle with a larger eye.
- Insert the loop and load a short tail: Push the loop through the eye, then pass 2 to 3 inches of thread through the loop. Keep the tail short so it cannot tangle. Checkpoint: the thread should sit loosely in the loop, not bunched.
- Pull straight and slow: Draw the threader back out at the same angle you inserted it, in one smooth motion. Do not tug if you feel resistance. If the thread frays, stop and re-check the loop size before cutting a new length.
Needlepoint kits with needles and threads ready to thread
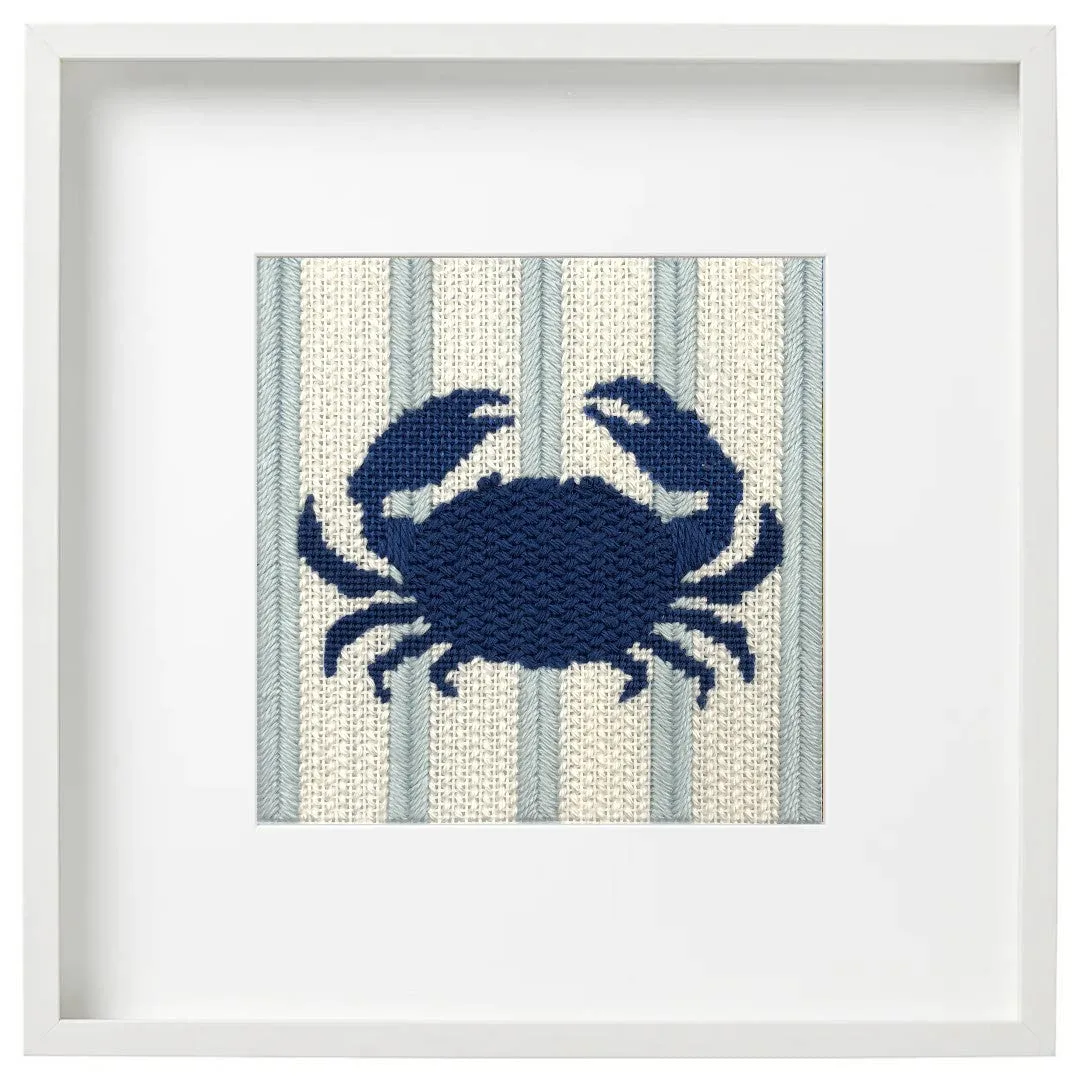
- Seashore Crab Needlepoint Kit: Includes two Bohin stainless steel size 22 needles, a 5" x 5" design on 18-count canvas, Pepperpot Silk and Essentials wool/silk blend threads, plus how-to-needlepoint instructions and a stitch guide. Size 22 needles have a small eye, so a fine wire threader is the right match and a thick loop will not fit.
- Twinkle Twinkle Little Star Pistachio Needlepoint Kit: Includes two Bohin stainless steel size 20 needles, an 8" x 10" design on 14-mesh mono canvas, and a thread palette of Pepperpot Silk, Milan wool/silk blend, and Entice sparkly threads. Size 20 needles and 14-mesh canvas give you a larger eye to work with, which makes threading by hand or with a standard threader easier.
A needle threader is a small tool with a short learning curve, and most of the skill is in matching the loop to the needle and pulling straight. Practice the three steps on a spare length of thread, and threading will stop being the part of the project you dread.