Quick answer
Treat your needleminder like a small tool, not a permanent pin: wipe the decorative face with a dry or barely damp cloth after each project, keep both halves paired when stored so the magnet does not grab stray metal, and never soak it or run it through a wash cycle. A thirty-second wipe-down and a dedicated storage spot are enough to keep the grip strong and the finish intact for years.
A needleminder is one of the few needlepoint tools you touch every single stitching session, which is exactly why it collects the most wear. Thread fuzz, hand oils, and the occasional drop onto a carpet full of pins all take a toll on both the magnet and the decorative face.
The good news is that needleminder maintenance takes less time than threading a needle. This guide walks through a simple routine, from daily habits to a deeper clean, plus the storage mistakes that quietly weaken a magnet over time.
Why needleminder care matters more than you think
A needleminder works because two magnets sandwich your canvas: one on the front, one on the back. Anything that adds thickness between the magnet and the canvas, such as lint, dried lotion, or a wad of thread fuzz, reduces the holding power. That is why a needleminder that gripped firmly last month can start sliding during a long stitching session.
The decorative face has its own vulnerabilities. Painted or printed surfaces can dull or lift if they sit in water or rub against keys and coins in a project bag. Caring for needle minders is really two jobs at once: protecting the magnet's contact surfaces and protecting the finish you chose because you liked looking at it.
- Keep the front and back halves paired when not in use so the magnets stay mated and do not attract loose pins.
- Check the back magnet for tiny metal shavings if you also stitch near pins or a magnetic tray.
How to clean a needleminder without damaging it
For routine cleaning, separate the two halves and wipe each magnet face with a dry, lint-free cloth. If you can see residue from hand oils or a sticky thread conditioner, breathe on the surface and wipe again; the slight moisture from your breath is usually enough. For a stubborn spot, dampen a corner of the cloth with plain water, wring it out well, and wipe only the decorative face, then dry it immediately.
Skip alcohol, acetone, and household cleaners unless the maker specifically says otherwise. These can cloud a resin coating, lift paint, or break down an adhesive layer that holds the magnet to the decorative shell. If you use a needlepoint project baggy or PVC pouch, that is the safest place to store the needleminder between sessions, since it keeps the magnet away from keys, scissors, and other metal.
- Never submerge a needleminder in water or put it in a washing machine, even if the fabric face looks washable.
- Dry the magnet faces completely before pairing them again so no moisture gets trapped between the two halves.
Storage habits that keep the magnet strong
Heat is the quiet enemy of a magnetic needleminder. Leaving one on a car dashboard, near a radiator, or in a hot storage bin can weaken the magnet over time and soften adhesives. Store needleminders at room temperature, ideally in a small tin, a dedicated pouch, or the PVC project baggy that came with your canvas.
If you own several needleminders, avoid stacking them magnet-to-magnet in a drawer for long periods. The magnets will attract each other and can chip the decorative faces as they snap together. A simple divided box or a few small fabric pouches solves this and makes it easy to grab the one that matches your current project.
- Keep needleminders away from credit cards, hotel keys, and mechanical watches; strong magnets can interfere with them.
- Rotate needleminders between projects so no single magnet stays under tension against thick canvas for months.
When a needleminder needs replacing
Even with good care, a needleminder can reach the end of its useful life. The clearest sign is a magnet that no longer holds through a single layer of 18 mesh canvas, or a decorative face that has cracked so the magnet shifts when you press it. If the two halves no longer sit flat against the canvas, the grip will keep getting weaker no matter how well you clean it.
Before you replace it, test the needleminder on a scrap of canvas to confirm the problem is the magnet and not a thick seam or a doubled fabric edge. If it grips scrap canvas fine but slides on your project, the issue is the canvas thickness or your stitching angle, not the tool. If it fails on scrap too, it is time for a new one.
- A needleminder that has survived a drop onto a hard floor may have a hairline crack you cannot see; check the rim carefully.
- If you stitch mostly on 13 mesh, a needleminder that feels weak on 18 mesh may still be perfectly usable.
Your five-step needleminder care routine
- Separate and inspect the halves: Slide the front and back magnets apart and look at both faces. Check for thread fuzz, lint, tiny metal shavings, and any chips or cracks along the rim of the decorative face. Common mistake: skipping this step and wiping only the front, leaving the back magnet to collect grit that scratches canvas.
- Wipe the magnet faces dry: Use a dry, lint-free cloth to wipe each magnet face in a circular motion. This removes most hand oils and thread residue without introducing moisture. Checkpoint: if the cloth comes away clean, you are done; if it is tacky or discolored, move to the next step.
- Spot-clean stubborn residue: Dampen a cloth corner with plain water, wring it out thoroughly, and wipe only the decorative face. Dry immediately with the dry side of the cloth. Common mistake: using alcohol, acetone, or household spray, which can cloud resin or lift paint and adhesive.
- Dry completely before pairing: Let both halves air-dry for a minute or two, then press them together. Trapped moisture between magnets can cause rust or a musty smell over time. Checkpoint: no visible moisture and no water in the seam where the magnet meets the shell.
- Store paired and away from heat: Keep the two halves mated and store the needleminder in a PVC project baggy, small tin, or fabric pouch at room temperature, away from keys, pins, and direct sun. Next step: test the grip on a scrap of canvas before your next stitching session; if it holds, your routine is working.
Products that pair well with a needleminder routine
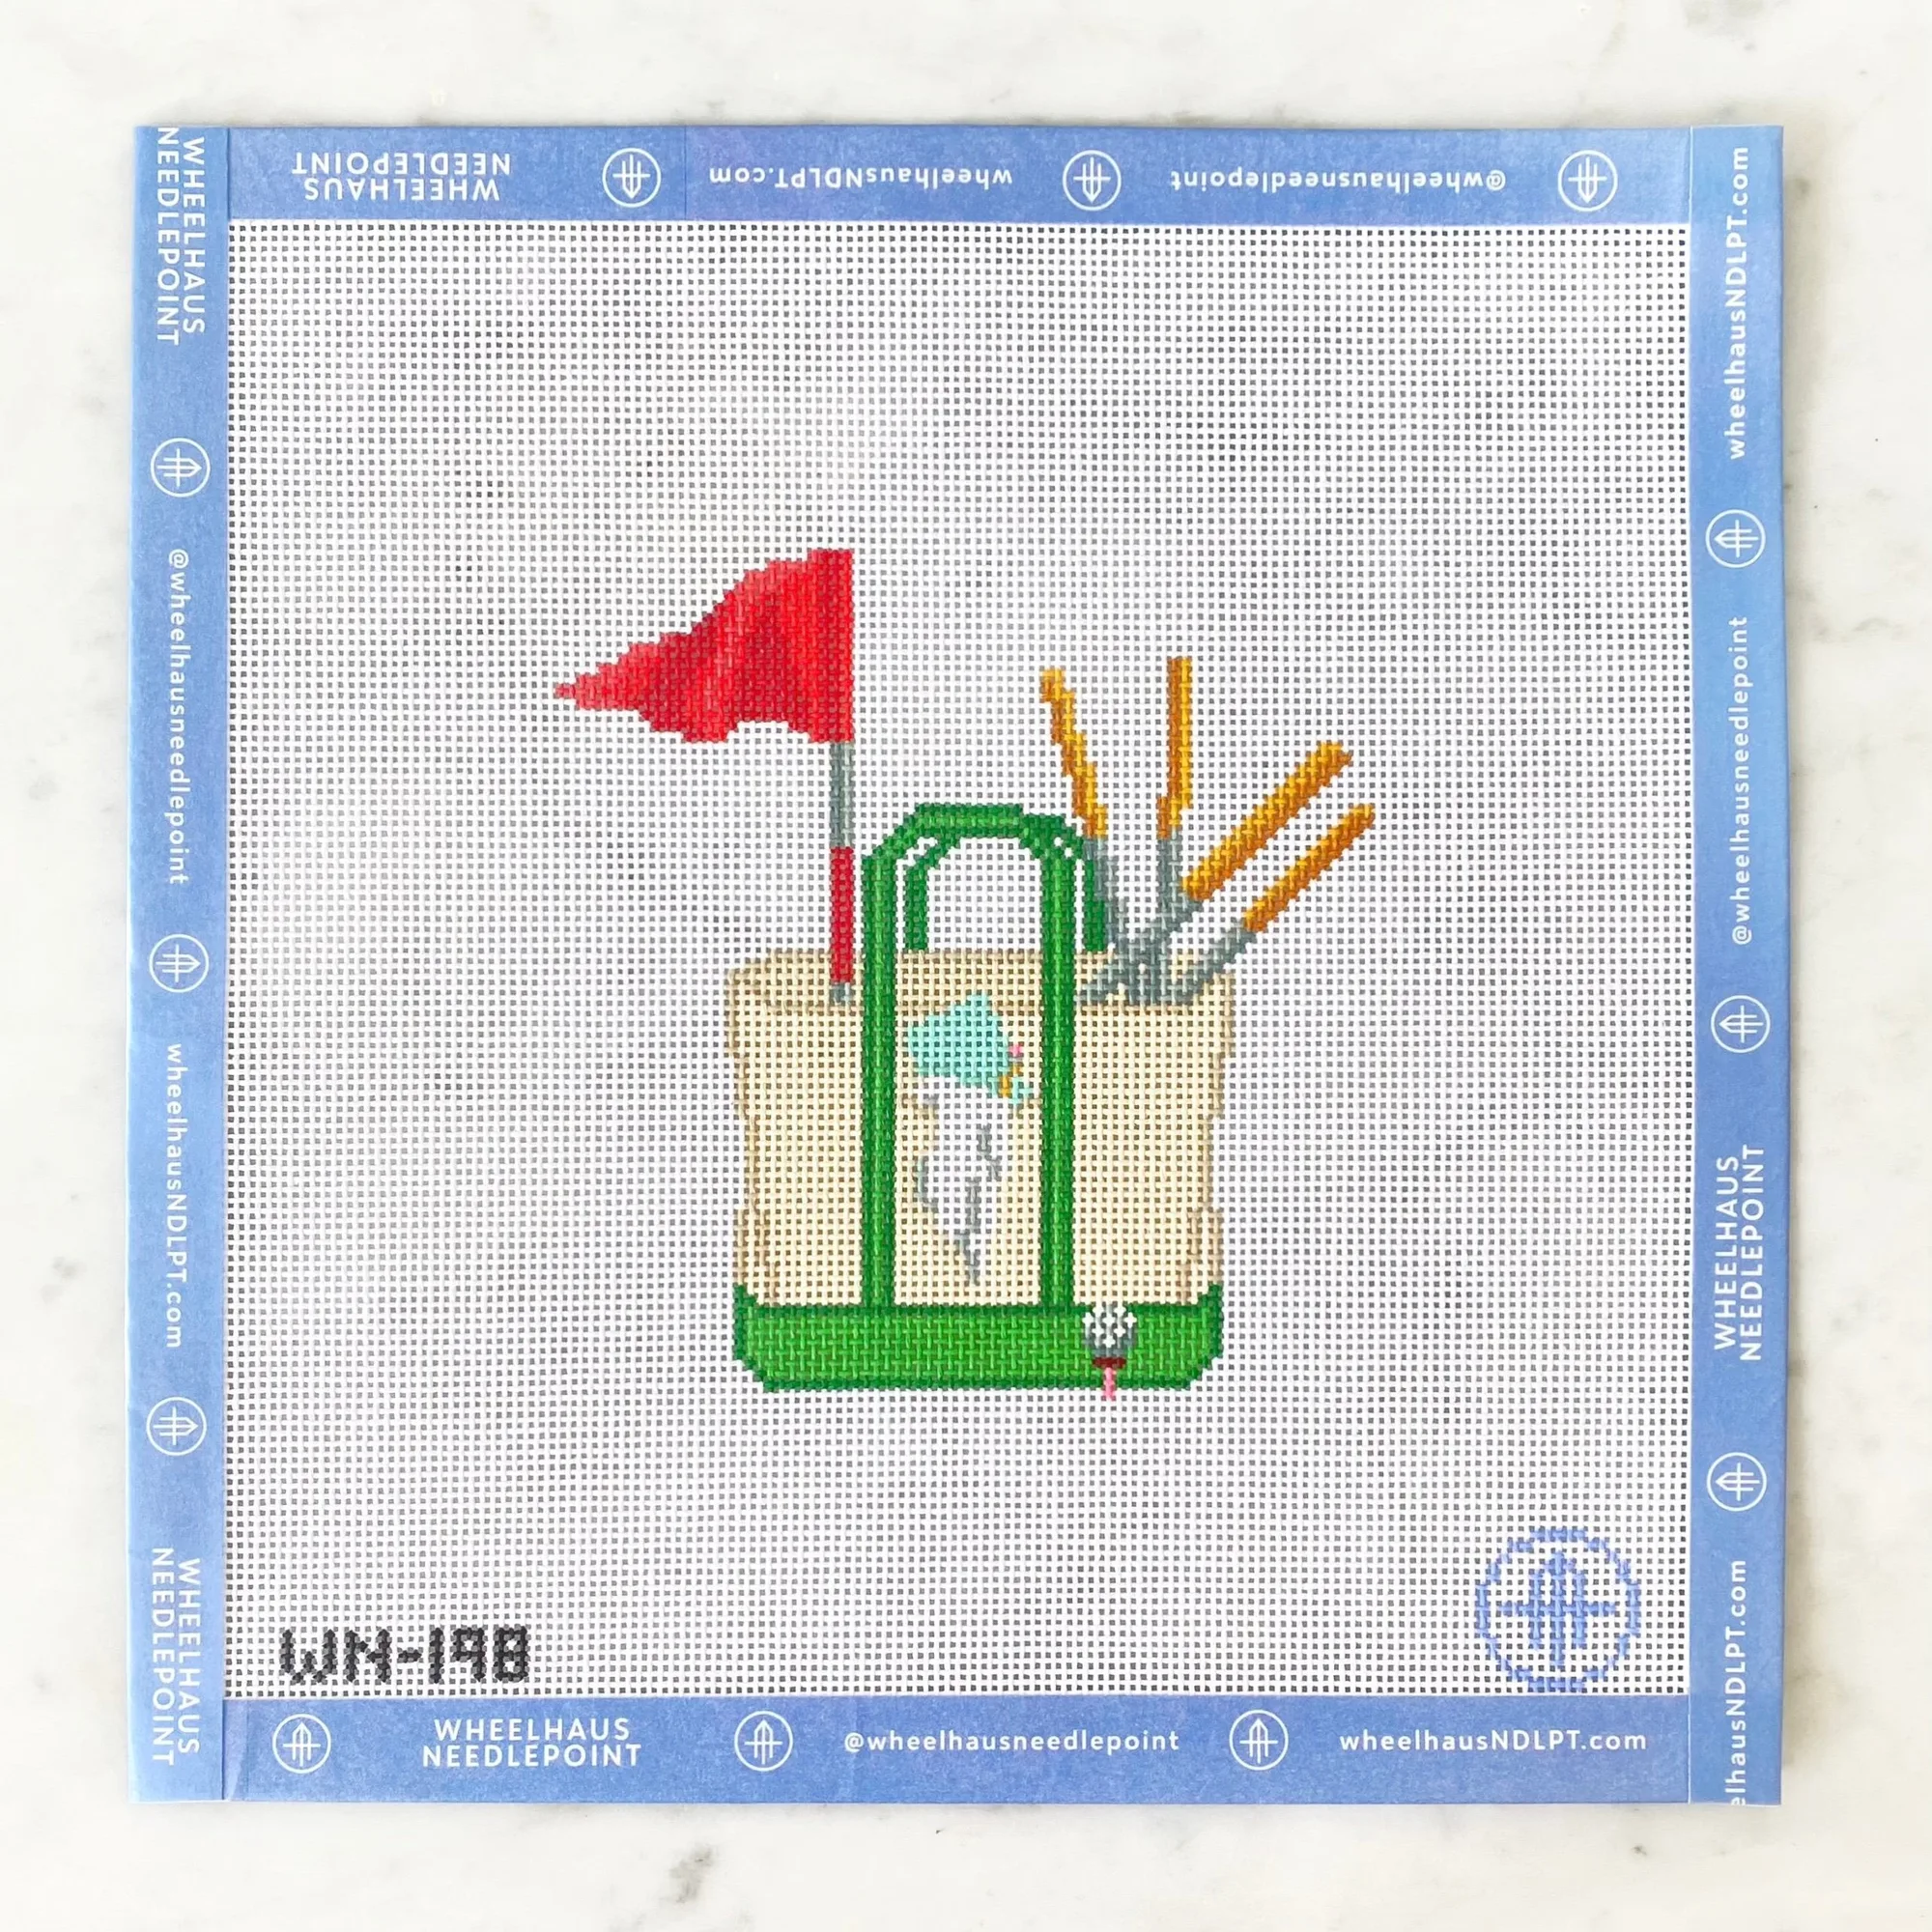
- Hole in One Golf Tote: The canvas-only option includes a reusable PVC protective project baggy and a WIP project card, and the thread kit option adds a thread ring, tapestry needle, and stitch brochure. The PVC baggy is the ideal home for a needleminder between sessions, and the WIP card helps you track which needleminder and tools belong to that project.
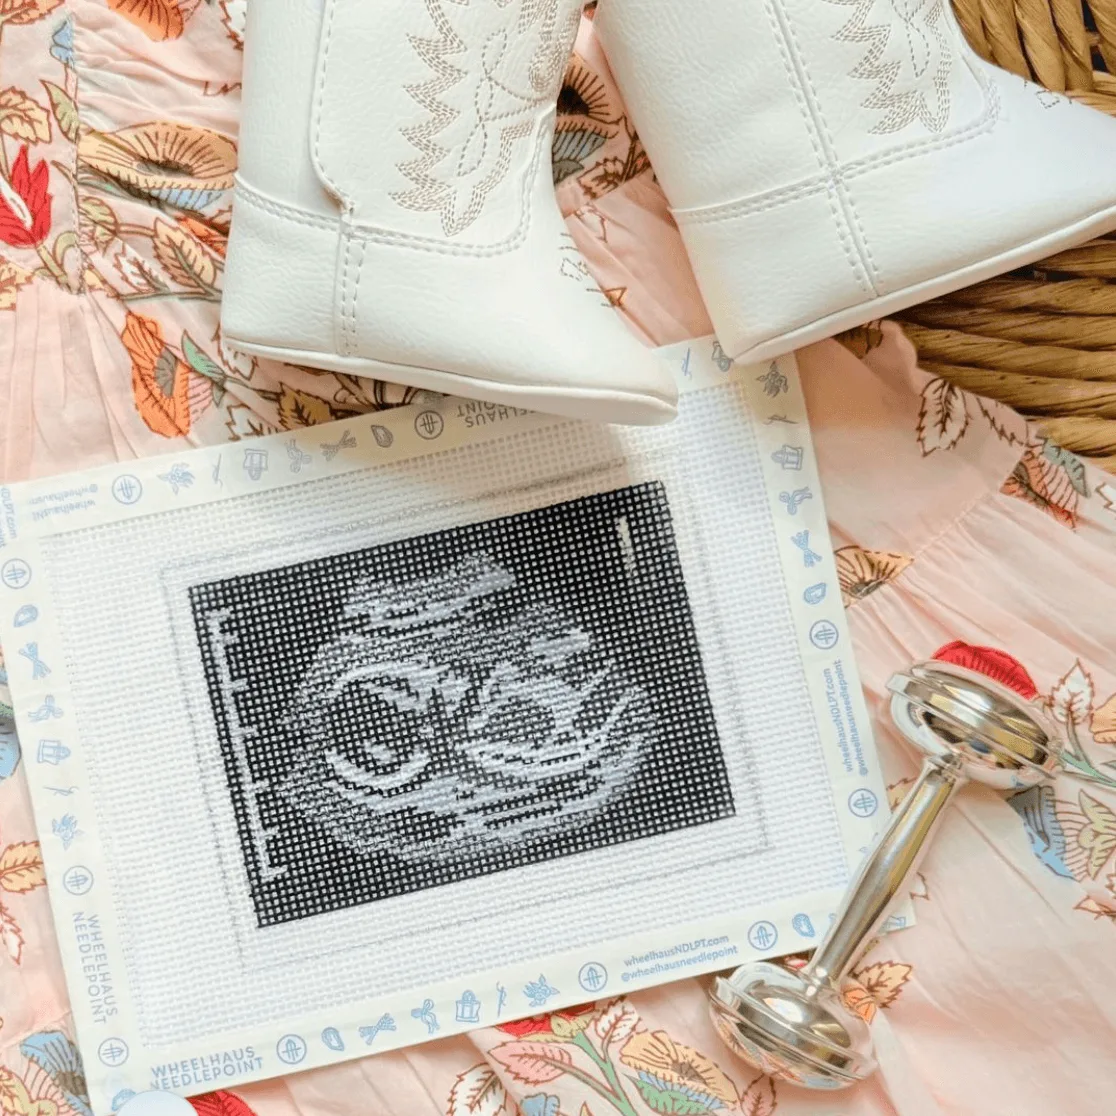
- Preorder - Baby Announcement Ultrasound Keepsake: This 18 mesh, StitchPerfect painted canvas comes with a reusable PVC protective project baggy and a WIP project card, and the listing notes a 4-7 month production timeline. A long-lead project is exactly when a needleminder gets the most use, so plan your care routine before the canvas arrives and keep the baggy handy for storage.
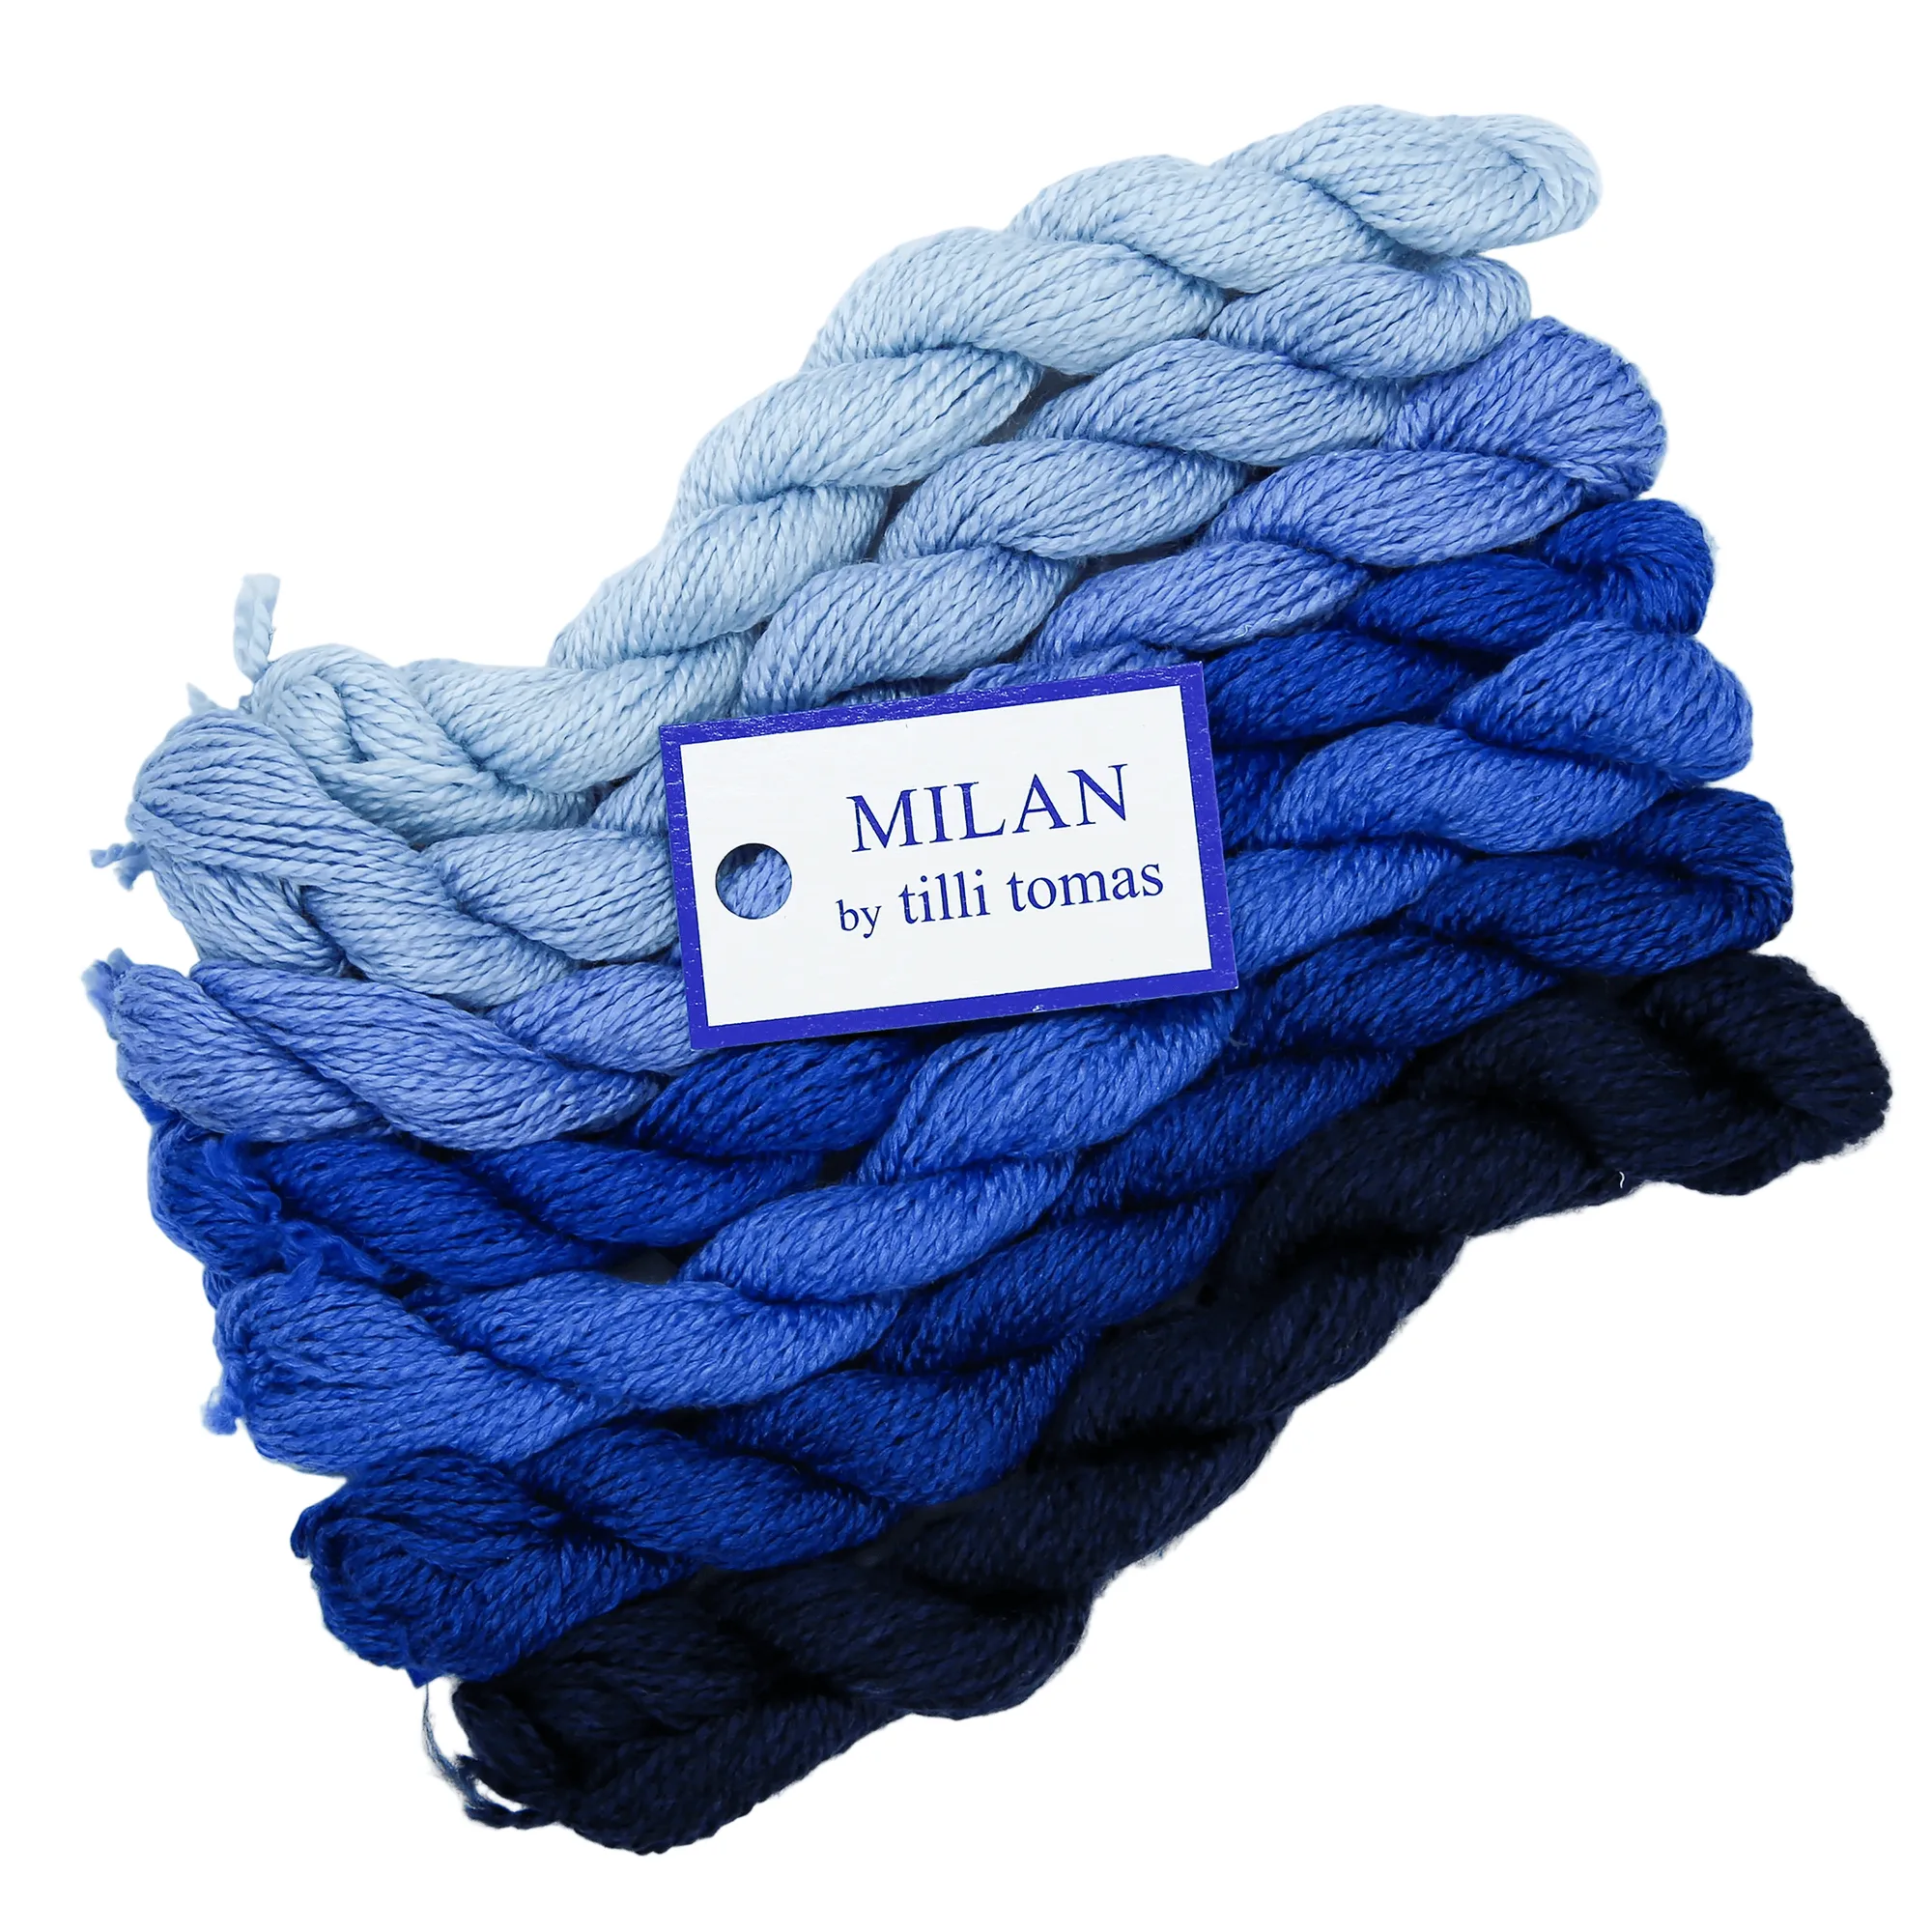
- Milan Skeins: These 30-yard skeins are a 50% silk, 50% merino wool blend, and the listing notes the fiber is great for 13 mesh with coverage of about 20 square inches. Silk and wool blends can leave a light fuzz on a needleminder's magnet face, so a quick wipe after each stitching session keeps the grip clean.
Needleminder care is mostly about consistency: a dry wipe after each project, a quick check for chips, and a cool, paired storage spot. Do that, and your needleminder will keep holding your needle through canvas after canvas.