Quick answer
Attach the needleminder on the canvas margin just outside your stitched area, not on top of finished stitches. Put the magnet pair on opposite sides of the canvas so they clamp the mesh, then slide it to a corner or edge where your hand and thread path will not knock it loose. If you use a magnetic needleminder, keep it within a few inches of your working thread so the needle has a short, predictable trip back to the canvas.
Why placement beats magnet strength
A strong magnet on the wrong spot still fails. Needlepoint canvas is a rigid grid, and the needleminder only holds if both halves sit flat against the mesh with no thread, stretcher bar, or rolled fabric in between. If the magnet pair straddles a fold or a metal bar, the gap weakens the hold and the minder slides.
Placement also decides whether your needle lands where you expect. If the minder sits far from your active stitching zone, you will reach for the needle and drag the minder. If it sits on top of stitches, the magnet can crush or fuzz the thread. The sweet spot is the unstitched margin, close to your working area but clear of finished work.
Where the margin actually is on a painted canvas
Most hand-painted needlepoint canvases, including designs from Wheelhaus Needlepoint, arrive with a border of unstitched mesh around the painted design. That border is your needleminder zone. On an 18 mesh canvas, the margin is often narrow, so you may only have a half inch or so of clear mesh on each side.
If your canvas is mounted on stretcher bars, the tacks or staples sit at the very edge. Keep the needleminder at least a finger's width inside the tacks so the magnet does not fight the metal. If you stitch in hand without stretcher bars, you have more flexibility, but you also need to keep the canvas from folding at the magnet point.
Canvas size changes the best spot
Small canvases leave little margin, so the needleminder often ends up at a corner. That works, but corners are also where your thread tends to loop. On a compact design such as a small ornament or a 2.75 x 4.5 inch canvas, try the top edge rather than a corner so your working thread does not catch the minder on every pass.
Larger canvases give you more room, but they also give your needle more distance to travel. On a big project, place the needleminder near the section you are actively stitching and move it as you progress. Treat it as a movable tool, not a permanent fixture.
Materials and thread that affect hold
Slick threads such as silk or stranded floss slide more easily than wool, so a needleminder that holds fine on wool may creep on silk. If you notice the minder drifting, move it to a spot where the canvas is not already crowded with thread ends. Thread tails on the back of the canvas create bumps that lift the magnet and reduce contact.
Also check the back of your work. If you have woven in ends or carried threads across the margin, the back is no longer flat. Flip the canvas and look before you place the minder. A flat back gives you a much stronger hold.
How to place a needleminder step by step
- Find the clear margin: Lay the canvas flat and locate the unstitched border between the painted design and the edge. On 18 mesh this may be only a half inch wide. Checkpoint: if the margin is narrower than the needleminder, use a corner instead of the middle of an edge.
- Choose a spot near your active stitching: Place the minder within a few inches of where you are currently stitching so your needle has a short, repeatable path back to the canvas. Common mistake: parking the minder at the far edge of a large canvas, which forces you to drag it every time you reach for the needle.
- Clamp both halves flat: Put one magnet on the front and its pair on the back, aligning them through the mesh. Press gently until you feel the pull, then slide to fine-tune. Checkpoint: if the minder rocks or spins, something is between the magnets, such as a thread tail or a fold.
- Clear the stretcher bar and tacks: Keep the needleminder at least a finger's width inside any tacks, staples, or metal bars so the magnet is not fighting metal. Common mistake: placing the minder directly over a tack, which weakens the hold and can scratch the magnet coating.
- Test with your working thread: Stitch a few stitches and watch whether the thread catches the minder. If it does, move the minder to the top edge or a corner. Checkpoint: the minder should stay put for a full stitching session without you nudging it.
- Move it as you progress: When you finish a section, slide the needleminder to the next working area rather than leaving it behind. Recheck the back for new thread tails. Next step: if the minder still slips, check the back of the canvas for bumps and flatten them before repositioning.
Canvas facts that affect needleminder placement
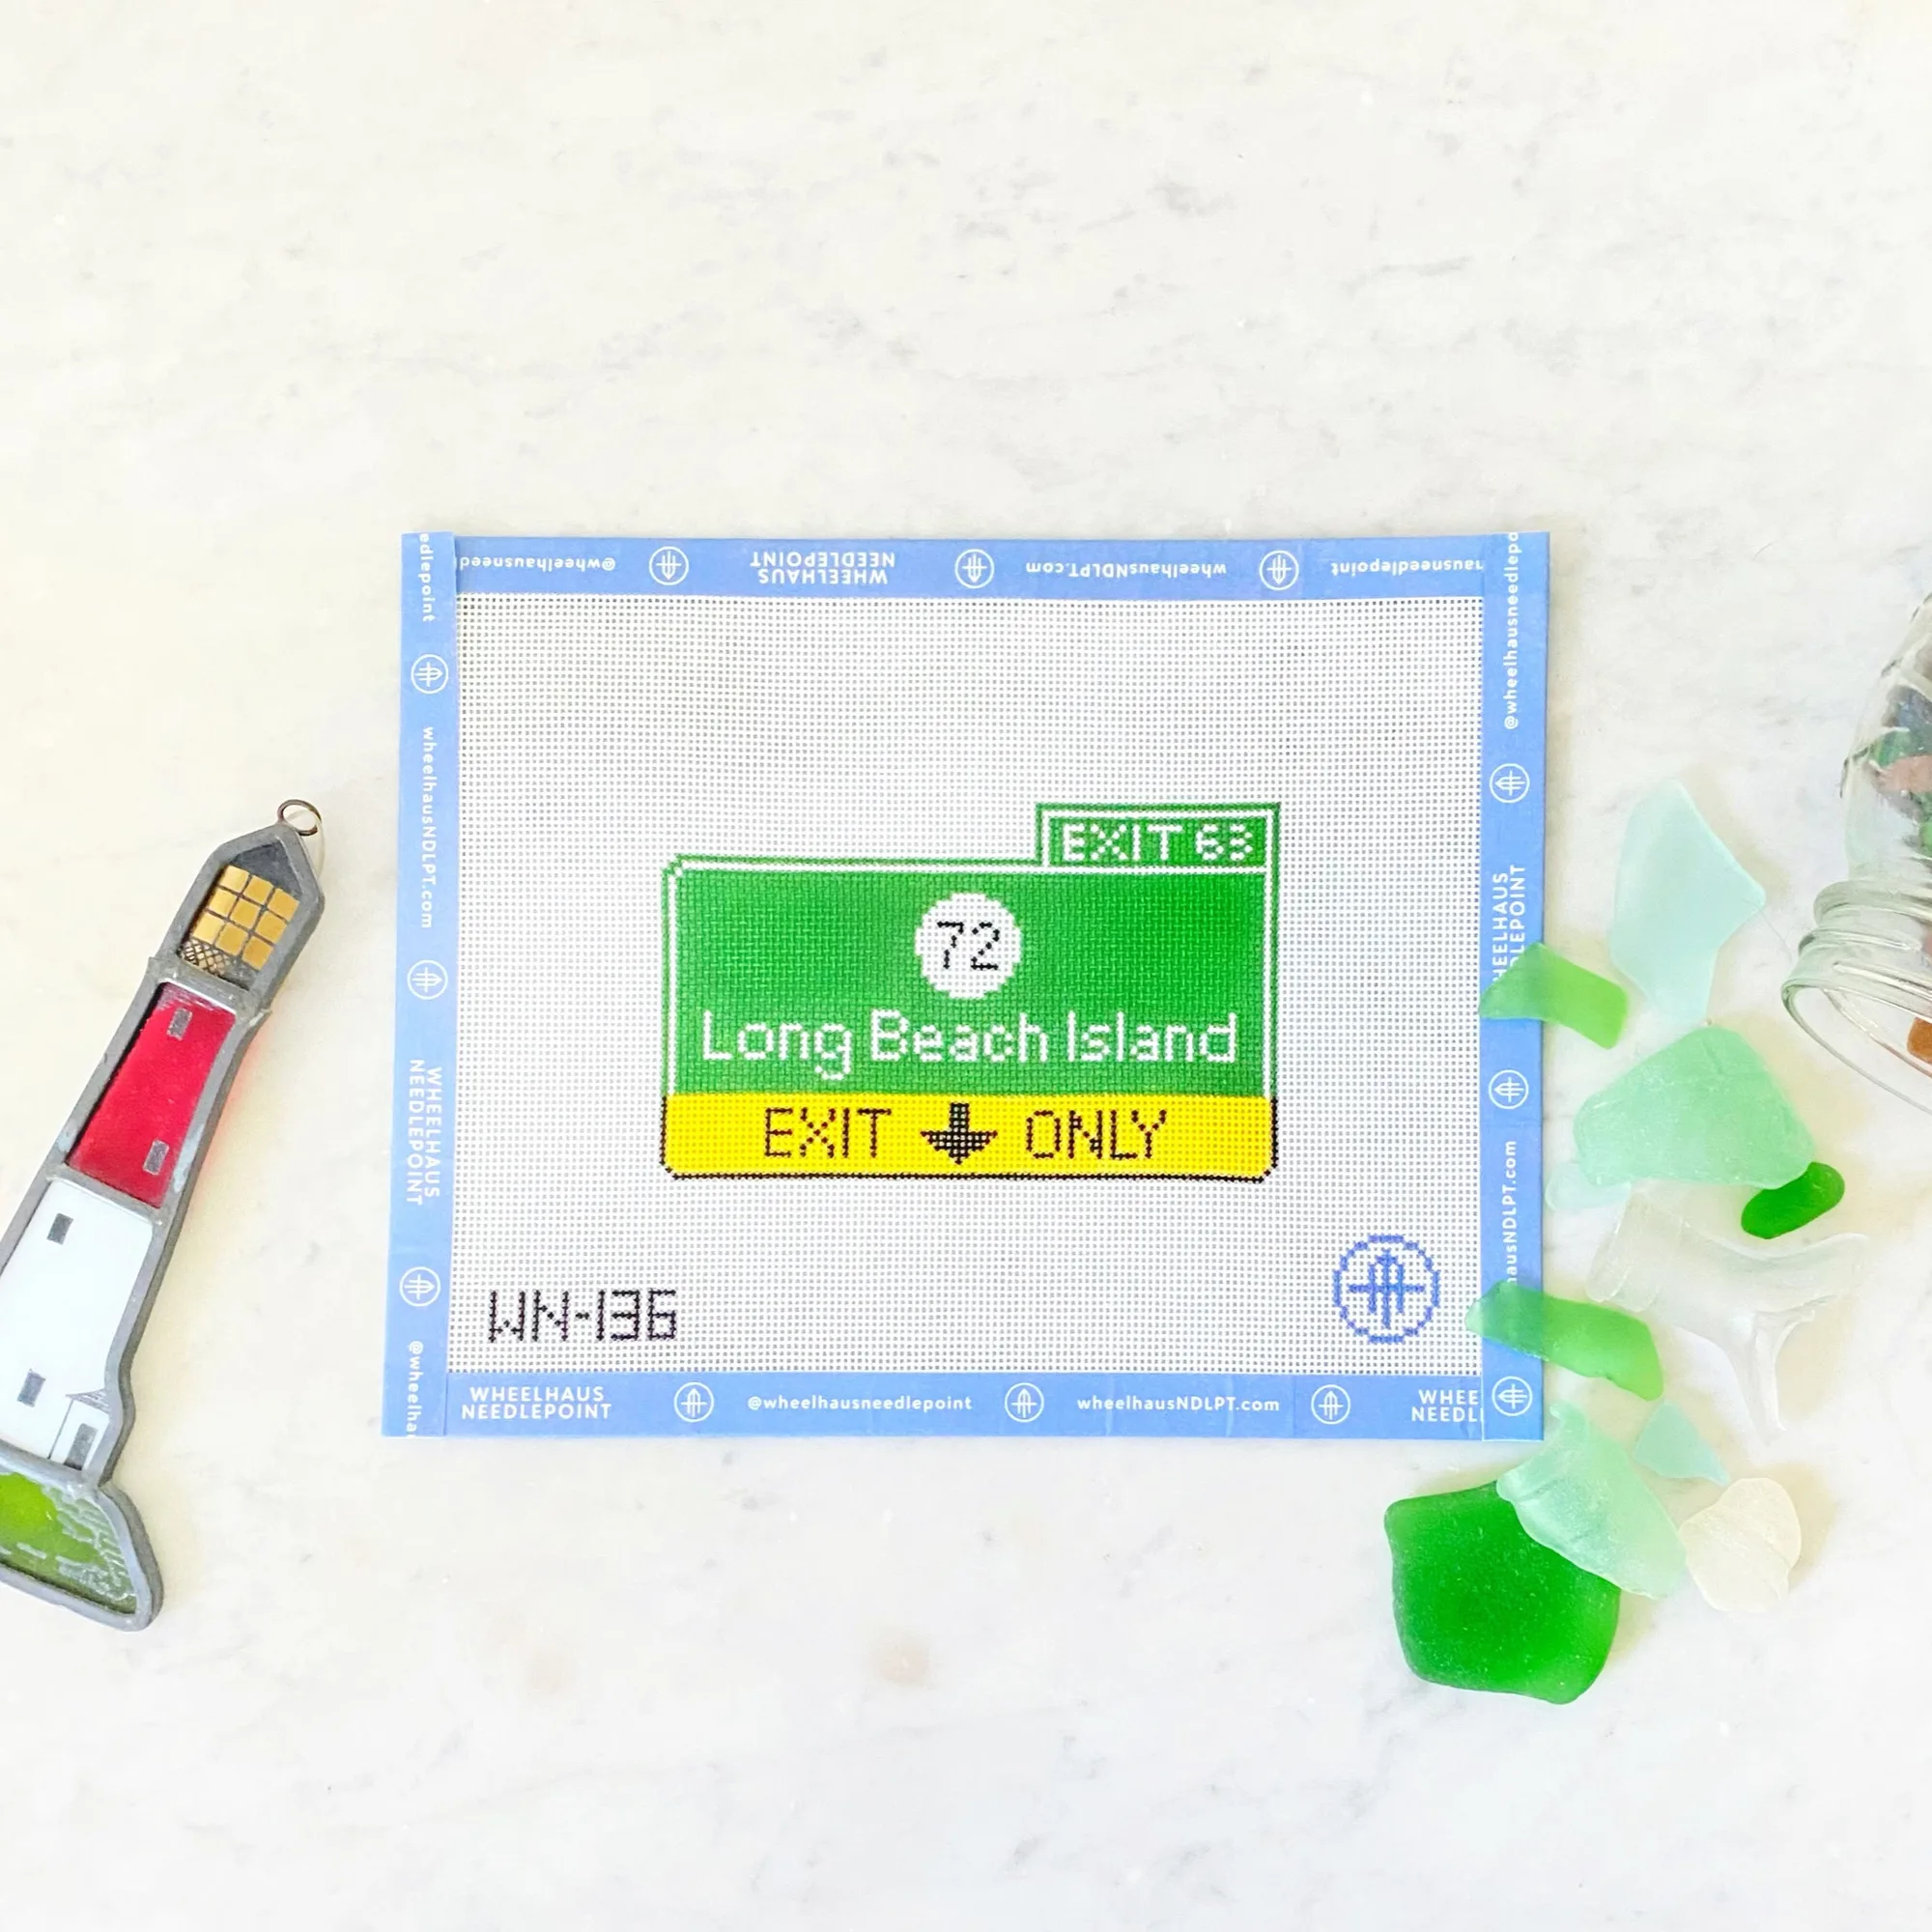
- NJ Garden State Parkway Exit Signs: 18 mesh canvas with designs and sizes that vary; canvas only, threads not included unless purchased as a kit. On 18 mesh, the unstitched margin is narrow, so your needleminder has less room to sit clear of both the painted design and the stretcher-bar edge.
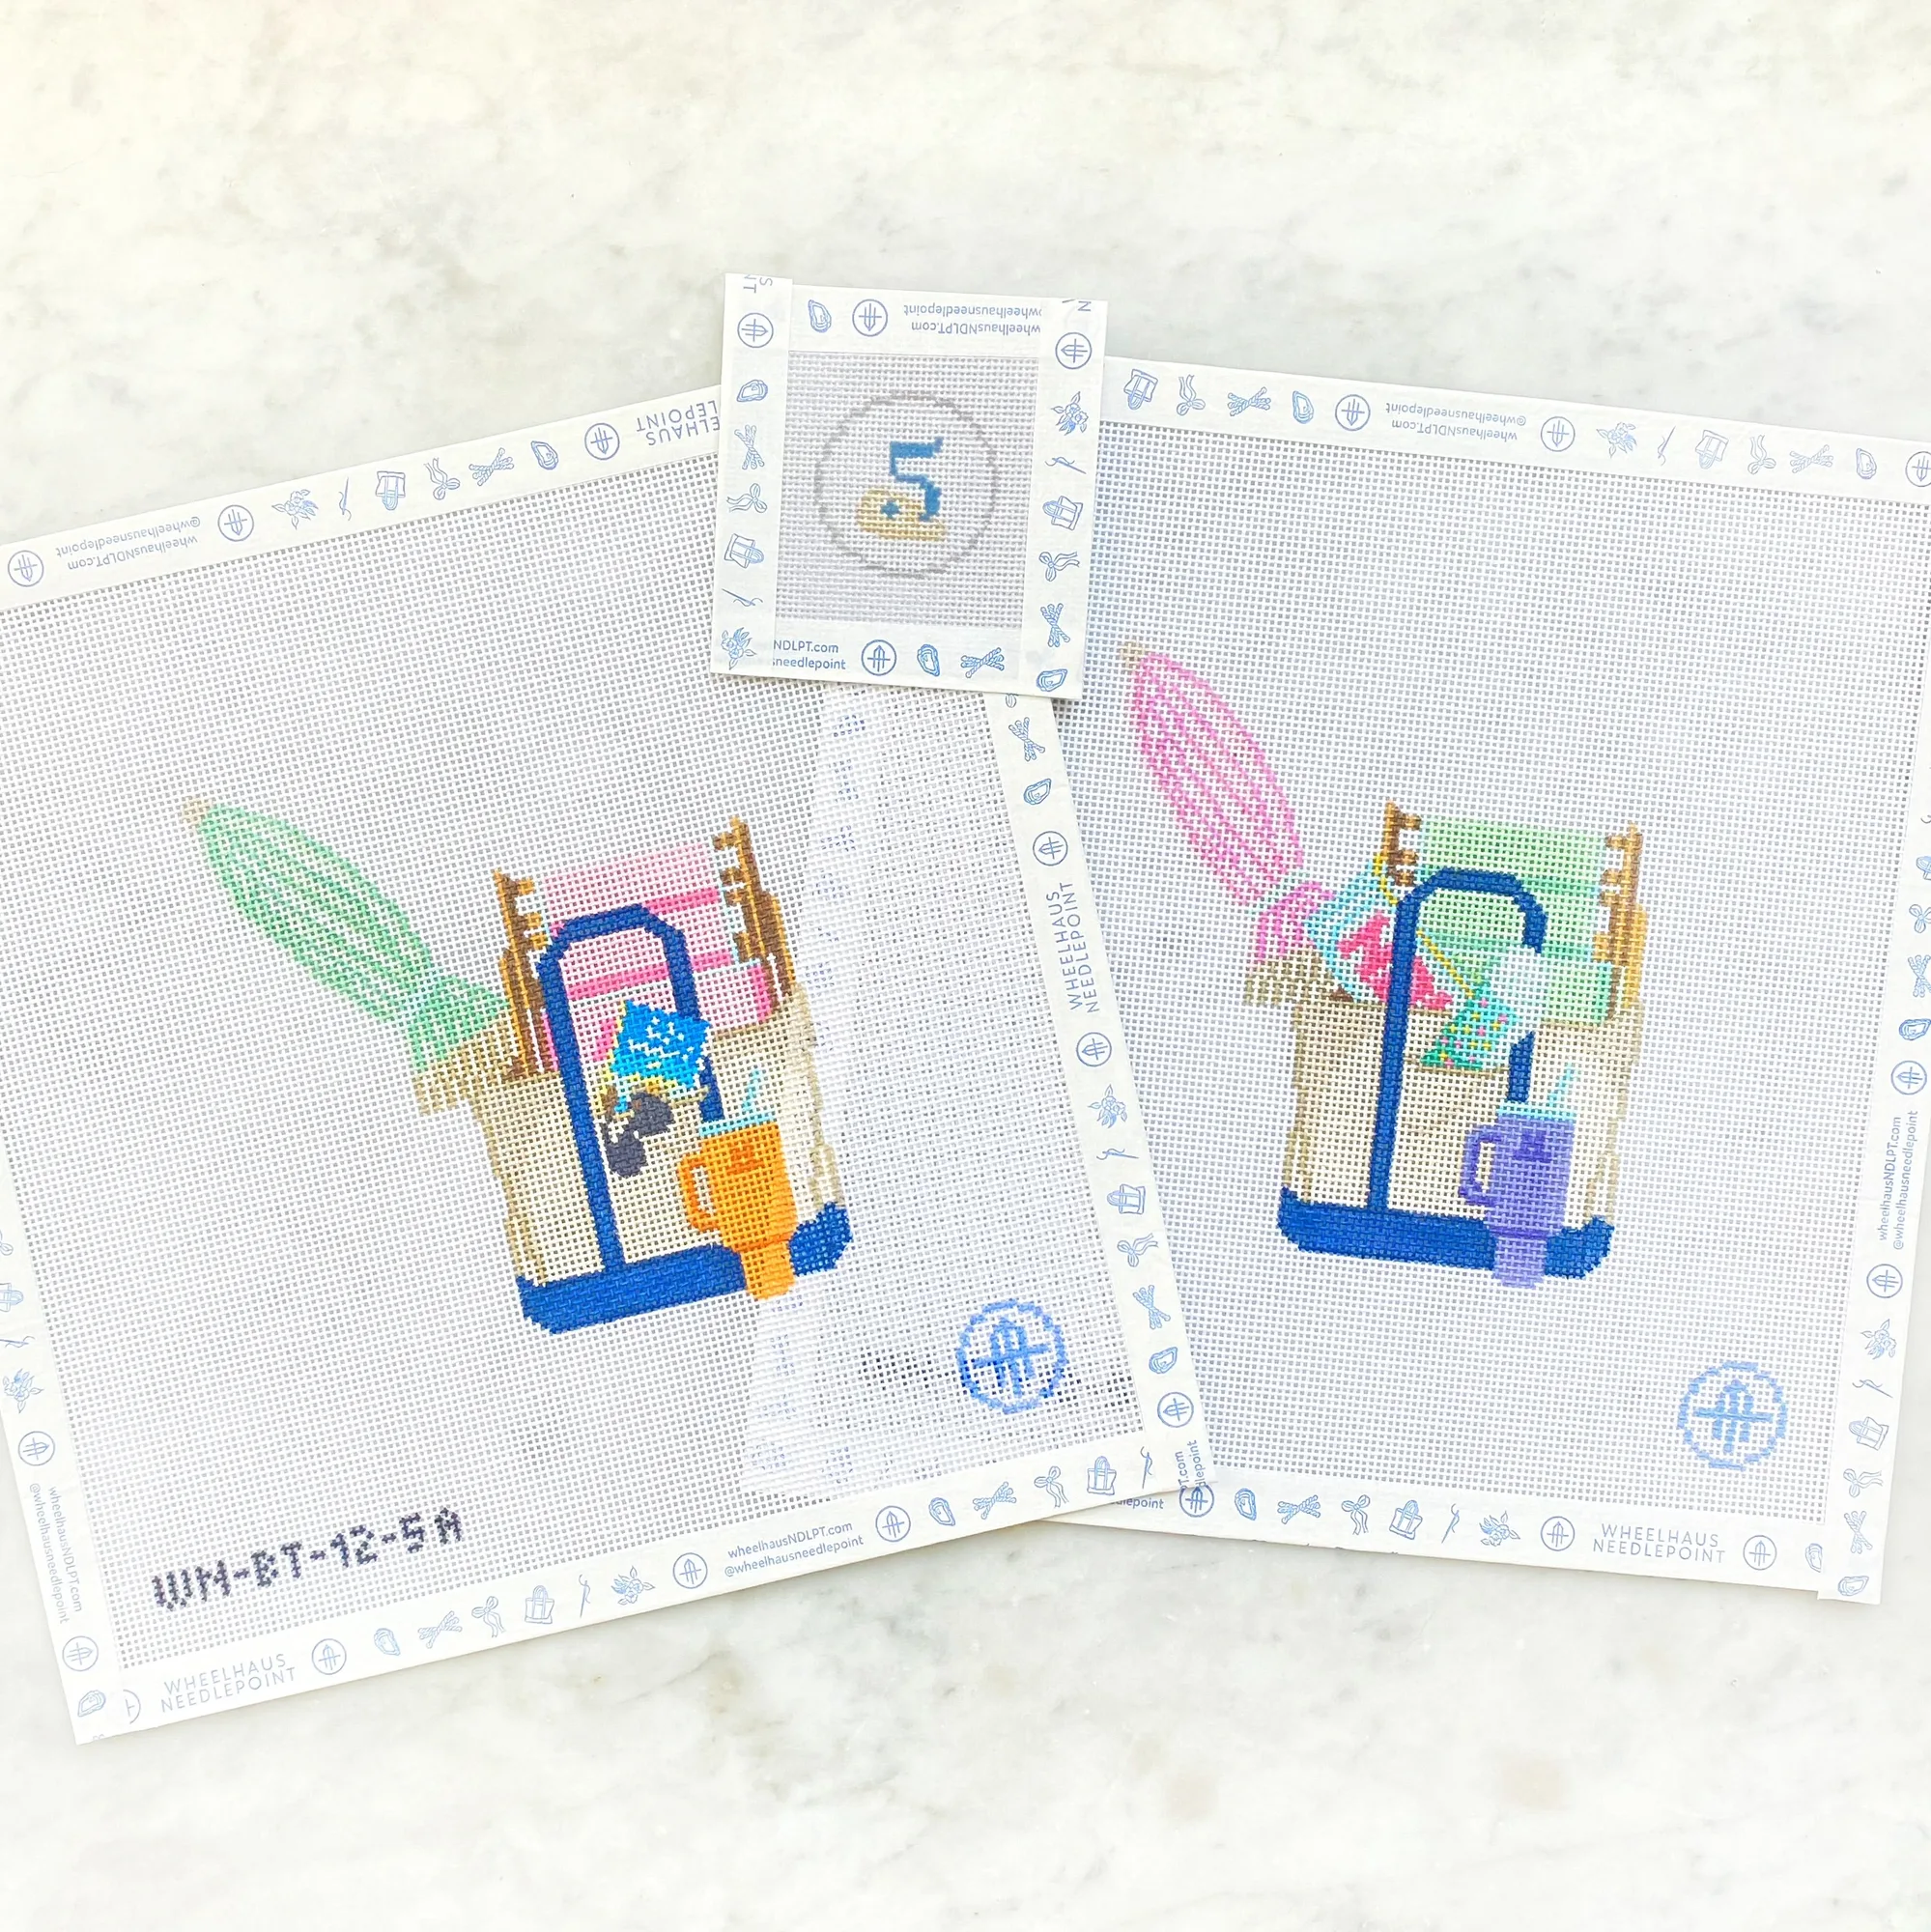
- Sunny Days on the Beach Tote - Day 5: 18 mesh canvas with a design 4.75 inches wide by 4 inches high, sold as canvas only with a tapestry needle. A small design leaves limited margin, so plan to place the needleminder at the top edge or a corner rather than mid-side.