Quick answer
The best way to keep needlepoint canvas clean is to prevent grime before it sets: wash and dry your hands before every stitching session, keep food and drinks away from your work area, and store your project in a clean cloth bag or pillowcase between sittings. If a mark does appear, treat it gently and early rather than scrubbing a finished piece.
Your hands touch every inch of a needlepoint canvas, so the single biggest factor in keeping it clean is what's on your hands. Oils, lotions, and food residue transfer to the threads and canvas as you stitch, and those marks can be much harder to remove after the project is finished and blocked. A few small habits during stitching will save you a lot of careful cleaning later.
This guide walks through a practical canvas care routine, from setting up your workspace to storing a work-in-progress. It also covers what to do if your canvas does pick up a smudge, and when to leave cleaning to a professional. The goal is simple: protect the canvas while you stitch so it looks its best when you're ready to display it.
Why canvas care matters more than you think
Needlepoint canvas is a grid of stiffened threads, and the stitching covers only part of it. The exposed areas, especially the margins and the unstitched background, are where dirt and oils show up first. Because those margins are often trimmed away or hidden under a frame, a little grime there may not matter. But on an open design or a piece you plan to finish as a pillow or ornament, every visible thread counts.
Threads also matter. Silk and wool blends, like the Pepperpot Silk and Essentials wool/silk blend used in the Midnight Garden Floral Needlepoint Kit, can be more sensitive to harsh cleaning than cotton or acrylic. That doesn't mean you can't clean them, but it does mean prevention is easier than correction. Treat your canvas like a fine fabric from the first stitch, and you'll have far fewer problems at the end.
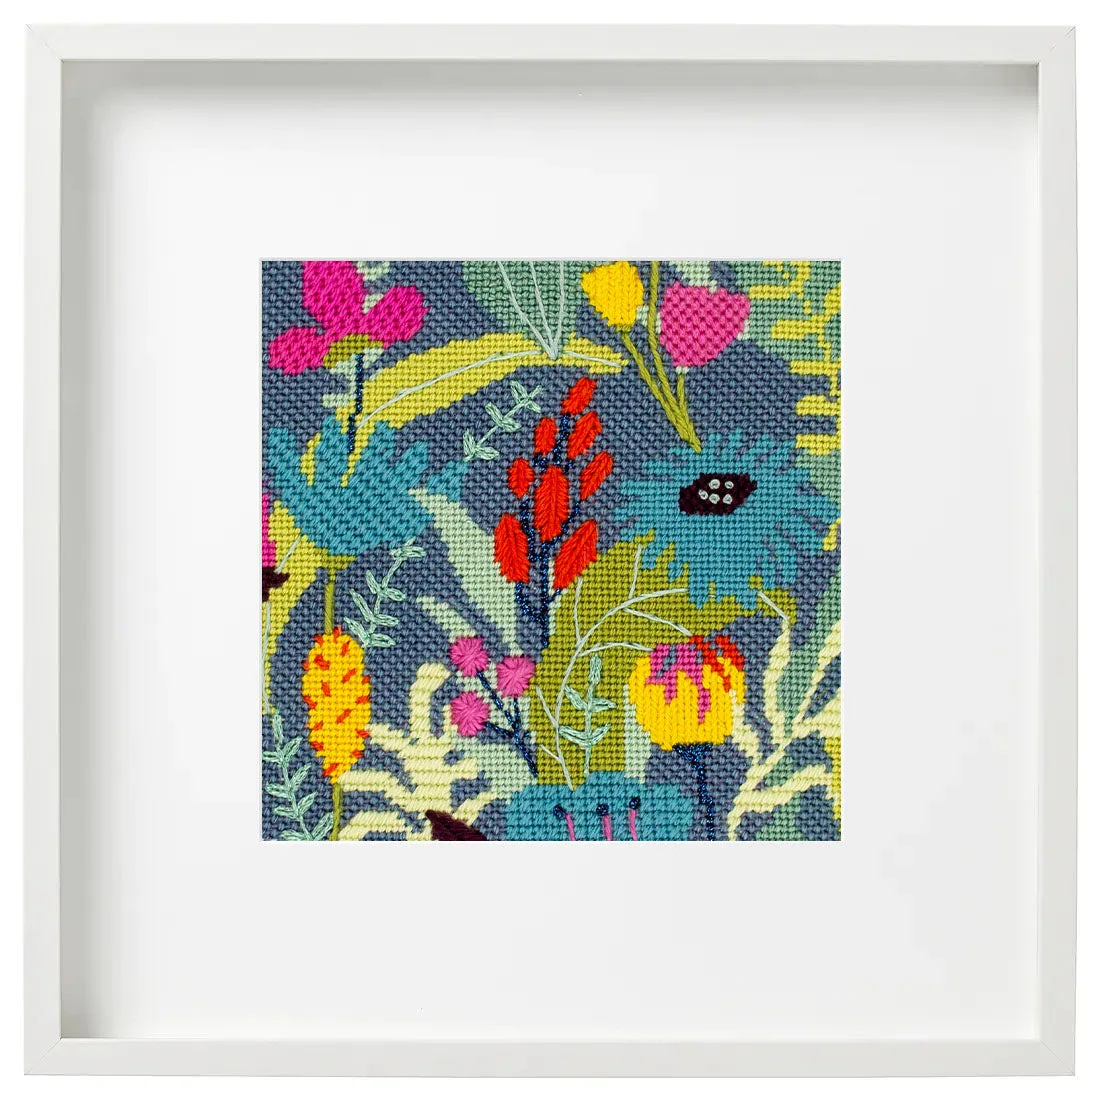
Midnight Garden Floral Needlepoint Kit
- Keep a small towel or clean cloth under your work to catch stray fibers and dust.
- Avoid hand creams and lotions right before stitching; they transfer to threads.
- If you wear makeup or sunscreen, wash your hands thoroughly before picking up your canvas.
Set up a clean stitching space
A dedicated, tidy workspace reduces the chance of accidental marks. Choose a surface that's clean and dry, and keep snacks and drinks in a separate area. If you stitch in a shared space, a simple tray or basket keeps your project contained and away from kitchen counters or craft tables covered in glue or paint. Good lighting also helps you spot stray threads and dust before they work into the canvas.
For projects you carry around, a clean cloth project bag is worth the small investment. It keeps your canvas away from keys, coins, and the bottom of a tote bag, all of which can snag threads or leave dark rub marks. If you're using a kit, keep the original packaging or a zippered pouch for the threads and spare canvas.
- Designate one table or tray as your stitching zone and keep it crumb-free.
- Use a pencil or pen only on paper, never near an open canvas.
- Keep a small hand vacuum or lint roller nearby for quick cleanups.
Handle your canvas with clean, dry hands
Wash your hands with mild soap and warm water, then dry them completely before you stitch. Damp hands can leave water spots on some canvases and can cause certain threads to bleed or swell. If you have naturally oily skin, a quick rinse midway through a long stitching session helps too. Some stitchers keep a small towel on their lap to wipe their hands as they work.
If you use hand lotion for dry skin, apply it well before you stitch and let it absorb fully. Better yet, use it after a session, not before. The same goes for sunscreen, insect repellent, and anything else that leaves a residue. Your canvas will pick up whatever is on your fingers, so treat your hands as part of your tools.
- Wash with mild soap, not heavy scented or exfoliating products.
- Dry hands completely; dampness can affect some threads and canvas stiffening.
- If you must use lotion, apply it at least 20 minutes before stitching.
Protect the canvas edges and unstitched areas
The edges of a needlepoint canvas are the most vulnerable to fraying and dirt. Many kits, like the Soccer Needlepoint Starter Kit, come with the canvas edges already taped, which helps prevent fraying and keeps the threads tidy. If your canvas isn't taped, you can bind the edges with painter's tape or a simple whipstitch using spare thread. This also gives you a clean border to hold without touching the design area.
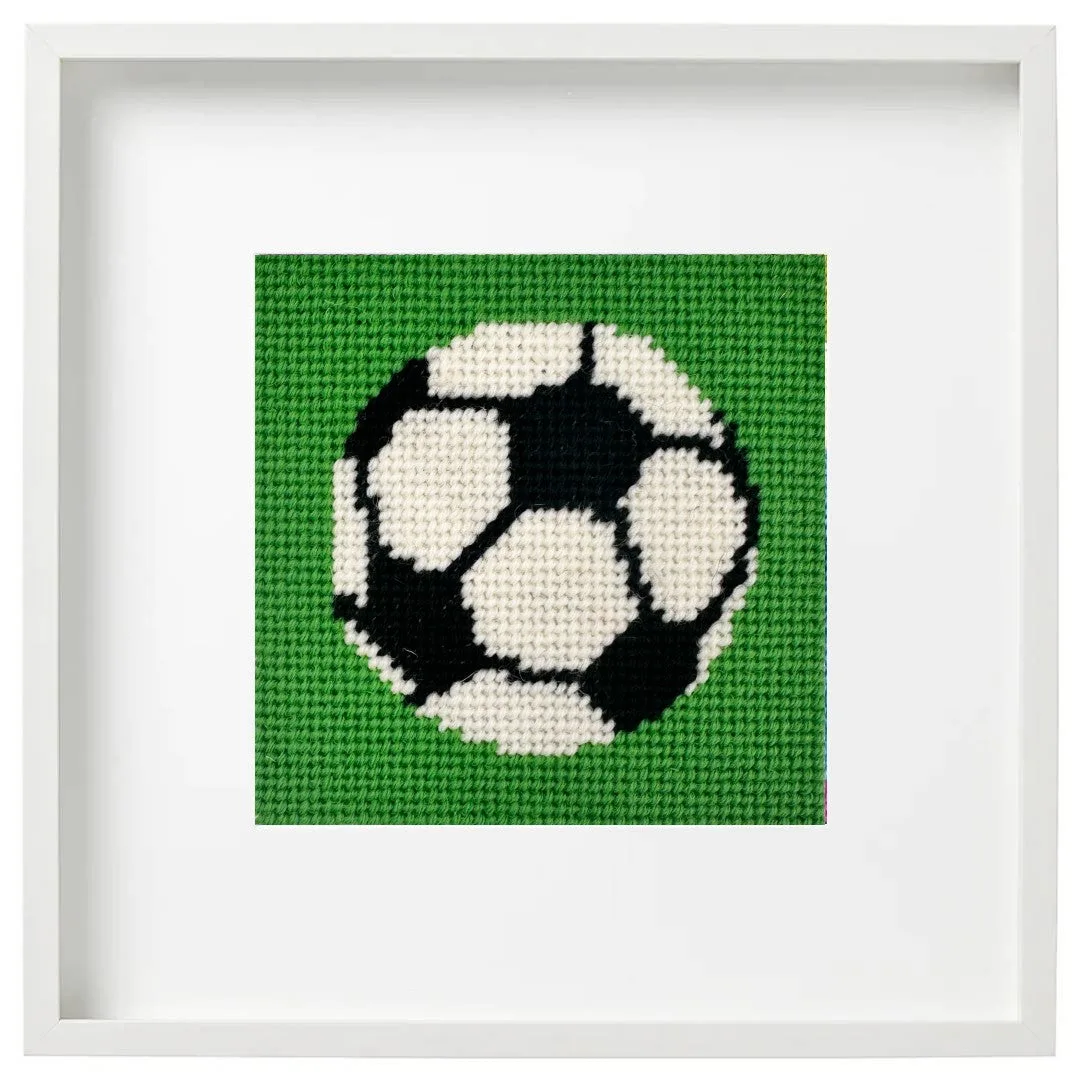
Soccer Needlepoint Starter Kit
For larger projects, roll the excess canvas rather than folding it. Folds create creases that can be stubborn to remove and can weaken the canvas threads over time. If you're working on a frame or stretcher bars, keep the fabric taut but not so tight that it distorts the grid. A relaxed, even tension is easier on both the canvas and your hands.
- Tape or whipstitch raw edges before you start stitching.
- Roll, don't fold, extra canvas to avoid permanent creases.
- Keep unstitched areas covered with a clean cloth if you're not actively working on them.
Store your work-in-progress properly
Between stitching sessions, put your project away in a clean, breathable container. A cotton pillowcase or a dedicated project bag works well. Avoid plastic bags for long-term storage, as they can trap moisture and cause mildew or musty odors, especially in humid climates. If you live in a damp area, add a small silica gel packet to your storage bag, but keep it away from direct contact with the canvas.
If you're taking a break from a project for more than a few weeks, consider removing it from the frame and storing it flat or rolled in acid-free tissue. This prevents prolonged tension on the canvas and reduces the chance of dust settling into the threads. Label your bag with the project name and the date you paused, so you can pick it up again without confusion.
- Use a clean cotton bag or pillowcase, not a plastic bag.
- Store away from direct sunlight, which can fade threads over time.
- For long breaks, remove from the frame and roll with acid-free tissue.
What to do if your canvas gets dirty
If you notice a smudge or spot, act quickly but gently. For fresh, dry dirt, a soft brush or a clean, dry cloth can lift it away. For oily marks, a tiny amount of mild soap on a cotton swab, dabbed carefully, may help. Always test on an inconspicuous area first, like a corner of the canvas that will be trimmed or hidden. Never rub aggressively, as that can distort the canvas grid and fray the threads.
For finished pieces with stubborn stains, or if your canvas is stitched with silk or metallic threads, professional cleaning is the safest route. Many dry cleaners are not familiar with needlepoint, so ask about their experience with hand-stitched textiles before leaving your work. If in doubt, consult a textile conservator. It's better to live with a small mark than to ruin the piece with an aggressive cleaning attempt.
- Blot, don't rub, and work from the outside of the stain inward.
- Test any cleaning method on a hidden area first.
- For valuable or delicate pieces, seek a professional textile cleaner.
Your step-by-step canvas care routine
- Wash and dry your hands: Use mild soap and warm water, then dry completely. This removes oils and lotions that transfer to canvas and threads. Make this the first thing you do before every stitching session.
- Set up a clean, dedicated workspace: Choose a clean table or tray, keep food and drinks away, and ensure good lighting. A clean surface means fewer accidental marks. If you share a space, use a tray or basket to contain your project.
- Protect the canvas edges: Tape or whipstitch raw edges before stitching. Many kits, like the Soccer Needlepoint Starter Kit, already have taped edges. Taped edges prevent fraying and give you a clean border to hold.
- Handle with care while stitching: Avoid touching the design area with dirty hands, and don't fold or crush the canvas. Roll excess canvas instead of folding it. Check your hands periodically during long sessions and wipe them if needed.
- Store your work-in-progress properly: Use a clean cotton bag or pillowcase between sessions. Avoid plastic, which can trap moisture. For long breaks, remove from the frame and store flat or rolled. Label your storage with the project name and date paused.
- Treat marks gently and early: For fresh dirt, use a soft brush or dry cloth. For oily marks, dab with a tiny amount of mild soap on a cotton swab, testing first on a hidden area. Never rub aggressively; if in doubt, consult a professional textile cleaner.
Products that help with canvas care
- Soccer Needlepoint Starter Kit: The canvas edges are taped, and the kit includes a 10 holes-to-the-inch canvas with a 4.75" x 4.75" design. Taped edges reduce fraying and keep the canvas tidy, which means less loose fiber and dirt around your work area.
- Midnight Garden Floral Needlepoint Kit: The kit includes Pepperpot Silk and Essentials wool/silk blend threads, plus two metallic threads and a skein of DMC floss. These threads are more delicate than cotton, so keeping your hands clean and avoiding harsh cleaning methods is especially important.
- White Frame For 5" x 5" Needlepoint: This frame has a mat opening of 4.8" x 4.8" and an outside measurement of 11" x 11" with a high-definition acrylic front cover. Framing your finished needlepoint protects it from dust and handling, so a clean canvas stays clean once it's on display.
Keeping your needlepoint canvas clean is mostly about small, consistent habits: clean hands, a tidy workspace, protected edges, and smart storage. These steps take only a minute or two and make a noticeable difference in how your finished piece looks. When you're ready to display your work, a frame like the White Frame For 5" x 5" Needlepoint helps protect it for years to come.