Quick answer
Most problems with 12 inch stretcher bars come from three things: using too few bars for the canvas size, forcing the tacks too far apart, or storing the frame assembled under pressure. Use four bars for a square or rectangular frame, tap tacks every inch along the canvas edge, and loosen or disassemble the frame between projects. If your canvas is larger than about 10 inches square, 12 inch bars are the wrong size and you should move up rather than fight the tension.
Match the bar length to the cut canvas before you assemble anything
Stretcher bars are sold by length, and that length refers to the bar itself, not the finished frame opening. A 12 inch bar makes a frame that holds roughly a 12 inch span on each side, so the cut canvas needs to be larger than the frame to fold over the edges and reach the tacks. For a small project, this is comfortable. For a canvas that is already close to 12 inches, there is not enough margin and the corners will pull.
A practical rule: the cut canvas should extend at least 1.5 to 2 inches beyond the frame on every side. If your design area is 8 inches square and the cut canvas is 12 inches square, 12 inch bars leave you only 2 inches of margin per side, which is workable but tight. If the cut canvas is 10 inches square, 12 inch bars are too long for that canvas and you need shorter bars.
- Measure the cut canvas, not the stitched design area.
- Allow 1.5 to 2 inches of canvas beyond the frame on each side.
- For a square frame, order two units of bars so you have four bars total.
Assemble the frame square, then tack the canvas from the center outward
Interlocking stretcher bars go together in pairs. Push the tenons into the mortises firmly by hand, then check the frame for square by measuring the two diagonals; they should match. If one corner sits proud, reseat it before adding canvas. A frame that is out of square will make the canvas stitch up skewed, and no amount of re-tacking will fix it later.
When attaching canvas, start at the center of one side and work outward toward the corners, placing tacks about 1 inch apart. Pull the canvas taut but not so hard that the weave distorts. Repeat on the opposite side, then the remaining two sides, always working center to corner. This sequence distributes tension evenly and prevents one edge from pulling the frame out of square.
- Check diagonals before tacking; equal diagonals mean the frame is square.
- Tack center to corner on each side, about 1 inch apart.
- Keep tension firm but stop before the canvas weave visibly stretches.
Diagnose tension problems by where the canvas sags
If the canvas sags in the middle of a side, the tacks are too far apart or the canvas was not pulled evenly from the center. Add tacks between the existing ones, working outward from the center, and re-check. If the canvas sags at a corner, the corner tack is pulling the frame out of square; remove that tack, reseat the bar joint, and re-tack the corner last.
If the whole frame wobbles or the bars feel loose at the joints, the tenons may not be fully seated. Disassemble the frame, check for debris or burrs in the joint, and push the bars together firmly by hand. Do not hammer the joints; that can split the wood and ruin the fit. A frame that still wobbles after reseating is a sign the bars are worn or mismatched, and it is time to replace them.
- Middle sag: add tacks between existing ones, center outward.
- Corner sag: reseat the joint, then re-tack the corner last.
- Wobble at the joint: disassemble, clean, reseat by hand; replace if still loose.
Store bars flat and unassembled to protect the joints
Stretcher bars are usually made from softwood, and the tenons and mortises are the parts most likely to wear out. Storing the frame assembled and leaning against a wall puts constant pressure on those joints, which can compress the wood and make the fit loose over time. The better habit is to remove the canvas, pull the bars apart, and store them flat in a drawer or box.
Keep bars away from damp basements and hot attics. Wood moves with humidity, and a bar that swells in a damp room may not fit when it dries out. If you store bars with the canvas still attached, loosen the tacks at the corners first so the frame is not under tension, and lay the whole thing flat rather than standing it up.
- Disassemble and store bars flat between projects.
- Avoid damp or very hot storage spots that warp wood.
- If storing with canvas attached, loosen corner tacks and lay flat.
Know when 12 inch bars are the wrong tool
Twelve inch bars are a good fit for small canvases, mini kits, and ornaments where the cut canvas is roughly 14 to 16 inches square. They are not the right choice for a large project, and forcing a big canvas onto small bars creates the exact tension problems described above. If your cut canvas is more than about 16 inches square, choose longer bars rather than trying to stretch the smaller frame.
If you stitch mostly small projects and want a frame that stays set up, 12 inch bars are convenient and inexpensive. If you switch between sizes often, keep a few lengths on hand so you can match the bar to the canvas instead of compromising. The cost of an extra set of bars is usually less than the cost of re-stitching a distorted canvas.
- Best for cut canvas around 14 to 16 inches square.
- Move to longer bars if the cut canvas exceeds about 16 inches square.
- Keep more than one bar length if you stitch a range of project sizes.
Diagnosis: match the symptom to the fix
- Canvas sags in the middle of a side: Tacks are too far apart or the canvas was not pulled evenly from the center. Add tacks between the existing ones, working outward from the center, and re-check tension. If adding tacks does not hold, the bar length may be wrong for the canvas size.
- Canvas sags at a corner: The corner tack is pulling the frame out of square. Remove that tack, reseat the bar joint, and re-tack the corner last, after the sides are secure. Check the diagonals again before continuing to stitch.
- Frame wobbles or joints feel loose: The tenons may not be fully seated, or the wood is worn. Disassemble, clean the joints, and push together firmly by hand. Do not hammer. If the joint is still loose after reseating, replace the bars rather than risk a skewed canvas.
- Canvas distorts or weave stretches: Tension is too high. Remove tacks, let the canvas relax, and re-tack with firm but gentler pressure, center to corner. Stop and reassess if the weave looks permanently stretched; the canvas may be too small for the frame.
Product facts
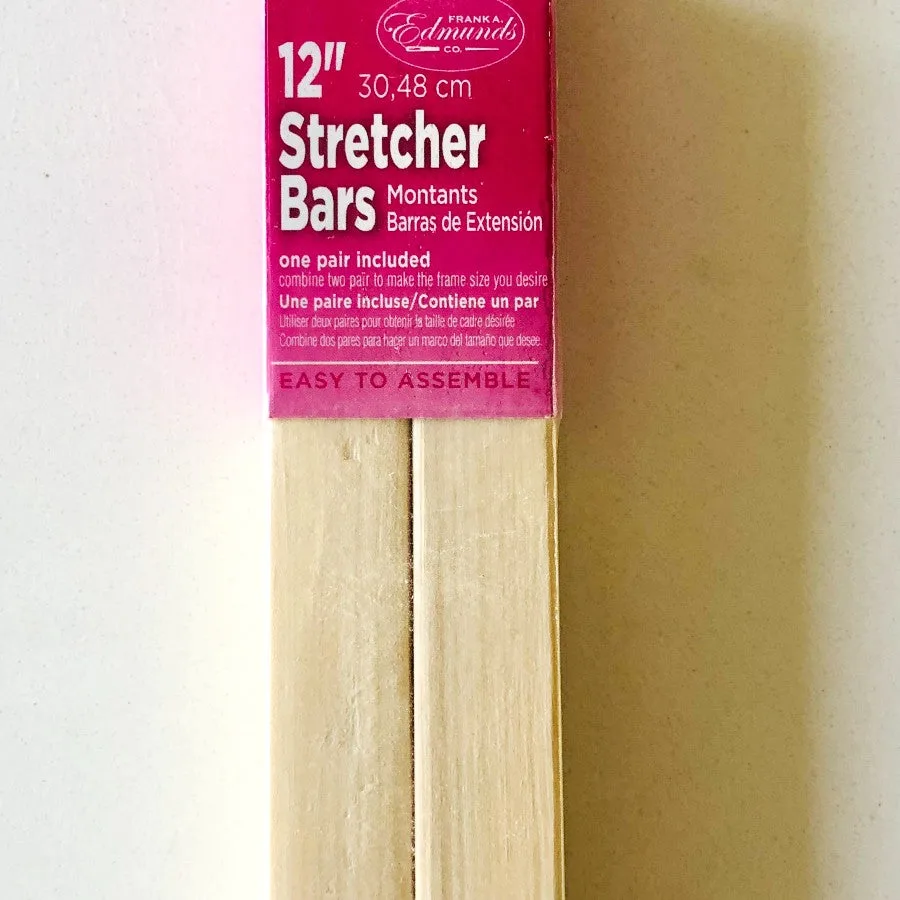
- Needlepoint Stretcher Bars 12 Inch (Set of 2): Needlepoint stretcher bars are used to make a frame that you attach your needlepoint canvas to so that it is held nice and tight while you stitch. These needlepoint stretcher bars are 12 inches long and sold as a pair. To make a frame you need four stretcher bars, or 2 units. Order two units to build one square frame. A single unit gives you only two sides, which will not hold canvas.
- Needlepoint Stretcher Bars 12 Inch (Set of 2): For example, if your cut canvas is 8 inches by 8 inches you will need four 8 inch stretcher bars. Bar length should match the cut canvas size, not the stitched design area. Measure the canvas before choosing bar length.
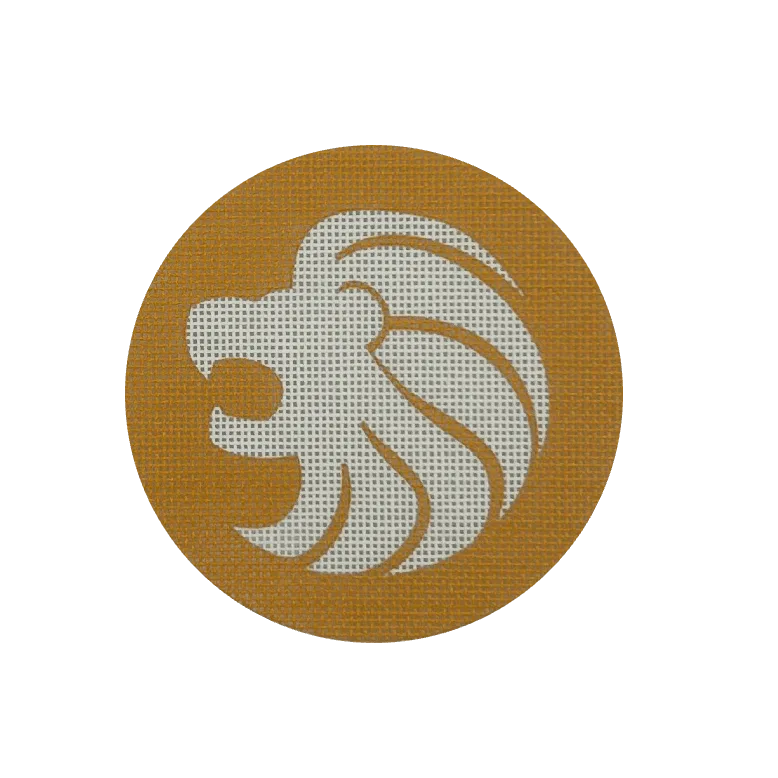
- Leo Needlepoint Canvas + Optional Thread Pack: The Leo Needlepoint Canvas Kit is a 4 inch Zodiac Leo design with an optional Pepperpot Silk thread pack in sunny orange. A 4 inch design on a small cut canvas is a good match for 12 inch bars, leaving plenty of margin for tacking and stretching.
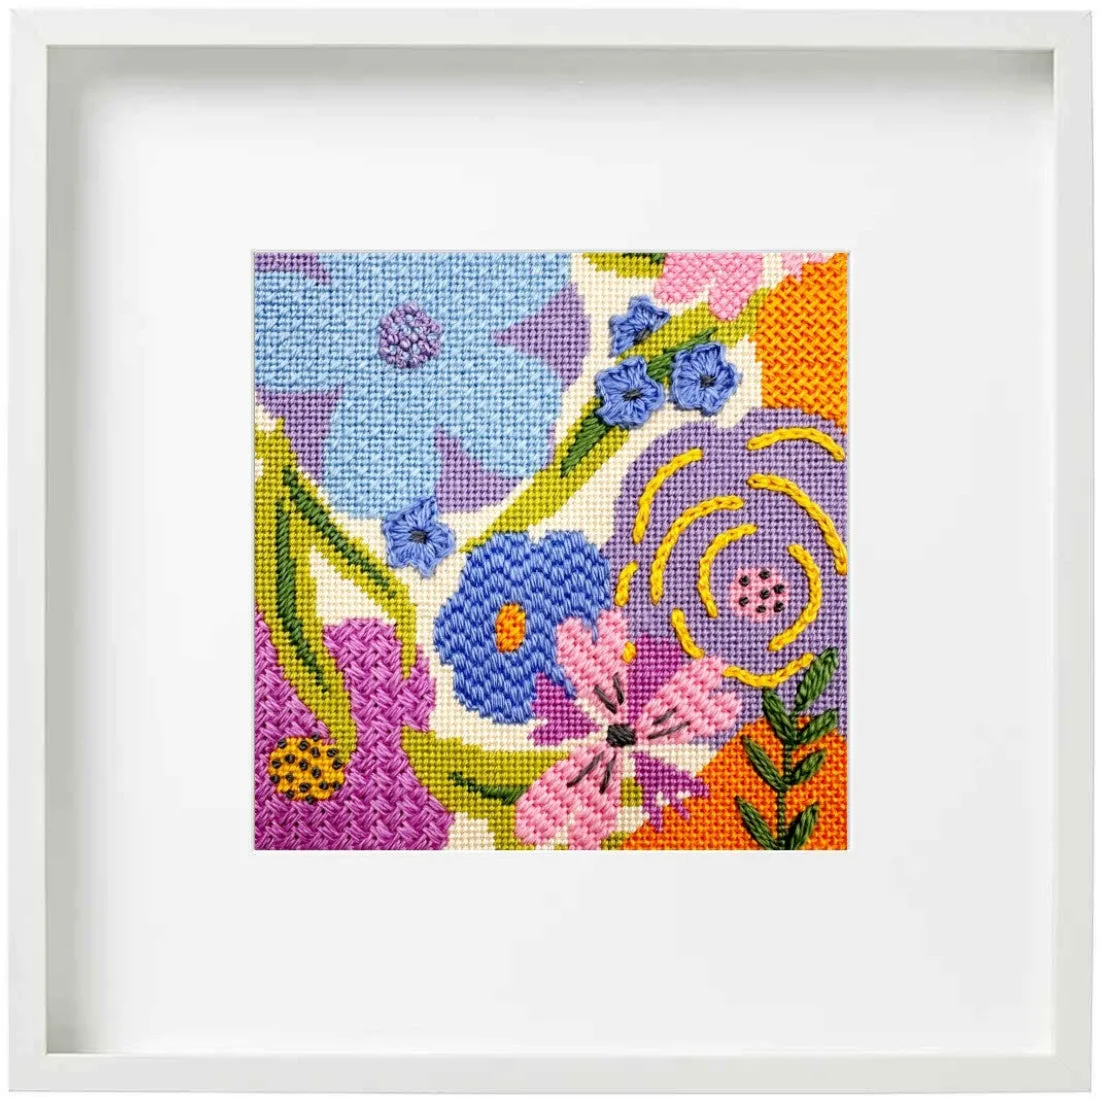
- Cutting Garden Needlepoint Kit: The Cutting Garden Needlepoint Kit includes a 5 inch by 5 inch design on 18-mesh mono canvas, Pepperpot Silk, Essentials Wool/Silk blend, and DMC cotton threads, plus two Bohin stainless steel size 22 needles. A 5 inch design on a cut canvas around 14 to 16 inches square works well on 12 inch bars, with enough margin to tack evenly and avoid corner pull.