Quick answer
You only need four things to start needlepoint: a canvas or kit, a needle, thread, and a frame or stretcher bars. Add a needle minder and a thread organizer once you notice dropped needles or tangles. Skip specialty tools until a specific problem shows up—most stitchers never need more than a handful of accessories.
Walk into any needlepoint shop and you'll see dozens of tools promising to improve your stitching. The reality is simpler: most of your budget should go to canvas and thread, not gadgets. This needlepoint tool buying guide separates the essential needlepoint supplies from the nice-to-haves so you can start stitching without overbuying.
Below are the tools that earn their place in your bag, the ones that solve real problems once you've stitched a while, and the ones you can safely skip. I've also included decision rules for common situations—travel, gifting, and working with different canvas sizes.
The four tools you need on day one
Every needlepoint project needs the same core items: a canvas, a needle, thread, and something to hold the canvas taut. If you buy a kit, the first three are usually included. If you buy canvas and thread separately, choose a tapestry needle sized to your canvas mesh and a frame that fits your cut canvas.
Stretcher bars are the simplest way to hold canvas tight. They come in pairs, so you need two units to make a square or rectangle. For example, if your cut canvas is 8" x 8", you need four 8" bars. A frame keeps stitches even and reduces hand fatigue, which matters more than any specialty tool.
- Buy stretcher bars in the size that matches your cut canvas, not your design size.
- A kit already includes needle and thread, so you only need a frame or hoop to complete the setup.
Tools worth adding after your first project
Once you've stitched for a few hours, two annoyances appear: needles slide off the canvas, and threads tangle or get lost. A needle minder and a thread organizer solve both without much cost. These are the first accessories I'd add to a starter bag.
If you stitch in the car, on the couch, or anywhere a dropped needle disappears, a needle minder is the single best upgrade. For thread, a simple system of labeled bags keeps colors separate and prevents knots. Neither is mandatory, but both make stitching noticeably smoother.
- Add a needle minder when you lose a needle more than once per project.
- Add thread bags when you're juggling more than three thread colors at a time.
Tools that solve specific problems (buy only when needed)
Some tools exist for rare situations. A snag repair tool is a good example: it rescues loose threads on needlepoint, knitwear, jeans, and upholstery. If you never snag a stitch, you don't need one. But if you do, it's the difference between fixing a pull and re-stitching an area.
Similarly, a quick guide booklet is helpful if you're teaching yourself and want a reference for stitches, starting and stopping threads, and compensating. If you already stitch confidently, you can skip it. The rule is simple: buy the tool when the problem appears, not before.
- Buy a snag repair tool after your first snag, not in advance.
- Buy a how-to booklet if you're learning without a class or teacher.
How to choose between similar tools
When two tools seem to do the same job, pick the one that matches your actual habit. For holding needles, a magnetic minder works if you attach it to the canvas and remember to place the needle on it. For organizing thread, resealable bags work if you label them; otherwise they just become a pile of plastic.
Consider size and portability too. Small minders and lightweight bags travel well. Stretcher bars are bulky, so for travel you might prefer a small hoop or a kit that comes with its own frame. There's no universal best—only what fits how and where you stitch.
- Choose a needle minder with strong magnets if you stitch on the go.
- Choose thread bags with a hole punch if you want to ring them together.
Decision rules for buying needlepoint tools
- If you're buying your first supplies: Start with a kit or a canvas, needle, thread, and stretcher bars. Add nothing else until you've stitched for at least two hours. Core four first; accessories later.
- If you keep losing needles: Add a needle minder. It attaches to your canvas with magnets and holds needles when you're not using them. Buy a minder before you buy a second needle.
- If your threads tangle or mix: Add a thread organization system with labeled bags. Keep one color per bag and ring them together. Organize when you're juggling three or more colors.
- If you snag a stitch: Use a snag repair tool to pull the loose thread back through. Don't rip out the area unless the thread is broken. Buy the tool after the first snag, not before.
- If you're learning without a teacher: A quick guide booklet covering continental and basketweave stitches, starting and stopping threads, and compensating is a worthwhile reference. Buy a booklet if you're teaching yourself.
Product facts
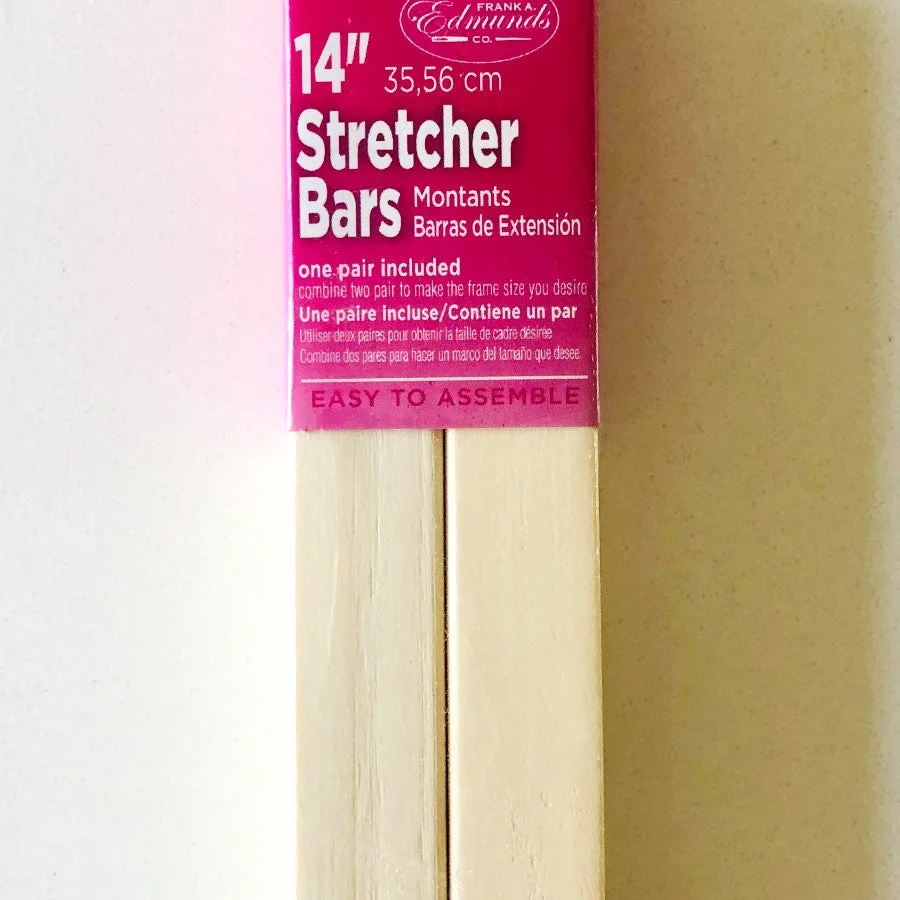
- Needlepoint Stretcher Bars 14 Inch (Set of 2): These needlepoint stretchers are 14" long and sold as a pair. To make a frame you need four stretcher bars, or 2 units. If your cut canvas is around 14" x 14", you'll need two units to frame it. Buying one unit leaves you short.
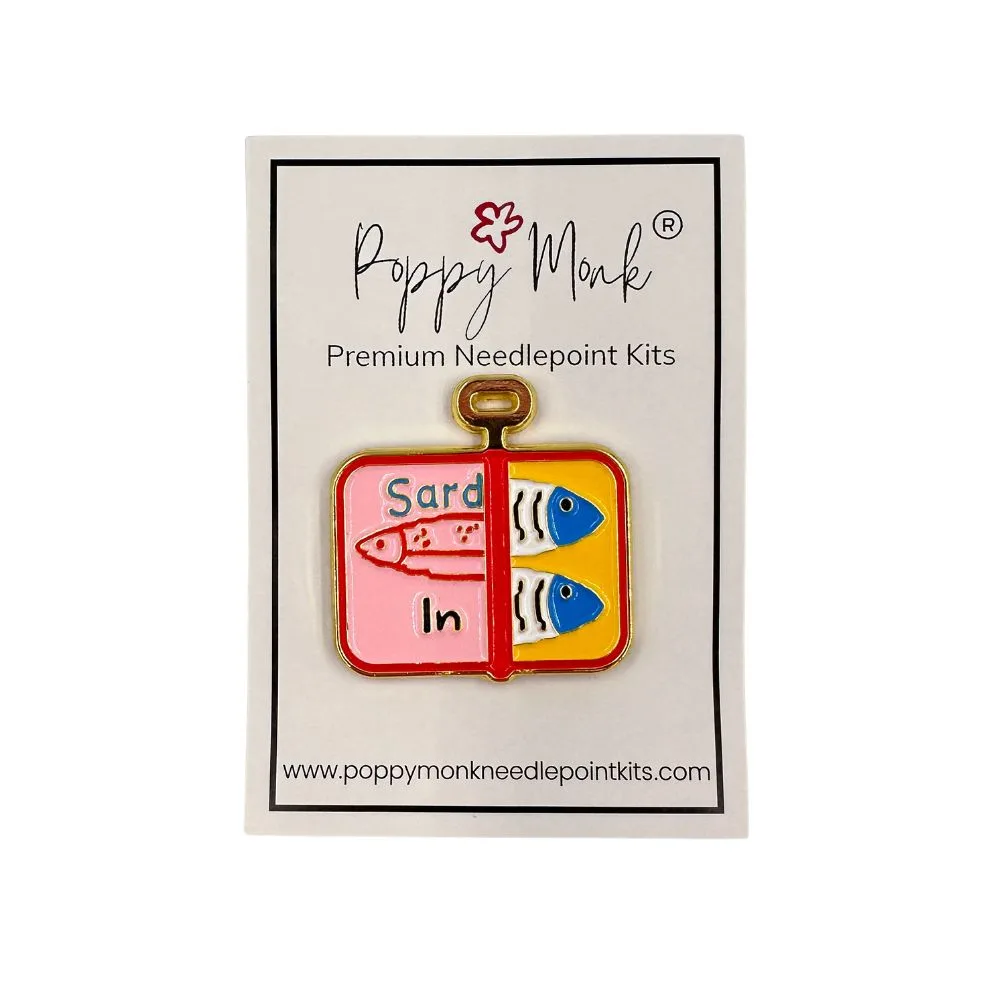
- Sardines Needle Minder: This needle minder attaches to your needlepoint canvas using strong magnets and holds your needles when you're not using them. Size: approx. 1.25" x 1.25". A small, strong minder keeps needles from disappearing into cushions or carpet, which is especially useful if you stitch away from a table.
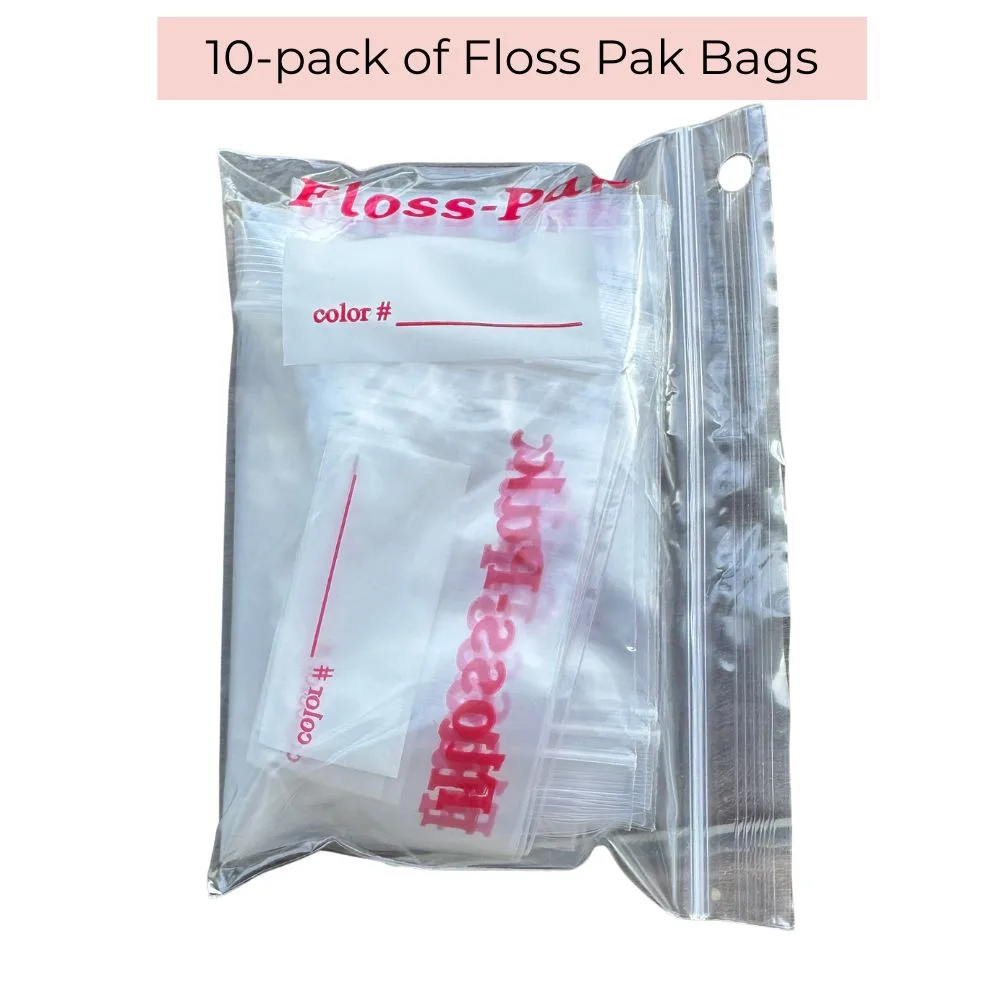
- Thread Organization System Additional Bags: A pack of 10 clear resealable 5" x 3" bags with a hole punch for threading onto a slit ring. These bags keep threads contained, labeled, and organized. The hole punch lets you ring them together so colors don't scatter.
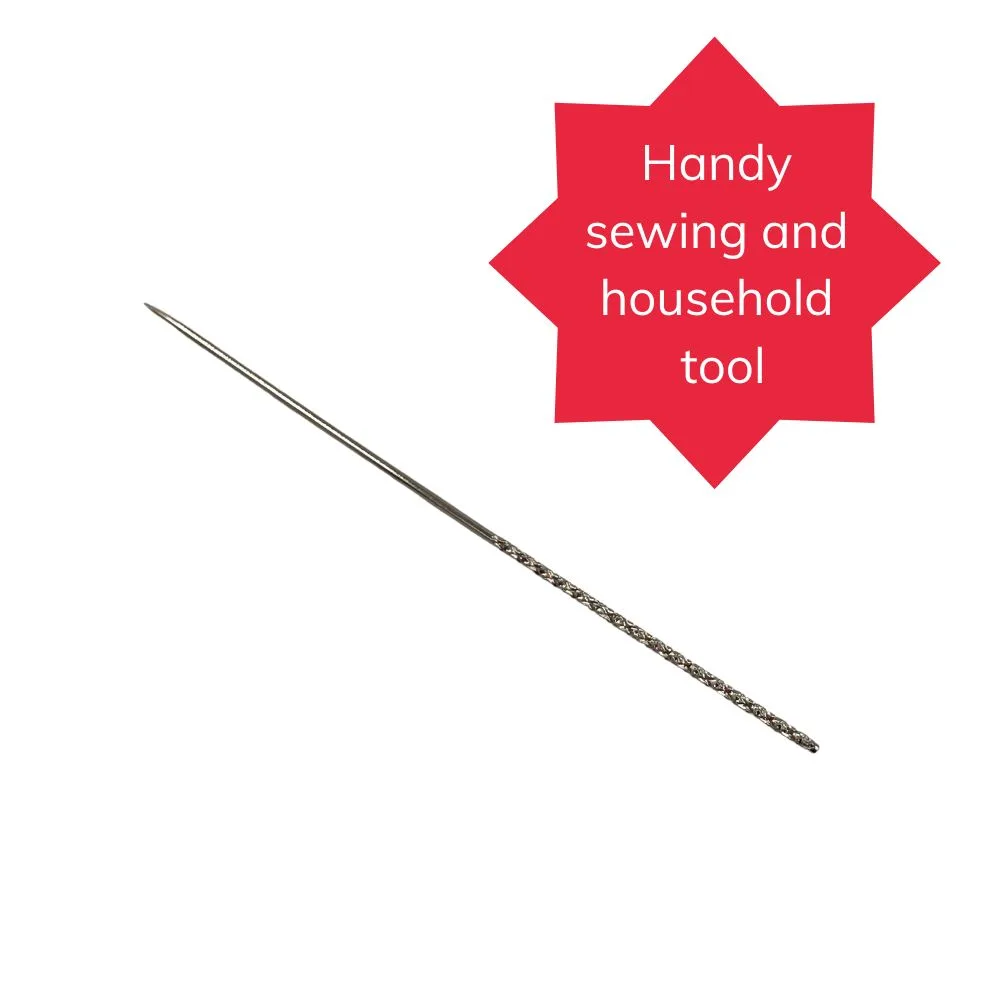
- Snag Repair Tool Essential Needlepoint Accessory: The snag repair tool has a stainless steel needle with corrugations at one end and a pointed tip at the other. It measures 2.36" and has a polished surface to slide through fabric. It rescues loose threads on needlepoint, knitwear, jeans, and upholstery. Keep one in your bag if you tend to snag stitches.
Who this guide is for
Best for
- Beginners setting up their first needlepoint bag
- Stitchers who want to avoid buying tools they'll never use
- Gift-givers choosing practical accessories for a needlepointer
Not for
- Experienced stitchers who already know their preferred tools
- Anyone looking for advanced specialty tools like laying tools or floor stands
Buy the four core items first, then add tools only when a real problem shows up. That approach keeps your bag light, your budget focused on canvas and thread, and your stitching enjoyable.