Quick Answer
For most players, a wired original-style N64 controller is still the simplest, lowest-latency choice for an original console, while a wireless N64 controller adapter makes sense if you already own a modern wireless pad and want less cable clutter. If you are restoring an original controller instead of replacing it, a drop-in joystick assembly such as the TMR Joystick Assembly for Nintendo Switch Pro Controllers can improve stick feel, but it requires soldering and is not a plug-and-play N64 part.
How the Two Connection Paths Actually Differ
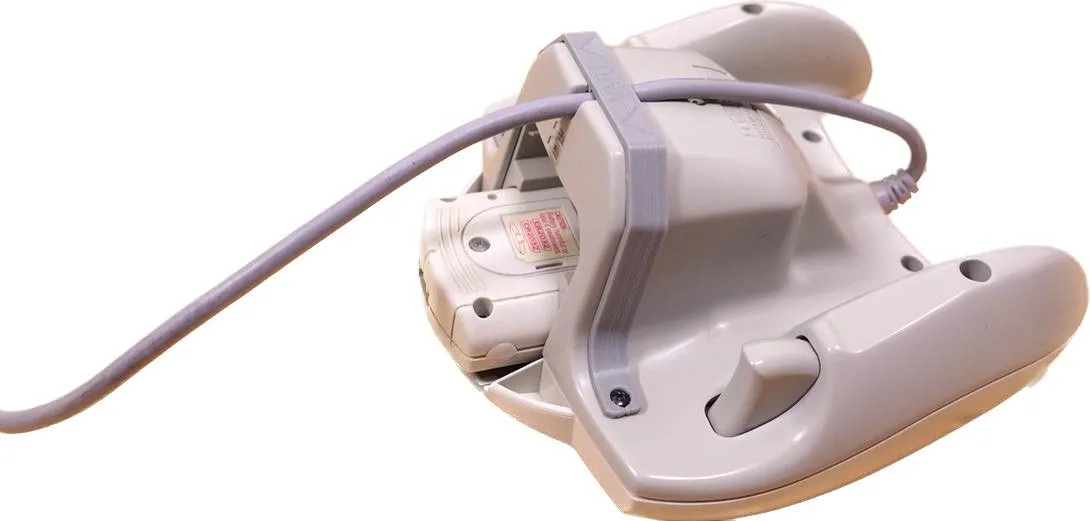
Wired N64 controllers plug directly into the console's controller ports and need no pairing, batteries, or receivers. That direct connection is the main reason many players still prefer it for original hardware: there is nothing to charge and nothing to sync before a session. The trade-off is cable length and the fact that original controller sticks wear out over time, which is why replacement parts matter as much as the connection type.
Wireless options usually work in one of two ways. Either you buy a dedicated wireless N64-style controller, or you use a wireless N64 controller adapter that receives a signal from a modern controller you already own. Adapters reduce cable clutter and let you reuse a pad you are comfortable with, but they add a pairing step and a receiver that must be powered or plugged in. If you want to compare how a wireless setup behaves on a different retro system, our BladeGC Wireless Controller Setup and Pairing Guide covers a similar pairing flow.
What to Check Before You Buy
Start with your console, not the controller. Original N64 hardware, clone systems, and emulation boxes do not all accept the same connection, so confirm which port or receiver your system supports before ordering. Next, decide whether you are replacing a dead controller or upgrading a working one. Replacement is usually cheaper and faster; upgrading makes more sense when the shell and buttons are still in good shape but the stick or cable has failed.
Finally, account for the parts you will need. A replacement shell kit is a cosmetic and durability upgrade, not a fix for a dead stick or a broken cable. Conversely, a new stick assembly will not help if the shell is cracked or the cable is frayed. Matching the part to the actual failure saves money and avoids a second order.
- Confirm your console or adapter accepts the connection type you are buying.
- Decide whether you are replacing a failed controller or upgrading a working one.
- Check whether the failure is the stick, the cable, or the shell before ordering parts.
Where Replacement Parts Fit In
If your original controller still feels good in the hand, repairing it is often the better value. Stick drift and worn gates are the most common complaints, and a drop-in joystick assembly addresses that directly. The TMR Joystick Assembly for Nintendo Switch Pro Controllers is a K Silver model that requires soldering: you de-solder the original joystick and solder the new one in. That makes it a repair project rather than a quick swap, so budget time and a soldering iron if you go this route.
For cosmetic restoration, the Super NES / Super Famicom Controller Replacement Shell shows how a transparent polycarbonate housing kit is sold. Note that it is shell only, so you provide your own internals and it is not an N64 part. The same principle applies to N64 shells: a new housing refreshes the look and can extend the life of a controller whose plastic has cracked, but it will not fix electronics.
Wired vs Wireless: The Trade-Offs
- Wired original-style controller: No pairing, no batteries, and no receiver to manage, which keeps setup simple on original hardware. The trade-off is cable clutter and the need to replace worn sticks or frayed cables over time. Best default for original consoles and players who want the least fuss.
- Wireless N64 controller adapter: Lets you reuse a modern wireless pad and cuts cable clutter, but adds a pairing step and a receiver that must be connected or powered. Compatibility depends on the adapter and the controller you pair with it. Good fit if you already own a wireless pad you like and want a cleaner setup.
- Repair vs replace: A new stick assembly or shell kit can restore a controller you already like, but each part fixes a specific problem. A shell kit will not revive a dead stick, and a stick assembly will not repair a cracked housing. Diagnose the actual failure first, then buy the single part that addresses it.
Product Facts
- TMR Joystick Assembly for Nintendo Switch Pro Controllers: TMR Joystick Assembly (K Silver Model) for Switch Pro Controllers; soldering required, direct replacement by de-soldering the original joystick and soldering the new one in; includes 1x joystick. A drop-in stick upgrade for players comfortable with soldering, but it is not a plug-and-play N64 controller and will not fix a dead cable or cracked shell.
- Super NES / Super Famicom Controller Replacement Shell: Super NES / Super Famicom Controller Replacement Shell kit includes 1x front shell, 1x bottom shell, and L/R shoulder button set; shell only, you provide your own internals. Shows what a shell-only kit covers and what it does not, so you can judge whether a cosmetic refresh or an electronics repair is the right fix for your controller.
Which N64 Controller Option Fits You?
Best for
- Players using original N64 hardware who want the simplest, most direct connection.
- Owners of a working controller with a worn stick who are comfortable soldering a replacement.
- Players who already own a modern wireless pad and want to reduce cable clutter with an adapter.
Not for
- Players who want a zero-effort fix for a controller with a cracked shell or frayed cable.
- Anyone unwilling to solder who expects a drop-in stick replacement.
- Buyers who have not confirmed their console or adapter accepts the connection type they are considering.