Quick answer
Start by setting up a flat, well-lit workspace and prepping your canvas so the numbered areas are easy to read. Paint one color at a time, thin your acrylics slightly if they feel thick, and let each section dry before layering. Finish by touching up thin spots and sealing the canvas only if you want a protective coat.
Paint by number kits promise a calm, guided way to make something with your hands, and they deliver on that promise when you treat the process as a series of small decisions rather than one big project. The paint is acrylic, the canvas is printed with numbered shapes, and your only job is to match each number to its color. That simplicity is exactly why so many first-time painters get stuck on the same few things: reading the canvas, managing paint consistency, and knowing when a section is actually done.
This guide walks through the full arc of a first kit, from opening the box to deciding whether to frame the finished piece. Along the way you will find practical paint by number tips, a few honest tradeoffs, and a simple way to think about acrylic paint by number techniques so your results look intentional rather than patchy.
Set up your workspace before you open any paint
A paint by number canvas rewards a little preparation. Choose a flat surface you can leave undisturbed for several sessions, because moving a wet canvas is the fastest way to smudge a section you just finished. Good overhead light matters more than you might expect, especially for the smallest numbered areas where the print is faint. Keep a cup of clean water, a few paper towels, and a spare plate or palette nearby so you are not walking away mid-section.
If you wear glasses, put them on before you start reading numbers. Many first-time painters blame the kit for unreadable numbers when the real issue is glare or a shadow cast by their own hand. A simple desk lamp angled from the side rather than directly overhead cuts down on glare and makes the printed lines easier to follow.
- Work near a window or lamp you can angle, not directly above the canvas.
- Keep a damp paper towel for wiping brushes between color changes.
- Protect the table with newspaper or a mat before the first drop of paint lands.
Prep the canvas so the numbers stay readable
Paint by number canvas prep is mostly about keeping the printed guide visible. Most kits arrive with a slight factory texture and a faint printed overlay, which is normal. Do not sand or scrub the canvas, and do not soak it in water. If the surface feels dusty, a light pass with a dry, soft brush is enough. The goal is a clean, dry surface, not a perfectly smooth one.
If your kit includes a separate reference sheet or a smaller practice print, keep it beside the canvas rather than on top of it. Covering the canvas with the reference sheet is a common mistake because it hides the very numbers you need. Tape the reference to the table edge or prop it against something so both surfaces stay visible at once.
- Never wet the canvas before painting; acrylics need a dry surface.
- Keep the reference sheet off the canvas so numbers stay in view.
- Work in a spot where the canvas can stay flat between sessions.
Match paint to number one color at a time
The most efficient way to work is by color, not by region. Pick one number, find every area on the canvas that carries it, and fill them all before moving to the next color. This approach reduces brush rinsing, keeps your paint from drying out in the pot, and gives the finished piece a more consistent look because the same mixed batch covers every matching area.
Resist the urge to start with the largest background area just because it is easy. Large areas can be saved for later, when you have a feel for how the paint flows. Beginning with a mid-sized color lets you practice brush control without committing to a big section that will show every uneven stroke.
- Paint all areas of one number before switching colors.
- Start with a mid-sized area to warm up your brush control.
- Keep the paint pot closed when not in use so it does not dry out.
Thin thick acrylics and build thin layers
Acrylic paint by number techniques come down to consistency. If the paint drags or leaves ridges, add a single drop of water to the pot and stir with the brush handle or a toothpick. A little goes a long way, and over-thinning will make the paint run outside the numbered lines. The right consistency is like melted ice cream: it flows off the brush but does not drip.
Build color in thin layers rather than one heavy coat. A thin first pass that looks slightly streaky is normal and will even out with a second layer once the first is dry. Loading the brush too heavily is the most common beginner mistake because it feels efficient, but it causes paint to pool at the edges of numbered shapes and blur the printed lines you still need to see.
- Add water one drop at a time and stir before adding more.
- Let a thin layer dry before deciding it needs a second coat.
- Wipe excess paint off the brush on the pot rim, not on the canvas.
Work in a sensible order and protect finished areas
There is no single correct order, but a practical one is light colors first, then mid-tones, then dark colors. Light paint is easier to correct if a dark line bleeds into it, and dark colors are more forgiving when they overlap a lighter edge. If your kit has many small details, save the tiniest areas for last, when your hand is steadiest and the larger sections are already dry.
Rest your painting hand on a clean sheet of paper or a small block to avoid dragging your palm across wet paint. This is a small habit that prevents most smudges. If you do smudge a section, let it dry completely and paint over it with the correct number rather than trying to wipe it while wet.
- Paint light colors before dark ones to simplify corrections.
- Use a rest sheet under your hand to avoid smearing.
- Let a smudge dry, then repaint that numbered area.
Know when a section is finished
A section is finished when the printed number is no longer visible and the color looks even under your light. If you can still read the number through the paint, it needs another thin layer. If the color looks patchy only because the paint is still wet, wait. Wet acrylic looks darker and shinier than dry acrylic, so judging coverage too early leads to overpainting.
Finishing a paint by number is less about one final flourish and more about a careful review. Once every numbered area is covered, step back and look at the canvas from a few feet away. Small inconsistencies that seem obvious up close often disappear at viewing distance, and touching up areas that already look fine can flatten the texture of the whole piece.
- Check coverage under the same light you painted in.
- Wait for paint to dry before judging color evenness.
- View the canvas from a distance before deciding on touch-ups.
Your first paint by number, step by step
- Set up a flat, well-lit station: Choose a surface you can leave undisturbed and light it from the side to reduce glare on the printed numbers. Checkpoint: you can read every number without leaning in or casting a shadow.
- Prep the canvas without wetting it: Keep the canvas dry, dust it lightly if needed, and prop the reference sheet beside the canvas rather than on top of it. Checkpoint: the printed guide is fully visible and the surface is dry to the touch.
- Paint one number at a time: Fill every area carrying the same number before switching colors, starting with a mid-sized area to warm up. Checkpoint: no half-finished color is left sitting while you open the next pot.
- Thin the paint one drop at a time: If the acrylic drags or ridges, add a single drop of water and stir. Build coverage in thin layers instead of one heavy coat. Checkpoint: the paint flows smoothly but does not run past the numbered lines.
- Work light to dark and rest your hand: Save dark colors and tiny details for later, and keep a clean sheet under your painting hand to prevent smudges. Checkpoint: finished sections stay clean as you move across the canvas.
- Review coverage before you call it done: Let the paint dry, then check that no numbers show through and view the canvas from a few feet away before touching up. Next step: frame the finished piece or lean it on a shelf, and keep the reference sheet for a future kit.
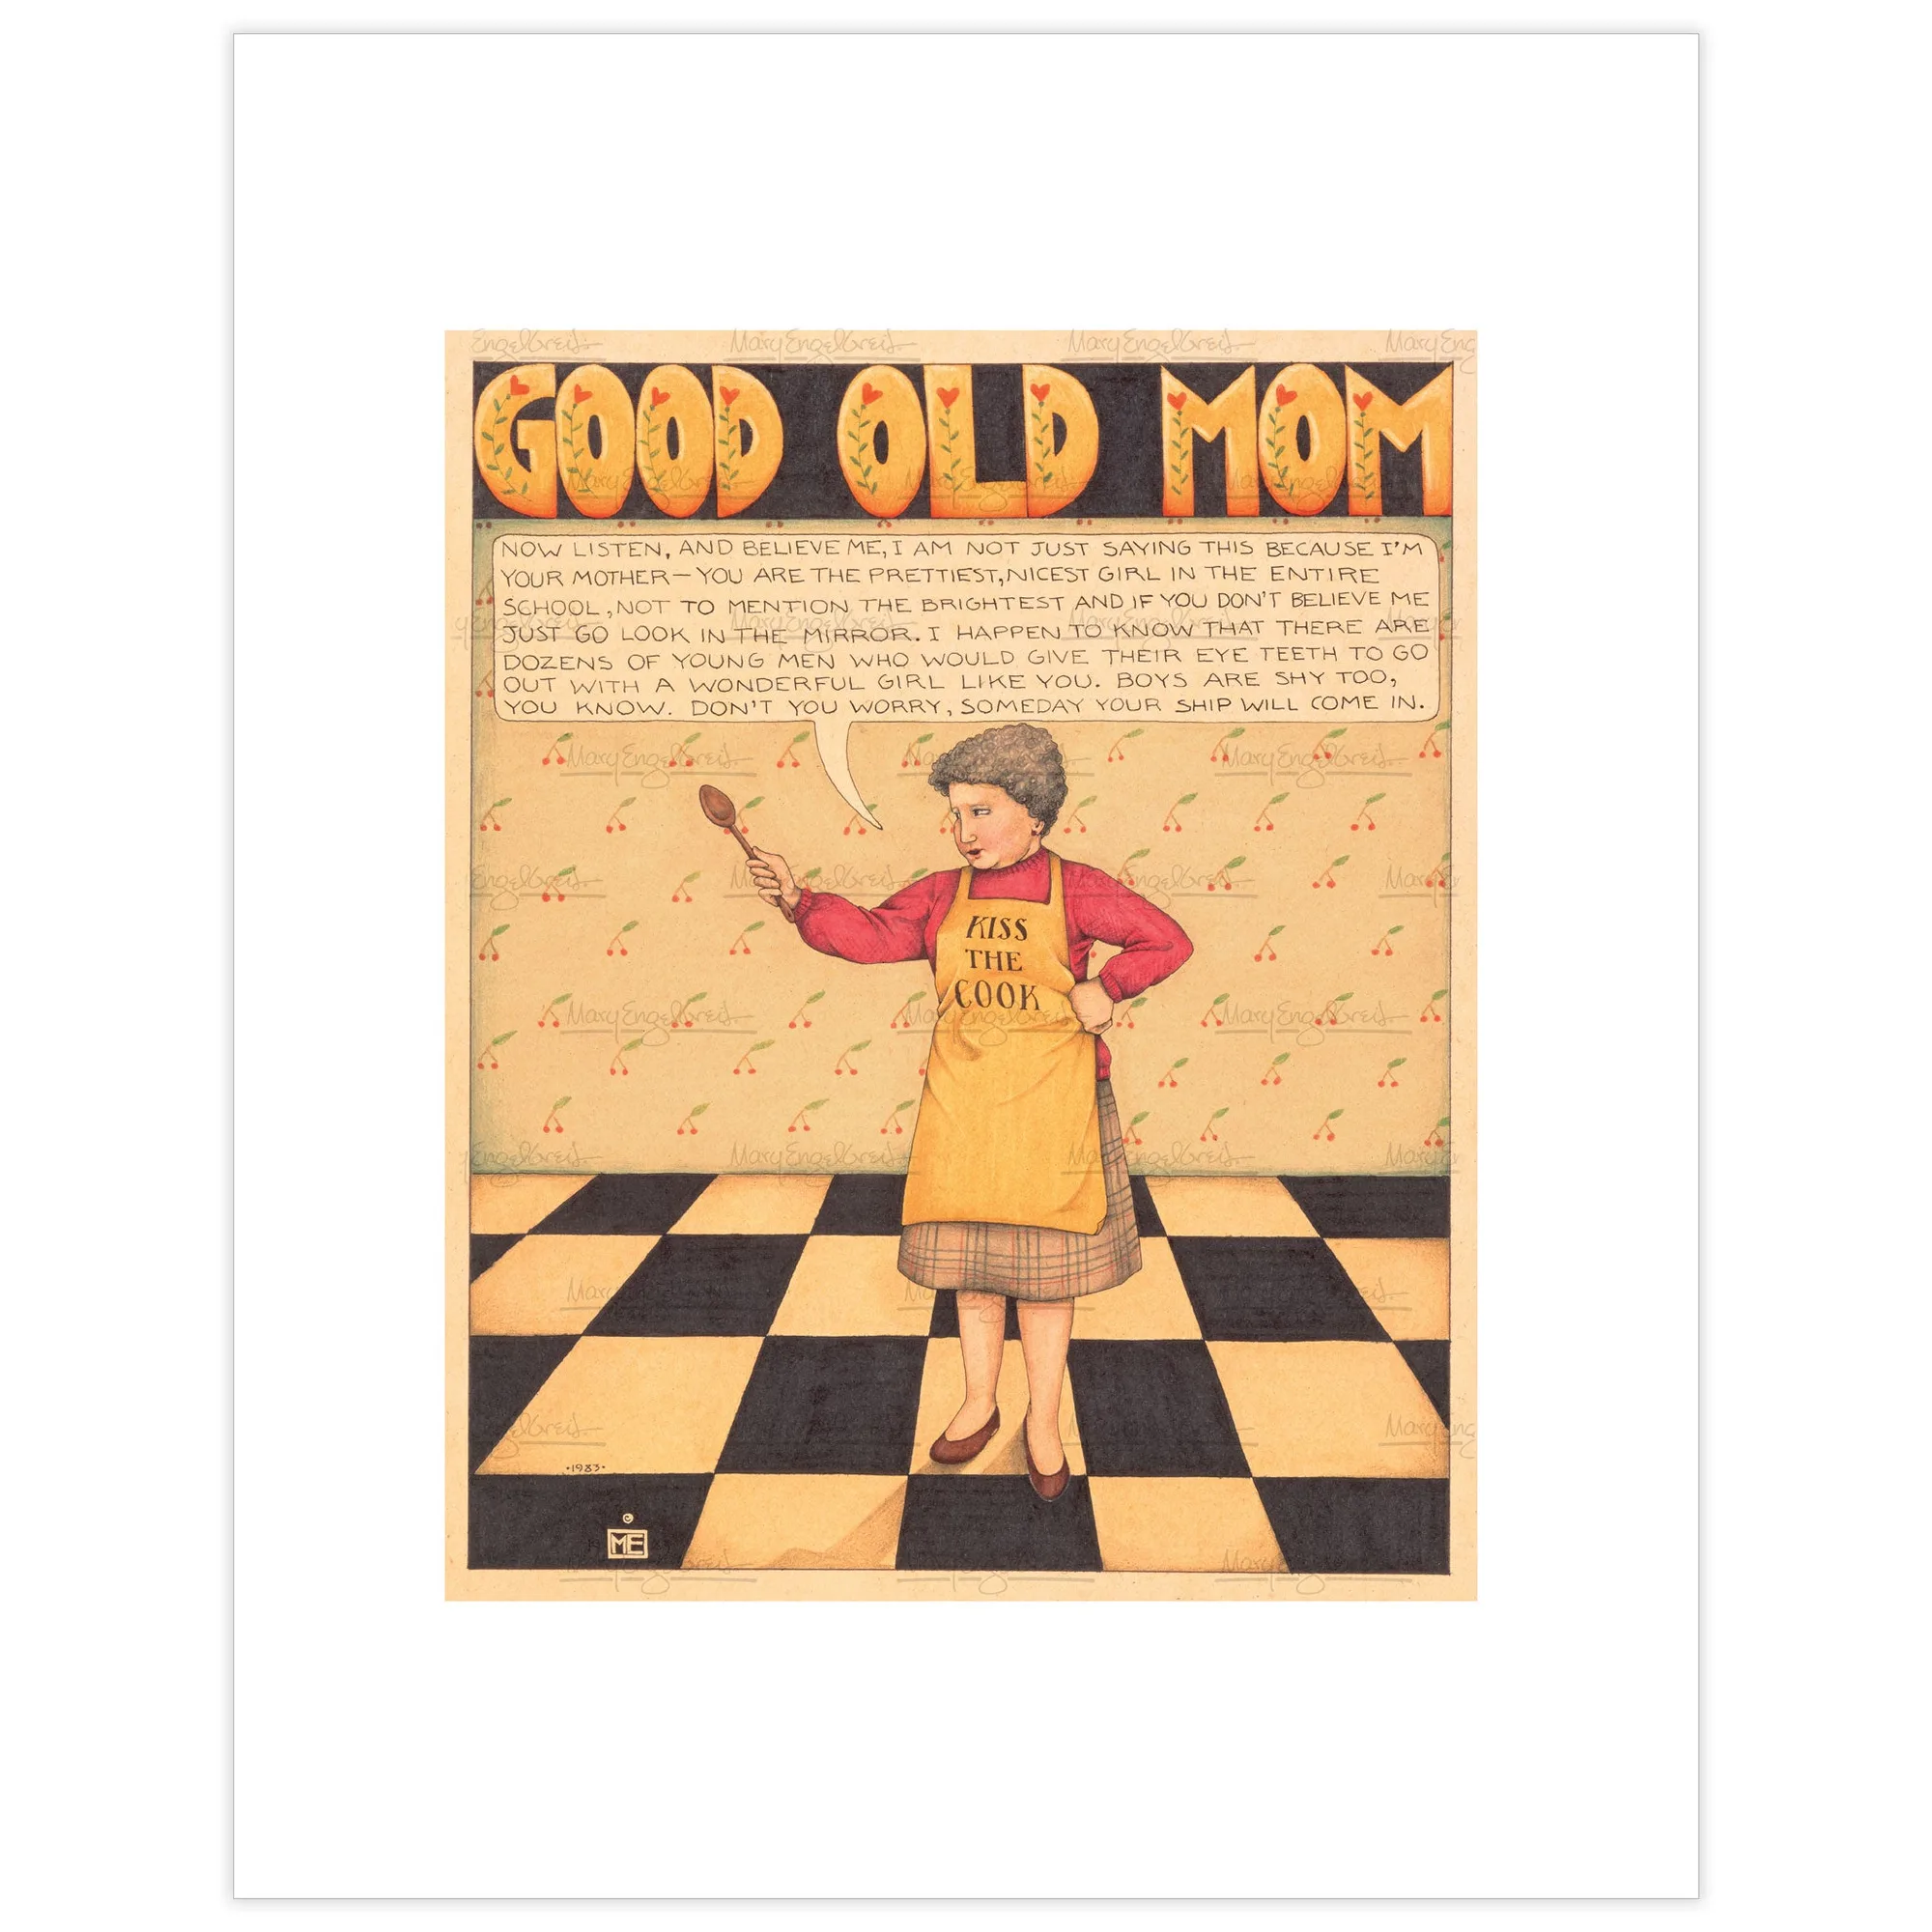
Where Mary Engelbreit fits into a creative routine
- Little Bit of Good Fine Art Print: Reads: Do your little bit of good where you are; it’s those little bits of good put together that overwhelm the world. Printed on high-quality, textured paper with standard frame size and available with Mary's signature. A finished paint by number deserves a wall spot, and a small framed print nearby can carry the same handmade, encouraging feeling into the rest of the room.
- Out on a Limb Fine Art Print: Reads: Why not go out on a limb? That’s where the fruit is! Printed on high-quality, textured paper with standard frame sizes and available with Mary's signature. If your first kit feels intimidating, this message works as a gentle nudge to keep going, and it pairs naturally with a workspace or craft corner.
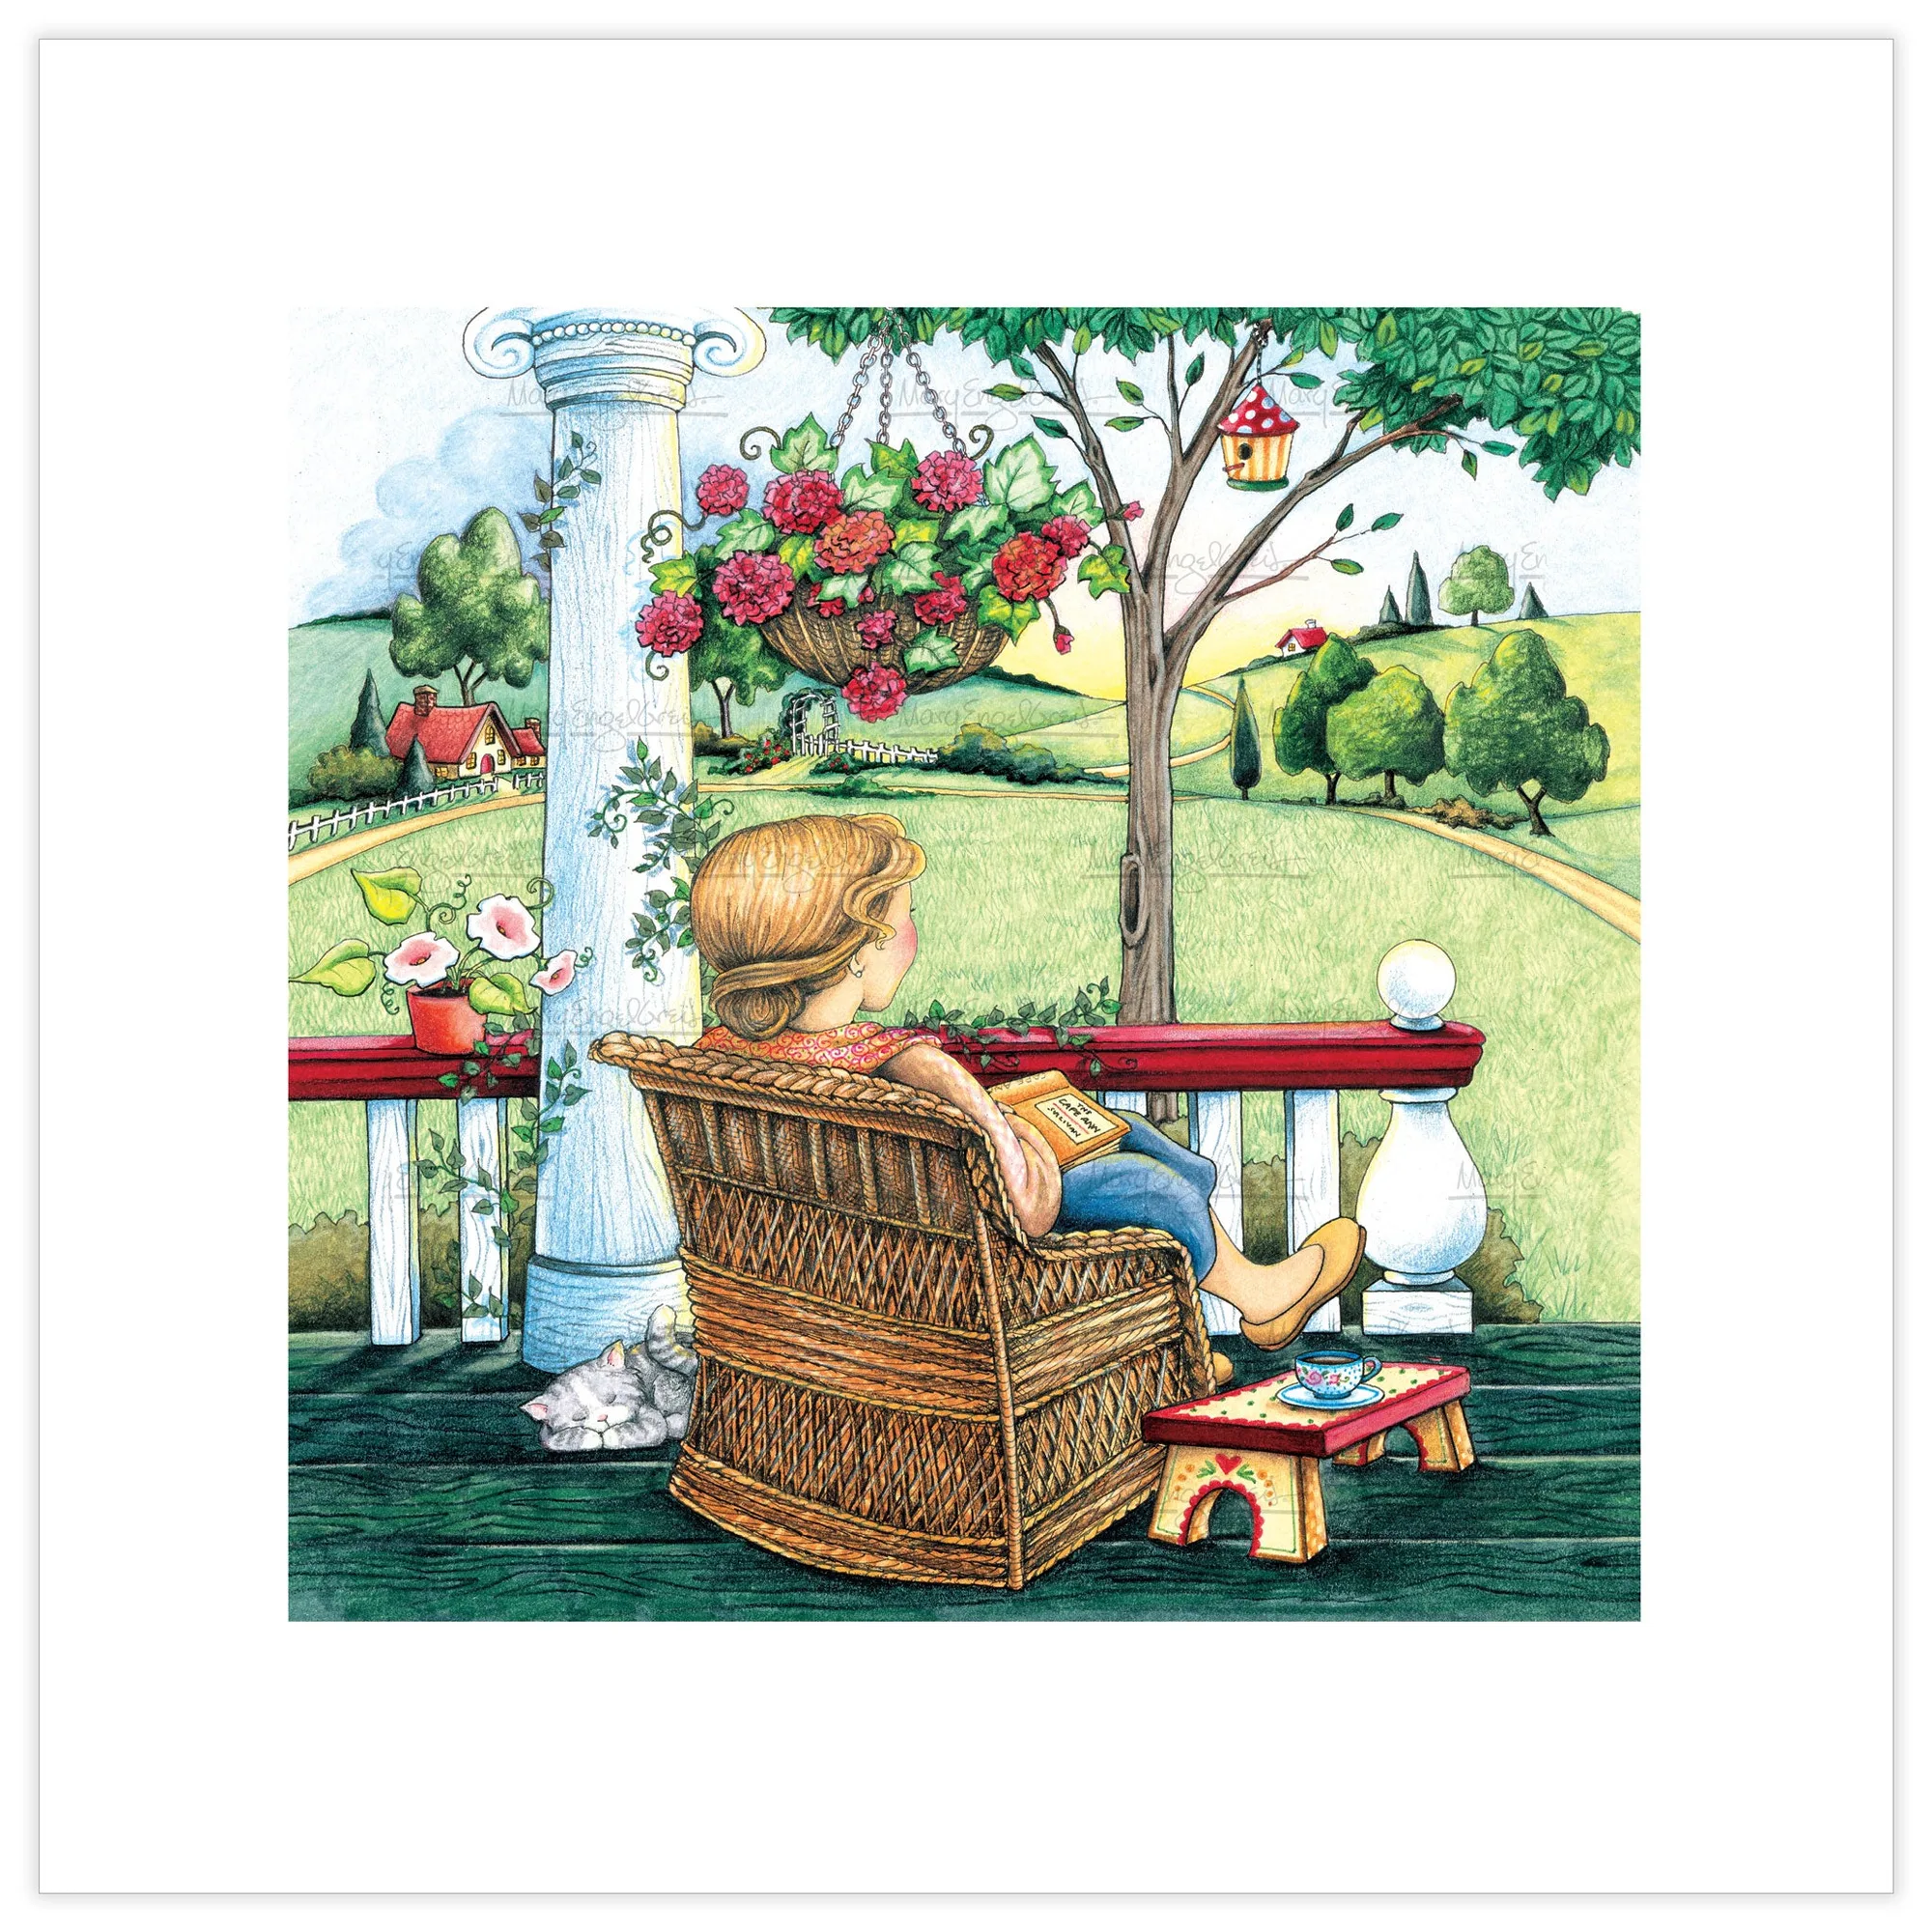
- Summer Leisure Fine Art Print: Printed on high-quality, textured paper with standard frame size and available with Mary's signature. A calm, seasonal image can anchor a reading or painting nook, giving your finished canvas a companion piece rather than leaving it alone on the wall.
A first paint by number kit is less about talent and more about pacing: prep the canvas, thin the paint, work one color at a time, and let each layer dry before judging it. Do that, and you will finish with a clean, even canvas and a routine you can repeat on the next one.