Quick answer
For most stitchers finishing a small canvas, a paperweight kit is the simpler, more affordable choice because it includes the glass form and finishing materials, letting you create a polished, self-contained object without a trip to a framer. Framed needlepoint gives you more flexibility in size and matting but usually costs more and takes longer. If your canvas is roughly 4 to 5 inches square and you want a fast, display-ready result, go with a paperweight kit. If you need a larger finished piece or prefer a traditional wall display, framing is worth the extra effort.
You've just put the last stitch in a small needlepoint canvas. Now you face a classic finishing fork: turn it into a paperweight or frame it for the wall. Both options display your work, but they differ in cost, effort, and the kind of object you end up with. The right choice depends on the canvas size, your budget, and how you want to use the finished piece.
This comparison focuses on finishing small canvases, typically those under 6 inches square. We'll look at what each method involves, using real product examples from our catalog to ground the trade-offs. By the end, you'll know which finishing route matches your project and your stitching goals.
What finishing a small canvas actually involves
Finishing is the step that turns a stitched canvas into something you can display or use. For small canvases, two popular routes are paperweight kits and traditional framing. A paperweight kit typically includes a glass dome or base and instructions for mounting your stitched canvas inside, creating a self-contained decorative object. Framing involves stretching the canvas, choosing a frame and mat, and often paying a professional framer to assemble it.
The effort and cost differ significantly. Paperweight kits are designed for self-finishing, meaning you do the assembly at home with basic tools. Framing usually requires a trip to a frame shop or careful DIY framing with specialized materials. Understanding these differences helps you pick the method that fits your time, skills, and budget.
- Paperweight kits often come with all mounting materials except thread, so check what's included before buying.
- Framing can accommodate odd sizes and shapes, while paperweight kits are usually sized for specific canvas dimensions.
Paperweight kits: self-contained and beginner-friendly
A paperweight kit is a finishing option where your stitched canvas becomes part of a glass paperweight. These kits are popular for small canvases because they produce a functional, display-ready object that sits on a desk or shelf. The kit typically includes the glass component and instructions, and you supply the stitched canvas. The result is a polished, weighted piece that protects your stitching behind glass.
The main appeal is simplicity. You don't need to measure for a frame or choose mat colors. The kit guides you through mounting, and the finished paperweight is ready to use or gift. However, paperweight kits are limited to certain canvas sizes. For example, a kit designed for a 4.5 × 4.5 inch design won't work for a larger canvas. Also, wholesale versions may exclude threads, so you'll need to supply your own.
- Check the kit's design size range before stitching to ensure your canvas will fit.
- If buying wholesale, remember that threads may not be included; plan to kit with recommended threads.
Framed needlepoint: traditional and flexible
Framing is the classic way to display needlepoint. You stretch the finished canvas over a backing, add a mat if desired, and place it in a frame. This method works for almost any canvas size and shape, and you can choose from countless frame styles to match your decor. Framing also allows for creative matting that can highlight specific colors in your stitching.
The trade-off is cost and time. Professional framing can be expensive, especially for custom sizes and archival materials. DIY framing requires buying frame parts, stretching tools, and learning the process. Framed pieces are also more vulnerable to dust and sunlight unless you use UV-protective glass. But for many stitchers, the flexibility and traditional look make framing worth the extra effort.
- Consider UV-protective glass if you plan to hang your needlepoint in a sunny room.
- Measure your canvas after blocking; stitching can change dimensions slightly.
Cost and time comparison
Paperweight kits generally cost less upfront because they bundle the finishing materials. For example, the Diana Black Sheep - Needlepoint Paperweight Kit (Wholesale - EXCLUDES THREADS) has a catalog price of USD 50.00, with a comparison price of USD 100.00. That kit includes the glass paperweight and finishing components, but not threads. You'll need to add DMC Pearl Cotton Size 5 in 666, 310, and Blanc, which adds a small cost. The total is still often lower than custom framing.
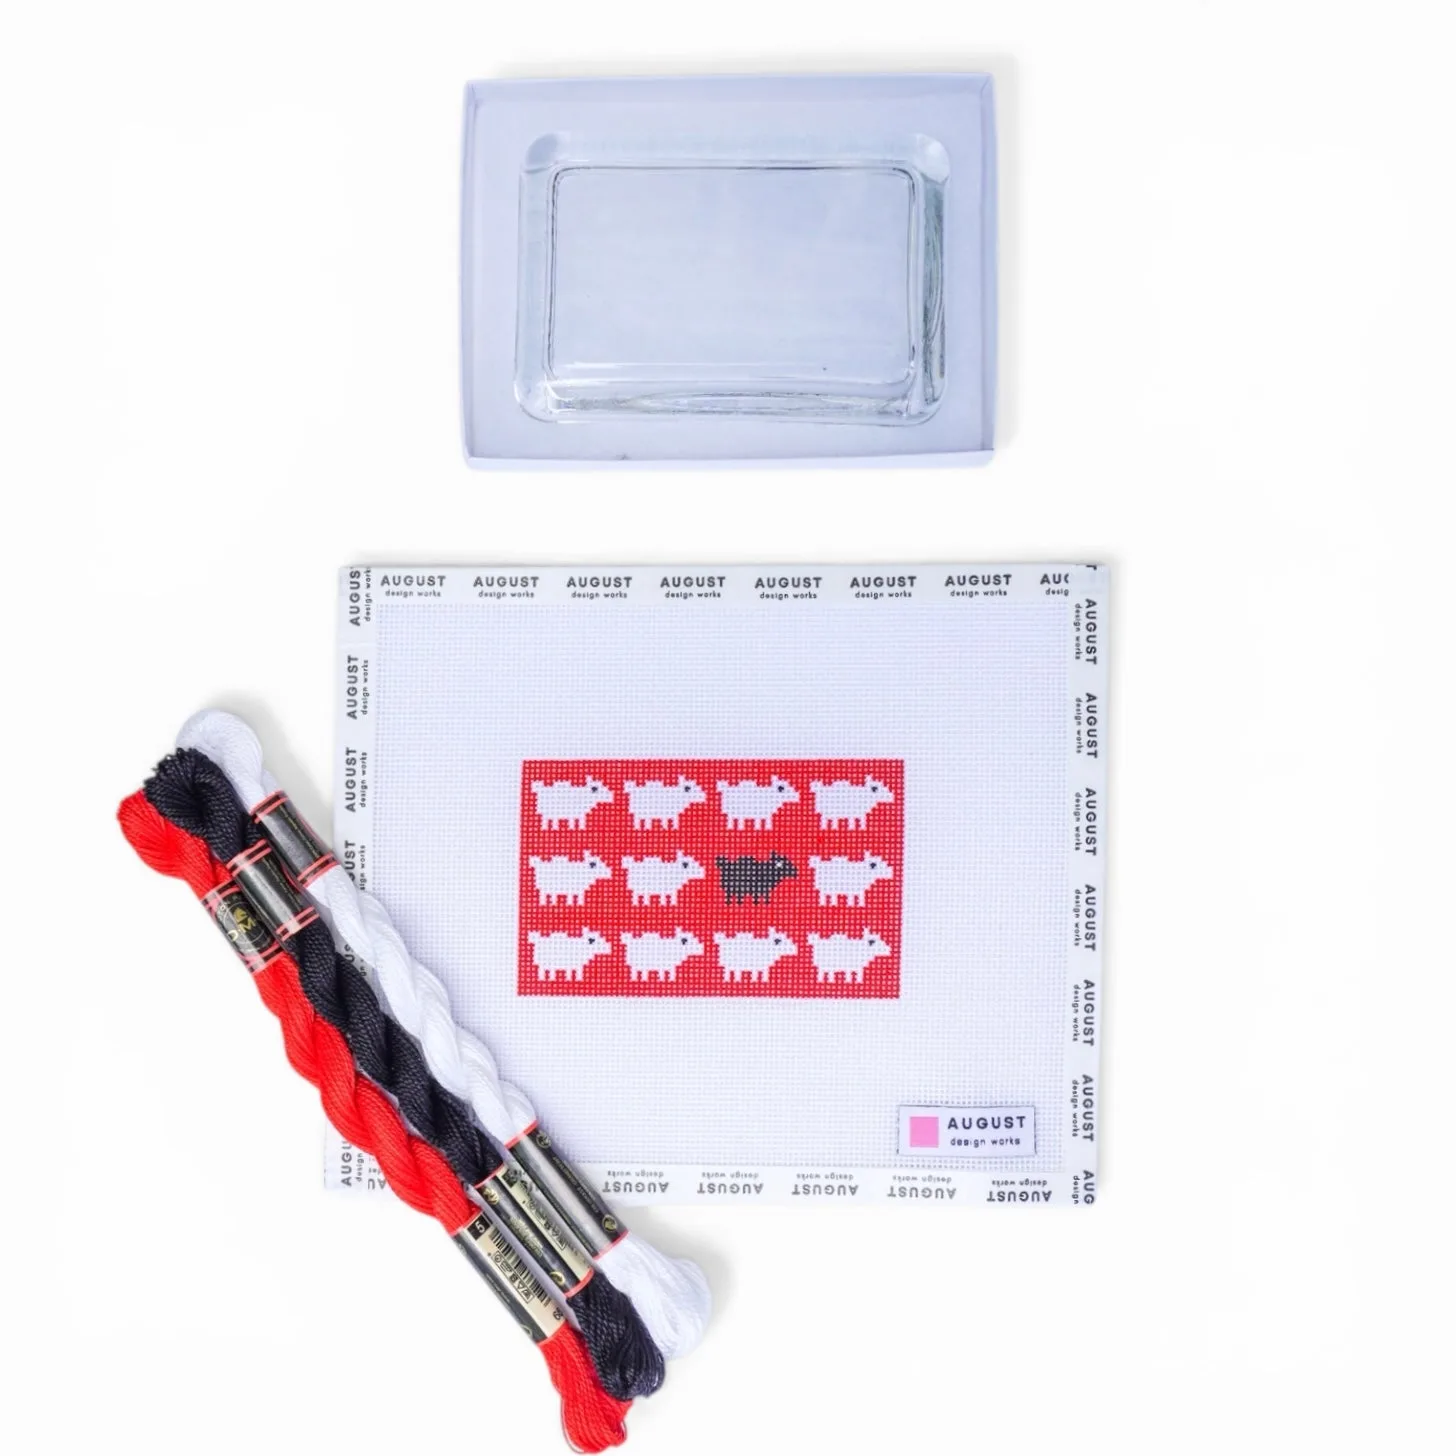
Diana Black Sheep - Needlepoint Paperweight Kit (Wholesale - EXCLUDES THREADS)
Framing costs vary widely. A simple ready-made frame might be affordable, but custom framing with mats and UV glass can easily exceed the price of a paperweight kit. Time-wise, paperweight kits can be finished in an afternoon once your canvas is stitched. Framing may take days or weeks if you use a professional. If you value speed and low cost, paperweight kits have the edge. If you want a larger or uniquely shaped finished piece, framing is the practical choice.
- Add thread costs to your paperweight kit budget if threads are not included.
- Get a framing quote before committing; custom framing prices can surprise you.
Display and durability considerations
Paperweights are meant to be handled, so they need to be sturdy. The glass dome protects the stitching from dust and light, but dropping a paperweight can crack the glass. They are best for desks, shelves, or coffee tables where they won't be knocked around. Framed needlepoint, on the other hand, is usually hung on a wall, keeping it safe from handling but exposing it to light and dust. UV glass and regular dusting help preserve the colors.
In terms of visual impact, paperweights are small and intimate; they invite close inspection. Frames can be large and commanding, serving as focal points in a room. Think about where you want the piece to live and how you want people to interact with it. A paperweight is a tactile object; a framed piece is a visual one.
- If you plan to gift the finished piece, a paperweight is ready to use immediately; a frame may need hanging hardware.
- Rotate framed needlepoint away from direct sunlight to slow fading.
Trade-offs at a glance
- Cost: Paperweight kits bundle finishing materials and typically cost less than custom framing. For example, the Diana Black Sheep kit is USD 50.00 (compare at USD 100.00) but excludes threads. Framing costs vary; custom framing with mats and UV glass can exceed the kit price. Choose paperweight for lower upfront cost; choose framing if you need a larger or uniquely shaped piece and are willing to pay more.
- Time and effort: Paperweight kits are self-finishing and can be completed in an afternoon. Framing often requires a professional or careful DIY assembly, which can take days or weeks. If you want a quick finish, go with a paperweight kit. If you enjoy the framing process or need custom sizing, framing is worth the time.
- Display and durability: Paperweights protect stitching behind glass and are meant to be handled, but they can break if dropped. Framed pieces hang on walls, safe from handling but exposed to light and dust unless protected. For a tactile, desk-friendly object, choose a paperweight. For a wall display that can be protected with UV glass, choose framing.
- Size and flexibility: Paperweight kits are sized for specific canvas dimensions, often around 4.5 × 4.5 inches. Framing accommodates almost any size and shape. Check your canvas design size before buying a paperweight kit. If your canvas is larger or irregular, framing is the safer bet.
Product facts that inform your choice
- Diana Black Sheep - Needlepoint Paperweight Kit (Wholesale - EXCLUDES THREADS): Offer your customers a complete, self-finishing needlepoint experience with our glass paperweight kit — thoughtfully designed for easy finishing and a polished, timeless result. Wholesale Note: Threads are NOT included in wholesale orders. Please be sure to kit with threads before selling — we recommend DMC Pearl Cotton Size 5 in 666 (Bright Red), 310 (Black), and Blanc (White). This kit is a turnkey finishing solution for small canvases, but wholesale buyers must add threads. The recommended DMC Pearl Cotton colors ensure the design pops as intended.
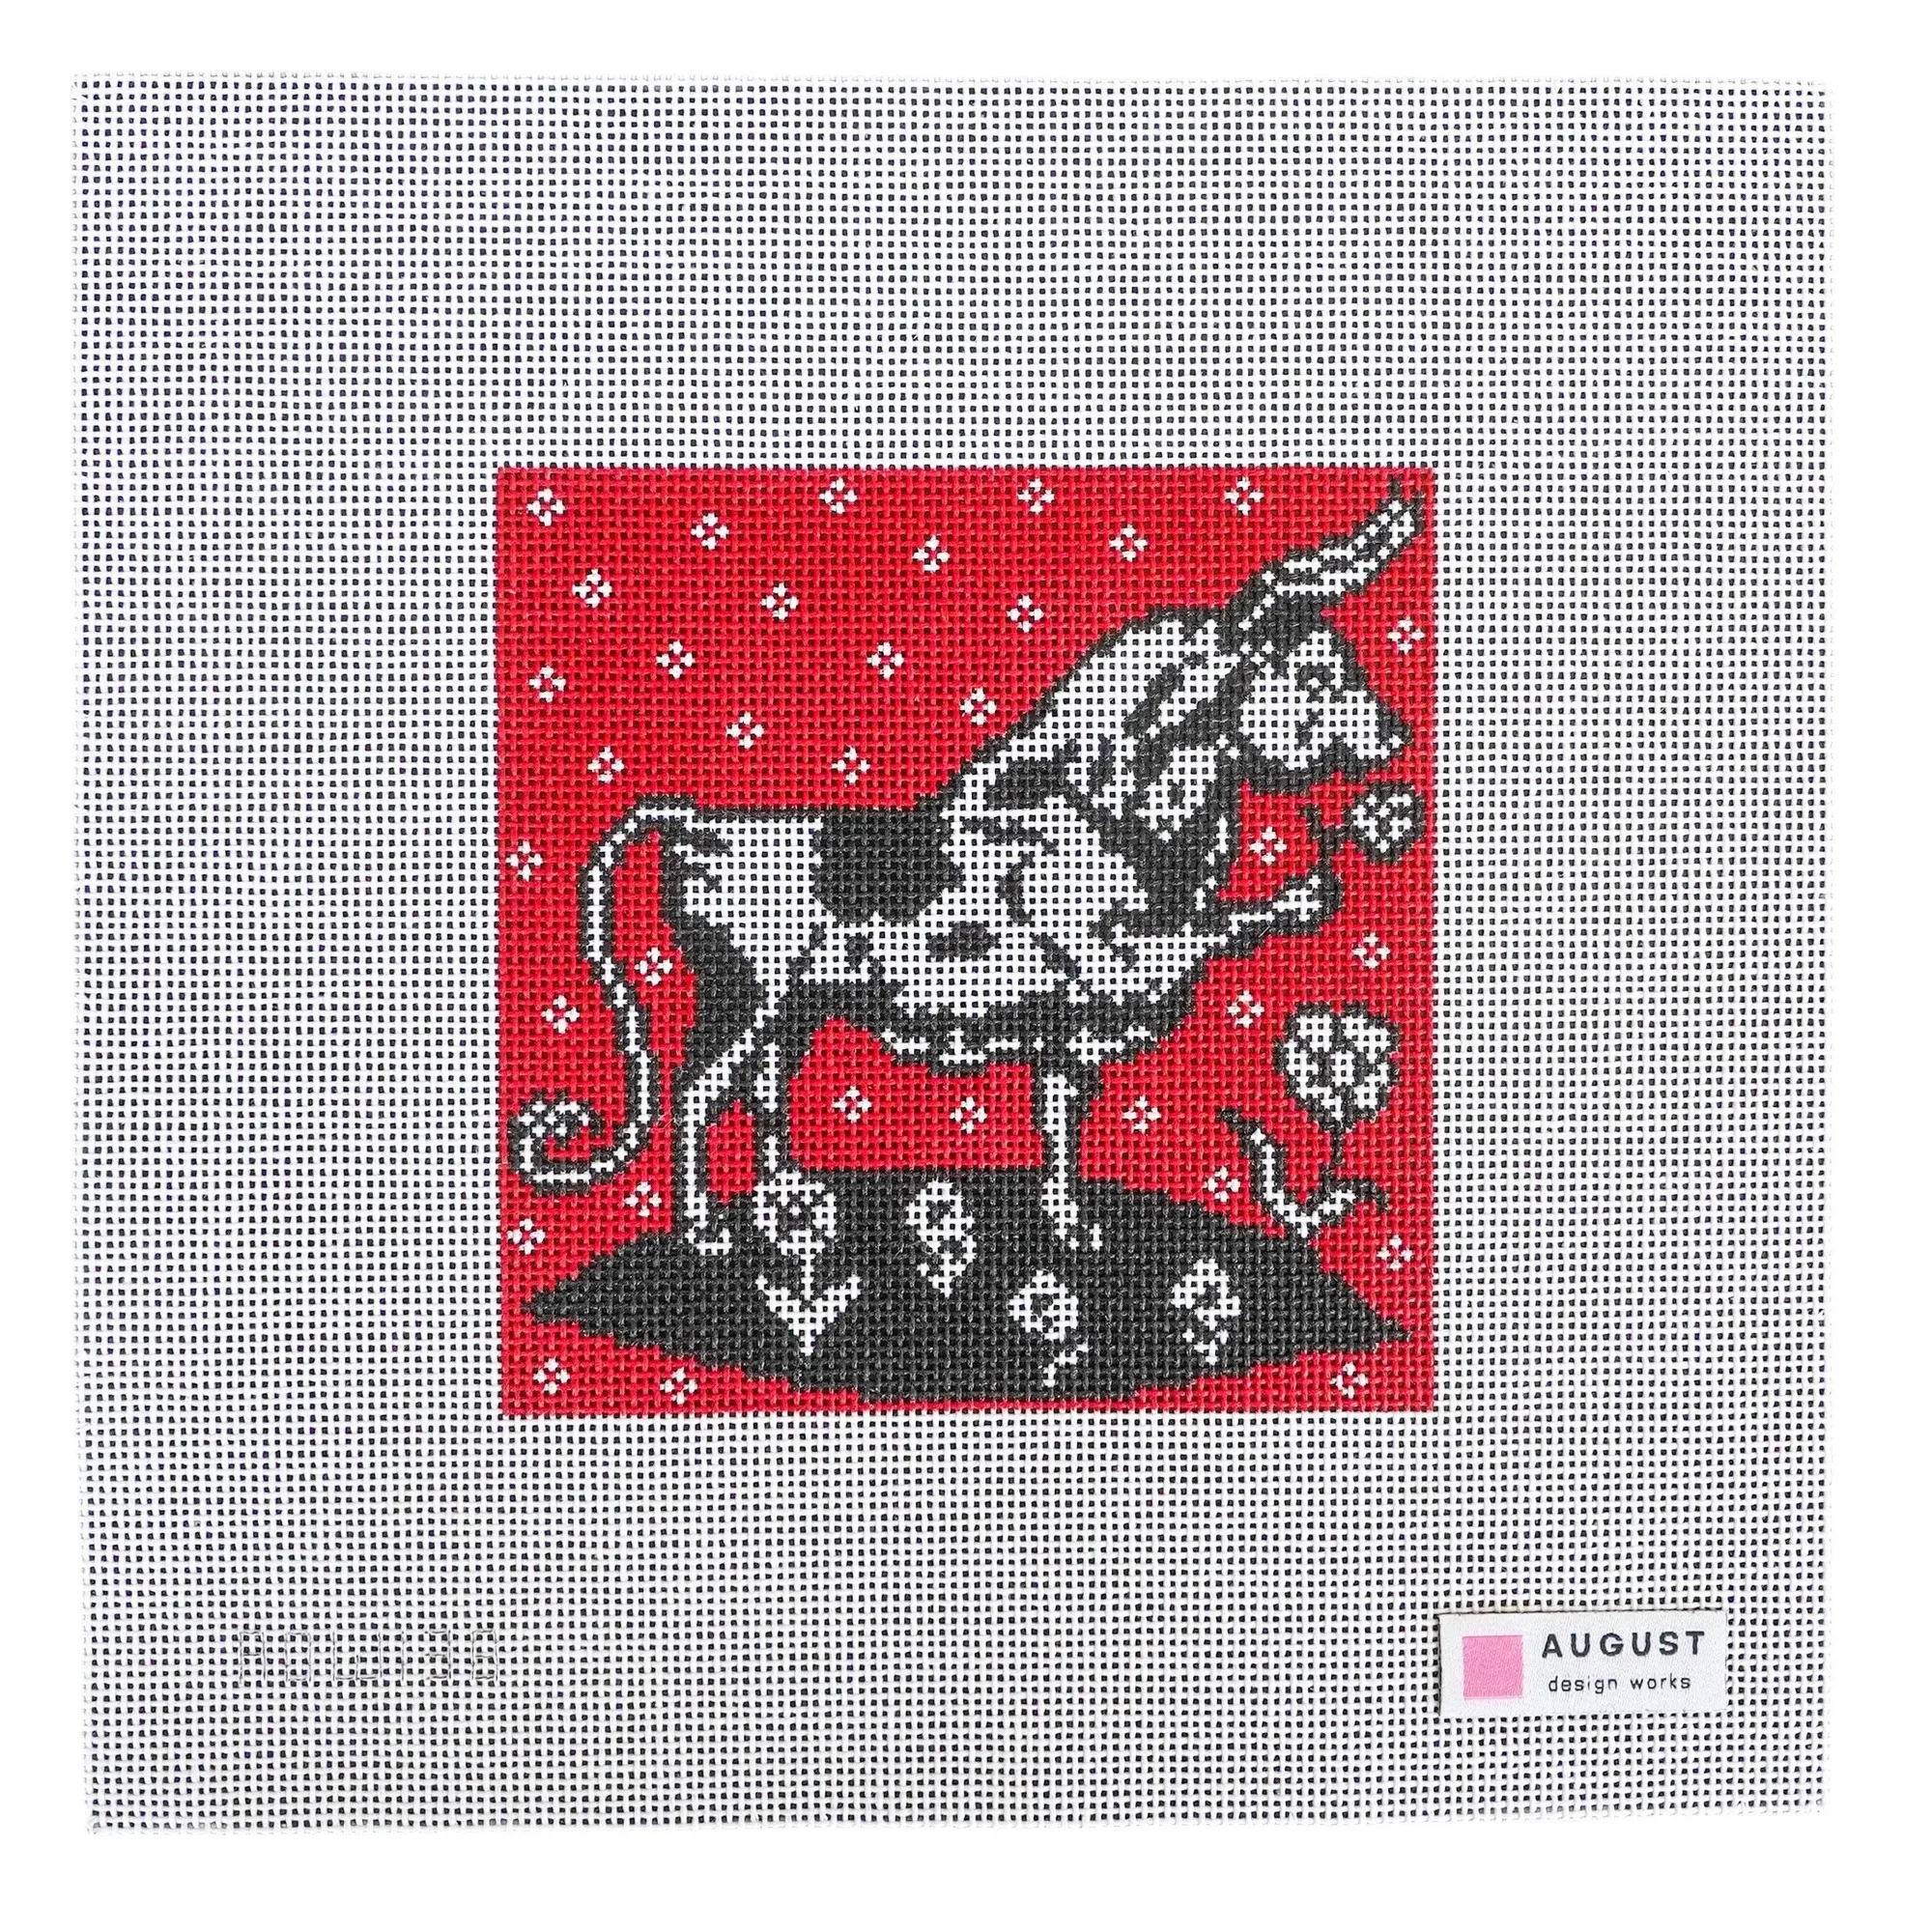
- Ferdinand the Bull - Needlepoint Canvas (Wholesale): 8.5 x 8.5 canvas size 4.5 × 4.5 design size 18 mesh All canvases are hand-painted and may vary. Canvases do not come with thread. This canvas's 4.5 × 4.5 inch design size fits paperweight kits designed for that dimension. It does not include thread, so you'll need to purchase threads separately whether you frame it or make a paperweight.
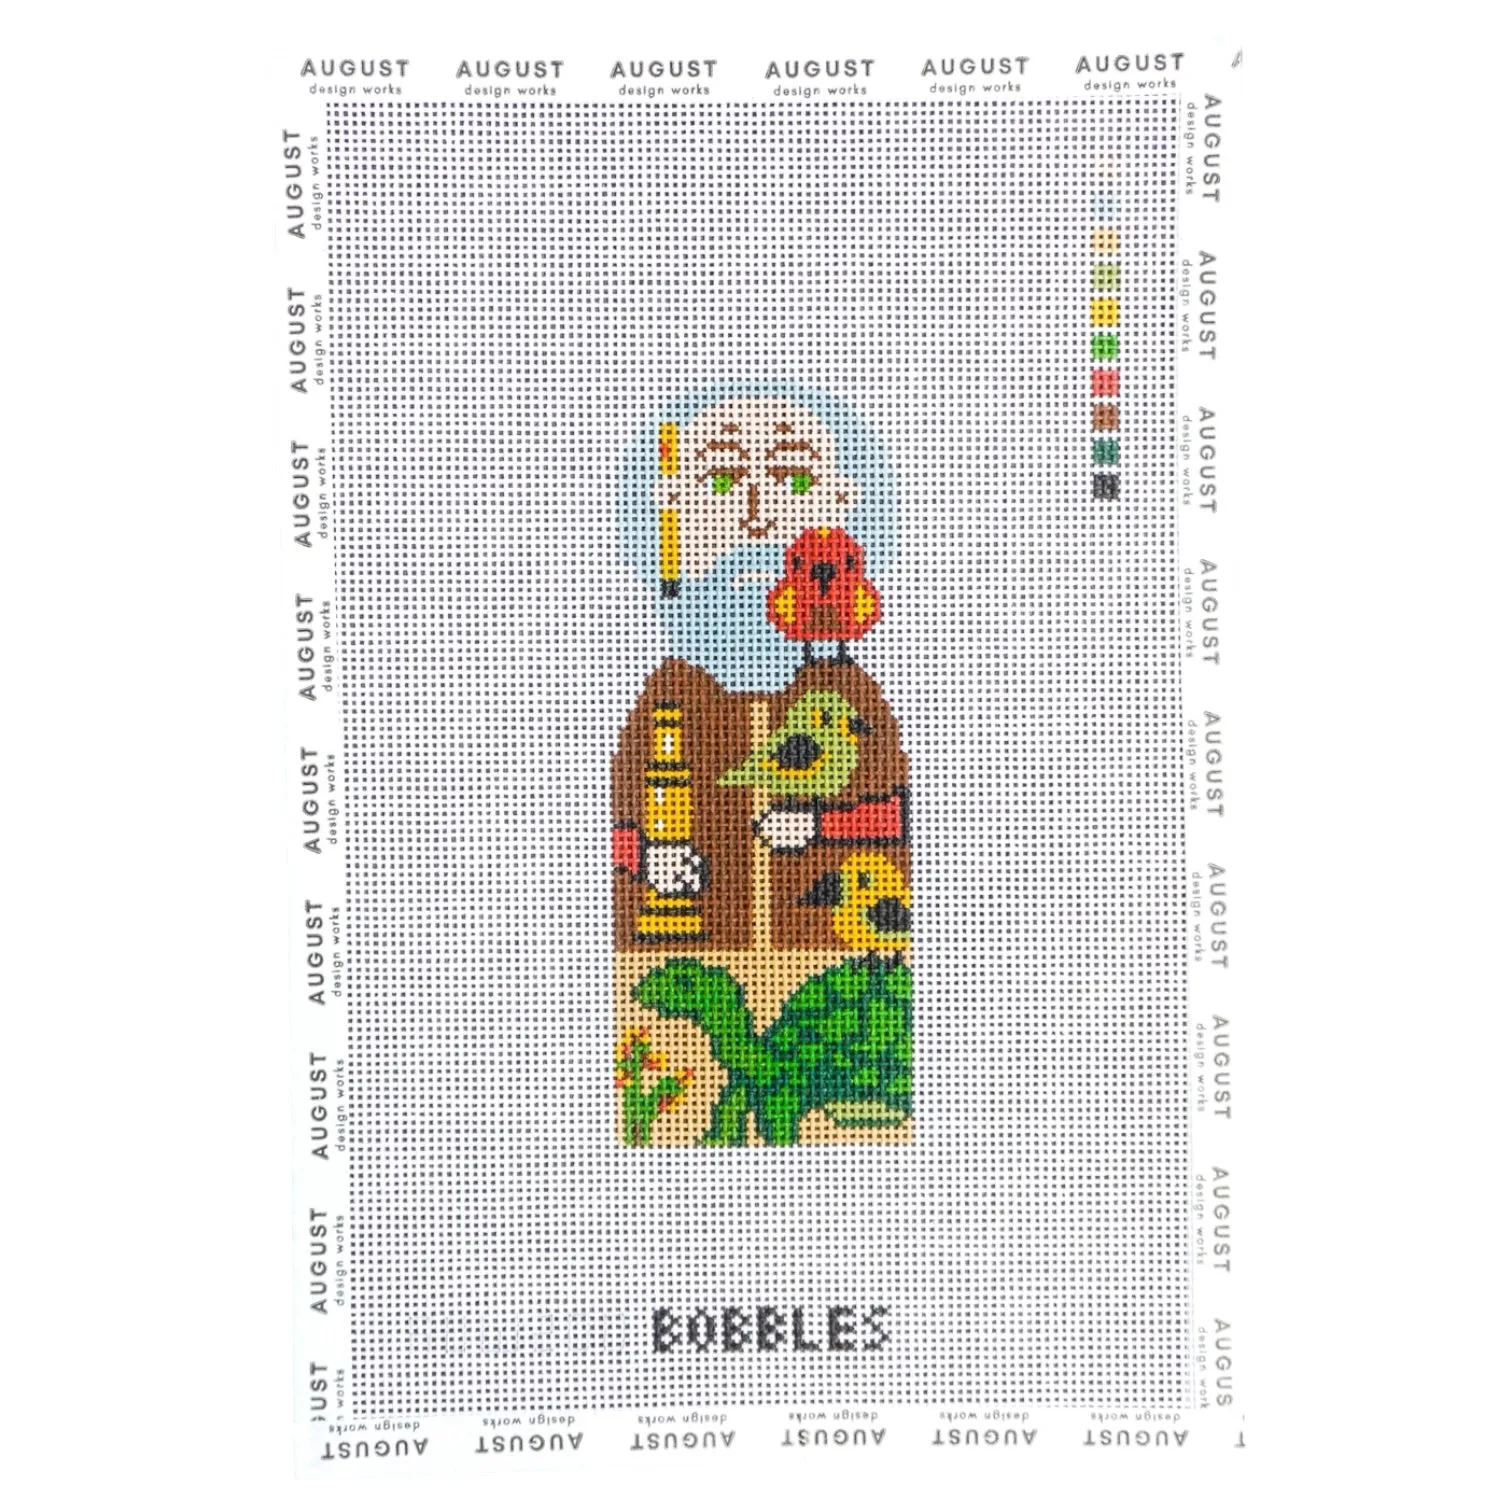
- Darwin Bobble - Needlepoint Canvas: Our Bobbles Series celebrate iconic figures with hand-painted needlepoint canvases designed to be stitched, displayed, and collected - each one a little work of art. Bobble canvases are designed for display, making them suitable for either finishing method. Their hand-painted nature means each is unique, so you may want to choose a finishing option that protects the artwork, like a paperweight or UV-framed piece.
Which finishing method is right for you?
Paperweight kits are best for
- Stitchers who want a fast, self-contained finishing project with minimal tools.
- Small canvases around 4 to 5 inches square, like the Ferdinand the Bull design (4.5 × 4.5 inches).
- Gift-givers who want a ready-to-use object that doesn't require hanging.
- Wholesale buyers who can add threads and resell a complete kit.
Paperweight kits are not for
- Canvases larger than the kit's specified design size.
- Stitchers who prefer a traditional wall display or need custom matting.
- Those who want to avoid buying threads separately when kits exclude them.
Both paperweight kits and framed needlepoint turn your small canvas into something worth displaying. Paperweight kits win on speed, simplicity, and cost, especially for standard small sizes. Framing wins on flexibility and traditional presentation. Pick the method that matches your canvas size, budget, and how you want to enjoy the finished piece. Whichever you choose, your stitching deserves a finish that makes you proud.