Quick answer
For most straight-edged pattern pieces, pattern weights are faster and safer because they skip pinning and leave no holes. Keep pins for curved edges, slippery fabrics, and small pieces like collars or cuffs. Many sewists use both: weights for the bulk of the layout, pins where a piece wants to shift.
Cutting fabric is where a project either starts clean or starts with problems. If your pattern shifts by even a quarter inch, every seam after that inherits the error. That is why the pattern weights vs pins question comes up in almost every beginner sewing class.
The honest answer is that neither tool wins everywhere. Pattern weights for sewing are fast and leave fabric unmarked, while sewing pins hold curved and slippery edges that weights cannot control. The right choice depends on your fabric, your pattern shape, and how much time you want to spend at the cutting table.
How pattern weights and pins actually hold fabric
Pattern weights sit on top of the pattern and press it flat against the cutting mat. Nothing pierces the fabric, so the pattern stays exactly where you place it and the fabric stays smooth. Because there is no pinning step, you can reposition a weight with one hand and keep cutting. This makes weights a strong default for long straight seams, quilt strips, and any project cut from a flat layout.
Pins, by contrast, go through the pattern, the fabric, and sometimes the mat. That mechanical hold is stronger on edges that want to curl or slide. The trade-off is time and fabric integrity: pinning a full layout takes longer, and every pin leaves a small hole. On tightly woven quilting cotton those holes usually close with a press, but on delicate or coated fabrics they may not.
- Test a pin on a fabric scrap before pinning a full garment piece.
- Use enough weights that the pattern cannot rotate; four corners is often not enough for a large piece.
Speed, accuracy, and fabric safety compared
Weights win on speed. You place them, check the grainline, and cut. There is no pin cushion to chase and no pricked fingers. They also win on fabric safety because nothing punctures the surface. The limitation is grip: a weight only holds what it covers, so a long curved seam can lift between weights and throw off your cut line.
Pins win on control. A pin every few inches keeps a curve or a slippery synthetic from shifting, which matters on necklines, armholes, and bias edges. The cost is time and the risk of holes or distortion if you pin too close to the cut line. If you sew mostly quilting cotton and straight strips, weights will feel like an upgrade. If you sew garments with curves in rayon or satin, pins still earn their place.
- Pin inside the seam allowance, never on the cut line, to hide holes in the finished seam.
- For slippery fabric, combine a few pins at the curve with weights along the straight edges.
A practical hybrid workflow
Most experienced sewists do not choose one tool. They weight the long straight edges and pin only the problem areas. That keeps the layout fast while protecting the places where accuracy matters most. Start by smoothing the fabric and placing the pattern, then add weights along the straight runs before you pin anything.
Once the straight edges are secure, walk the perimeter and pin only where the pattern lifts or the fabric slides. Cut in long, continuous strokes with a sharp rotary cutter, and lift weights only as the blade approaches. This order keeps the pattern from shifting mid-cut and reduces the number of pins you need.
- Cut in one direction and avoid lifting the fabric between passes.
- Recheck the grainline after placing weights and before the first cut.
What to look for when buying either tool
Pattern weights need enough mass to press fabric flat without being so tall they block the cutter. Flat, low-profile weights are easier to cut around than tall ones. Look for a smooth base that will not snag fabric, and buy enough to cover your largest pattern piece. A set of six to eight is a reasonable starting point for garment sewing; quilt strip cutting may want more.
For pins, fine sharp points matter more than length for quilting cotton, while longer pins help on bulky fabrics. Glass or heat-resistant heads survive an iron, which matters if you press near a pinned seam. Whichever you choose, keep a dedicated pair of scissors or a rotary cutter for fabric only, and store pins closed so they stay sharp.
- Buy weights in a set so you can cover a full pattern piece at once.
- Replace bent or dull pins; they snag fabric and distort the cut line.
Trade-offs at a glance
- Speed: Weights skip the pinning step entirely, so a full layout goes faster. Pins add a step for every edge you secure. Choose weights when time matters and your pattern is mostly straight lines.
- Fabric safety: Weights never pierce the fabric, so there are no holes to press out. Pins can leave marks on delicate, coated, or loosely woven fabrics. Choose weights for silk, satin, laminates, and any fabric that shows pin marks.
- Control on curves: Weights only hold what they cover, so curved or bias edges can lift between them. Pins hold those edges in place. Choose pins for necklines, armholes, cuffs, and slippery fabrics.
- Setup cost: A usable set of weights costs more upfront than a basic pin box, but weights do not wear out or bend the way pins do. Buy pins first if your budget is tight; add weights as your projects grow.
Crosscut Sewing Co. products that support either method
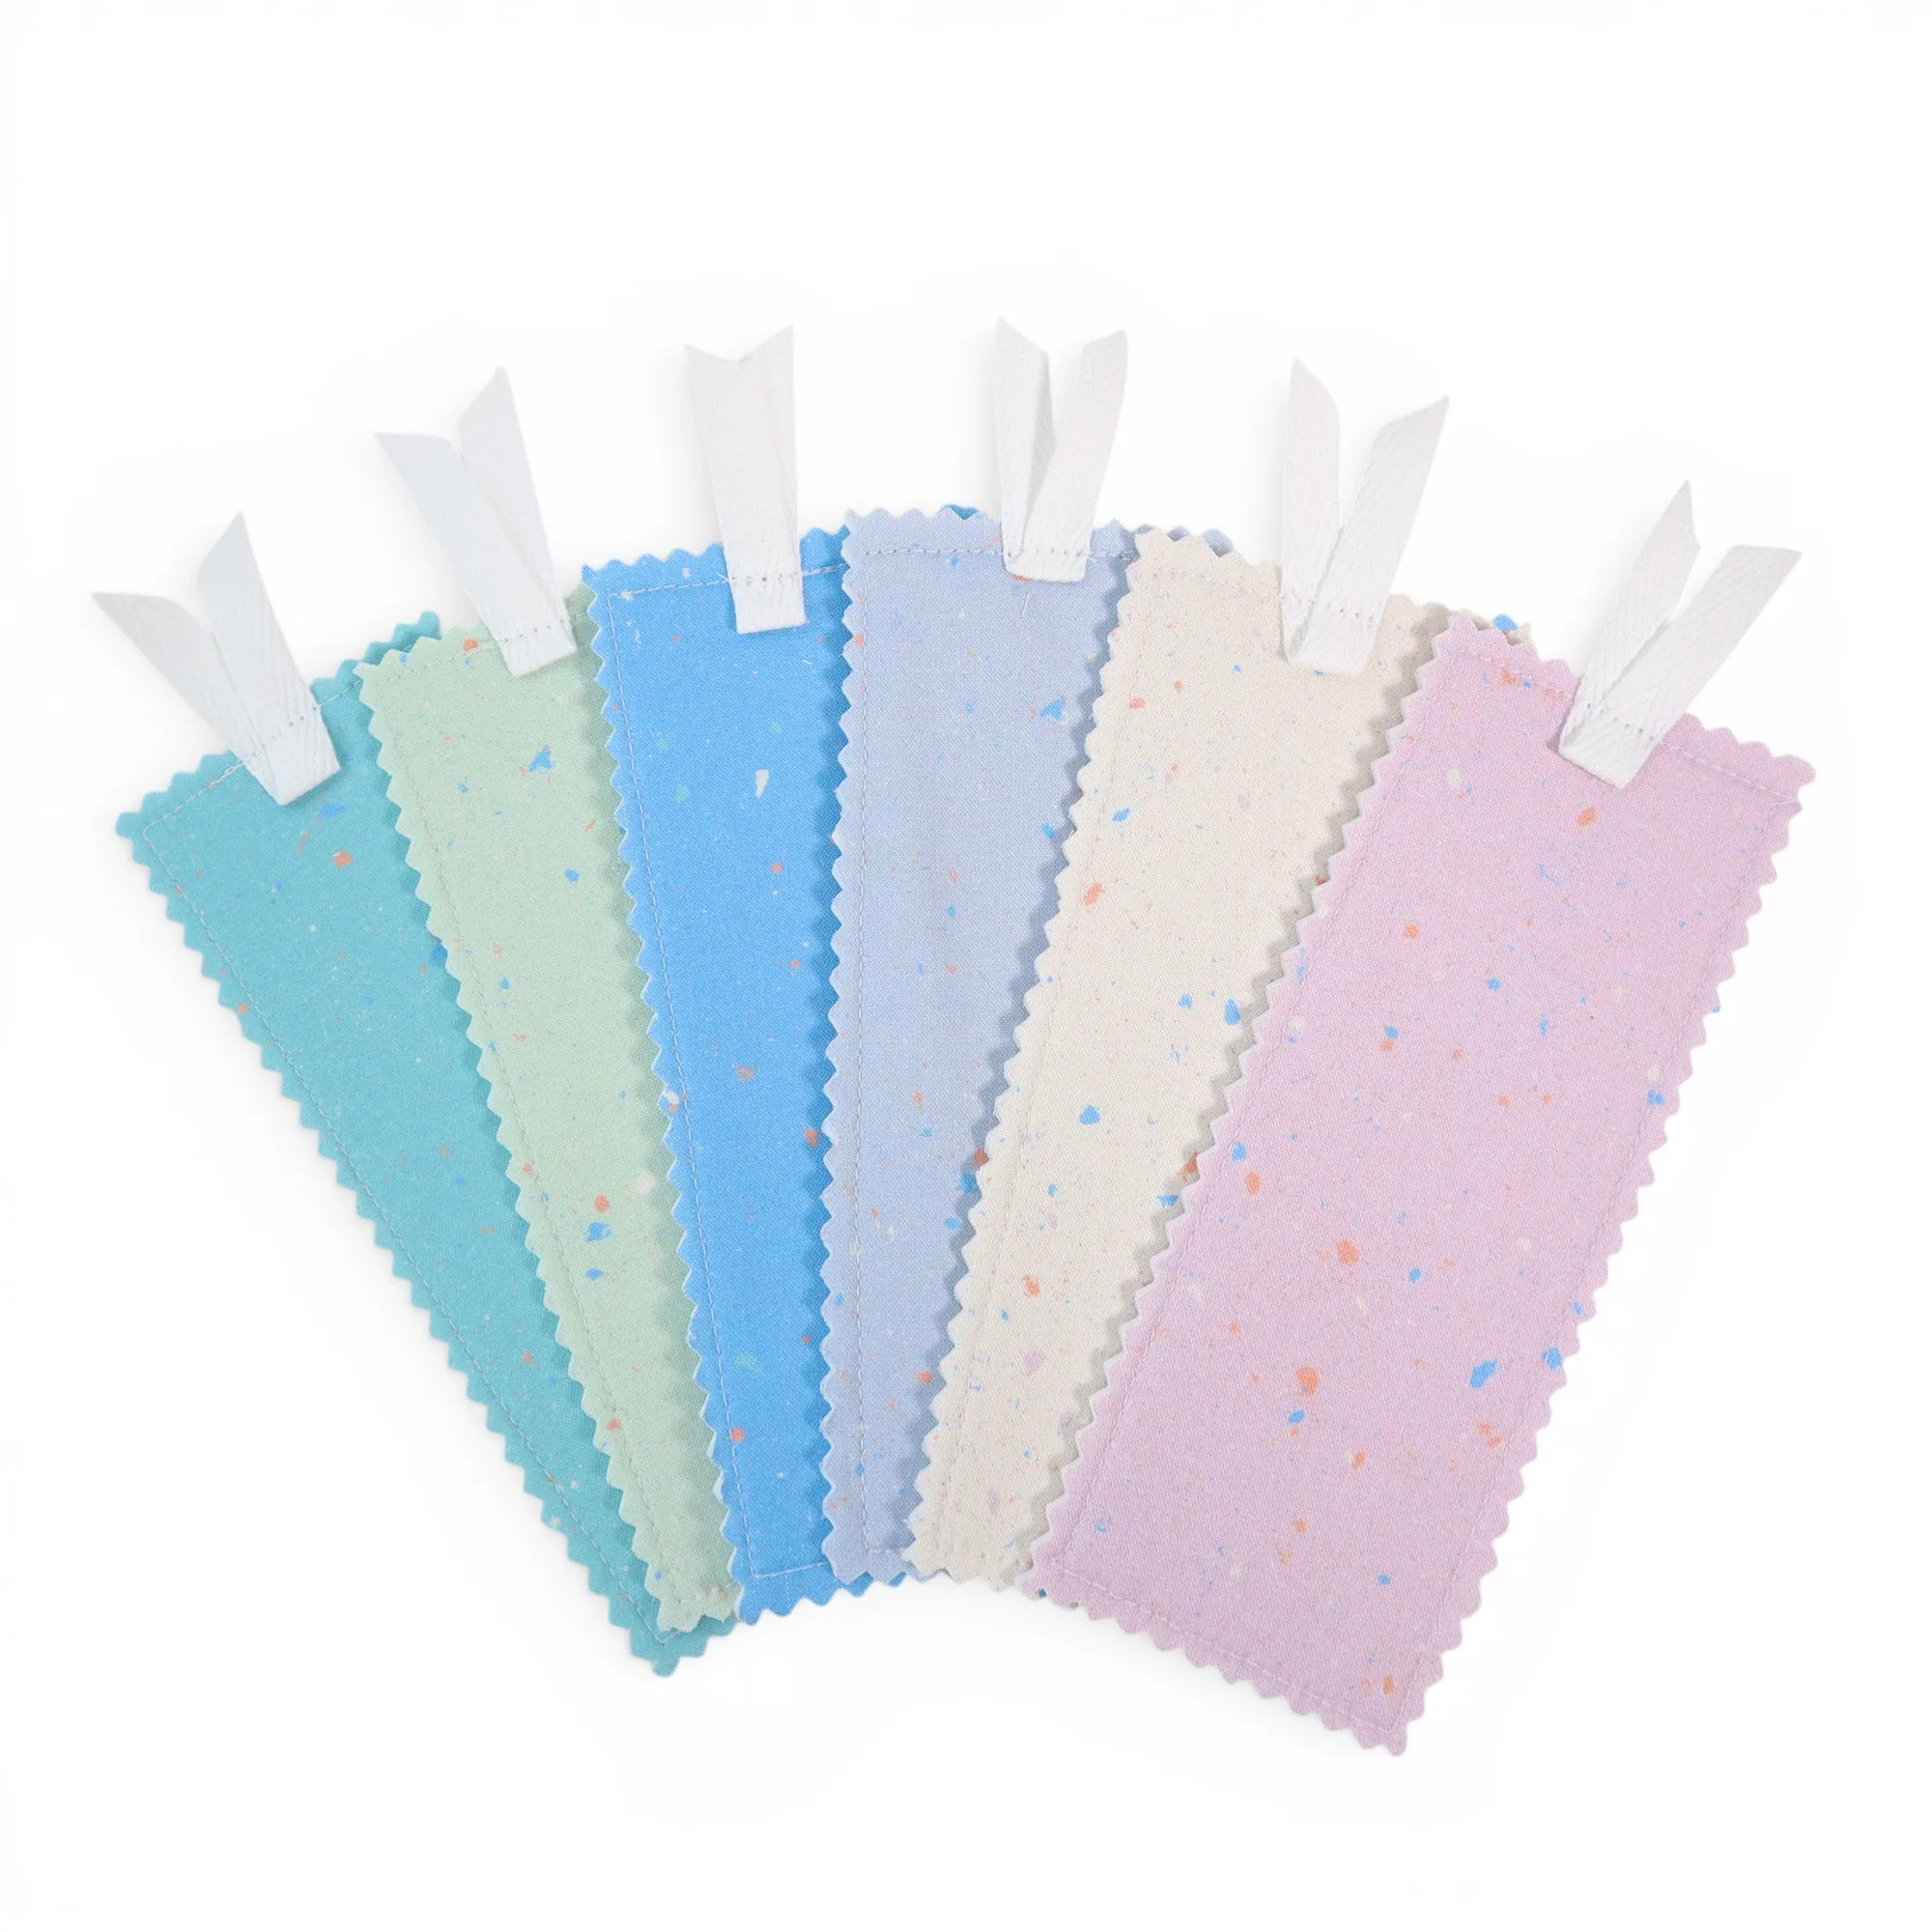
- Bookmark Sewing Kit: Beginner-friendly kit with detailed instructions, a full video tutorial, and fabric included; practice corners and essential skills. A small, low-stakes project is a good place to test whether you prefer weights or pins before investing in either tool.
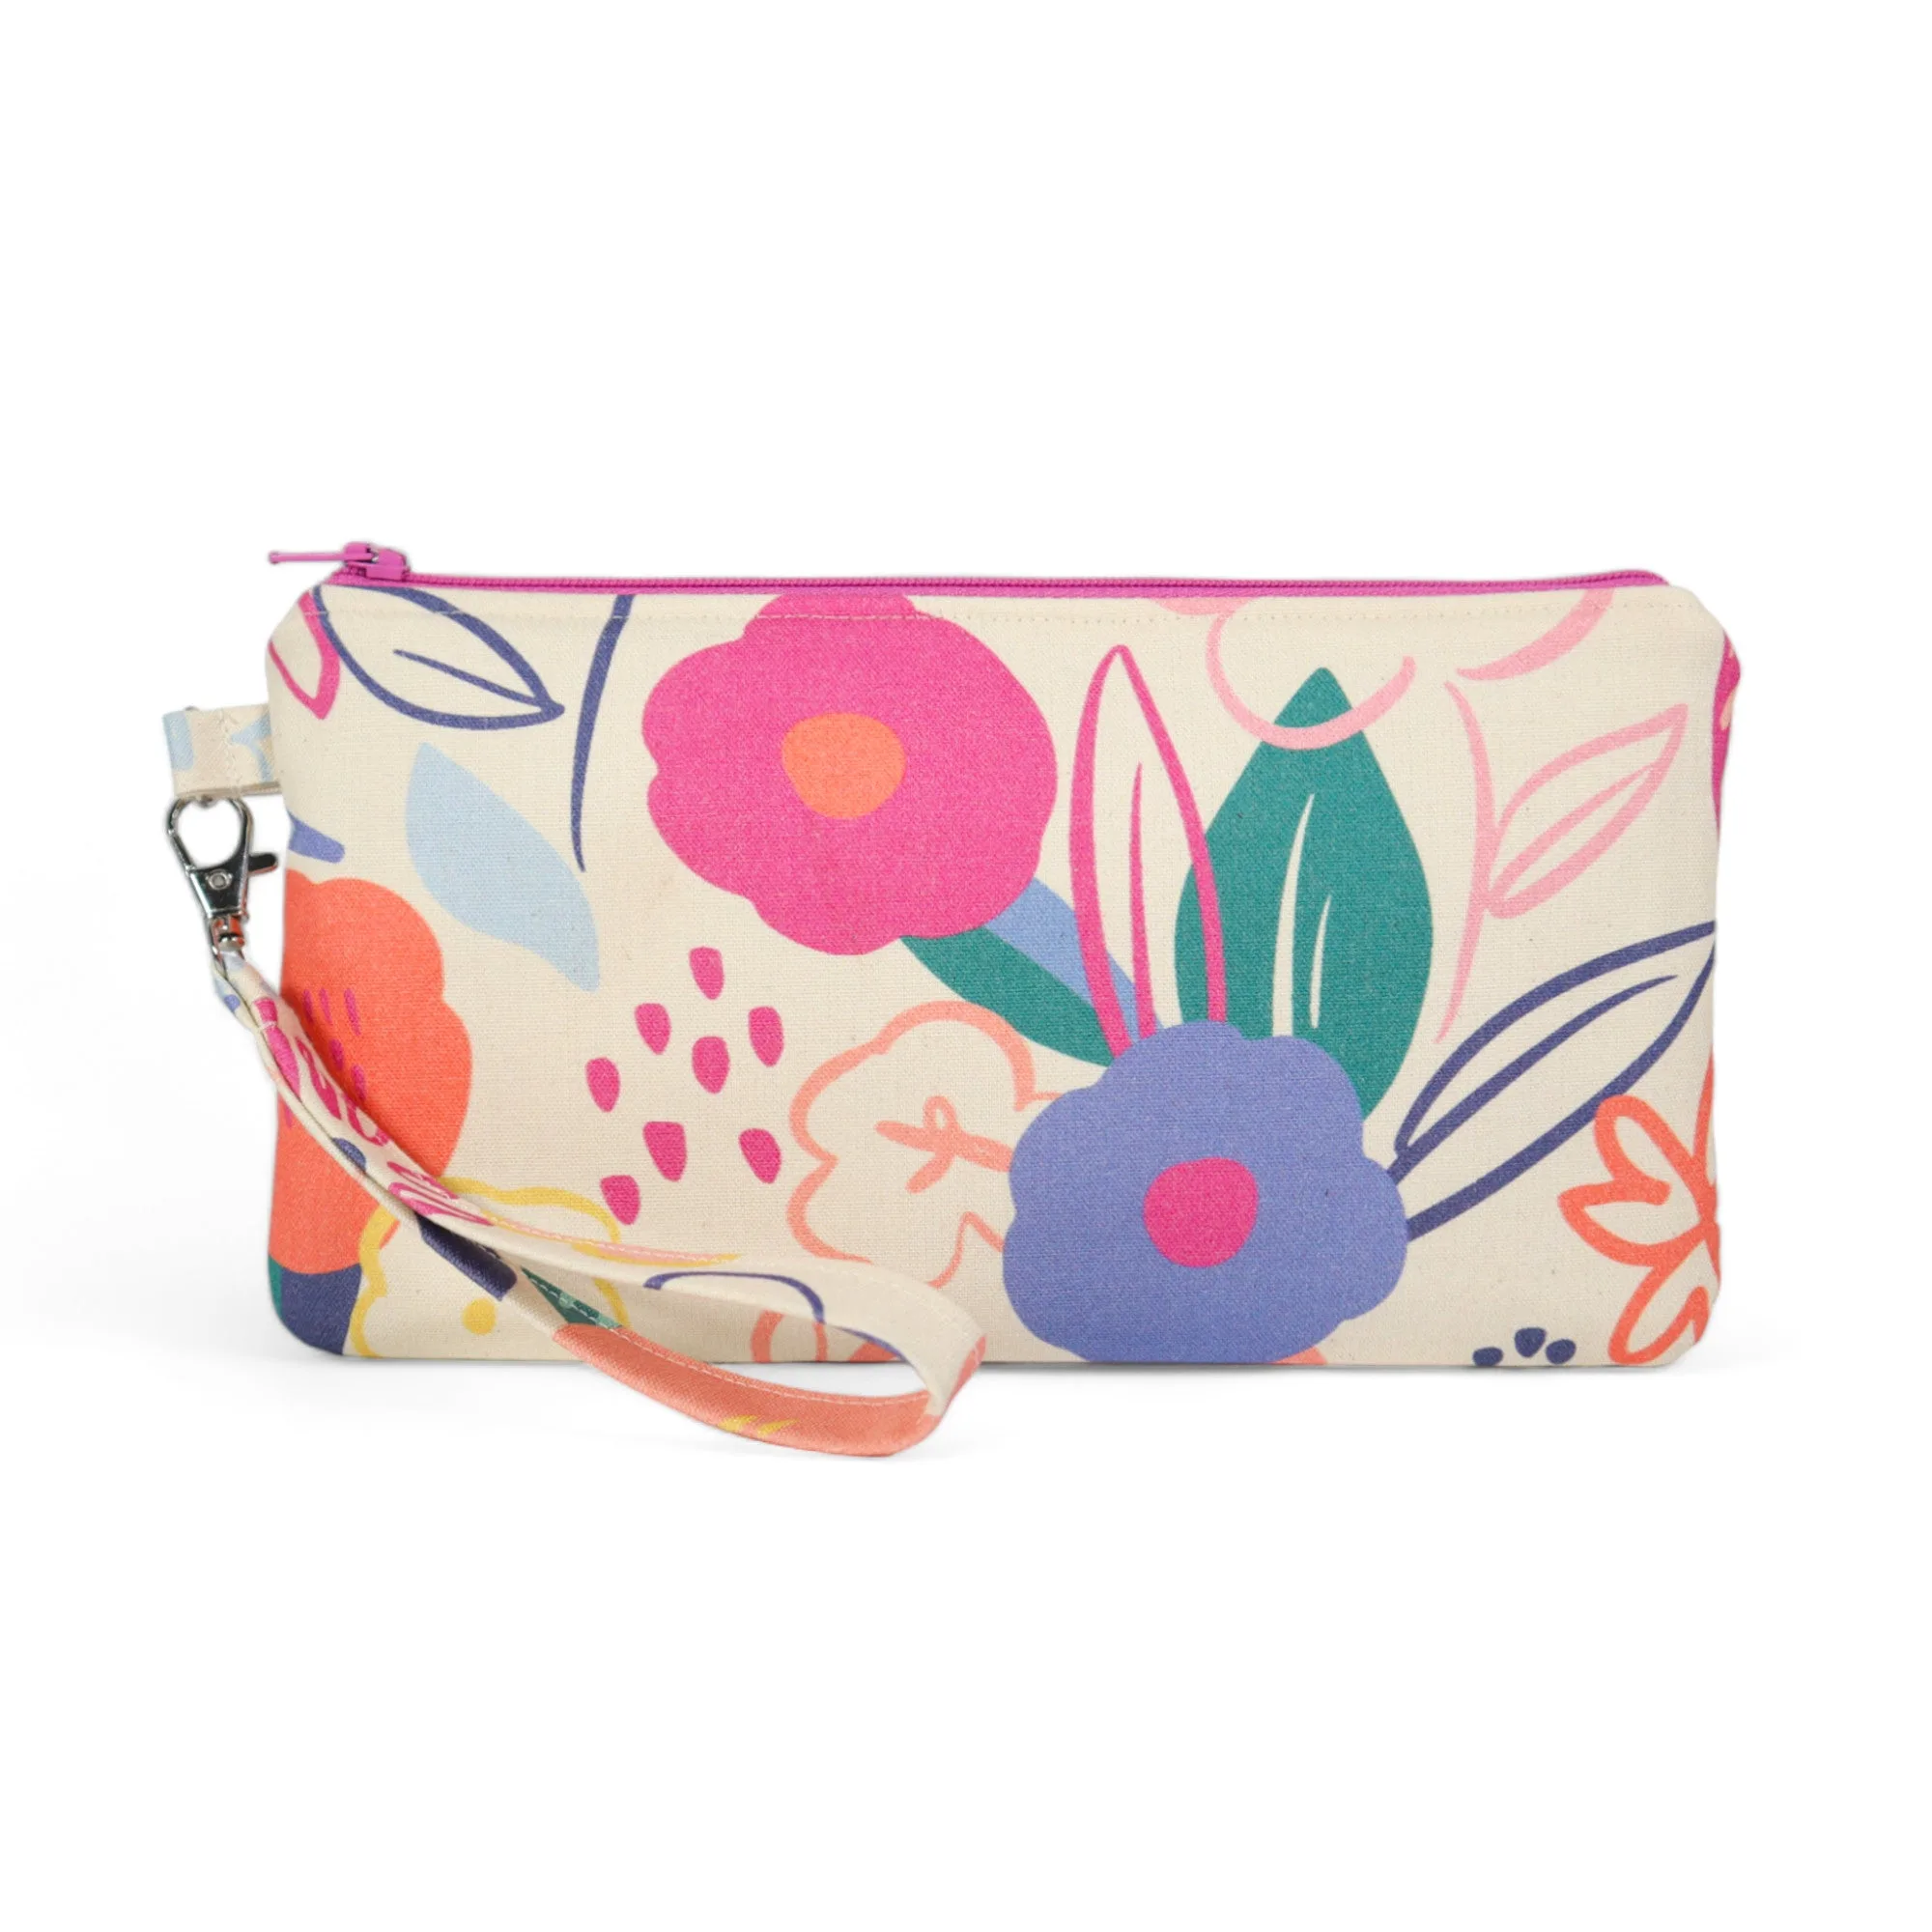
- Wristlet Sewing Kit: Beginner-friendly kit with a card pocket, detachable wrist strap, printable pattern pieces, and a full video tutorial covering cutting and interfacing. The curved wrist strap and pocket edges are exactly the places where pins still beat weights, so this kit lets you practice both methods.
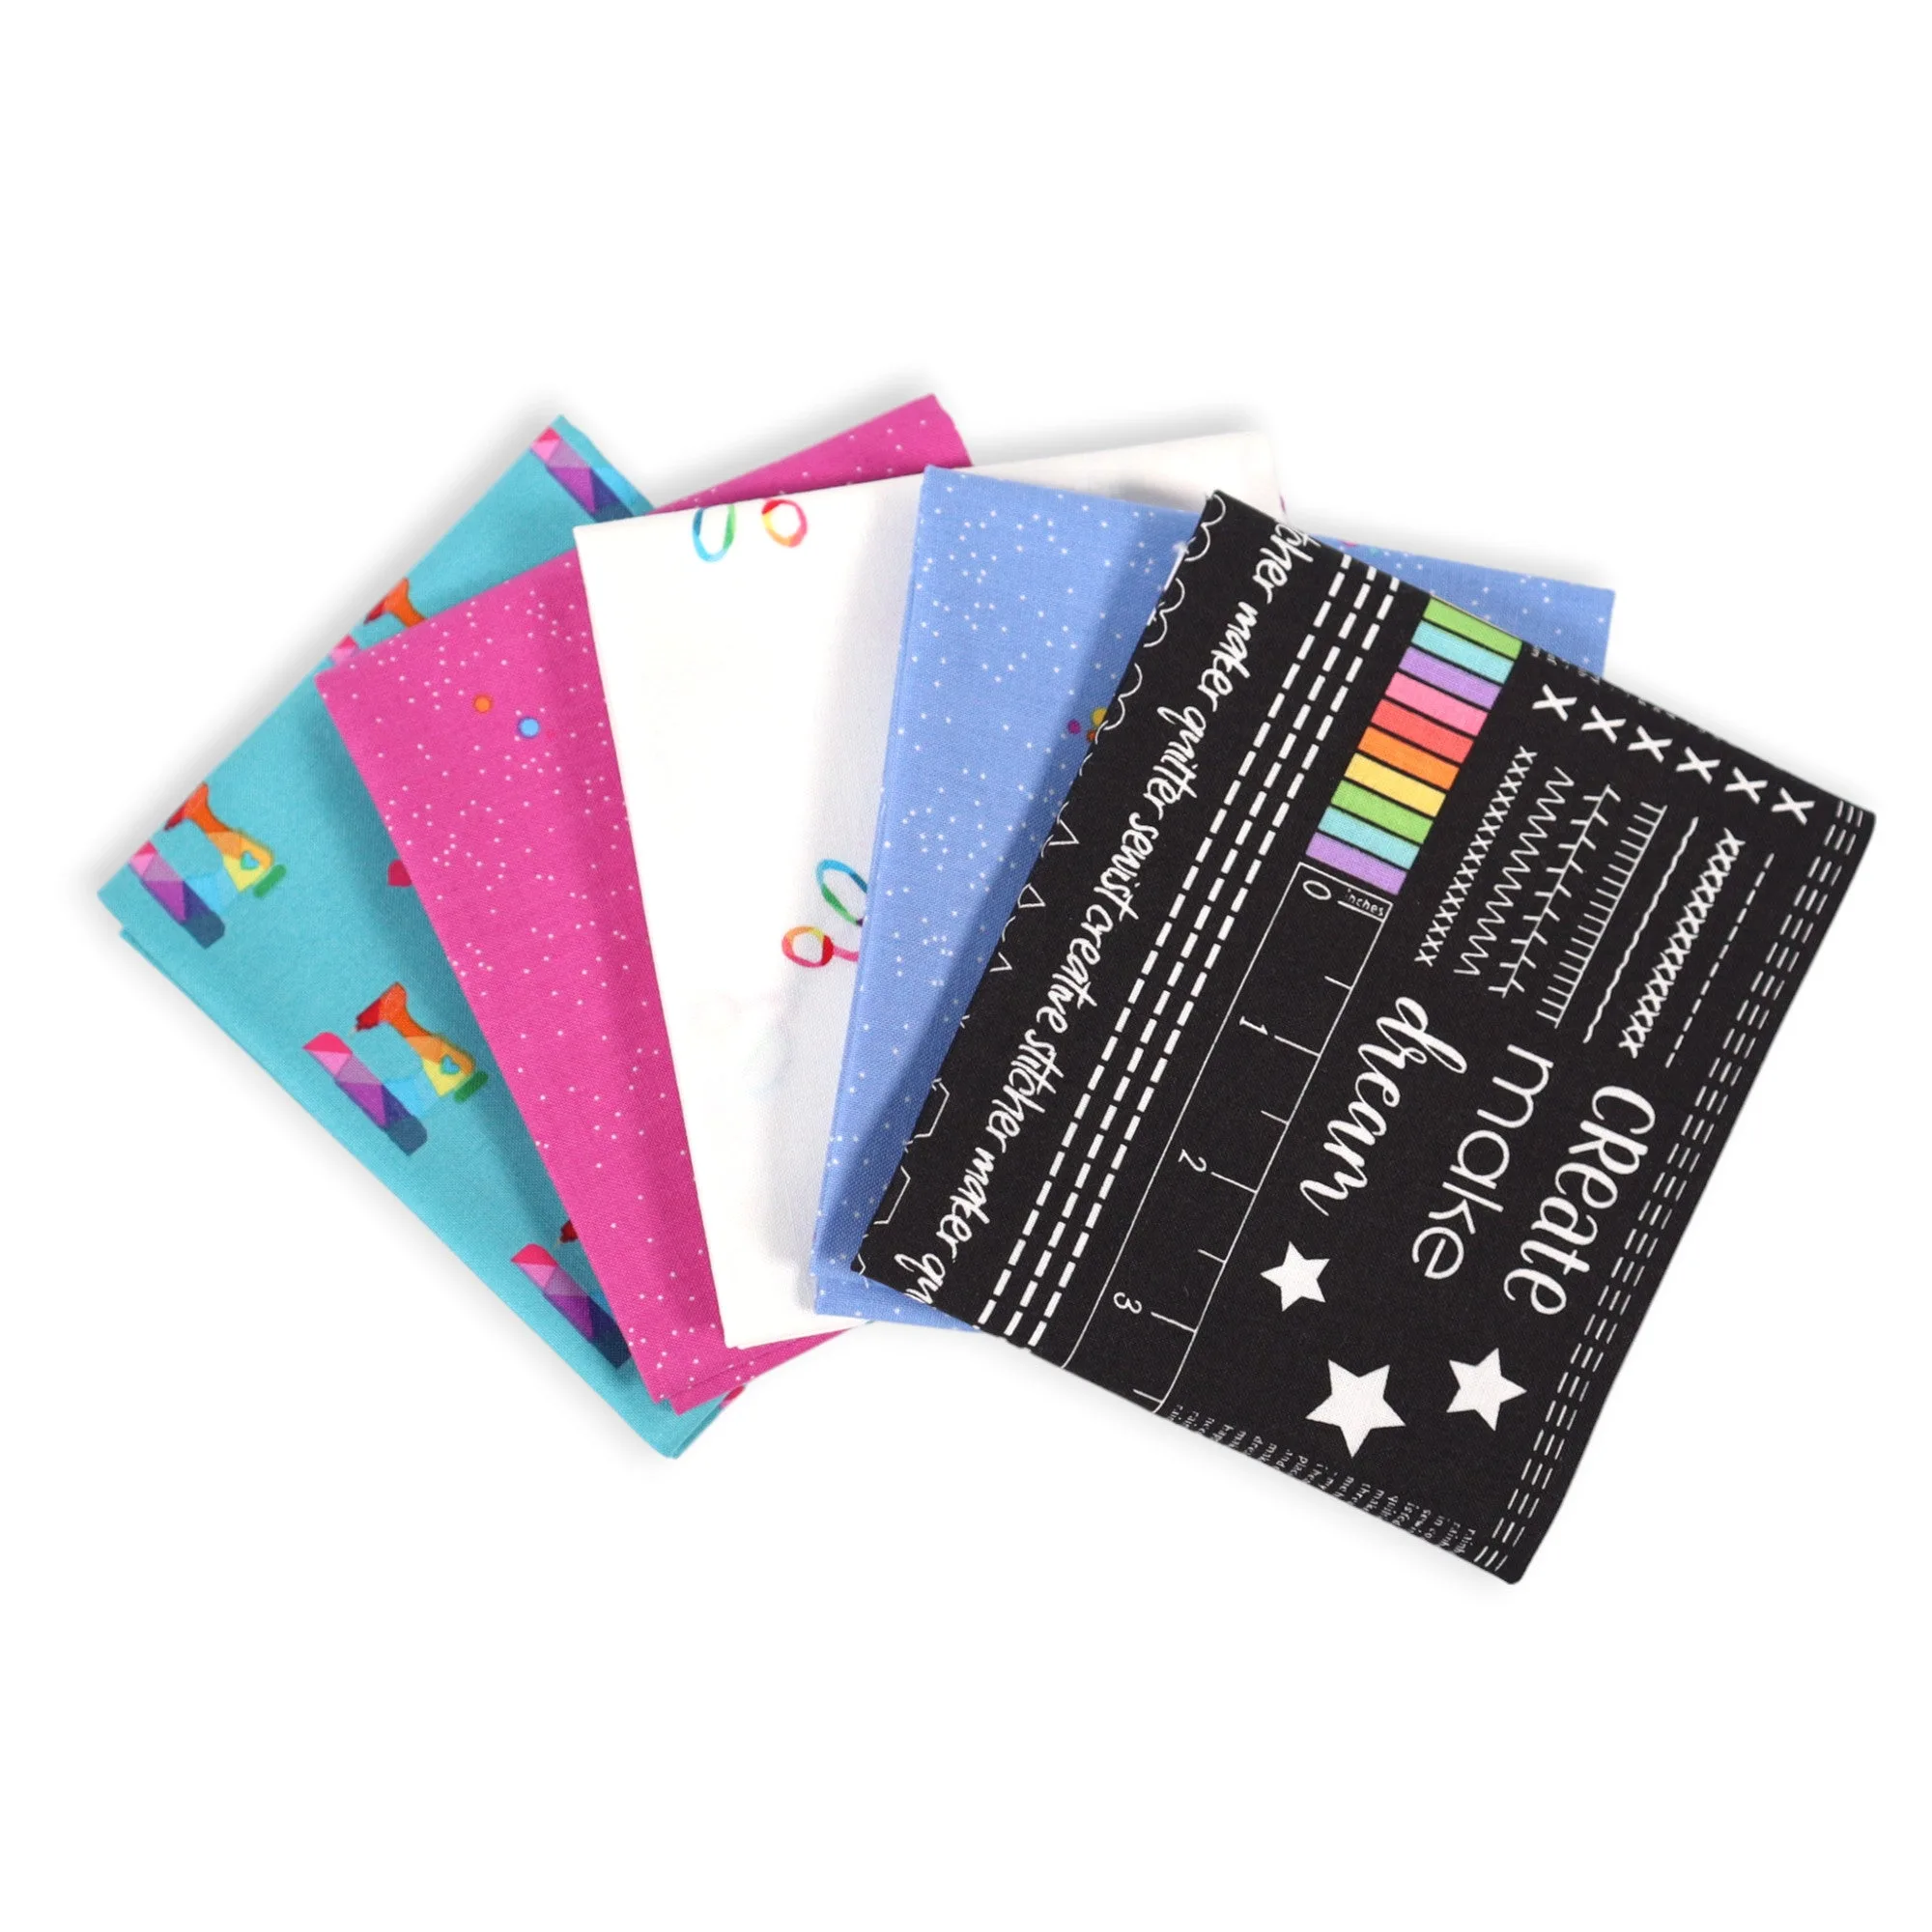
- Make (5) Piece Fat Quarter Bundle: Five pieces of Riley Blake fabric, each approximately 18" x 22", suitable for quilting, gifting, and building your stash. Fat quarters are ideal for practicing weight-based cutting on straight quilt strips without committing to a full garment layout.
- Pale Silver Painter's Palette Solid from Paintbrush Studio Fabrics: 100% cotton, 150GSM lightweight, 44" wide, 62x62 thread count, 3-5% shrinkage, machine wash cold and tumble dry low. A stable, lightweight cotton is the easiest fabric to hold with weights alone, making it a good baseline for comparing the two methods.
Which should you use?
Best for
- Quilters cutting straight strips and squares from stable cotton
- Sewists working with delicate, coated, or print-critical fabrics where pin holes would show
- Anyone cutting many identical pieces who wants a faster layout
Not for
- Curved garment edges in rayon, satin, or slippery synthetics that need pin control
- Very small pattern pieces like collars and cuffs that a weight cannot cover
- Sewists on a tight budget who only need one tool to start
Pattern weights and pins solve the same problem in different ways, and the best cutting fabric tools are usually both. Weight the straight runs, pin the curves, and keep your cutter sharp. Start with the method that matches your fabric, then add the other as your projects demand it.