Quick Answer
For a salon-worthy finish with Pearlfect Nail Decal Stickers, start with clean, dry Glamnetic press-ons. Apply each decal with tweezers, press firmly, and seal with a UV gel top coat for lasting shine and durability.
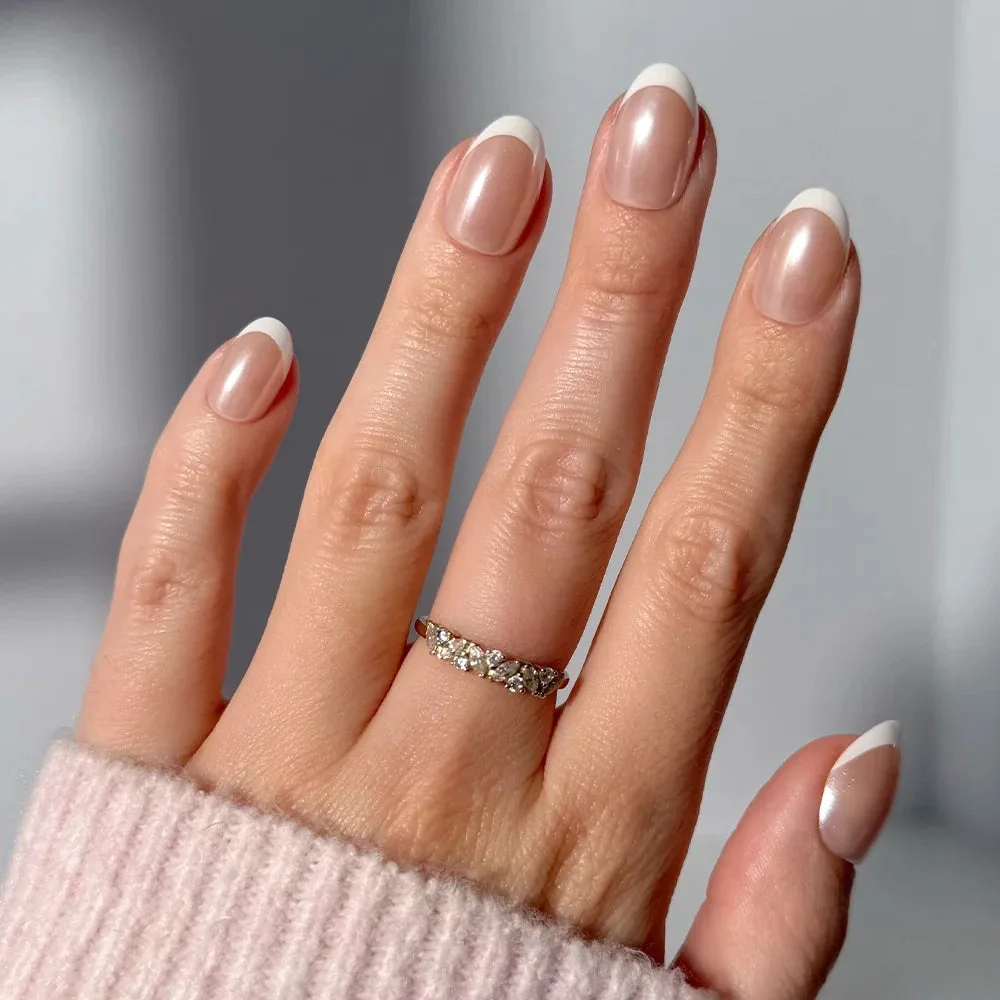
Pearlfect
Why Decal Stickers?
Nail decal stickers offer a quick, mess-free way to add intricate designs to your press-ons. The Pearlfect design brings a 3D elegance that elevates any manicure without the need for artistic skill. They are ideal for customizing a set to match an outfit or occasion, and they work best when paired with a quality top coat.
Step-by-Step Application Guide
- Prepare Your Nails: Start with a clean, dry Glamnetic press-on nail. Ensure there is no dust, oil, or residue. A quick wipe with rubbing alcohol helps the decal adhere. Common mistake: applying decals over lotion or oil – this reduces stickiness.
- Apply the Decal: Using tweezers, carefully peel a Pearlfect decal from its backing. Position it on your nail and press down from the center outward to avoid air bubbles. Use an orange stick to smooth edges. Checkpoint: if the decal wrinkles, lift gently and reapply – do not stretch it.
- Seal with Top Coat: Apply a thin layer of Glamnetic UV Gel Top Coat over the entire nail, covering the decal edges. Cure under a Handheld LED UV Lamp as directed. This locks in the design and adds a glossy, protective finish. Skipping the top coat can cause the decal to peel within a day.
Product Fact
- Pearlfect Nail Decal Stickers: Designed to add a touch of high-society elegance, the Pearlfect 3D nail stickers design makes customizing your press-ons effortless and elevated. For extra shine and long-lasting wear, pair with Glamnetic’s UV Gel Top Coat and cure with our Handheld LED UV Lamp. This means you can achieve a custom, elevated look in minutes, but the decals will last longer and resist chipping when sealed with a UV top coat.