Quick answer
Build your sewing room pegboard around the tools you grab every session: hang rotary cutters and scissors on C-hooks at eye level, and use a long tray for cones, rulers, and small boxes. Place heavy or long items low, keep the layout shallow, and leave space to lift things off the hooks.
Why a pegboard layout beats a crowded table
A sewing table collects tools because every item needs a flat spot. A pegboard changes that by giving each tool a dedicated home on the wall, so you can see what you own and grab it without moving a pile. The trade-off is planning: hooks and trays only help if they sit where your hands naturally reach and if they can hold the item without blocking the next hook.
Pegboard accessories also let you adjust as your sewing changes. A layout that starts with cutters and rulers can later hold cones, pins, or small boxes without replacing the board. That flexibility is the main reason to choose hooks and trays over fixed drawers, but it also means you should start with a small set and add pieces after you see what you actually reach for.
Match the accessory to the tool, not the other way around
C-hooks and trays do different jobs. C-hooks hold items with a handle or loop, such as rotary cutters, scissors, or small rulers with a hole. Trays hold loose or bulky items that would slip off a hook, such as cones, small boxes, or short rulers. If you hang a cone on a hook, it may tip; if you put a rotary cutter in a tray, it takes up space and hides the handle. Choose the accessory by the shape of the tool.
Depth matters as much as shape. A tray that sticks out far from the board can crowd your work area or catch your sleeve. Keep the pegboard shallow enough that you can stand close to it, and reserve deeper trays for items you do not need to reach over.
Place items by reach and weight
Put the tools you use every session at eye level or just below, where you can see and grab them without bending. Reserve the top of the board for light, occasional items, and the bottom for heavier or longer pieces that are safer to lift from below. This is a general ergonomic rule, not a fixed measurement, so adjust to your own height and the height of your table.
Keep the busiest zone uncluttered. If your rotary cutter and seam ripper sit together, leave a gap beside them so you can lift each one off its hook without knocking the other. A pegboard that looks full but forces you to wiggle tools free will soon send you back to the table.
How to lay out your sewing pegboard in 5 steps
- Clear the wall and set the board height: Mount the pegboard so its lower edge sits just above your table or counter, then stand in your normal sewing position and mark the zone between shoulder and waist height. That zone is your primary reach area. Common mistake: mounting the board so high that you have to stretch for everyday tools. Check the height by pretending to grab a rotary cutter; if your elbow lifts above shoulder level, lower the board.
- Group tools by task before hanging anything: Lay your tools on the table in groups: cutting, measuring, pressing, and storing. Decide which group you reach for most and give it the center of the primary zone. Common mistake: hanging tools in the order you unpack them rather than the order you use them. If a group has more than five items, split it into daily and occasional before placing hooks.
- Place C-hooks for handled tools: Attach C-hooks in the center zone for rotary cutters, scissors, and other handled tools. Leave one empty hook-width between items so you can lift each tool straight off. Common mistake: spacing hooks so tightly that removing one tool knocks the next. Test each hook by lifting the tool off and replacing it three times; if it snags, widen the spacing.
- Add a long tray below the hooks: Mount the tray on a lower row, where its depth will not crowd your work surface. Use it for cones, short rulers, or small boxes that would slip off a hook. Common mistake: putting a tray at eye level, where it blocks the view of hooks behind it. Keep the tray's front edge behind the plane of your table edge so you do not bump it while sewing.
- Live with the layout for a week, then adjust: Sew for a few sessions and note which items you reach for most and which hooks stay empty. Move the busy items closer to your dominant hand and remove or relocate anything you have not touched. Common mistake: treating the first layout as final and adding more accessories instead of moving what is already there. If an item falls or snags twice in a week, change its accessory or position rather than adding another hook.
Pegboard accessories that fit this layout
-
C-Hooks Set of 3 1.75x2 inches - Pegboard Accessories: The C-Hooks Set of 3 measures 1.75 x 2 inches and is made to fit Madam Sew Pegboards, with the catalog noting they perfectly fit the brand's rotary cutters. That makes them a natural choice for hanging rotary cutters at eye level, where you can lift one off without moving other tools.
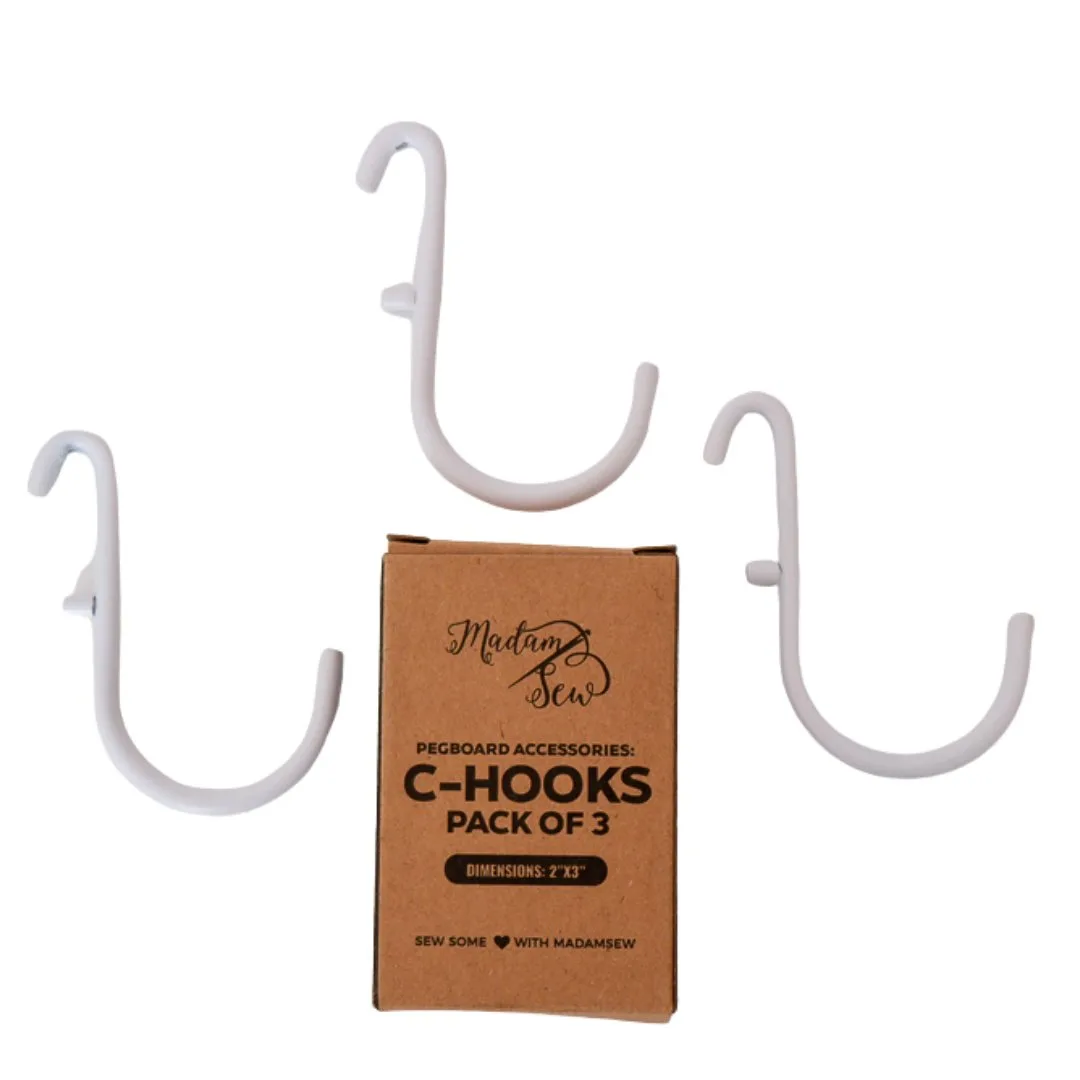
C-Hooks Set of 3 1.75x2 inches - Pegboard Accessories
-
Long Tray - 11x3.5x1 inches - Pegboard Accessories: The Long Tray measures 11 x 3.5 x 1 inches and has two hooks to attach to a pegboard; the catalog lists it for big cones, little rulers, and boxes with pins. Use it on a lower row for bulky or loose items that would slip off a C-hook, keeping the tray's depth away from your main cutting zone.
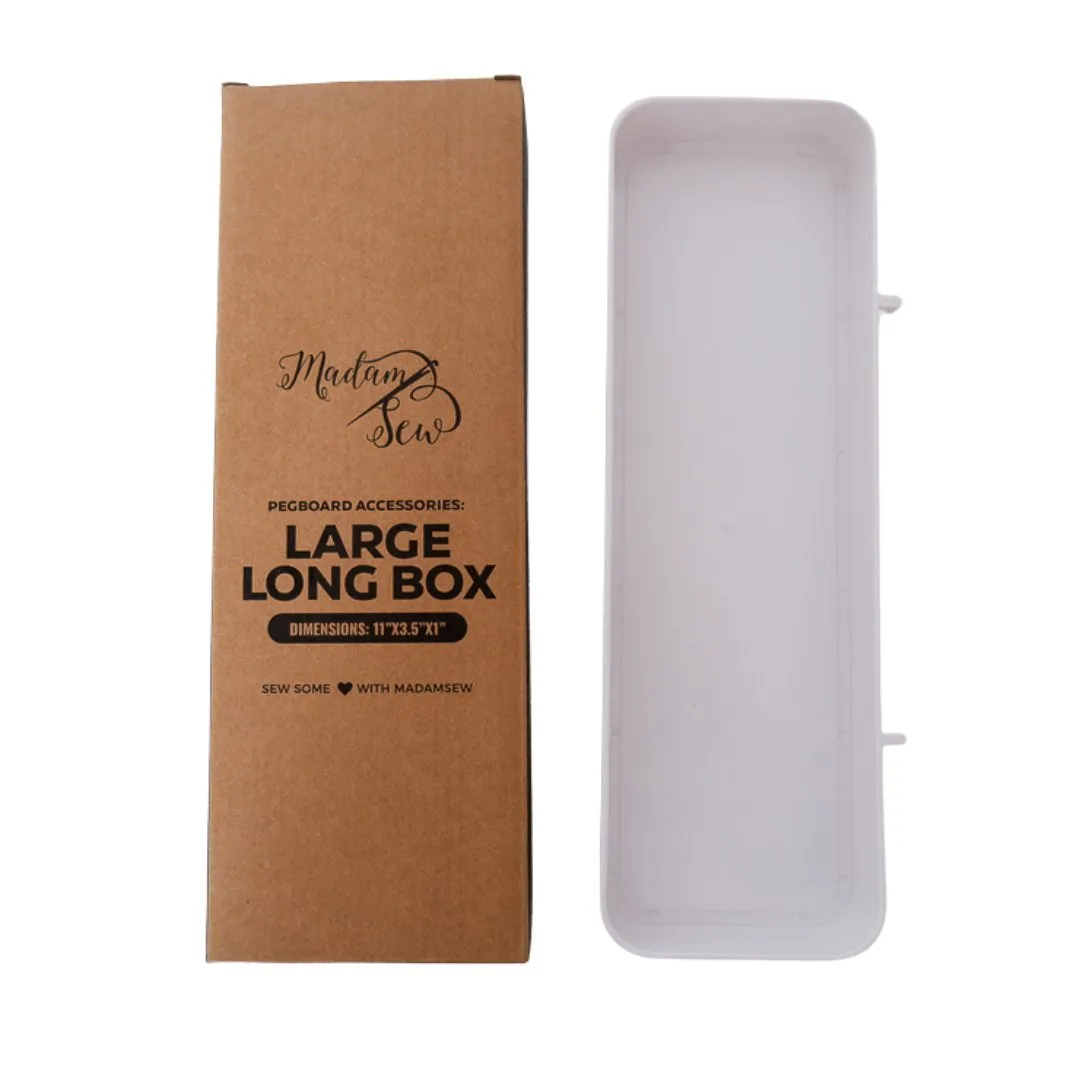
Long Tray - 11x3.5x1 inches - Pegboard Accessories