Quick answer
Build your PLAMATEA kit in this order: wash and sort parts, assemble the torso and limbs, test-fit joints, add panel lines, then pose and display. For Muse Body Ichika and MX-chan, keep face plates aside until the body is fully snapped together to avoid smudges and lost parts.
Why part count and pre-painted faces change your build plan
PLAMATEA kits are articulated bishojo plastic models, so the build is less about armor layering and more about clean joints and protected face plates. Muse Body Ichika has roughly 70 main-body parts, which keeps assembly approachable, while MX-chan includes three face plates with articulated eyes and some pre-painted hand parts. Treat those pre-painted pieces as the most fragile parts of the kit: handle them last, and keep your fingers off the painted surfaces.
When to panel line and when to skip it
Panel lining adds depth to seams and molded details, but it is optional on a kit this small. If you line, do it after the main body is assembled and before you attach face plates, so you can see where the lines actually fall. Use a fine-tip liner or thinned paint and wipe excess promptly; avoid flooding joints, because excess liner can seep into articulation points and weaken the snap fit.
Step-by-step PLAMATEA build order
- Wash and sort parts: Give runners a quick lukewarm rinse and dry them fully, then sort parts by the manual's numbered bags. Common mistake: skipping the wash leaves mold release on the plastic, which can weaken paint and panel liner adhesion. Dry every part completely before snapping; moisture traps can cloud clear parts.
- Snap the torso and limbs first: Follow the manual and assemble the torso, arms, and legs before attaching any face plates. Test-fit each joint by moving it through its range once. Common mistake: forcing a joint that feels tight can stress the peg, so trim flash lightly if needed. If a joint resists, stop and check the part orientation before applying more pressure.
- Add panel lines selectively: After the body is together, apply fine panel lines to molded seams and recesses, then wipe excess before it dries. Common mistake: lining every seam makes a small kit look busy and can highlight imperfect fits. Work one section at a time and let liner cure before handling the kit.
- Attach face plates and pre-painted hands last: Handle face plates by the edges and press them into place with even pressure. For MX-chan, set the articulated eyes before final assembly so you can adjust gaze direction without removing the plate. Common mistake: touching painted surfaces with bare fingers leaves oils that dull the finish. Keep a clean microfiber cloth nearby to wipe fingerprints without solvent.
- Pose with the stand and check balance: Use the included articulated stand for dynamic poses, and adjust joints gradually rather than at the limit. Common mistake: leaving a limb at full extension for long periods can loosen the joint over time. Return the kit to a neutral pose if you store it for long periods.
Product facts
-
PLAMATEA Muse Body: Ichika - Bikini Ver. A Type Model Kit: Main body features approximately 70 parts and stands about 145mm tall, with fully articulated joints. The moderate part count keeps a first build manageable, and the articulation means you can adjust the pose after assembly without disassembling.
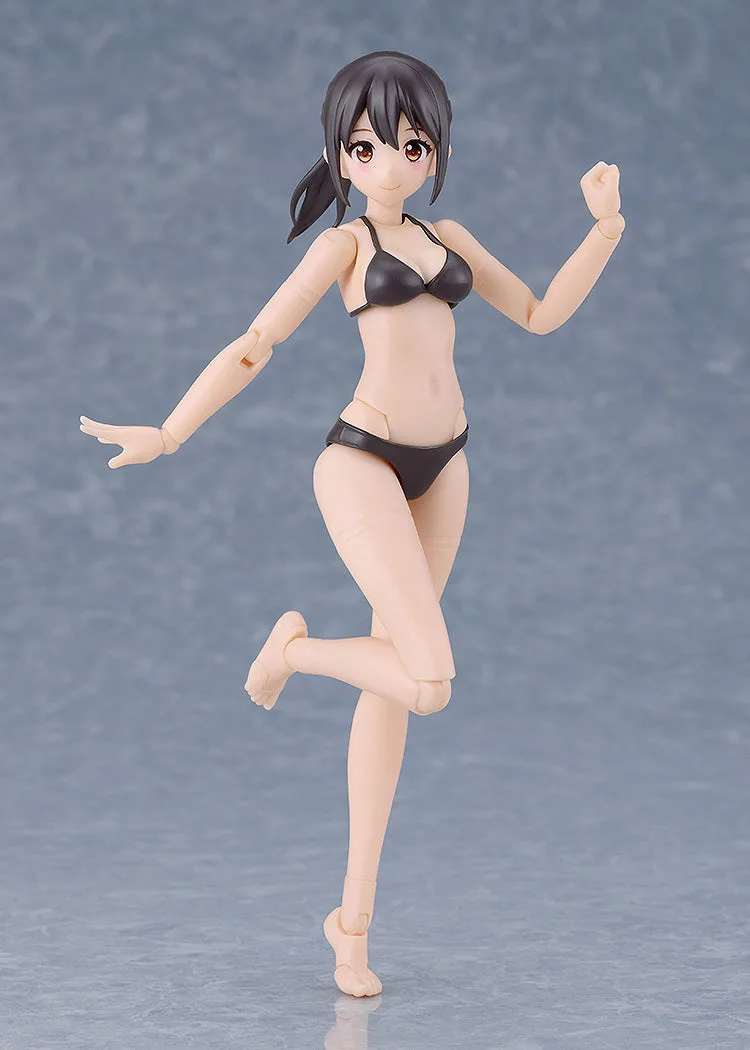
PLAMATEA Muse Body: Ichika - Bikini Ver. A Type Model Kit
-
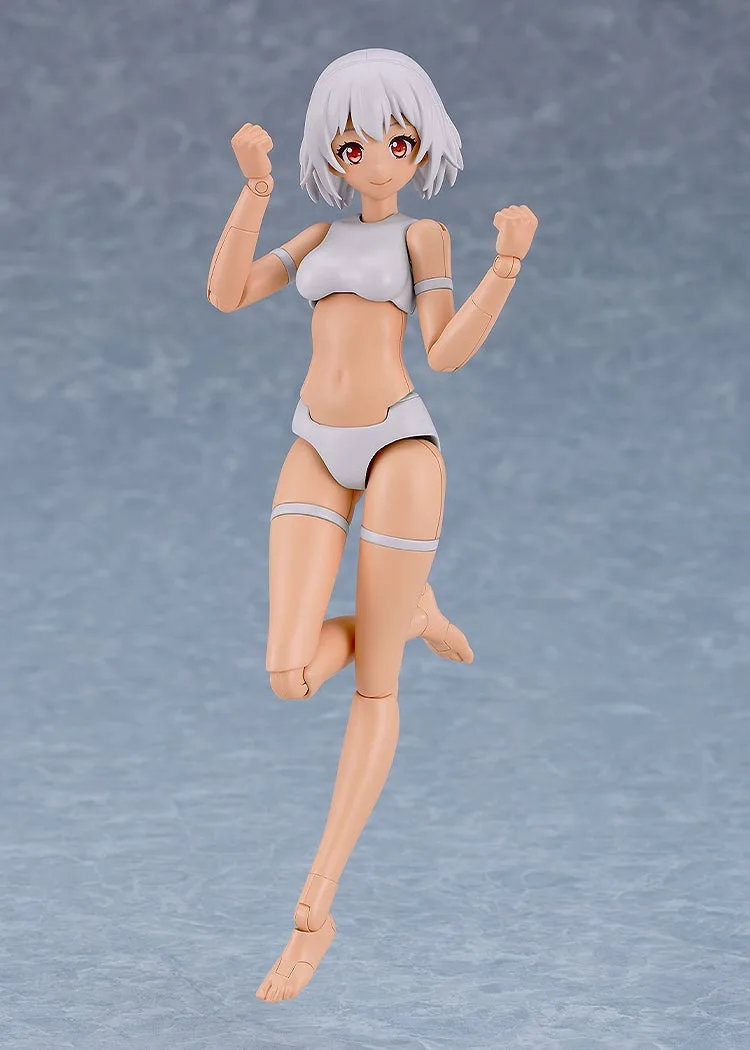
PLAMATEA MX-chan Model Kit: Includes three face plates with articulated eyes, plus a case that transforms into a railgun and an articulated stand. The extra face plates and stand give you display options out of the box, but the articulated eyes need careful handling during assembly.

PLAMATEA MX-chan Model Kit