Quick answer
To set up a safe playground border and ramp, start by measuring your play area, then install the border securely with spikes, and finally integrate the ramp for wheelchair access. This guide walks you through each step.
Why proper installation matters for safety
A well-installed playground border keeps loose fill materials like wood chips or sand contained, reducing trip hazards. Adding a ramp ensures children using wheelchairs or other mobility devices can enter and exit the play area independently. Skipping steps or using the wrong hardware can lead to shifting borders or unstable ramps, which create safety risks.
Choosing between a rubber curb and a ramp
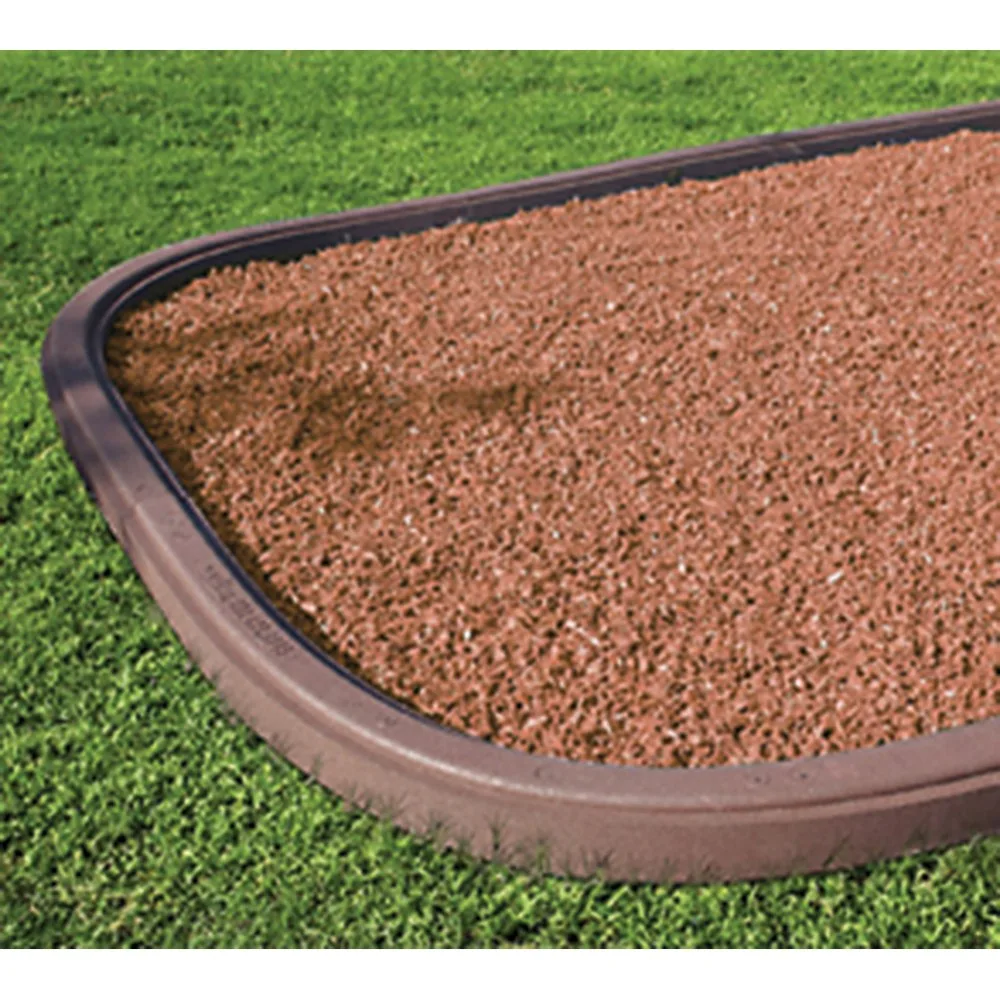
For areas where you need a low-profile transition, a rubber curb like the 6' x 6" Rubber Curb works well for defining edges and preventing erosion. However, it does not provide the same accessible slope as a dedicated ADA/Wheelchair Accessible Ramp. If your goal is full wheelchair access, a ramp is essential. The ramp works with both 8-inch and 12-inch borders, making it a flexible choice for existing setups.
Step-by-step installation guide
- Measure and mark the play area perimeter: Use a measuring tape and marking paint to outline where the border will go. Ensure the shape allows for smooth corners and enough space for play equipment. Common mistake: making the area too small for safe play or too large for the available fill material. Double-check that your border length matches the perimeter measurement before cutting or assembling.
- Install the playground border sections: Place each border section along the marked line. For the 8"H Playground Border, use the included spike to secure it into the ground. Align the Surfacing Guide to keep the top edge level. Common mistake: not driving the spike deep enough, which allows the border to shift over time. Check that each section is level and firmly anchored before moving to the next.
- Position and secure the wheelchair ramp: Set the ADA/Wheelchair Accessible Ramp over the border at the desired entry point. Ensure it overlaps evenly on both sides. Secure it according to the manufacturer's instructions (typically with stakes or brackets). Common mistake: placing the ramp on uneven ground, which creates a tipping hazard. Test the ramp with a wheelchair or stroller to confirm a smooth transition before finalizing.
- Add fill material and compact: Pour playground mulch, sand, or rubber fill inside the bordered area. Spread evenly and compact lightly to create a stable surface. Common mistake: using too much fill that spills over the border or too little that leaves hard spots. Maintain a fill depth that is at least 6 inches below the top of the border for safety.
- Inspect and maintain regularly: Check borders and ramp for shifting, loose hardware, or wear every few months. Re-tighten spikes and clear debris from the ramp surface. Common mistake: neglecting maintenance until a problem becomes a safety hazard. Set a seasonal reminder to inspect all components, especially after heavy rain or snow.
Products mentioned
-
8"H Playground Border: Size: 48"L x 4"W x 8"H. Comes with a patent pending Surfacing Guide, spike, and 10-year limited warranty. Made of 100% recycled materials. The included spike and guide make installation straightforward, and the recycled material is durable for outdoor use.
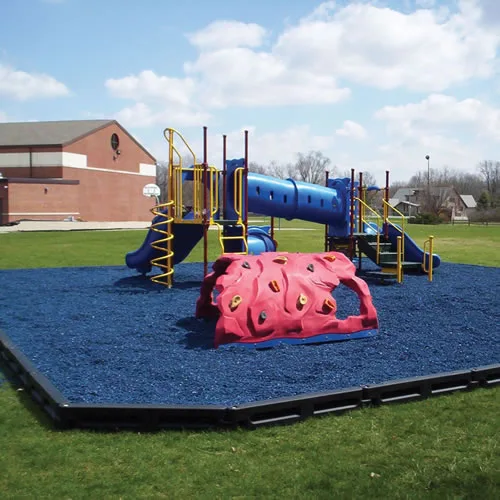
8"H Playground Border
-
ADA/Wheelchair Accessible Ramp: Compatible with 8-inch and 12-inch playground borders. Designed for smooth, safe access over borders for wheelchairs and mobility devices. This ramp fits common border heights, so you don't need to replace existing borders to add accessibility.
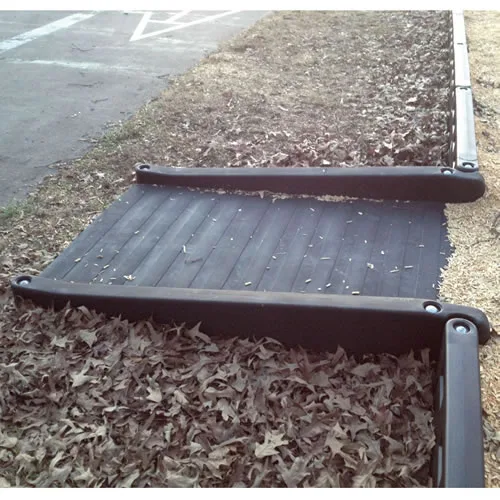
ADA/Wheelchair Accessible Ramp
-
Rubber Curb - 6' x 6": Size: 6'L x 6"H. Stackable, interlocking, with pre-drilled holes and hardware included. Maintenance free and made from 100% recycled tires. The interlocking design and included hardware simplify installation, and the recycled tire material resists weathering without upkeep.