Quick answer
Assembling a wooden playhouse is a weekend project if you prepare the site, gather the right tools, and follow the step-by-step instructions carefully. Avoid common pitfalls like skipping ground leveling or overtightening screws.
Why Site Preparation Matters More Than You Think
A level, stable foundation is the single most important factor for your playhouse's longevity. An uneven base can cause doors to stick, panels to warp, and safety hazards over time. Clear the area of rocks and roots, then use a level to check the ground in multiple directions. For wooden playhouses like the Scenic Heights or Aspen, a 2-3 inch layer of compacted gravel or play sand works well for drainage and stability.
Tool Checklist: What You Actually Need
Most wooden playhouse kits include hardware but expect to provide your own tools. At minimum, you'll need a cordless drill with Phillips and hex bits, a rubber mallet, a carpenter's level, a tape measure, and a step ladder. A socket wrench set also helps for tightening bolts without stripping them. Avoid using impact drivers for screws—they can easily over-torque and crack the wood.
Step-by-Step Playhouse Assembly Guide
- 1. Read the Manual Completely: Before opening any hardware bags, read the entire instruction manual. Identify all parts and hardware bags against the parts list. Lay out pieces by step number to avoid confusion. Missing a step early can force disassembly later—check the manual twice.
- 2. Build the Floor Frame on the Prepared Site: Assemble the floor frame on your leveled surface. Use a carpenter's level to check it's perfectly flat before attaching the floorboards. Shim under the frame if needed—do not rely on the ground to correct itself. A warped floor makes every subsequent step harder; invest time here.
- 3. Assemble Wall Panels on the Ground: Lay wall panels flat on a clean, soft surface (grass or a tarp) and attach studs, windows, and trim before standing them up. This is safer than assembling walls vertically. Use a scrap piece of wood under the panel to protect the finish from rocks.
- 4. Raise Walls and Secure to Floor: With a helper, lift each wall panel onto the floor frame. Attach with the provided brackets or screws. Check each wall for plumb (vertical level) before moving to the next. Slightly loosen screws if a wall is out of plumb—forcing it can split the wood.
- 5. Install Roof Panels and Shingles: Attach roof trusses and panels according to the manual. For shingles, start at the bottom edge and overlap each row. Use a staple gun or roofing nails as specified. Work from a ladder or scaffold, not the roof itself, to avoid damaging the shingles.
- 6. Add Doors, Trim, and Accessories Last: Install doors, windows, and play features like slides or shelves after the structure is fully assembled and stable. Adjust hinges and latches to ensure smooth operation. If a door sticks, check the structure is square—adjusting the hinge alone won't fix a racked frame.
Product Facts
-
Scenic Heights Wooden Playhouse: The Scenic Heights Wooden Playhouse features two entrances including saloon doors with a flat step entry. The flat step entry makes assembly slightly easier because you don't have to align a complex door frame; just ensure the step is level and secure.

Scenic Heights Wooden Playhouse
-
Aspen Playhouse: The Aspen Playhouse is crafted from natural cedar wood with a working Dutch door. Cedar is naturally rot-resistant and lightweight, which simplifies lifting panels during assembly, but the Dutch door requires careful hinge alignment to operate smoothly.
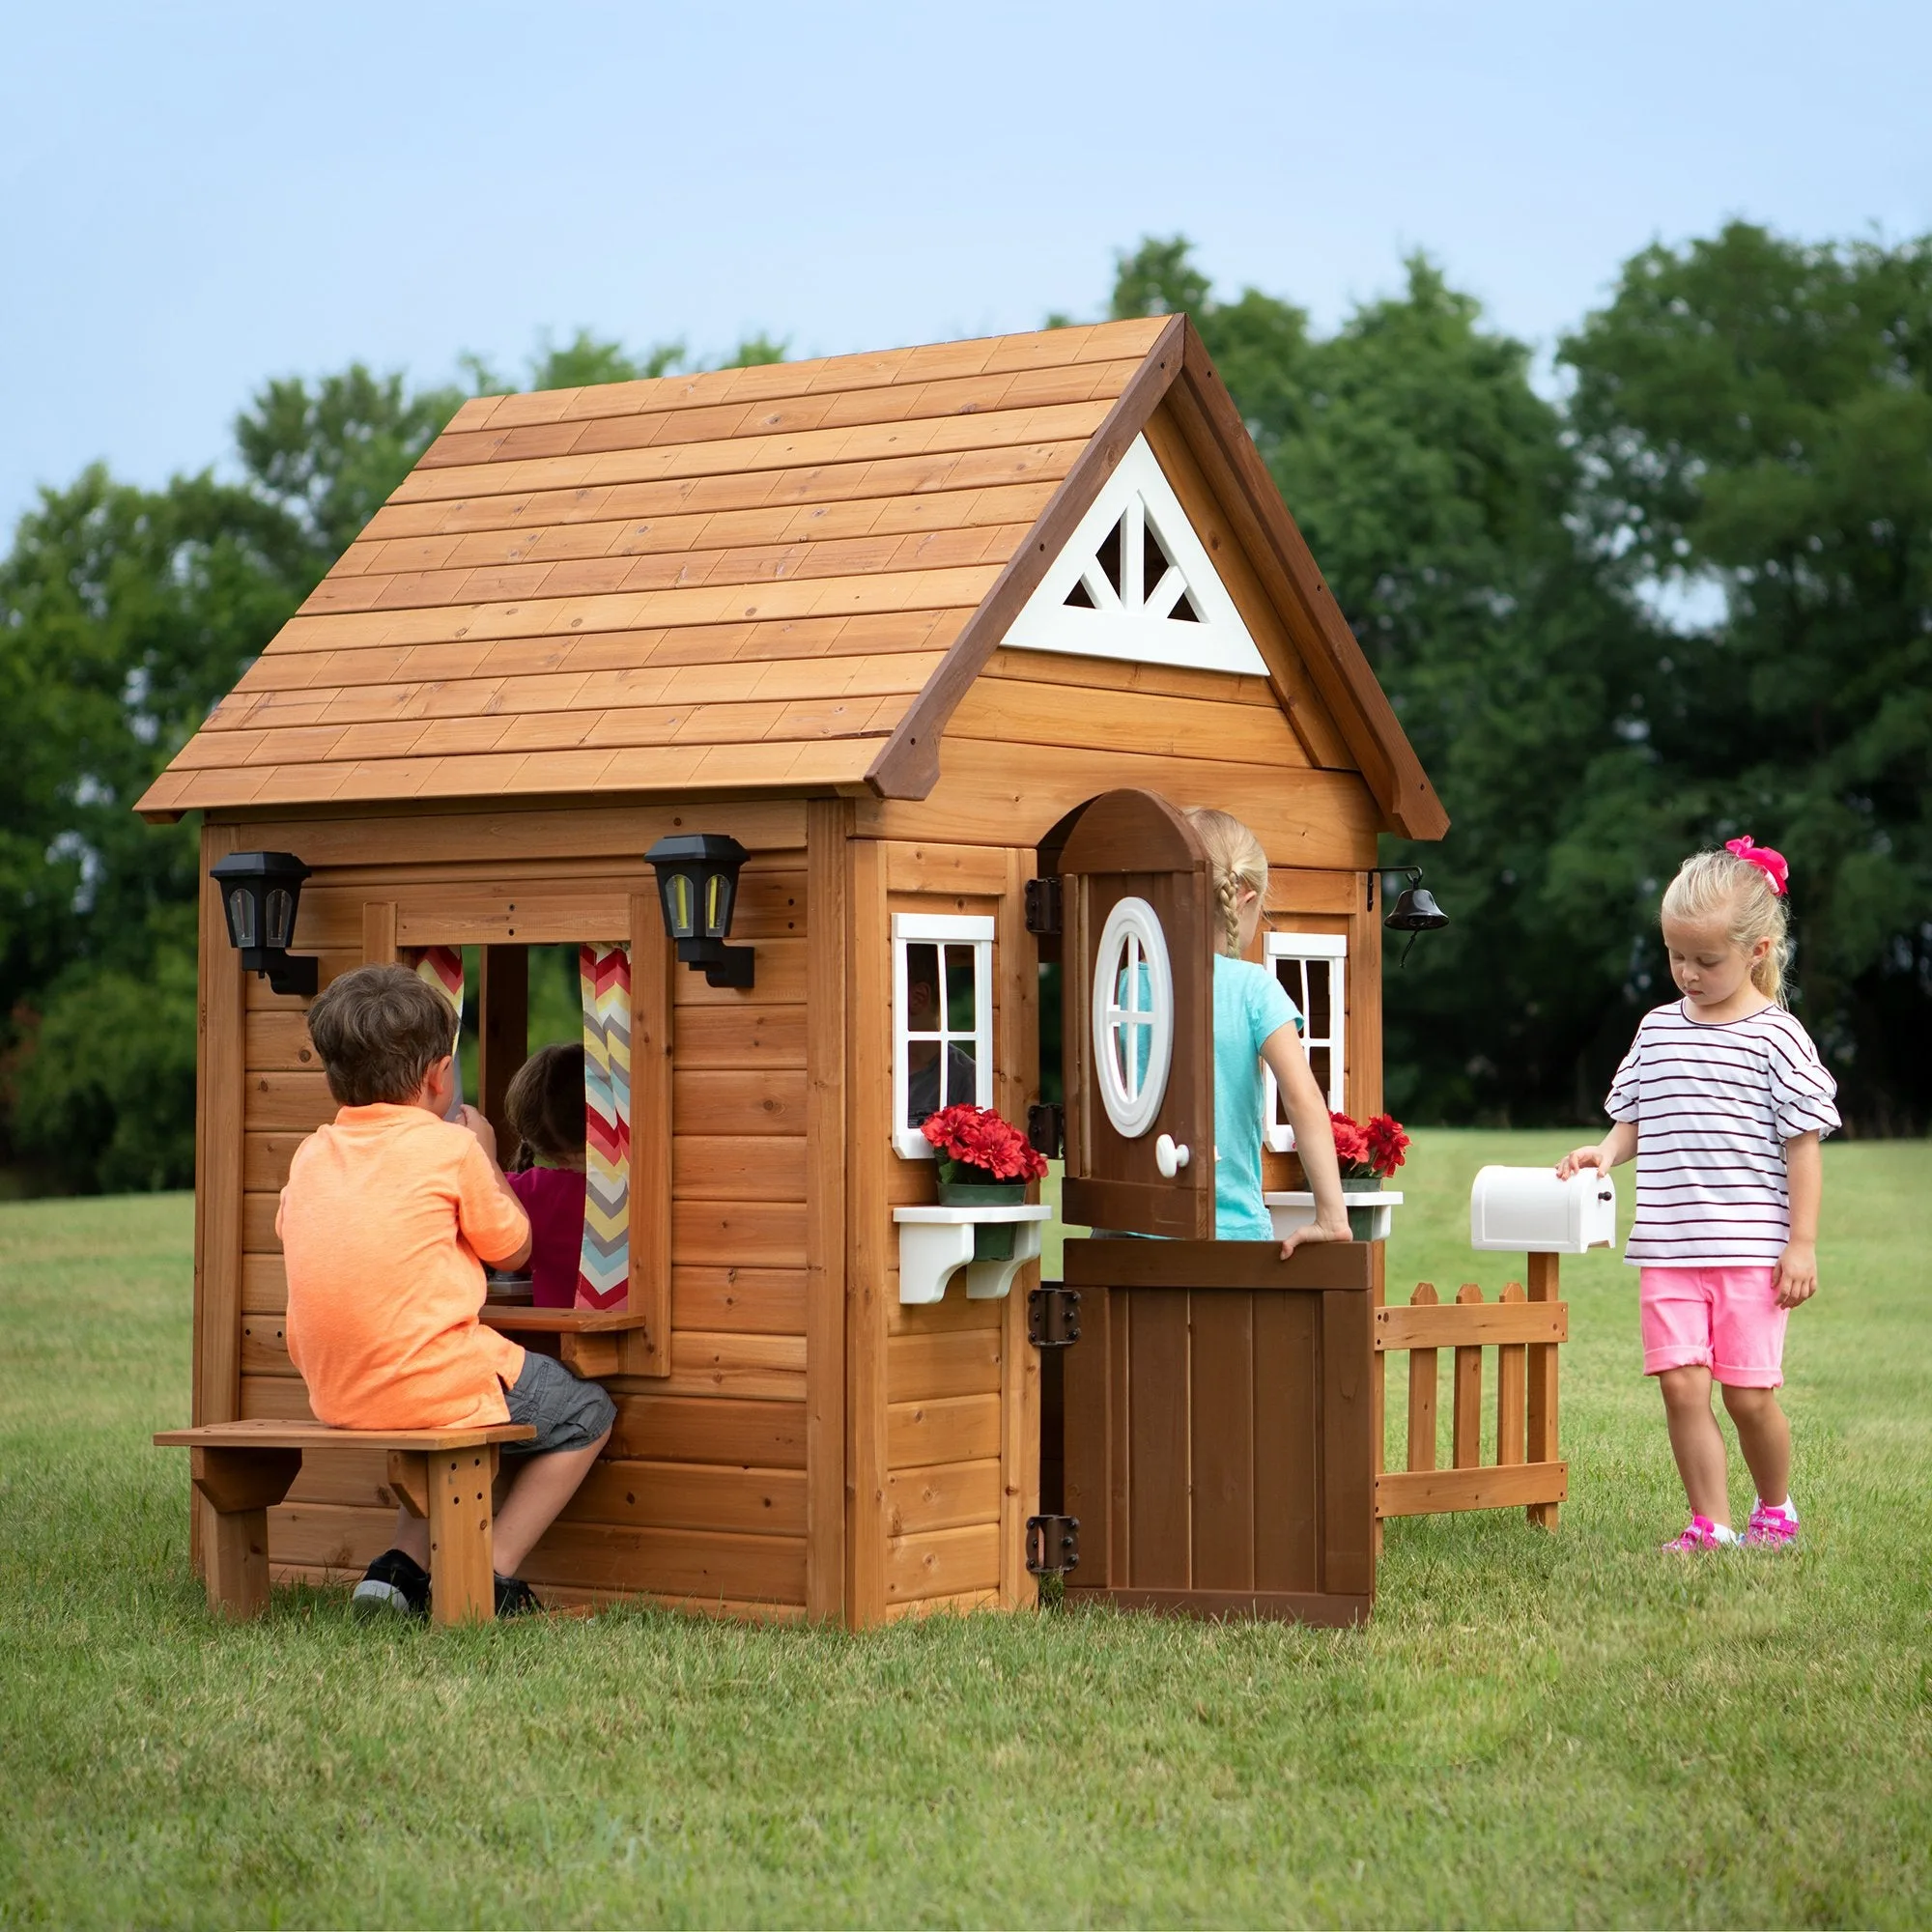
Aspen Playhouse