Quick Answer
Start by prewashing your fabrics in warm water with a color catcher to prevent bleeding. Then press with a heavy starch or Best Press to stabilize the grain, which is critical for Sew Kind of Wonderful's curved piecing. Finally, square up your fat quarters or yardage before cutting to ensure accurate 6-1/2" x 6-3/4" petals and sashing strips.
Why Fabric Prep Matters for Curved Piecing
Curved quilting patterns like Posh Penelope rely on precise 6-1/2" x 6-3/4" focus fabric petals and 5" x 10" background sashing pieces. If your fabric is not properly stabilized, the bias edges of those curved seams can stretch out of shape, making it nearly impossible to match points. Prewashing removes excess dye and shrinkage, while starching adds the body needed to handle gentle curves without distortion.
Sew Kind of Wonderful patterns are designed to be "use your stash" friendly, so you may be pulling from fabrics of different ages and fiber contents. A consistent prep routine ensures every piece behaves the same way under your sewing machine foot.
Tools You'll Need for Fabric Prep
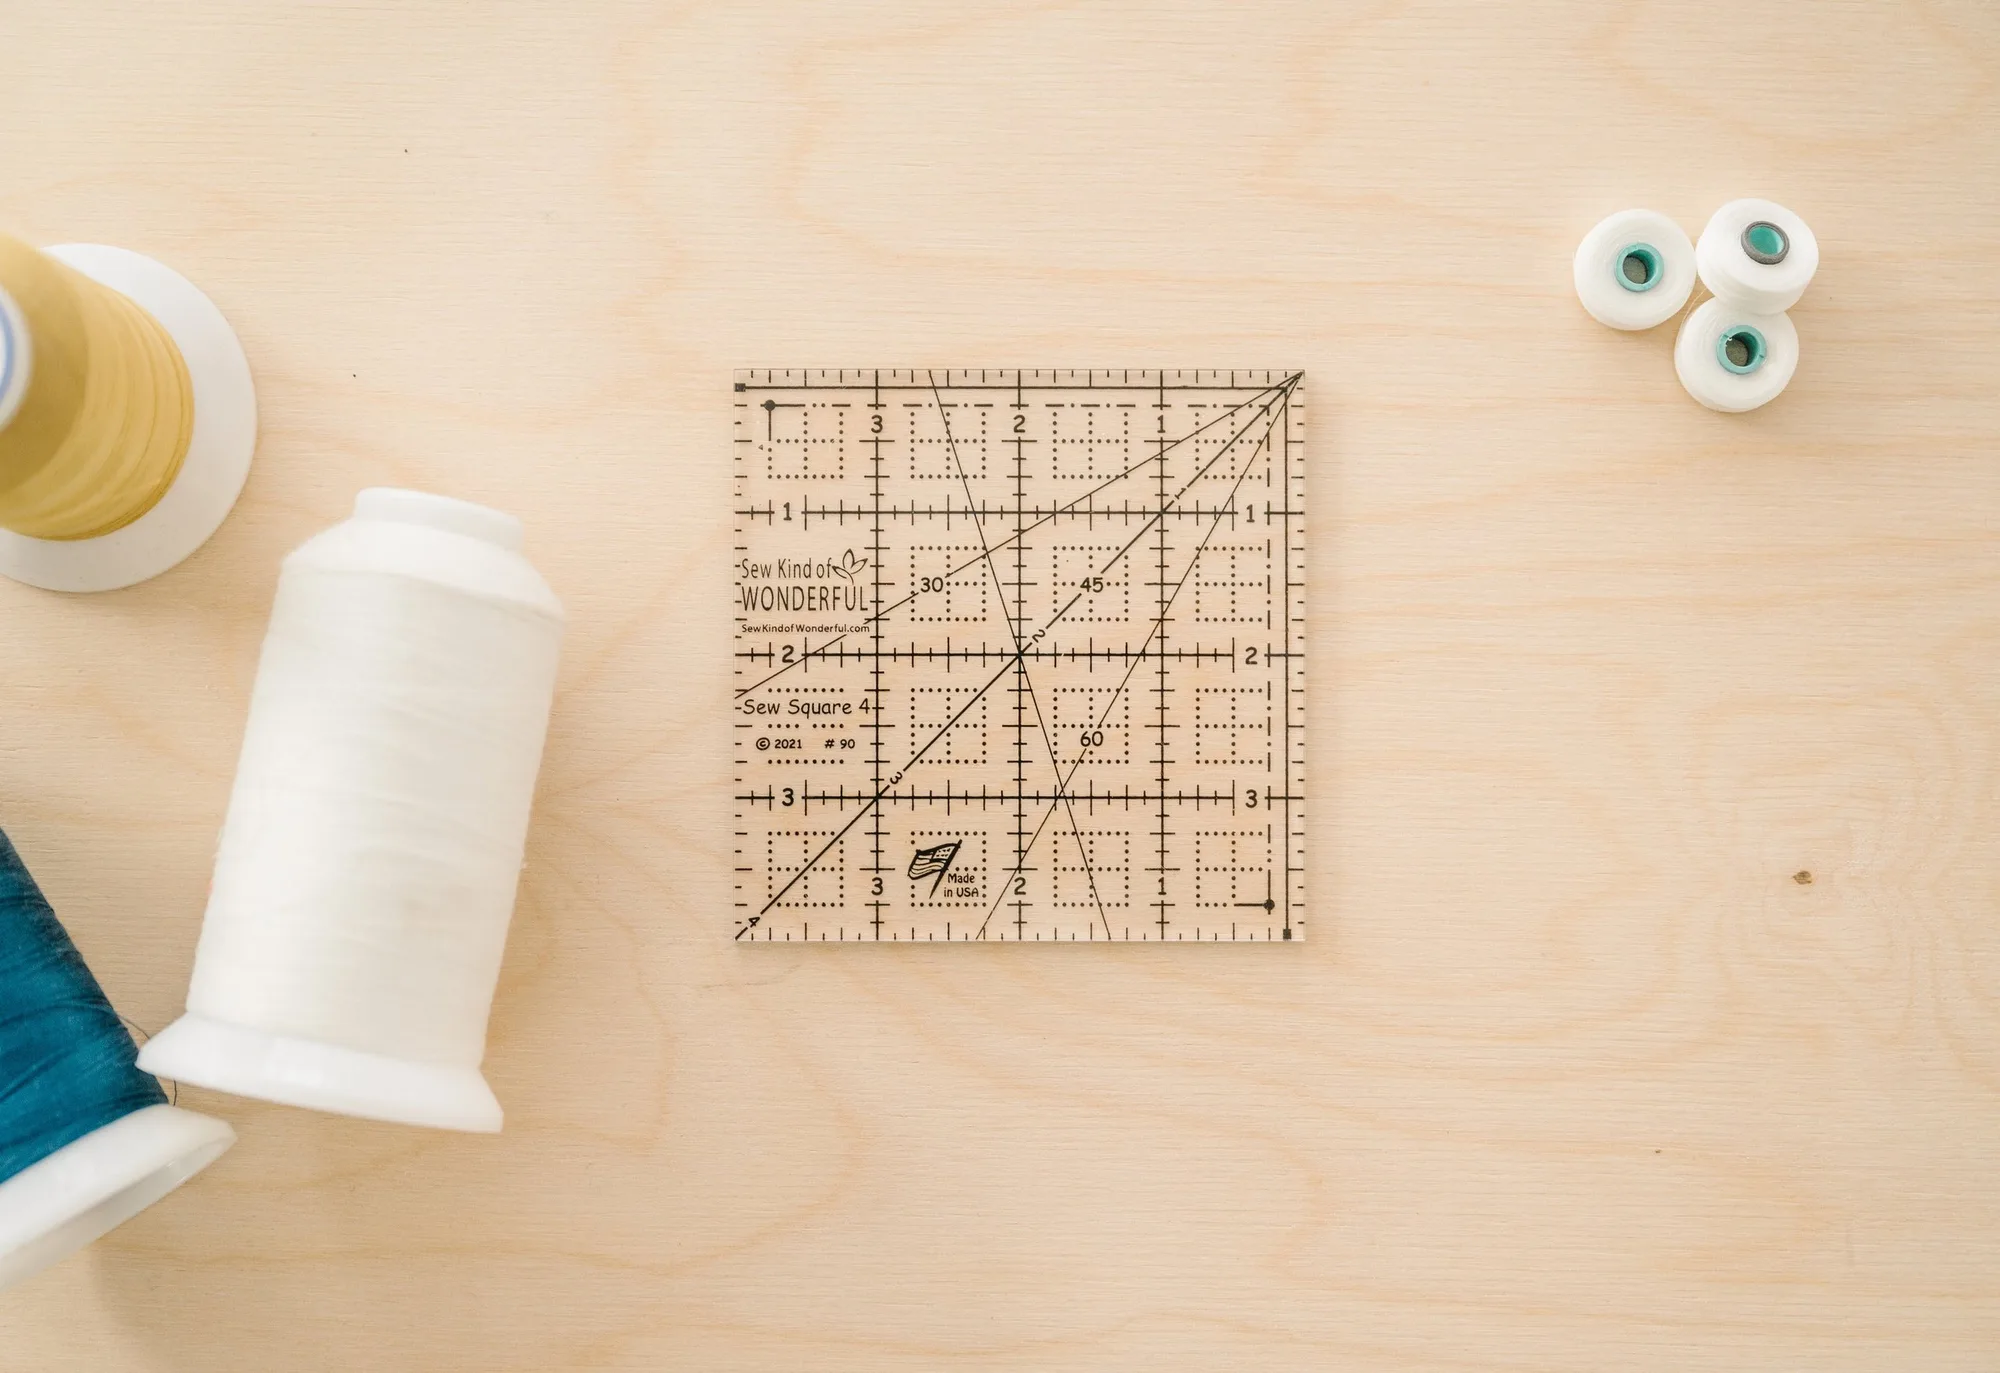
Gather a spray bottle of heavy starch (or a commercial product like Best Press), a hot dry iron, a rotary cutter with a fresh blade, and a large cutting mat. A 6" x 24" ruler and a smaller square ruler (such as the Sew Square 4 included in the Posh Santa Combo) help you square up fat quarters accurately. Color catcher sheets are optional but recommended for the prewash step.
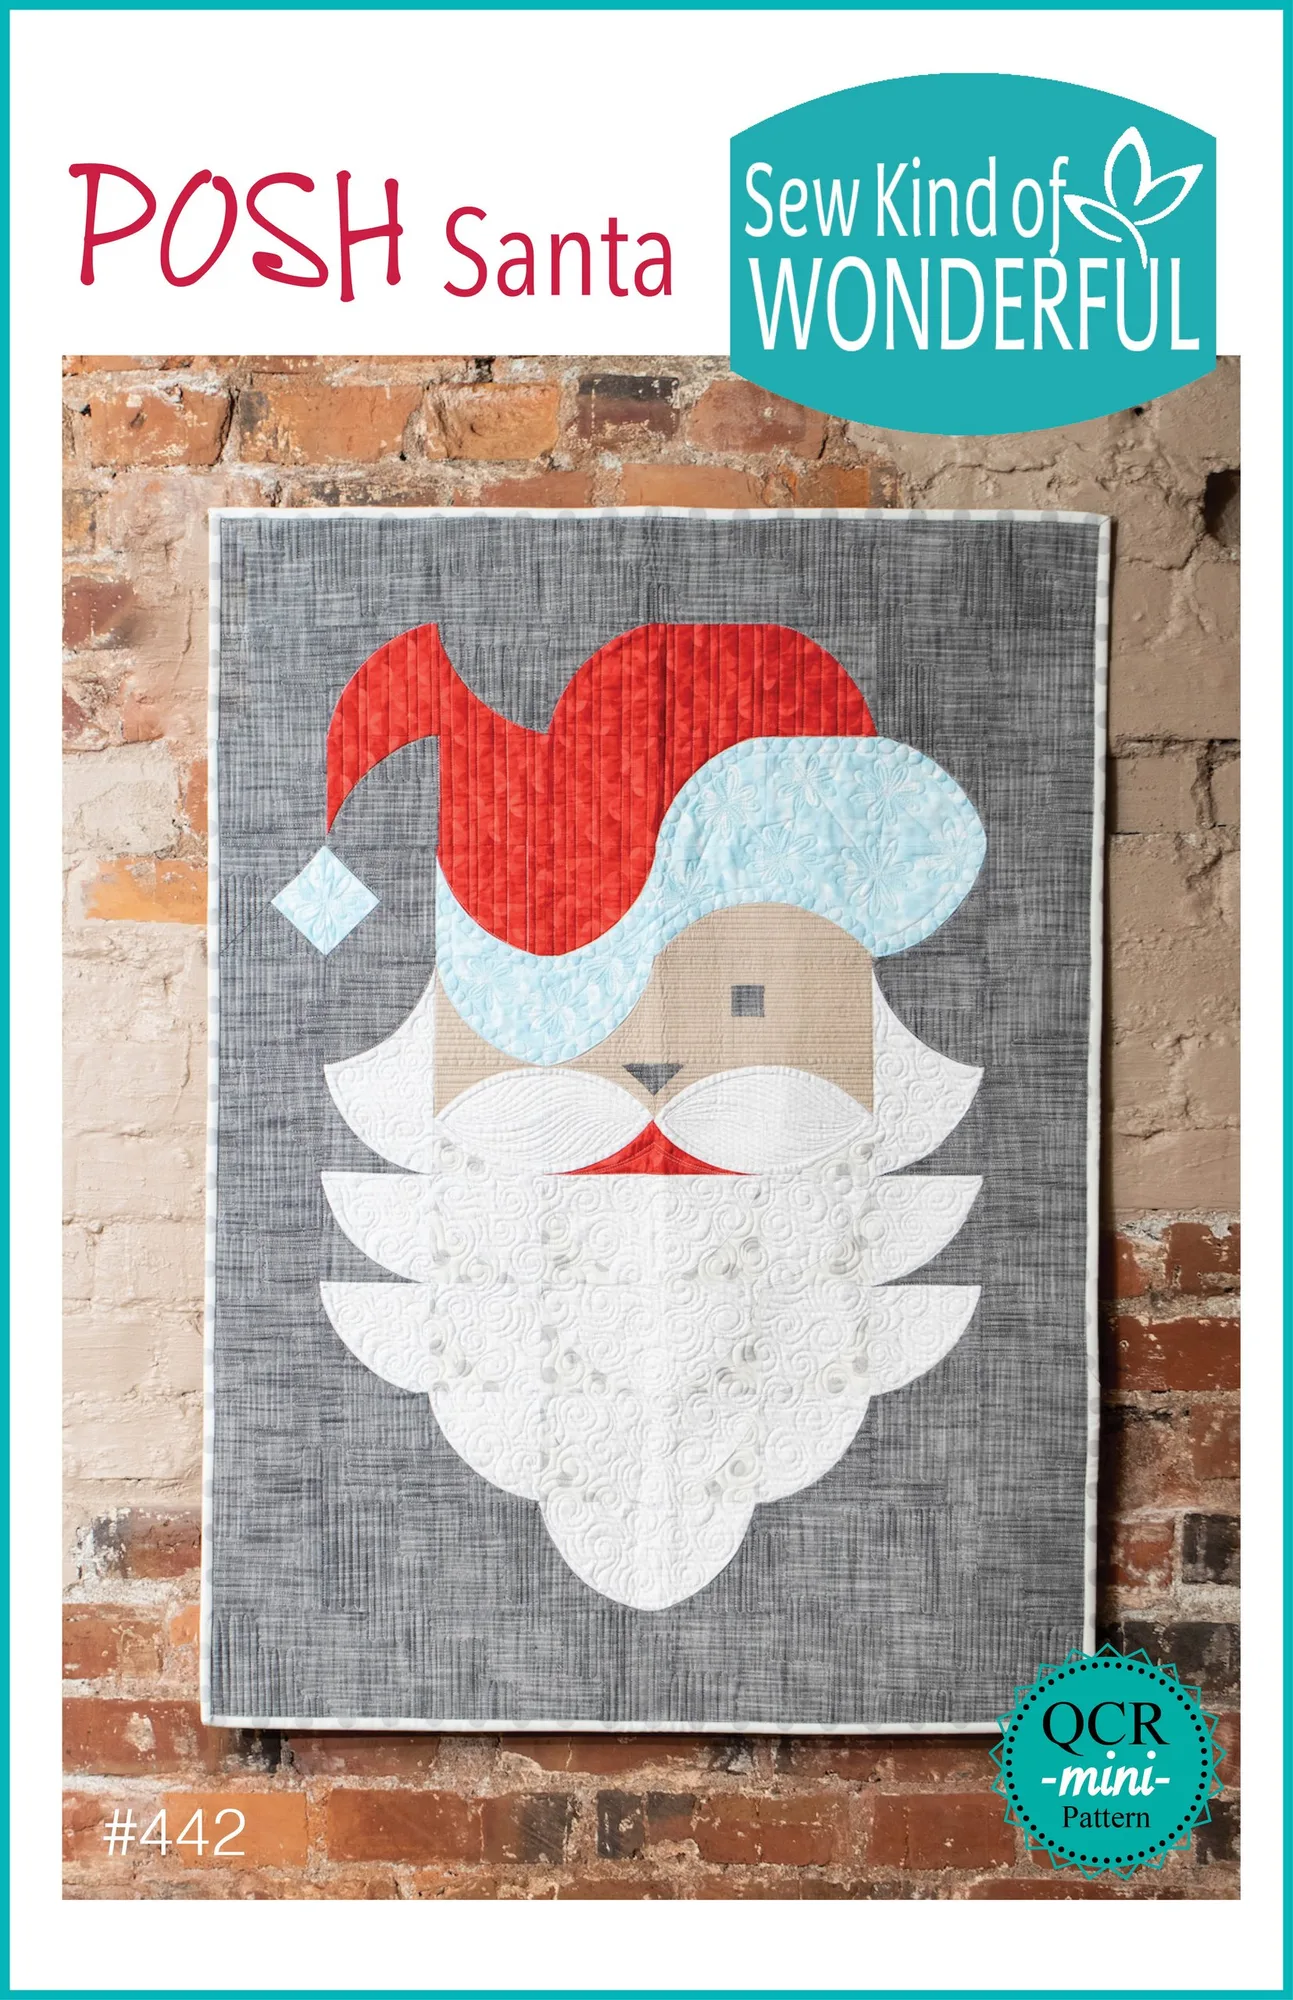
Posh Santa Combo
5-Step Fabric Prep Process for Curved Quilts
- Prewash and Dry: Wash all fabrics in warm water with a color catcher sheet. Tumble dry on medium until slightly damp, then press flat with a hot iron. This removes excess dye and preshrinks the fabric. Checkpoint: If you see dye on the color catcher, rinse again until the water runs clear.
- Starch Heavily: Lay the fabric flat on your ironing board and spray generously with heavy starch. Press with a hot dry iron until the fabric is crisp and holds its shape. Repeat on the wrong side for maximum stiffness. Common mistake: Skipping starch leads to wavy curved seams. The fabric should feel like paper when you're done.
- Square Up the Fat Quarter: Fold the starched fat quarter in half lengthwise, aligning selvages. Place a square ruler in the folded corner and trim to create a perfect 90° angle. Then cut to the required dimensions from the squared edge. Checkpoint: A squared fat quarter ensures your 6-1/2" x 6-3/4" petal pieces are uniform.
- Cut With a Fresh Blade: Install a new rotary cutter blade. Dull blades can tug on starched fabric, causing the cut edge to fray or shift. Make long, smooth cuts without stopping mid-strip. Common mistake: Using an old blade on starched fabric often results in uneven strips that don't match the pattern template.
- Label and Stack Pieces: As you cut each fabric, stack the pieces by size and label them with the pattern step number. For scrappy patterns like Posh Penelope, group petals by color family to speed up the sewing process. Checkpoint: Labeling now saves you from hunting for the right piece later, especially in a 168-piece project.
Patterns That Benefit From Good Fabric Prep
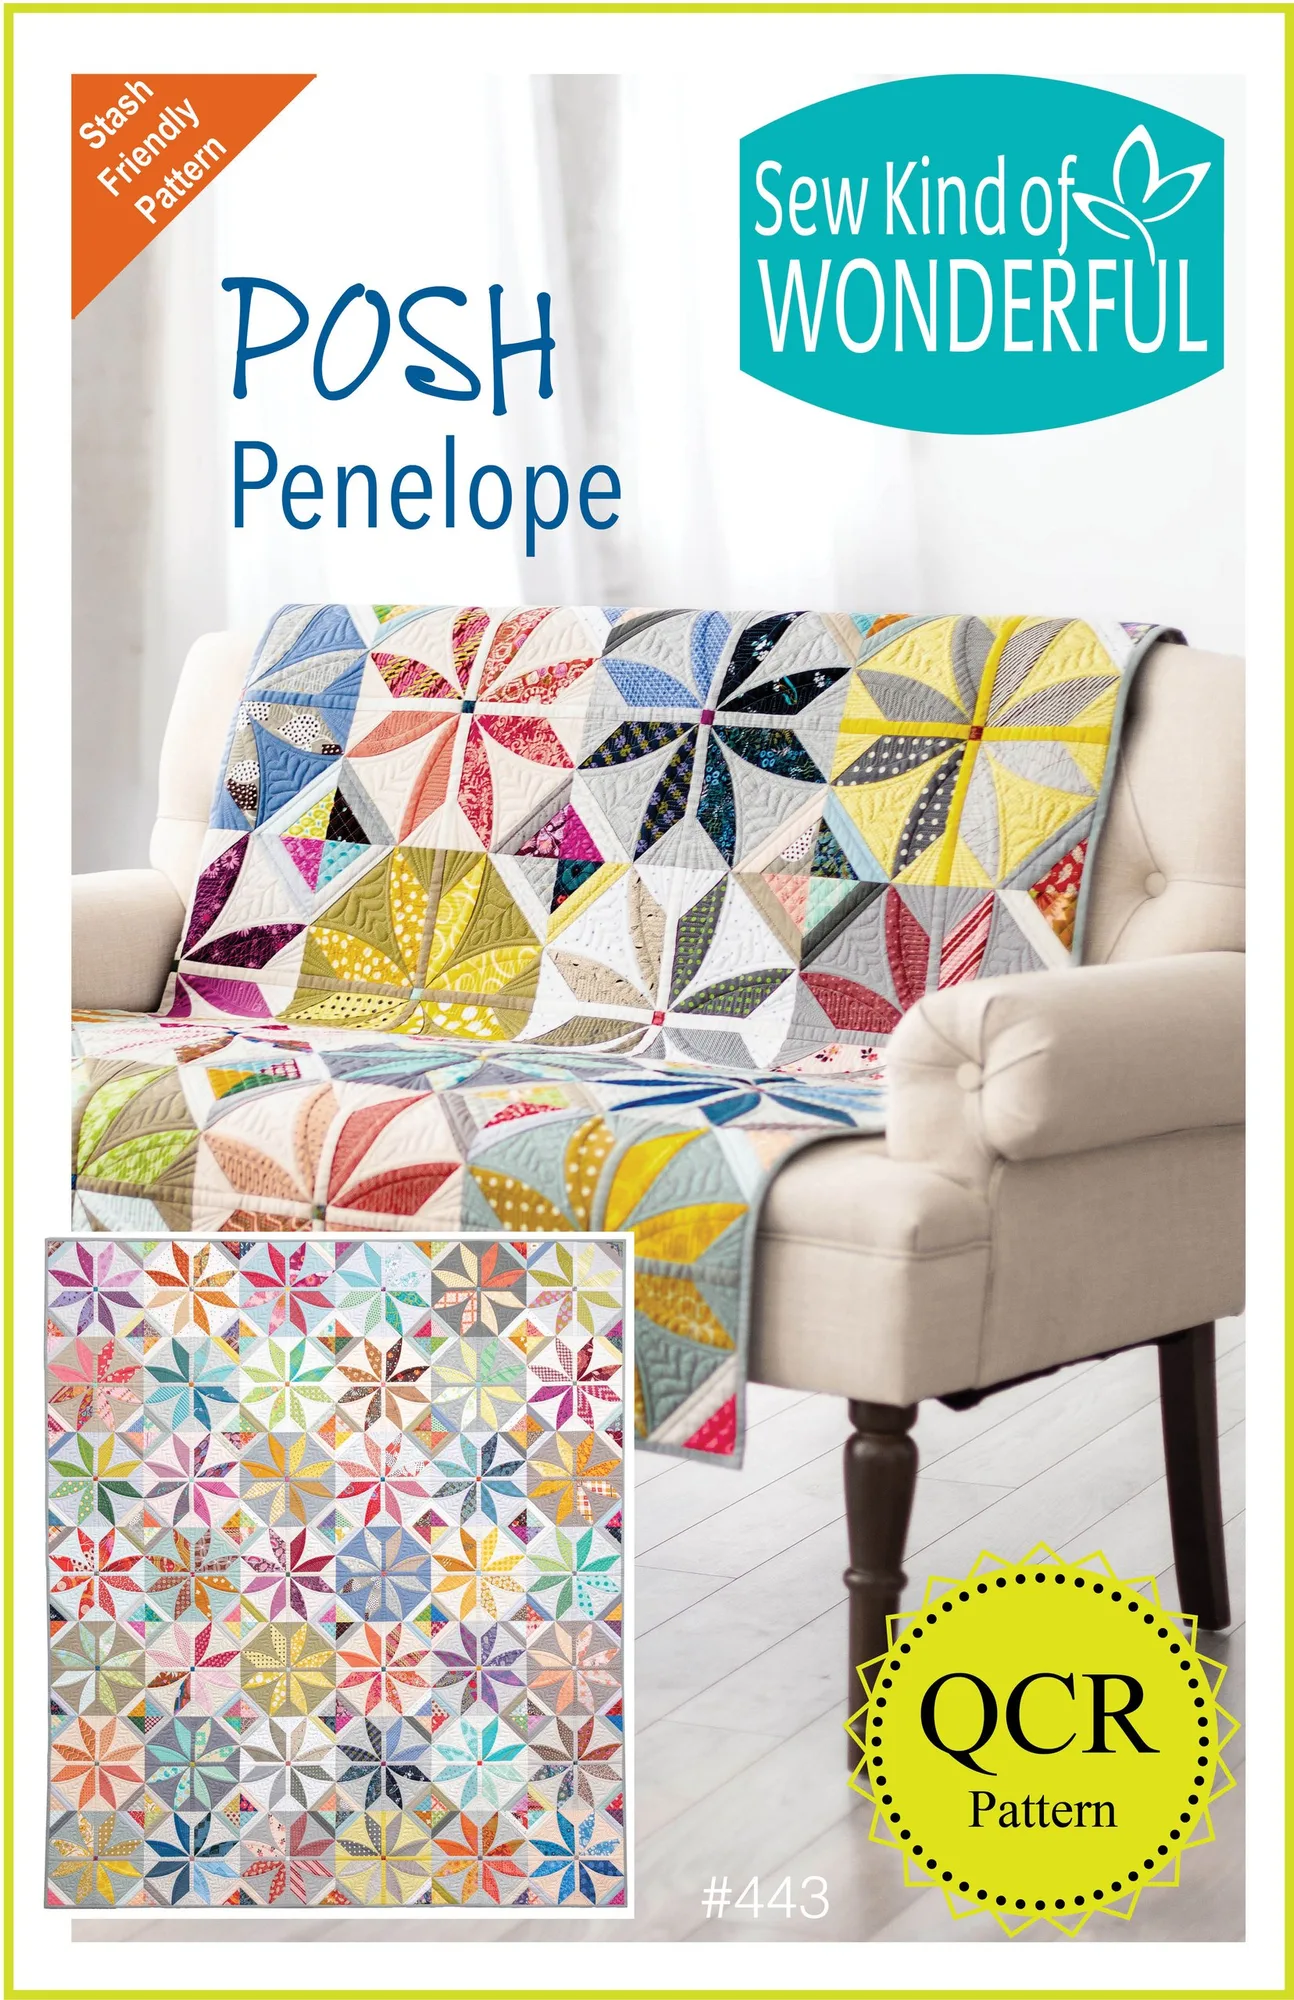
- Posh Penelope (Paper): Posh Penelope is a fun scrappy quilt that combines curves with on point sashing and cornerstones. Materials include (168) 6-1/2" x 6-3/4" assorted focus fabrics and (42) 5" x 10" assorted background fabrics. With 168 petal pieces, even slight stretching in one or two blocks can throw off the entire on-point layout. Consistent starching and squaring make those many seams match effortlessly.
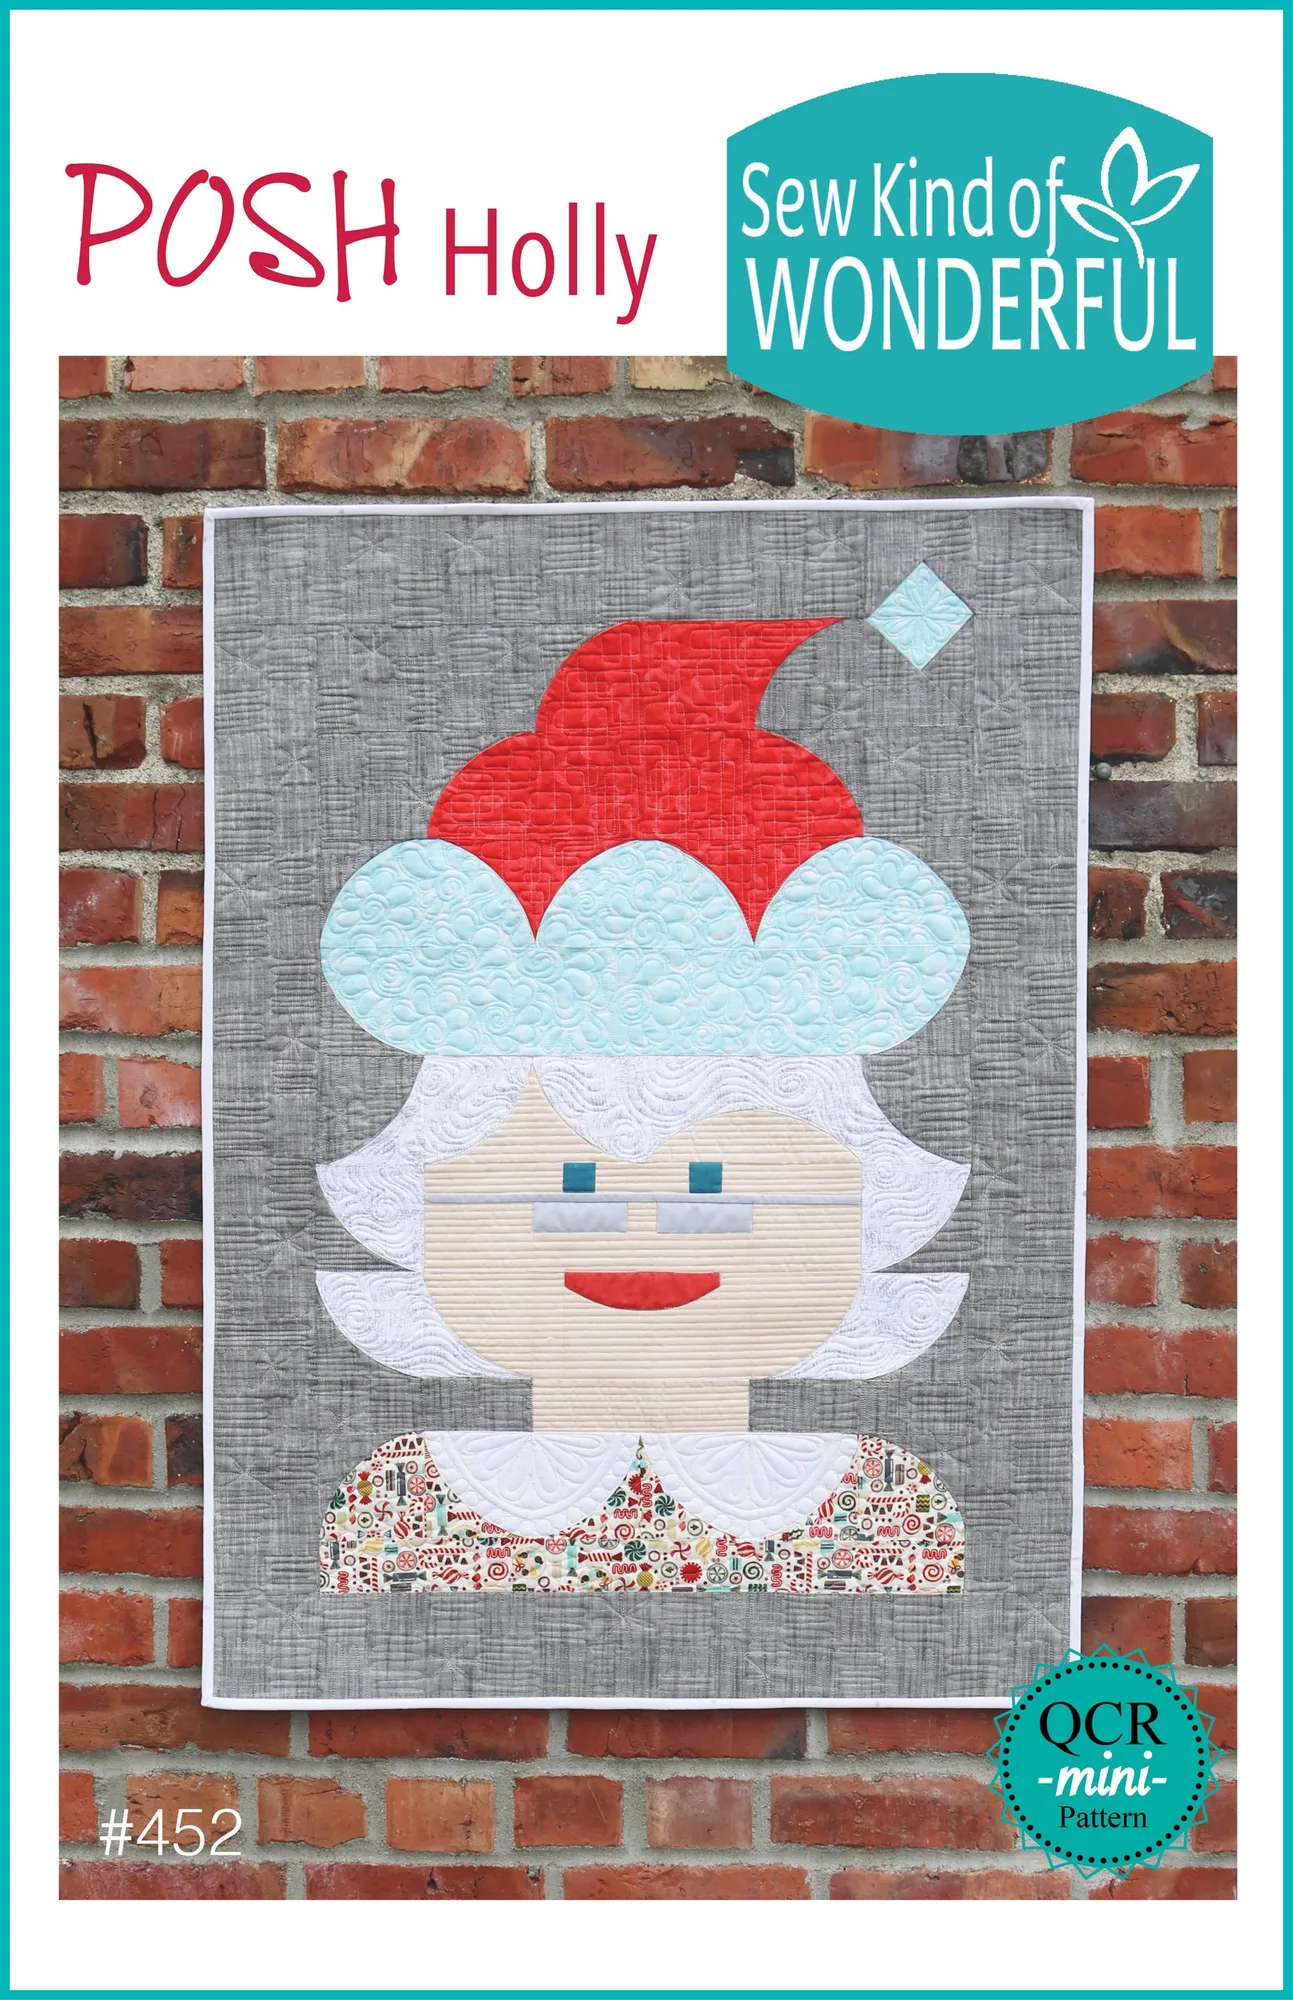
- Posh Holly (Paper): Posh Holly is a quick and easy project that uses one fat quarter each for the hat main fabric, hat trim, face, and hair, plus smaller cuts for the mouth, eyes, and collar. Because this project uses small, precise cuts (like a 3" x 6" mouth piece), prewashing and starching prevent those tiny bias edges from distorting during sewing.