Quick Answer
Most pin holes in quilting fabric come from three causes: using thick or blunt pins on fine fabric, pressing pins through the weave instead of between the threads, and leaving pins in place for days or weeks. Switch to fine, sharp pins, pin inside seam allowances where possible, remove pins as soon as the seam is sewn, and steam the fabric to let fibers relax. If holes persist after steaming, the fabric itself is too tightly woven for pinning and you should use clips or basting instead.
You pull a pin out of your quilt top and there it is: a tiny hole that will not close. It is one of the most common quilting pin problems, and it is especially frustrating on batiks, tightly woven cottons, and any fabric with a crisp finish. The good news is that pin holes are almost always preventable once you know which of the three main causes you are dealing with.
This guide separates the symptom from the cause so you can fix the right thing. You will also find the point where pinning stops being the right tool for the job and you should switch to clips, basting, or glue instead.
Symptom: Small Holes That Stay After You Remove the Pin
If the hole closes within a few minutes of removing the pin, your fabric is fine and you are simply seeing normal fiber displacement. If the hole stays visible after an hour, or you can see it under a pressing cloth, the damage is more than temporary. Take a close look at the hole shape: a round puncture usually means a thick pin shaft pushed threads apart, while a slit or tear means the pin tip caught and cut fibers.
Check the fabric too. Tightly woven fabrics, batiks, and fabrics with a resin or crisp finish hold a puncture longer than loosely woven quilting cotton. If your hole is on a batik and your pin was a standard thick shaft, the fabric is not the problem. The pin is.
- Press the fabric with steam before panicking; many holes close once fibers relax.
- Photograph the hole so you can compare it after steaming.
- Test a pin in a scrap of the same fabric before pinning your quilt top.
Cause 1: The Wrong Pin for the Fabric
The single biggest cause of quilting pin holes is using a pin that is too thick for the fabric. Standard dressmaker pins have a thicker shaft than fine quilting pins, and that extra diameter pushes threads apart rather than slipping between them. On delicate or tightly woven fabric, that displacement becomes a permanent hole. If you are pinning silk, lawn, or a fine batik, a thick pin will leave a mark every time.
The fix is to match pin diameter to fabric weight. Fine, sharp pins for fine fabric. Standard pins for medium quilting cotton. For heavy fabrics like canvas or denim, a thicker pin is fine because the weave is open enough to recover. If you are not sure which pin you have, compare shafts side by side against a scrap of your fabric and look for the pin that slides in with the least resistance.
- Keep two pin types on your table: fine for delicate fabric, standard for quilting cotton.
- Replace bent or dull pins immediately; a dull tip tears rather than separates threads.
- Never use the same pin for basting and for final piecing.
Cause 2: Pinning Technique and Pressure
Even with the right pin, how you insert it matters. Pushing a pin straight down through the fabric compresses the weave and creates a round puncture. Angling the pin slightly and guiding it between the threads, rather than through them, reduces the damage. Pin inside the seam allowance whenever you can, because any mark there will be hidden in the seam once the quilt is assembled.
Pressure is the other half of the equation. If you are forcing the pin through multiple layers, you are stretching the fabric around the shaft, and that stretch is what leaves a hole. Pin only the layers you need, and if you are pinning a thick quilt sandwich, use curved safety pins or clips instead of straight pins. Straight pins are for piecing, not for holding a finished sandwich together.
- Pin perpendicular to the seam line so the pin sits inside the seam allowance.
- Do not pin through more layers than necessary; pin in stages instead.
- Remove pins as soon as the seam is sewn, not after the whole block is done.
Cause 3: Pins Left in Place Too Long
Fabric has memory. Leave a pin in the same spot for a week and the fibers learn that shape. This is why quilters who pin an entire quilt top and then let it sit before sewing find holes that will not close. The longer the pin stays, the more permanent the mark. If you must leave pins in, do it for hours, not days.
If you have already left pins in and the holes are set, steam is your best corrective action. Hold a steam iron just above the fabric, let the steam penetrate, then press gently with a pressing cloth. Do not rub the fabric, which can distort the weave. For stubborn holes, a light mist from a spray bottle followed by a few minutes of rest often lets the fibers relax enough to close.
- Sew pinned sections the same day whenever possible.
- If you must store a pinned project, remove pins first and re-pin when you return to it.
- Steam, then wait. Most holes close within an hour if the fibers are not cut.
When to Stop Pinning and Use Another Method
Pinning is not always the right tool. If you are working with fine silk, tightly woven batik, or any fabric that has already shown pin damage, switch to alternatives. Fabric clips hold layers without piercing the weave. Basting with a long stitch or with curved safety pins keeps the quilt sandwich together without leaving straight-pin punctures. For small applique pieces, a dab of water-soluble glue is often faster and leaves no marks at all.
The rule is simple: if a test pin leaves a hole that does not close after steaming, stop pinning that fabric. No technique will fix a pin that is fundamentally too thick for the weave. Change your tool, not your pressure.
- Use clips for thick quilt sandwiches and for fabrics that mark easily.
- Use curved safety pins for basting, not straight pins.
- Use water-soluble glue for small applique pieces that do not need pinning.
Pin Hole Diagnosis: Match the Symptom to the Fix
- Hole closes within minutes: Normal fiber displacement. No action needed beyond your usual pressing routine. Fabric is fine. Keep using your current pins.
- Hole stays after an hour but fades after steaming: The pin was too thick or left in too long, but the fibers are not cut. Switch to finer pins, remove pins sooner, and steam as a corrective step. Change your pin type and timing. The fabric will recover.
- Hole or slit remains after steaming and pressing: The pin tip cut the fibers, or the fabric is too tightly woven for pinning. Stop pinning this fabric and switch to clips, curved safety pins, or basting. Do not keep pinning. Change the tool, not the pressure.
Tools That Help You Pin Without Leaving Holes
- Magnetic Pin Holder: Easy-to-use magnetic core keeps pins secure, lightweight and compact, fits easily on your worktable. A magnetic holder keeps your fine pins organized and within reach so you are less tempted to grab a thicker pin that happens to be nearby. It also reduces the chance of pins ending up on the floor or lost in fabric, which is one of the most common quilting pin problems.
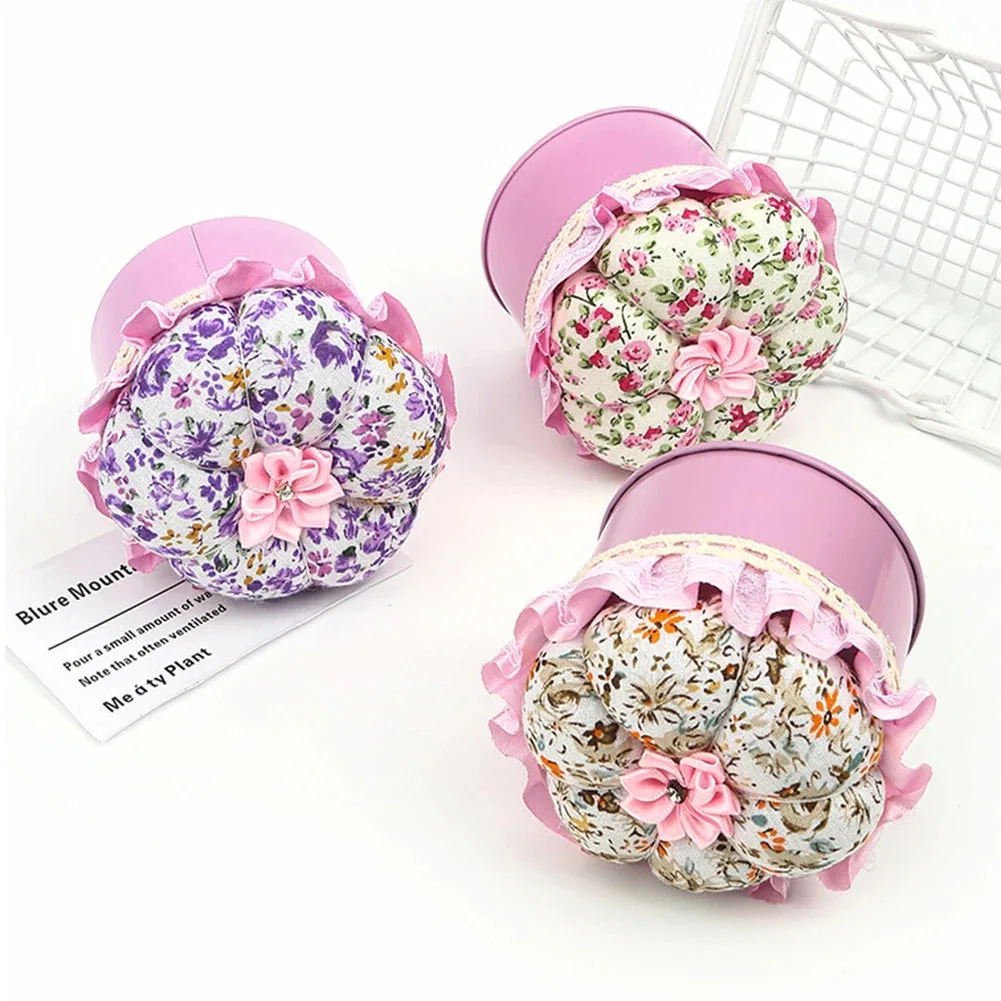
- https://mrs-quilty.com/products/pin-cushion-with-storage-box-4636a8157025406a08285f96-1386948Pin cushion with storage box: Pumpkin-shaped pin pillow with a dual-purpose design that adds a charming aesthetic to your crafting space while keeping sewing accessories functional. Keeping your fine and standard pins separated is the easiest way to avoid grabbing the wrong pin for delicate fabric. A pin cushion with storage gives you a dedicated spot for each pin type, so you can match pin to fabric without thinking about it.
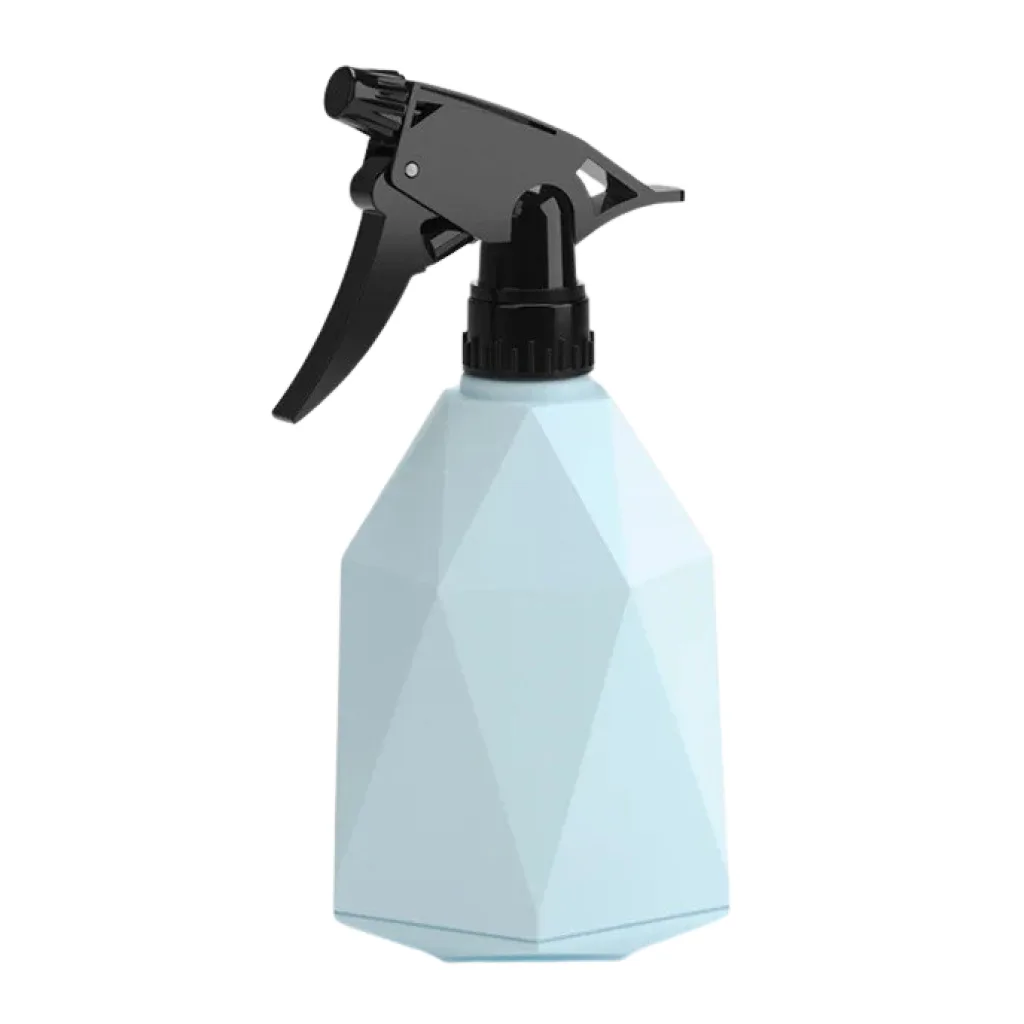
- Fabric Misting Spray Bottle: Geometric shape fits snugly in your hand for steady, confident sprays and delivers a fine mist for quilting and ironing. A fine, even mist is the corrective action for pin holes that have already set. Lightly misting the fabric and letting it rest gives fibers a chance to relax and close the hole before you press. An uneven spray can soak the fabric and distort the weave, so a controlled mist matters.
- 42-Piece Quilting Kit: Perfect for Beginners (Images55): Includes a 45mm rotary fabric cutter for precise slices through fabric, designed as a companion set for novices or quilters upgrading their toolkit. If pin holes keep appearing because you are pinning pieces that could be cut and aligned more precisely, a rotary cutter reduces the need for heavy pinning in the first place. Cleaner cuts mean fewer pins holding misaligned edges together.
Pin holes in quilting fabric are almost always a tool or timing problem, not a fabric defect. Match your pin to your fabric, pin inside the seam allowance, pull pins as soon as the seam is sewn, and steam any marks that appear. When a test pin leaves a hole that will not close, stop pinning and reach for clips or basting instead.