Quick answer
Prime Dwarvenite in two or three thin coats of a flexible acrylic primer, applied from about 8-10 inches away, and wash the pieces in warm soapy water first. If your primer is filling detail, drying tacky, or flaking off at the edges, the cause is almost always coat thickness, primer chemistry, or mold release left on the surface. Fix the cause before you add more paint.
Unpainted Dwarvenite is ready to paint straight out of the box, but that does not mean it is ready for a heavy spray. The material is a dense, slightly flexible PVC-style compound, and it behaves differently from resin, styrene, or plaster. Most of the priming problems people bring to us are not product failures; they are the same three habits repeated across hundreds of pieces.
This guide walks through what each symptom looks like, what actually caused it, what to do about it right now, and the point where you should stop and try a different approach rather than adding another coat.
Why Dwarvenite Needs a Different Priming Approach
Dwarvenite is designed to take a beating on the table: it flexes slightly, survives drops, and holds fine molded detail. That flexibility is the key difference. A rigid, brittle primer film sitting on a slightly flexible surface will eventually crack or flake at high-wear points like corners, wall bases, and the edges of floor tiles. A primer that stays slightly flexible moves with the piece instead.
The second difference is surface texture. Dwarvenite pieces come out of the mold with a very fine release residue and a slightly slick skin. Paint and primer bond mechanically, so anything sitting between the primer and the material weakens the bond. A quick wash is not optional ceremony; it is the step that makes everything after it work.
- Wash unpainted pieces in warm water with a drop of mild dish soap, rinse, and let them dry completely before priming.
- Avoid solvent-based automotive primers and any primer labeled for metal or rigid plastics.
- Test your primer on one tile or a single scatter piece before committing to a full set.
Symptom: Primer Fills In the Detail
You spray, wait, and the stonework looks softer than it did unpainted. Grout lines have gone shallow, and small texture like cracks and pitting has smoothed over. This is the most common complaint, and it is almost never the primer's fault.
The cause is coat thickness and distance. Holding the can too close, moving too slowly, or trying to get full opaque coverage in one pass lays down far more material than the surface needs. Primer's job is to give paint something to grip, not to hide the piece. Two or three light passes that leave some of the original color showing will preserve detail far better than one heavy coat.
- Spray from roughly 8-10 inches, in short passes, starting and ending off the piece.
- Rotate the piece or move around it rather than spraying one face at a time.
- If detail is already lost, strip with a mild degreaser or isopropyl alcohol rather than spraying more.
Symptom: The Primer Stays Tacky or Rubs Off
Days later, the surface still feels slightly sticky, or a finger dragged across it leaves a mark. In humid conditions this is often just cure time: most rattle-can primers need low humidity and moderate temperatures to cure properly, and a damp garage will keep them soft far longer than the label suggests.
If the tackiness persists well past the stated cure window, the primer chemistry is the likely problem. Enamel and oil-based primers can stay soft on Dwarvenite, and some craft-store primers are formulated for porous surfaces like wood and plaster. Switching to a water-based acrylic primer designed for plastics usually resolves it. If the piece is already tacky, let it cure in a dry, warm space for several days before deciding whether to strip it.
- Check humidity before spraying; above roughly 60% relative humidity, wait for a drier day.
- Give pieces 24 hours in a warm, dry room before judging the result.
- If it is still tacky after that, strip and switch primers rather than sealing over it.
Symptom: Primer Flakes Off at Corners and Edges
The paint job looks fine until a piece gets handled, and then chips appear along wall tops, floor edges, and anywhere the terrain rubs against another piece. Two causes are typical. The first is skipping the wash, which leaves mold release between the material and the primer. The second is a rigid primer film that cannot flex with the piece.
Fix the bond, not the topcoat. Wash and fully dry the piece, then re-prime with a flexible acrylic primer. If you are working with pieces that see heavy handling, a thin primer coat followed by a quality acrylic basecoat will hold up better than a thick primer layer alone. Once a piece is chipping, spot-treat the bare areas rather than re-priming the entire surface.
- Handle freshly primed pieces by the edges or with a soft cloth for the first day.
- Store primed pieces so they are not grinding against each other in a bin.
- For terrain that gets packed and unpacked weekly, prioritize flexible primer over fast coverage.
When to Stop and Choose Another Option
There is a point where more primer is the wrong answer. If you have stripped and re-primed a piece twice and it still beads, flakes, or stays tacky, the issue is the primer itself, not your technique. Stop, buy a different product, and test it on one piece before touching the rest of your collection.
The same applies if you are painting a highly detailed piece where every coat risks softening the sculpt. In that case, consider a thin brush-on primer or an airbrush primer, which give you far more control than a rattle can. And if you simply do not want to prime at all, that is a legitimate choice for some sets: many painters go straight to a basecoat on pre-washed Dwarvenite and accept slightly lower adhesion in exchange for saved time.
- Two failed attempts with the same primer means change the primer, not the method.
- For intricate pieces, brush-on or airbrush primer beats spray for control.
- Skipping primer entirely is workable if you wash first and use a durable acrylic basecoat.
Priming Problem Diagnosis
- Detail looks softer than it did unpainted: Cause: coats applied too thick or too close. Correct by stripping the piece and re-priming in two or three light passes from 8-10 inches. If detail loss is minor, paint over it; if grout lines have closed up, strip and start again.
- Surface still tacky after 24 hours: Cause: high humidity or an enamel/oil-based primer that will not cure hard on Dwarvenite. Move the piece to a warm, dry room and wait, then switch to a water-based acrylic primer if it stays soft. Stop adding coats. Tacky primer under paint will stay soft and smear.
- Primer chips at corners and edges: Cause: mold release left on the surface or a rigid primer film that cannot flex with the material. Wash and dry fully, then re-prime with a flexible acrylic. If two primers both chip, the problem is surface prep, not the product.
- Primer beads up and will not stick at all: Cause: the piece was never washed, or it was handled with bare hands after washing. Re-wash with mild soap, dry, and handle with gloves or a cloth. This is the one problem where technique is almost always the answer.
Pieces Worth Practicing On
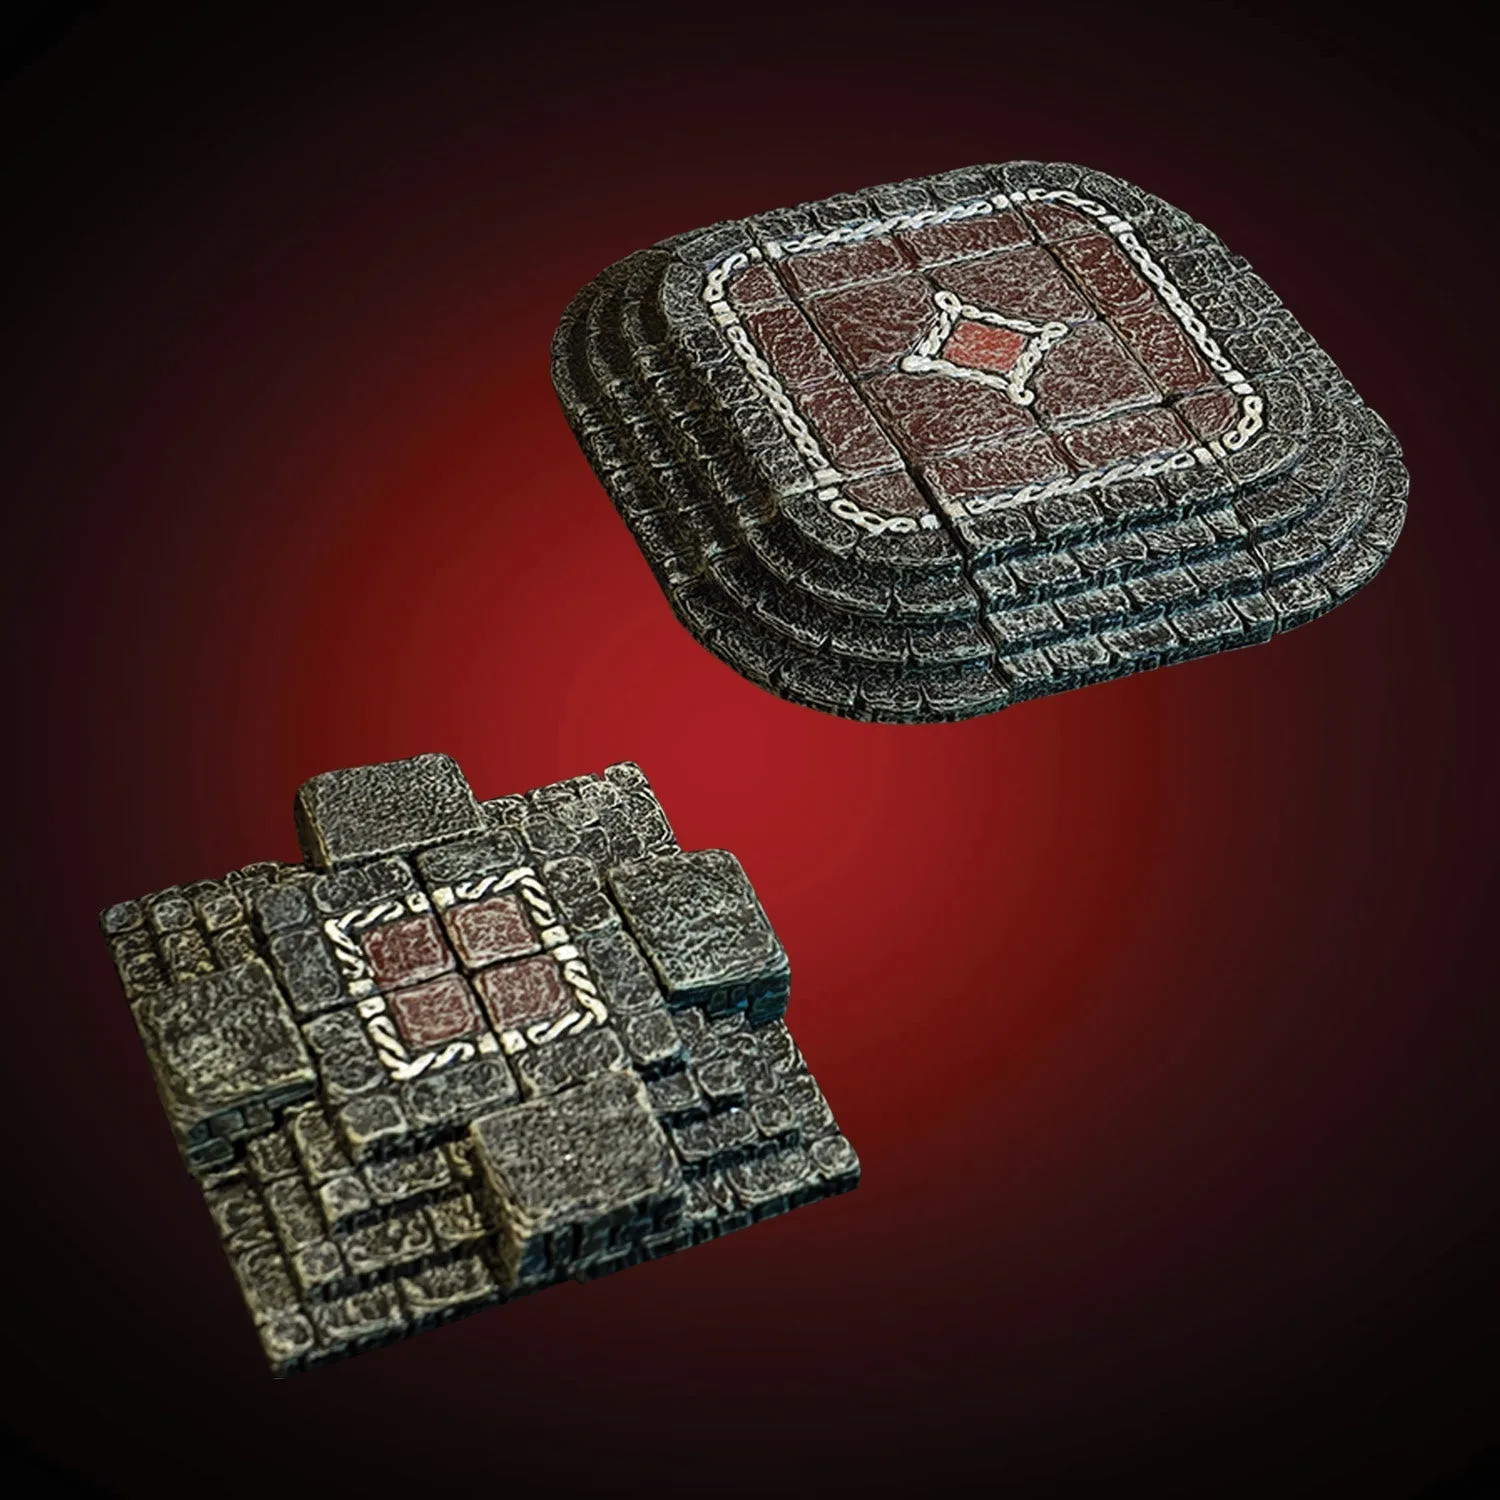
- Daises - Central (Unpainted): This set can build two stand-alone daises, or can be reconfigured into a variety of platforms or even stairs. Flat dais tops and simple step faces are forgiving surfaces for testing your primer coat thickness before you commit to detailed walls.
- The Serpent's Trove (NO Anchor Magnets) (Unpainted): All the implements necessary to prepare your dungeon for dark rites and forbidden rituals. Small ritual props have fine surface texture where a heavy primer coat shows immediately, making them a good early warning test for over-spraying.
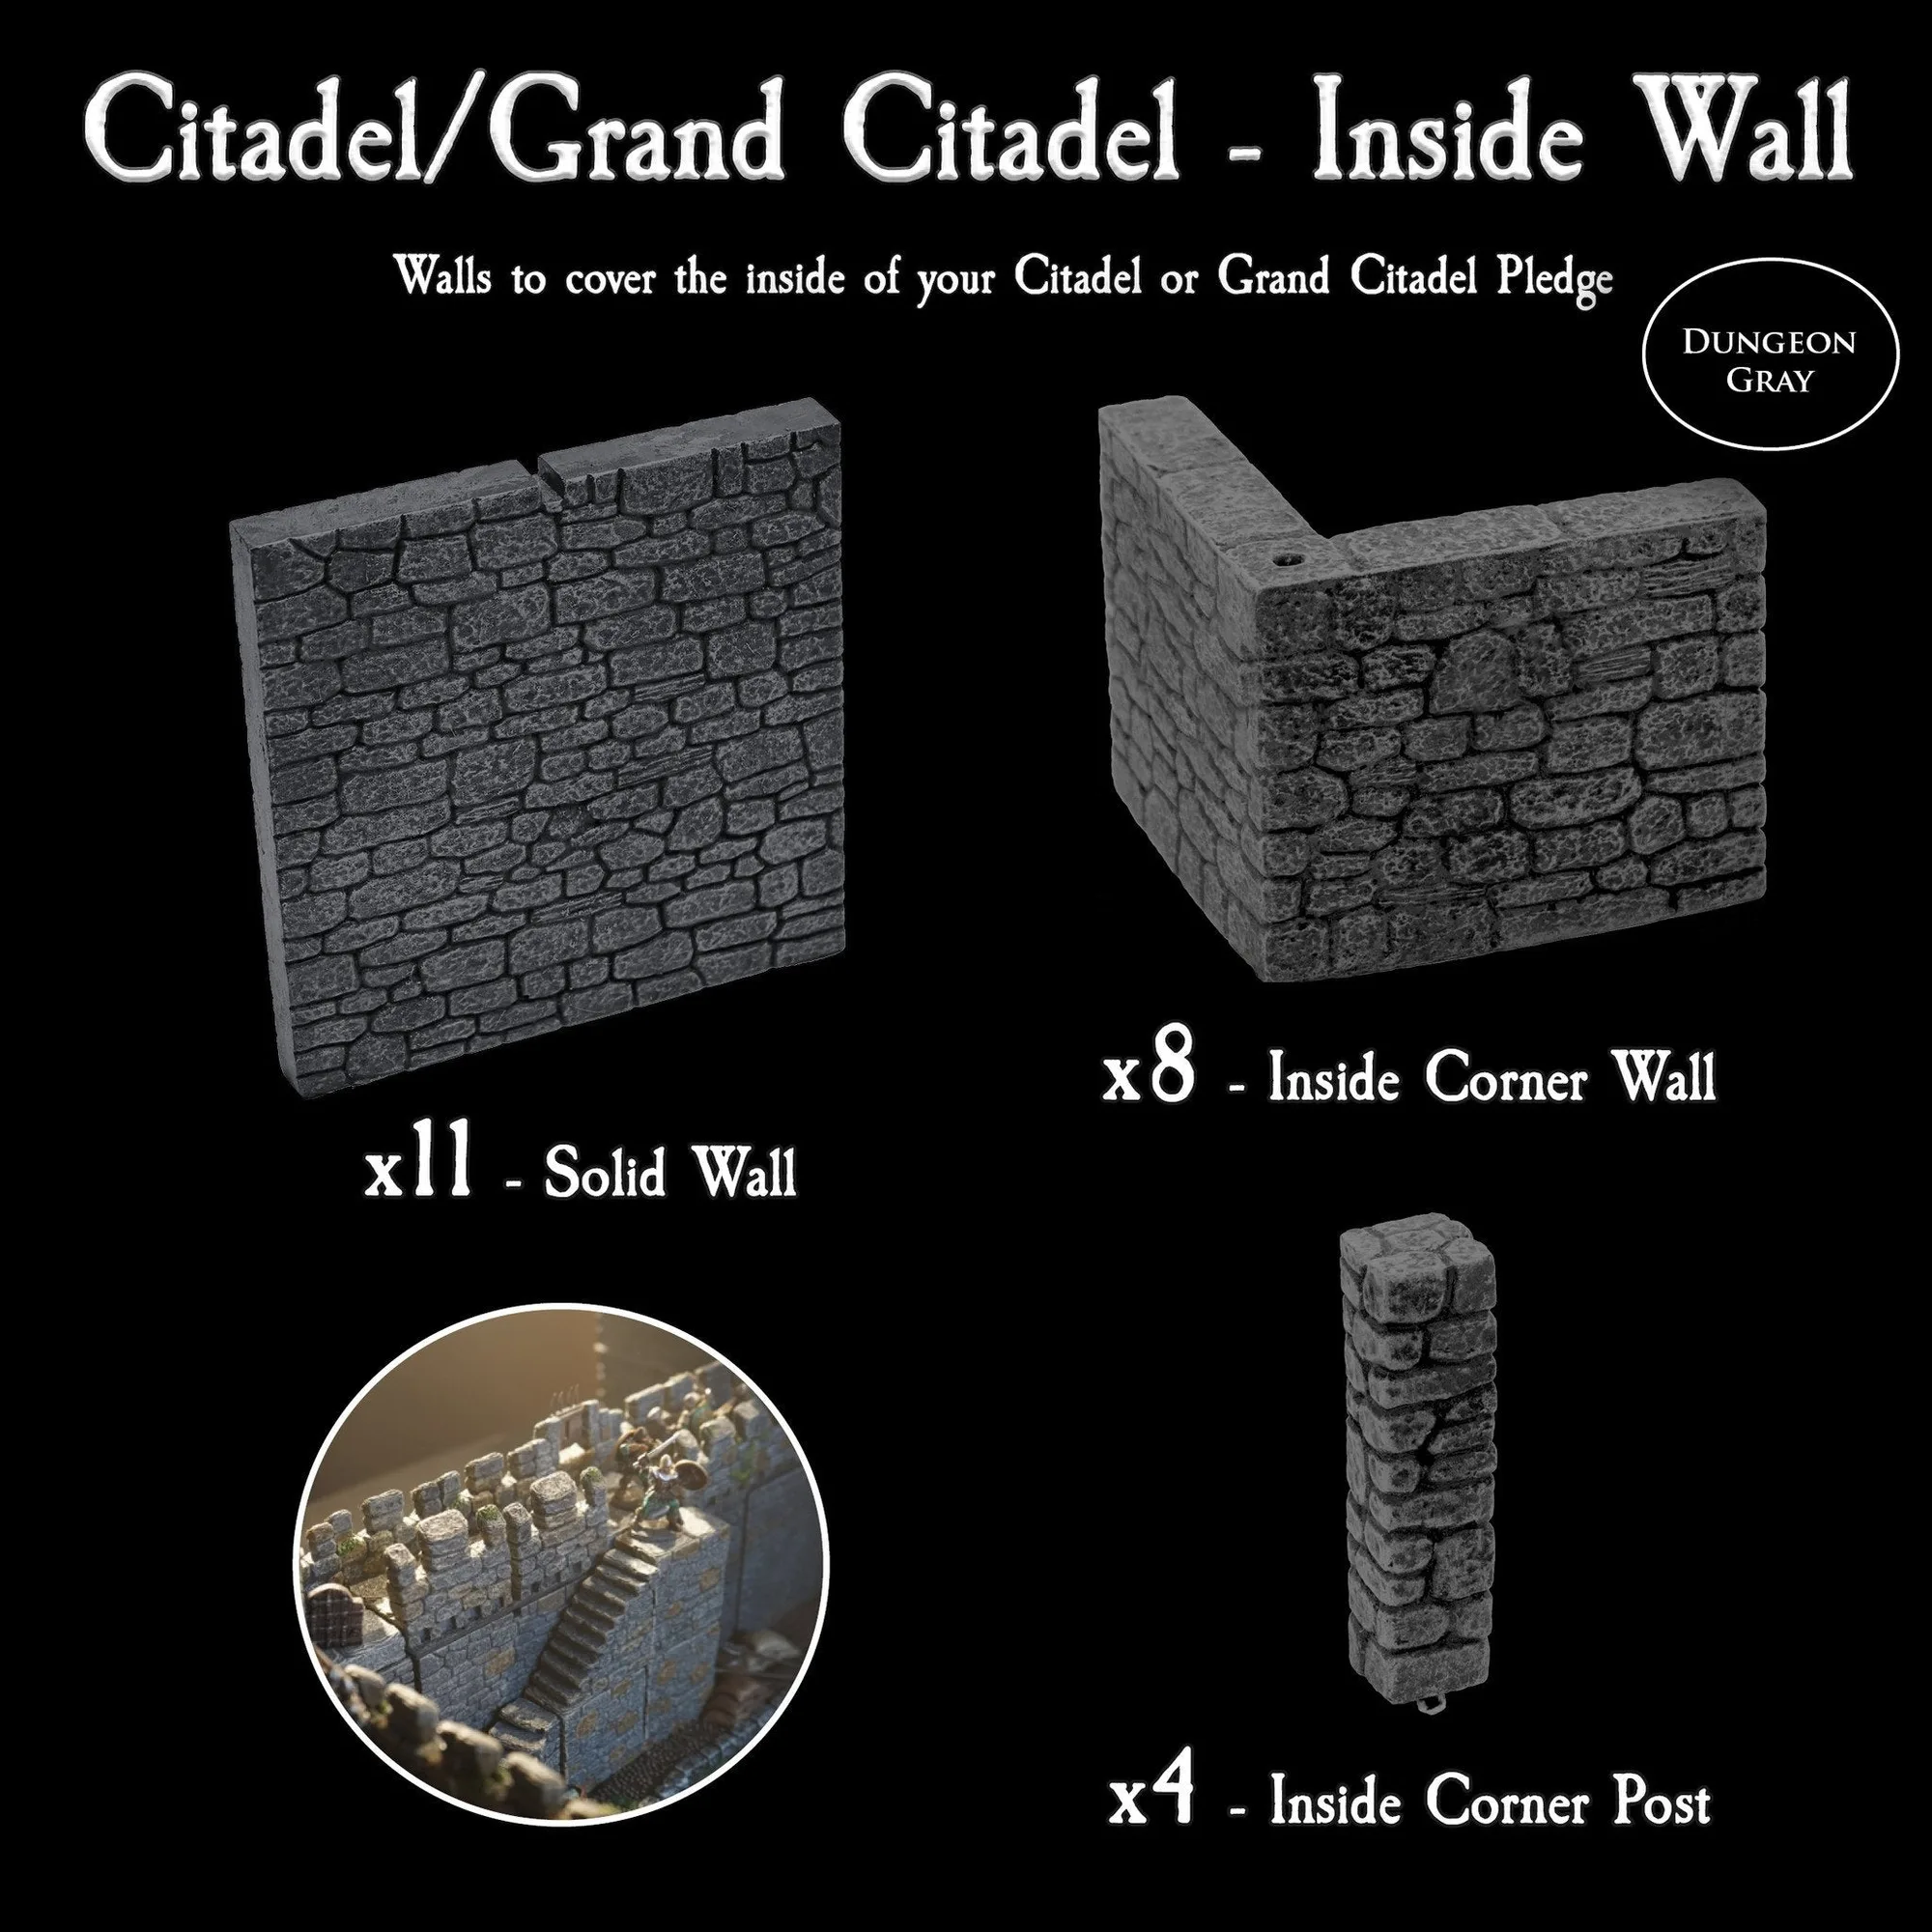
- Citadel / Grand Citadel Inside Wall Pack (Unpainted): This set contains 23 pieces: 4-WS-001 Solid Wall 11 4-WS-011 Inside Corner Wall 8 4-WS-013 Inside Corner Post 4. Large flat wall panels and corner posts are exactly the pieces where edge chipping shows up first, so a flexible primer matters more here than on scatter.
Priming Dwarvenite rewards patience more than product. Wash first, spray thin, give it a dry day to cure, and test on one piece before you commit a whole set. If a piece fights you twice, change the primer rather than the number of coats, and you will spend your time painting instead of repairing.